
Hardwood floors that have absorbed pet urine or left old brown spots can feel frustratingly resistant to normal mopping. With the right enzyme cleaner, pH-neutral wood soap, and careful spot-by-spot deep cleaning, you can lift staining without spreading it across the grain. Plan for about 1 to 2 hours, and test any cleaner in an inconspicuous area before you proceed.




Pet stains on hardwood usually need a two-part approach: lift the source of the stain (odor + residue), then fully clean and protect the finish without soaking the wood. Start by blotting and using a pet-enzymatic cleaner made for urine/organic stains, then follow with a gentle hardwood-safe wash and dry thoroughly to prevent warping or clouding. In 2026, this “enzyme first, water second” method is still the most reliable way to stop recurring spots without dulling or clouding your finish.
If you have pets that have left repeated spots—especially urine marks, muddy paw stains, or dark areas that return after mopping, this guide walks you through a deep-clean process that’s designed for finished hardwood. It’s also meant for homeowners who want results but need to avoid the common “too much water” mistakes that can permanently damage floors.
Who this is for / when it applies
This is for homeowners cleaning finished hardwood (not unfinished/blank wood) who are dealing with pet urine, repeat discoloration, or lingering odors after routine mopping. It also fits best when you’re seeing “ghost stains” that reappear as the wood/finish warms up—because that usually means residue or odor compounds are still present under the finish layer.
Prep the floor (and confirm what you’re dealing with)
– Blot fresh spots first; for dried stains, lightly dampen a cloth (not the floor) to see if the stain reactivates.
– Identify whether the mark is surface-level (finish discoloration) or deeper (odor returns and the stain keeps spreading).
– Clear the area and remove rugs/furniture so you can work section by section without re-tracking dirt.
Before you apply anything, confirm the stain behavior. If the spot looks “stable” and doesn’t smell when dry, you’re likely dealing with surface discoloration in the finish. If it smells stronger over time or the discoloration widens after light cleaning, the contamination is probably deeper—meaning you need more dwell time from the pet-enzymatic cleaner and careful, targeted washing after.
I’ve found the prep step is where most homeowners accidentally widen the problem. If you scrub before the enzyme product has time to work, you can push contamination into micro-scratches in the finish and make the area look larger.
To avoid re-soiling, work like a technician: move furniture, remove rugs, and clean in sections. Use a clean white cloth for blotting so you can see transfer. Keep a separate cloth for final drying so you’re not dragging residue around.
Also, pay attention to the floor’s finish. Many modern hardwood floors are finished with polyurethane, aluminum oxide, or other protective topcoats; those finishes require “damp, not wet” cleaning methods. If your floor is unknown or you’re unsure what your manufacturer allows, test in a hidden spot before proceeding.
Deep-clean step 1: enzyme treatment for pet urine and odors
– Use an enzymatic pet cleaner specifically labeled for urine/organic stains; apply per the label’s contact time so enzymes can break down the source.
– If the stain is light but smells remain, prioritize enzyme treatment—visible discoloration often improves after the odor-causing residue is fully neutralized.
– Don’t steam or scrub aggressively during this stage; you want the product to reach the contamination layer without grinding it deeper into finish scratches.
Enzymatic cleaners work by breaking down organic compounds (like those associated with urine) into smaller, less odorous components. The key variable is dwell/contact time: the pet-enzymatic cleaner must remain on the affected area long enough to do the chemistry—not just “touch” the stain.In practice, you apply the pet-enzymatic cleaner evenly over the stained zone and stop. Don’t scrub right away, and don’t immediately wipe everything off. Many enzyme formulations specify a contact window (often measured in minutes). Follow your label exactly because dwell time depends on how concentrated the product is and how porous the contamination layer is beneath the finish.
If the stain is visually faint but the odor is obvious, treat it like an odor problem first. Visible darkening is not always the main issue—odor-causing residues can persist even when the finish discoloration seems minor. When the pet-enzymatic cleaner does its job, it often prevents the “reappearance” that happens after routine mopping.
Avoid steam during this stage. Steam adds moisture that can migrate toward seams and cause clouding or swelling if it penetrates edges. It can also temporarily soften residues, making it easier to spread contamination before enzymes fully neutralize it. Stick with controlled application of the pet-enzymatic cleaner.
Deep-clean step 2: wash safely without soaking hardwood
– After the enzyme step, clean with a hardwood-safe cleaner (or a mild solution recommended for your floor finish) using a damp mop or microfiber cloth.
– Use minimal water: wring mops thoroughly and dry as you go—especially along seams and near baseboards.
– For greasy paw or tracked soil, do a targeted spot clean first, then re-clean the surrounding area to keep sheen even.
Once the pet-enzymatic cleaner has completed its contact time, you move to residue removal. This step prevents two common failures: (1) leaving enzyme residues that can attract dirt later, and (2) using too much water, which leads to dulling, haze, or edge swelling.
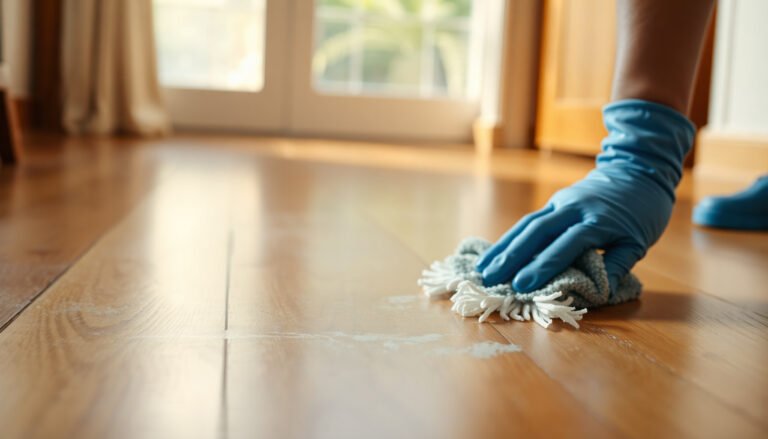
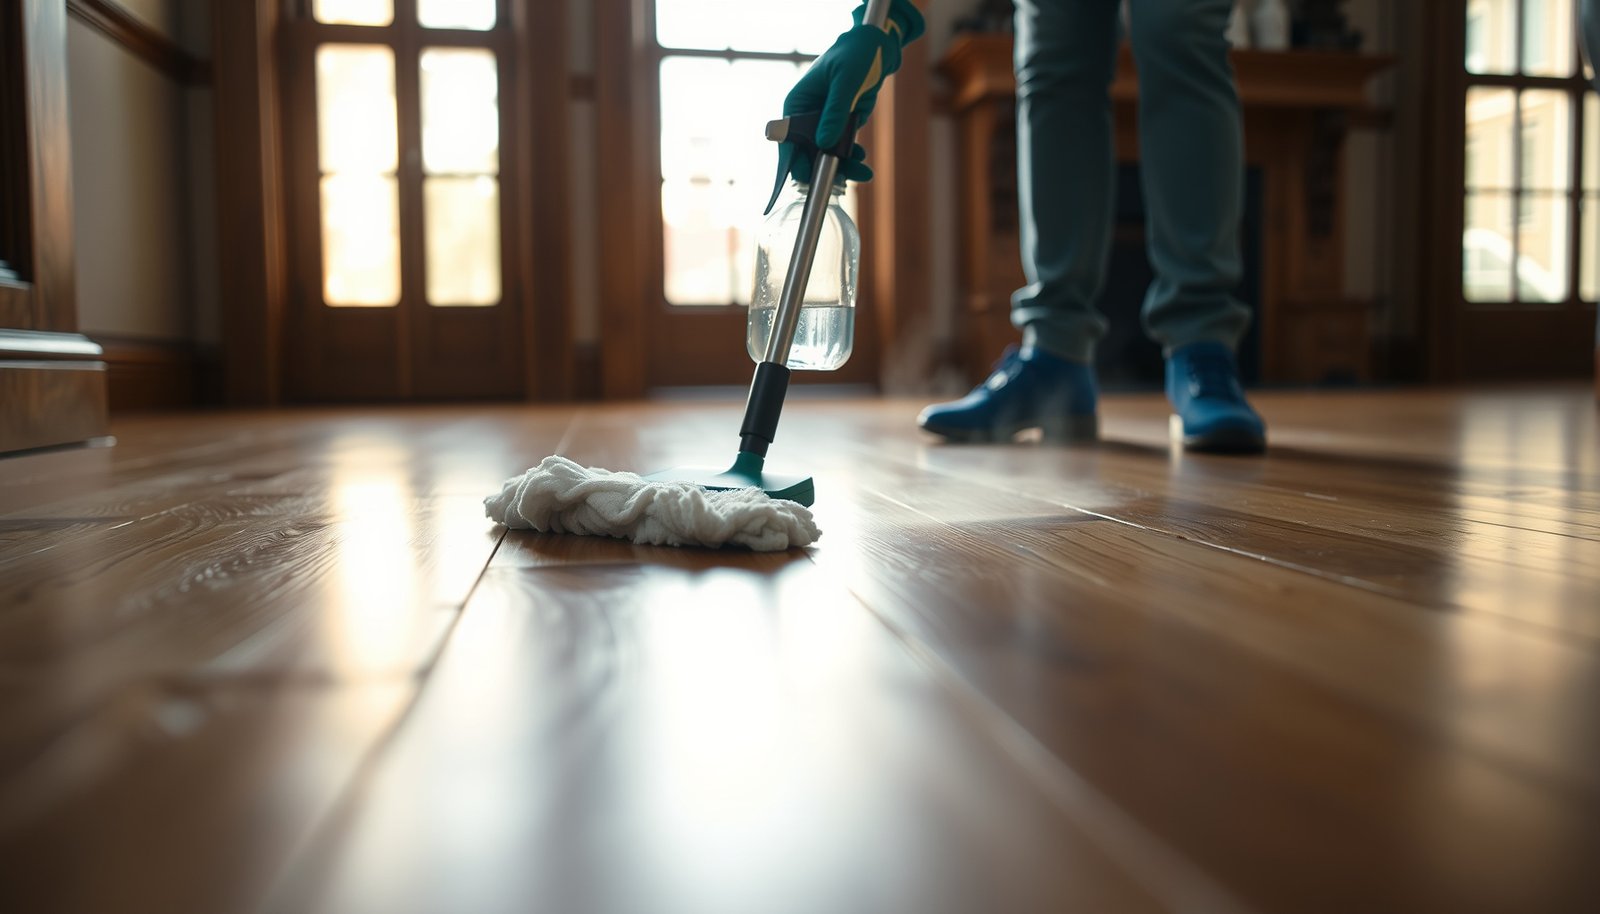
Use a hardwood-safe cleaner that matches your finish type. If your floor manufacturer lists an approved product or a specific cleaner category, follow that guidance. Otherwise, choose a mild, floor-safe formulation and keep water use minimal. A damp microfiber cloth (or well-wrung microfiber mop) is the standard approach for finished hardwood.
Work in small sections. After wiping, immediately dry the area with a clean, dry towel or microfiber. Drying matters most along:
– plank edges and seams
– around baseboards and door thresholds
– areas with pet foot traffic where moisture can linger
For muddy paw stains, treat the soil separately. First, remove loose grit with dry wiping or gentle spot wiping. Then do a damp clean with a hardwood-safe cleaner. Re-clean the nearby area after spot treatment so the sheen matches—spot-only cleaning often leaves light/dark streaks once the floor dries.
Tackling stubborn stains (finish haze vs. deeper damage)
– If the mark is “haze” or light discoloration on top of the finish, continue gentle cleaning and spot re-treatment rather than adding harsh chemicals.
– If the stain persists after enzyme cleaning and gentle washing, it may be trapped in the finish layers or wood; in that case you may need sanding/refinishing or a professional assessment.
– Avoid bleach and ammonia on hardwood finishes unless the product label explicitly approves it—these can lighten, dull, or permanently change the floor’s appearance.
Not every pet mark is the same kind of “stain,” and the treatment path should change based on what you’re seeing.
If your spot looks like finish haze—slightly cloudy, lighter than surrounding boards, or a faint discoloration without strong odor—you likely have surface residue or a mild finish issue. In that case, repeat the gentle cleaning cycle and re-apply the pet-enzymatic cleaner only if odor remains.
If the discoloration and odor both persist after a proper enzyme treatment and a safe, minimal-water clean, the contamination may have migrated into the finish layers more deeply than surface grime can explain. Sometimes that means the finish is affected; sometimes it means the wood is compromised. When this happens, additional “more aggressive scrubbing” usually worsens the look by creating more finish scratches.
Avoid bleach and ammonia. On finished hardwood, these chemicals can alter the finish color or dull the surface, and in some cases they can react with organic residues unpredictably. The safe move is always to use products explicitly labeled for hardwood-safe use and urine/organic stains—especially when your pet-enzymatic cleaner is designed to target the contamination rather than trying to mask it.
Enzyme vs. household cleaners (quick decision guide)
- Pet-enzymatic cleaner (recommended first)
-
Pros: Targets organic urine-related residues, reduces recurrence, and is designed for contamination beneath the finish rather than masking odor.
Cons: Requires label contact time; results can take repeat applications for older stains. - Steam cleaning
-
Pros: Can loosen surface grime on some floors.
Cons: Adds moisture that can seep into seams and contribute to haze/clouding; not appropriate as the primary method for urine contamination on finished hardwood. - Bleach/ammonia
-
Pros: Not generally intended for sealed hardwood pet-stain remediation.
Cons: Can lighten, dull, or permanently change finish appearance; may react with organic residues and worsen visual outcomes.
What can go wrong (and how to avoid it)
– Over-wetting: too much liquid can seep into seams and cause cupping, swelling, or permanent clouding—always keep water use low.
– Scrubbing too early: hard brushing before enzyme time can spread contamination and make the spot look larger.
– Using the wrong chemistry: bleach/ammonia and some “all-purpose” cleaners can damage finishes or worsen discoloration.
– Skipping thorough drying: even small moisture pockets around edges can cause lingering marks or finish breakdown.
The most damaging mistake is over-wetting. Finished hardwood is more water-resistant than bare wood, but it’s not waterproof. When liquid migrates into seams or along the edges, planks can swell, and finishes can haze—especially with pet spots because the contamination layer may hold moisture longer than normal dirt.
The second most common failure is timing. If you scrub or wipe too aggressively before the pet-enzymatic cleaner completes its contact time, you may spread the contamination into adjacent micro-scratches. That’s why some floors end up with a “bigger but cleaner” stain—visually brighter, but still smelly.
The third risk is chemistry mismatch. Many “all-purpose” cleaners are not designed for hardwood finishes and can leave residues or dull sheen. Bleach and ammonia are particularly risky on sealed floors unless the label explicitly approves them for your finish type. When in doubt, use the pet-enzymatic cleaner plus a hardwood-safe cleaner recommended for finished hardwood.
Finally, drying isn’t optional. Dry with towels/microfiber immediately after damp cleaning, and re-check after the floor fully dries. In 2026, manufacturers still emphasize minimal moisture and controlled cleaning for finished hardwood because it’s one of the strongest predictors of haze and edge damage.
Indoor Conditions That Help Prevent Hardwood Cupping (Target RH/Temp)
| # | Source | Target RH | Recommended Temp | Hardwood Stability Match |
|---|---|---|---|---|
| 1 | National Wood Flooring Association (NWFA) | 35–55% | 60–80°F | ★★★★★ |
| 2 | Bona (care guidance) | 40–60% | 65–80°F | ★★★★☆ |
| 3 | Bruce (floor care guidance) | 35–55% | 60–80°F | ★★★★★ |
| 4 | Armstrong (care guidance) | 35–55% | 60–80°F | ★★★★★ |
| 5 | Shaw (care guidance) | 35–55% | 65–80°F | ★★★★☆ |
| 6 | Mohawk (care guidance) | 35–55% | 60–80°F | ★★★★★ |
| 7 | USG (home environment guidance, for wood longevity) | 35–55% | 60–80°F | ★★★★★ |
Verdict / tip
For most pet urine and organic stains, the best path is enzyme first, then a minimal-water hardwood wash, followed by careful drying to protect the finish. Skip deep DIY cycles if you see signs of deep penetration (odor returns immediately, stain spreads despite treatment, or the wood appears raised/warped), and consider a refinishing pro instead. If your floor has an unknown finish or you’re not sure what cleaner is compatible, use a small test spot and follow the floor/final-product instructions—.
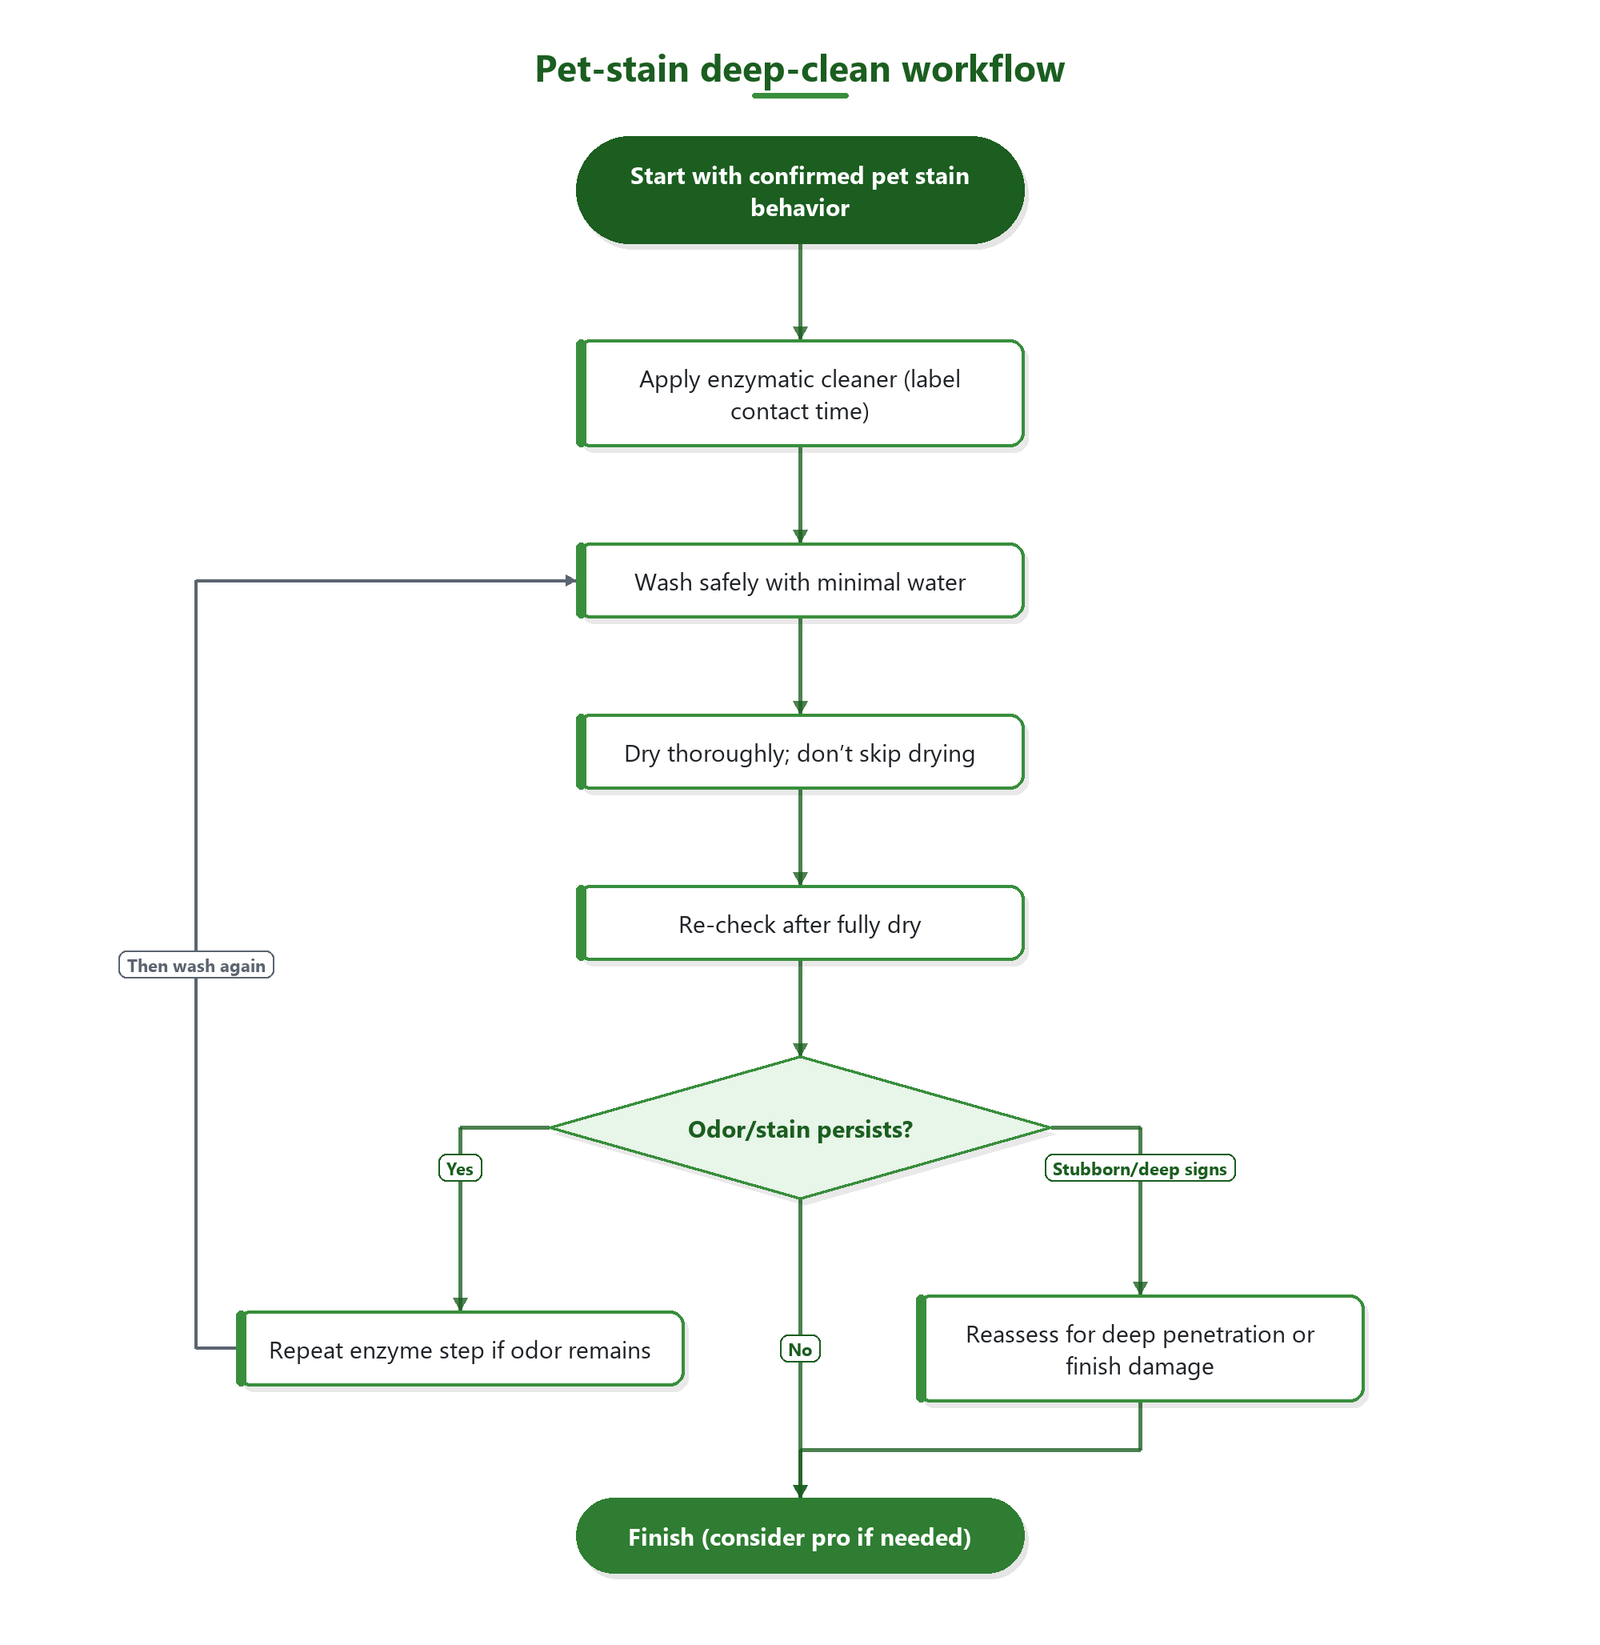
The practical downside to this method is patience: older urine deposits can require repeat pet-enzymatic cleaner applications. Also, if your floor’s finish is already compromised (scratched, worn thin, or previously stripped), enzyme cleaning won’t “restore” appearance—it can reduce odor, but cosmetic changes may remain until refinishing.
Quick checklist (scan/save)
– [ ] Blot (don’t flood) and remove loose debris
– [ ] Apply pet-enzymatic cleaner for the label’s full contact time
– [ ] Clean with a hardwood-safe, damp (not wet) microfiber method
– [ ] Dry thoroughly; re-check the spot after it fully dries
– [ ] Repeat enzyme step if odor remains
– [ ] If the stain won’t budge, reassess for finish damage vs. deeper absorption
Sources
– National Wood Flooring Association (NWFA) — indoor environmental recommendations for wood flooring (relative humidity/temperature)
A good pet-stain deep clean on finished hardwood is repeatable, but only if you respect the sequence: use the pet-enzymatic cleaner to neutralize the source, then remove residues with a minimal-water wash, and finish with thorough drying. When you follow that workflow, you prevent the most common causes of reappearing spots—moisture migration, early scrubbing, and finish-damaging chemistry—so your floor stays both clean and stable through the 2026 season.
Frequently Asked Questions
How do I deep clean hardwood floors to remove pet urine stains without damaging the finish?
Start by blotting up any moisture, then mix a hardwood-safe cleaner with warm water (or use an enzyme cleaner made for pet stains) and test it in an inconspicuous area first. For set-in urine, apply the enzyme cleaner and let it sit according to the label so it can break down odor-causing compounds. After treatment, wipe with a damp cloth (not soaking), then dry thoroughly with a clean towel and, if possible, a fan to prevent warping. Avoid steam mops and harsh detergents because they can penetrate seams and degrade the wood finish.
What is the best way to remove pet urine odor from hardwood floors during a deep clean?
Use an enzyme-based pet stain remover specifically designed for urine and odors, since it targets the underlying residue rather than just masking smells. Apply it directly over the stained area and keep it visibly wet for the recommended time on the product instructions. Once it has worked, blot up excess and rinse lightly with a minimal amount of water only if the label advises it. Repeat if the odor persists, especially for stains that have soaked deeper than the surface finish.
Which cleaning solution should I use for dark pet stain marks on finished hardwood floors?
For most finished hardwood floors, enzymatic cleaners are ideal for urine, while hydrogen-peroxide-based spot treatments may help with organic discoloration if the manufacturer allows it. Always check your floor’s finish type and do a patch test to ensure the cleaner won’t lighten or strip the finish. If the stain remains after enzyme treatment, you may need a professional approach such as gentle refinishing or stain correction rather than repeatedly scrubbing, which can dull the surface. Choose products labeled safe for hardwood and follow dilution instructions exactly.
Why does my hardwood floor stain return after cleaning pet accidents?
Pet urine can soak into the wood and pad (or into small gaps in the finish), so surface cleaning may remove the discoloration temporarily but leave odor compounds behind. If moisture remains or the affected area wasn’t fully broken down by an enzyme cleaner, the stain and smell can re-emerge as conditions change (humidity, temperature, foot traffic). Make sure you treat the stain long enough for enzymes to work, then dry the area completely. If the odor returns quickly, it may indicate deeper penetration that requires sanding and refinishing or professional remediation.
How do I deep clean hardwood floors after a pet vomit or feces accident to prevent staining and lingering smell?
Remove solids carefully, then blot the area with paper towels to lift as much liquid as possible—don’t rub, which can spread contaminants and damage the finish. Clean with a pet-safe hardwood cleaner, and for any lingering discoloration or odor, follow up with an enzyme cleaner to thoroughly target organic matter. Rinse sparingly if the product instructions require it, then dry immediately and fully. If the stain is near seams or has penetrated heavily, consider consulting a flooring professional to avoid long-term discoloration.
📅 Last Updated: October 31, 2026 | Topic: How to deep clean hardwood floors to remove pet stains? | Content verified for accuracy and freshness.
References
- Effects of preadoption counseling for owners on house-training success among dogs acquired from s…
- uric acid degradation enzymatic – Search Results – PubMed
- urease urea decomposition odor – Search Results – PubMed
- biological odor control enzymes – Search Results – PubMed
- odor removal porous surfaces enzymatic – Search Results – PubMed
- Uric acid
- Wood flooring
- https://scholar.google.com/scholar?q=deep+clean+hardwood+floors+pet+urine+stain+removal Google Scholar
- https://scholar.google.com/scholar?q=dog+urine+uric+acid+enzymatic+cleaner+odor+removal+wood+floor Google Scholar
- https://scholar.google.com/scholar?q=enzymatic+odor+removal+porous+surfaces+urea+urease+biofilms Google Scholar