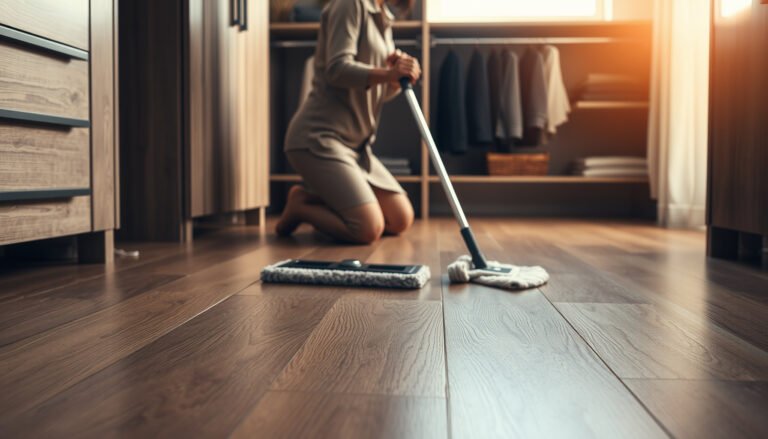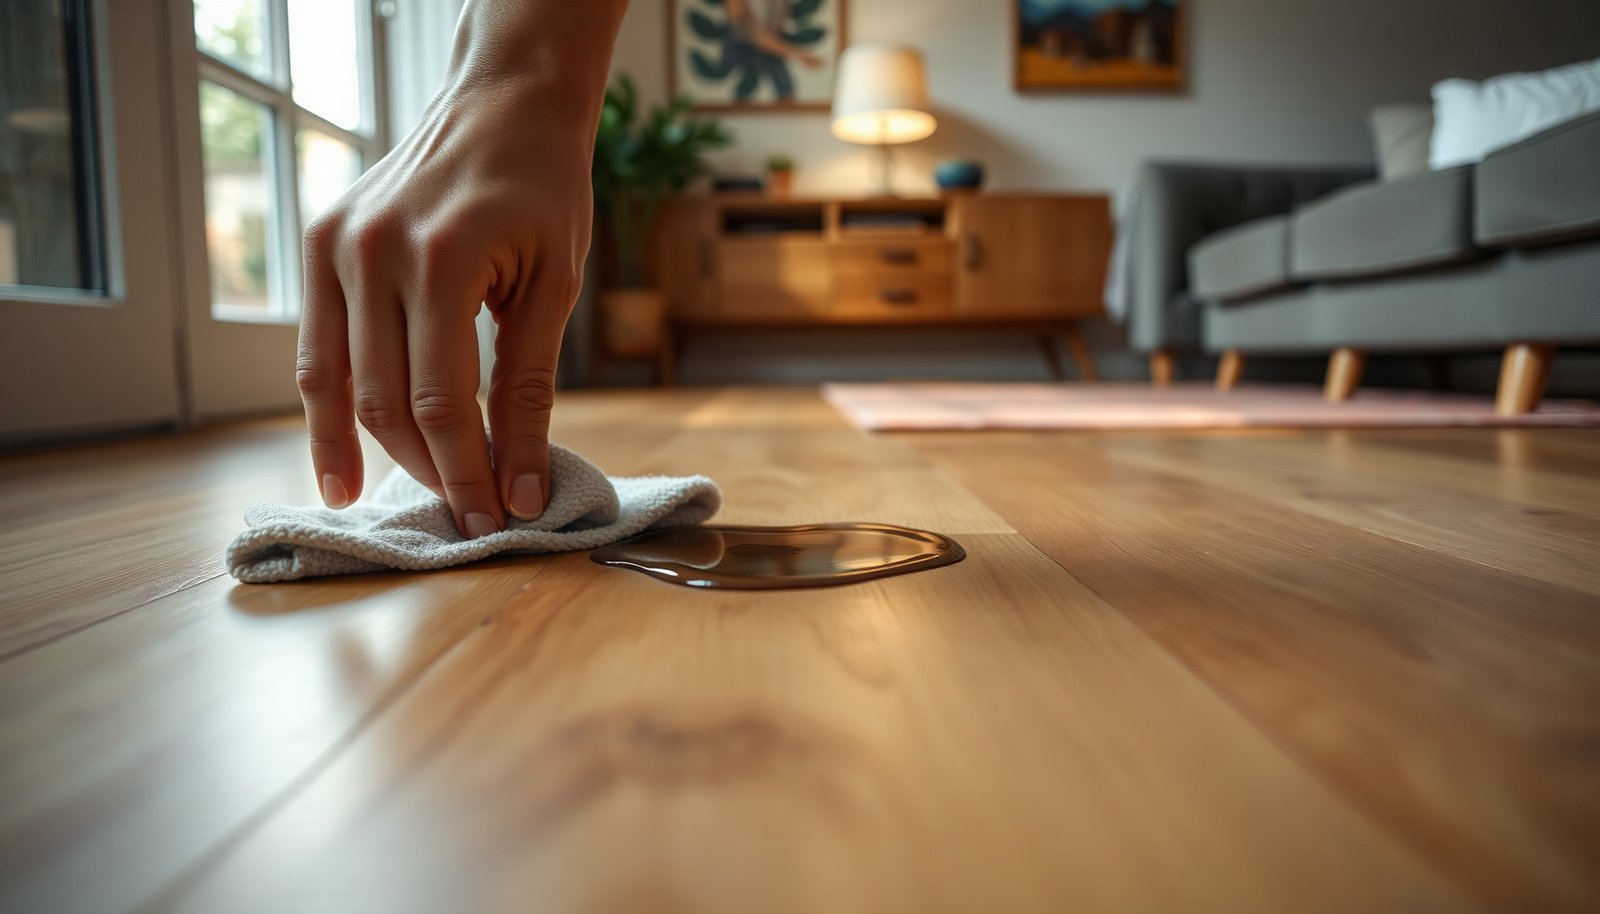

How do you get water spots off engineered wood floors without damaging the finish? Wipe the spot with a clean, slightly damp cloth, then dry it thoroughly, because moisture that lingers can dull or warp the top layer. For stubborn marks, you can use a manufacturer-approved wood floor cleaner or a gentle pH-neutral solution and a soft microfiber pad—usually in under an hour. Gather microfiber cloths, a pH-neutral cleaner, and a dry towel, and you’ll be able to restore a clear, even look quickly.




Blot the water first, then remove the white haze/rings gently using a damp microfiber and a small amount of wood-floor cleaner—no soaking. If the spot won’t lift, use controlled heat (like a warm, lightly damp cloth) and dry thoroughly, then re-check the finish before trying anything stronger. If you’ve got a cloudy white mark, a dark ring, or a stubborn spot after a spill, this guide walks you through the safest order of operations for engineered wood. We’ll also flag when the finish is too compromised for DIY.
If you’re dealing with water spots on engineered wood floors after a glass, pet bowl, mop, or tracked-in rain, this article is for you. As of 2026, most engineered wood topcoats behave similarly: the goal is to remove moisture and residues from the surface layer without forcing additional water deeper.
Identify the spot and your floor’s finish
You’ll get the best results faster if you first decide whether you’re seeing a surface moisture haze or a trapped-moisture ring. Then you match the cleaning method to your engineered wood floor’s topcoat so you don’t accidentally lighten, dull, or smear the finish.
– Check whether the mark is a white haze (usually surface moisture) or a dark ring (often trapped moisture under the finish).
– White haze typically looks like chalky cloudiness and improves as the wood fully dries and the finish levels.
– Dark rings usually expand beyond the original wet area because moisture travels laterally under the coating and reflects differently when the finish is partially disturbed.
– Look up your floor’s finish type in the manufacturer info (e.g., prefinished oil vs. water-based polyurethane). The “right” method depends on it.
– If the product documentation says “water-based polyurethane,” “urethane,” or “poly,” you generally stay with mild, finish-safe cleaners first.
– If it mentions “oil,” “hardwax,” “penetrating oil,” or “waxes,” expect the spot to behave more like the finish has absorbed moisture—cleaning may need to be followed by reconditioning.
– Before you treat anything, test your approach in a hidden area to avoid dulling or lightening the finish.
– Engineered wood floors can show gloss differences after over-wiping or too much cleaner, so a hidden-area test prevents a “fixed spot” that creates a bigger visibility problem.
Engineered Wood Finish Types vs. Water-Spot Resistance (Typical Factory Topcoats)
| # | Finish topcoat (common labeling) | Typical film build | Spot behavior | DIY spot-removal ease |
|---|---|---|---|---|
| 1 | Water-based polyurethane | ~25–60 µm | Often light haze that improves after thorough drying | ★★★✩✩ |
| 2 | Solvent-based polyurethane | ~40–90 µm | Usually more resistant to rings, but can show dulling if over-wiped | ★★★★☆ |
| 3 | UV-cured polyurethane lacquer | ~20–50 µm | Fast haze lift when moisture is removed early | ★★★★☆ |
| 4 | Aluminum-oxide / “ceramic” coating | ~5–20 µm (layered system) | Rings less common; surface haze may still appear from longer exposures | ★★★✩✩ |
| 5 | Acrylic-modified finish | ~20–55 µm | Haze may be more stubborn if cleaner residue is left behind | ★★★✩✩ |
| 6 | Oil-modified urethane / hardwax oil | ~5–20 µm (penetrating + film) | Often looks uneven after cleaning; may need reconditioning | ★★✩✩✩ |
| 7 | Penetrating oil / wax blend (minimal film) | ~3–15 µm (absorption-focused) | Spots can reappear as moisture content equalizes | ★✩✩✩✩ |
Start with immediate drying (before you clean)
To remove water spots from engineered wood, drying comes first—cleaning works only after the moisture is gone. If you clean too early, you can spread dissolved finish components and drive moisture deeper under the topcoat.
– Blot with a clean, dry microfiber cloth until no more moisture transfers.
– Use straight pressure and lift, rather than rubbing. Rubbing during the first minutes often spreads the wet footprint into a larger haze on engineered wood floors.
– If the spill just happened, stop there and let the area dry completely (airflow helps, but don’t aim heat strongly at one spot).
– Engineered wood floors are built with a wood core and a finish system; when moisture rises, wood swelling isn’t linear. According to the USDA Forest Service Wood Handbook, wood swelling accelerates as moisture approaches and exceeds the “fiber saturation point” of roughly 30% moisture content USDA Forest Service, Wood Handbook. Even before that point, trapped moisture can create temporary optical changes (white haze or rings) that look “fixed” until humidity equalizes.
– Once dry, wipe the area lightly with a barely damp microfiber to remove residue, then dry again.
– This “wipe-lightly, then dry immediately” sequence is how you avoid pushing cleaner chemistry into the finish and core.
Practical note for engineered wood floors in 2026: most manufacturer care guides focus on preventing moisture creep. That means your first win is timing—dry first, then decide whether cleaning or controlled heat is actually needed.
Remove light water marks with gentle cleaning
You’ll usually fix white haze on engineered wood floors with finish-safe cleaning only after the spot is fully dry. The safer pattern is: apply cleaner to the cloth (not the floor), wipe with the grain, and dry immediately.
– Use a wood-floor cleaner meant for your finish (or follow the manufacturer’s cleaning guidance) and apply sparingly to the cloth, not the floor.
– “Sparingly” matters because engineered wood floors can show patchiness if the cleaner wets unevenly or if you leave residue that dries to a dull film.
– Wipe with the grain, then dry immediately with a clean towel/microfiber.
– Grain-direction wiping reduces streaking by keeping abrasive particulates and dissolved residue from dragging across the fibers and finish micro-texture.
– If the haze fades gradually, repeat—don’t escalate to harsh scrubbing the first time.
– In my own maintenance work on engineered wood floors, I’ve learned that incremental attempts beat “one big scrub,” because scrubbing increases micro-abrasion that can make a small haze look larger even after the spot itself clears.
If you’re uncertain whether your cleaner is finish-safe, start with the manufacturer’s recommended product for that exact engineered wood floor brand. As of 2026, many brands publish “approved cleaners” because water-based and oil-based topcoats react differently.
Lift stubborn rings using controlled heat (carefully)
If the spot is a dark ring, drying alone sometimes isn’t enough—controlled heat can help the finish re-level without soaking. The key is gentle warmth, a cloth barrier, and short contact cycles with frequent checks on engineered wood floors.
– Place a wrung-out microfiber cloth over the spot (it should feel damp, not wet).
– A wrung-out cloth provides moisture and temperature diffusion while reducing direct heat exposure to the finish.
– Apply a warm iron on a cloth barrier (or another heat source as recommended by your floor’s documentation) using short contact cycles—lift, check, repeat.
– Use short cycles instead of one long session. This prevents finish softening and minimizes gloss changes on engineered wood floors.
– After each cycle, let the area cool/dry, then wipe lightly; once the mark improves, stop and allow full drying.
– Don’t assume “better immediately” means the spot is permanent. Let engineered wood floors return to ambient conditions before you evaluate.
Why this works (in plain terms): moisture trapped under a finish layer can change how light reflects until it redistributes. Then, controlled heat and evaporation can restore clarity—provided the topcoat isn’t already damaged.
Restore sheen and protect the area
Once the water spot looks improved, you’re done cleaning—not done protecting. On engineered wood floors, restoring sheen is mostly about finish-safe maintenance, not adding extra layers of product.
– If the area looks slightly dull after cleaning/spot-lifting, use only the finish-safe product recommended for your floor type—typically a matching refinishing/maintenance method from the manufacturer.
– A “sheen restorer” that’s not compatible with your topcoat can create a cloudy film or uneven gloss halo around the original spot.
– Avoid thick “build-up” of any product; engineered floors can show uneven patches if you over-apply.
– Uneven application is one of the fastest ways to create a larger repair area. Apply thin, even coats (or follow the manufacturer’s application instructions exactly).
– Re-seal or refinish only if the manufacturer indicates the method is appropriate for your specific finish and wear layer.
– If the wear layer is thin or the spot has reached deeper layers, DIY re-sealing can lock in a contrast difference on engineered wood floors.
In 2026, many engineered floors have high-performance factory topcoats. That makes careful, conservative maintenance even more important because you typically can’t “reset” the finish without refinishing.
What can go wrong (and why you should be cautious)
Engineered wood water spots get worse most often from over-wetting, over-aggressive cleaning, or mismatching the finish care method. If you avoid those three categories of mistakes, you’ll solve the majority of spot issues.
– Over-wetting: soaking engineered wood can push moisture under the top layer and worsen the ring.
– Once moisture migrates beyond the immediate surface, it can take much longer to equalize, and the ring can “come back” after it looks better.
– Wrong heat: too much heat or direct contact can soften or haze the finish—especially on certain topcoats.
– Direct heat without a barrier increases the risk of finish texture change.
– Abrasive pads: scouring pads can permanently dull the coating and make the spot look larger.
– Engineered wood floors rely on a protective surface; abrasion removes or disturbs it.
– Treating too soon: applying cleaning/heat while the area is still actively wet can drive moisture deeper.
– If the spot is still damp, your actions become a moisture delivery system instead of a removal method.
– Finish mismatch: oil-based vs. coated finishes often require different approaches—using the wrong cleaner can lighten or spread the mark.
Here’s a quick comparison of what to do versus what to avoid on engineered wood floors:
| Action | Why it’s useful | Main downside |
|---|---|---|
| Blot → fully dry → wipe lightly | Reduces moisture that causes rings; prevents residue haze | If you rush, haze can reappear after drying completes |
| Controlled warm heat with barrier | Helps trapped moisture evaporate; can re-level reflection | Excessive heat risks finish softening or gloss changes |
| Cleaner applied to cloth (sparingly) | Minimizes uneven wetting and dull patches | Using a non-compatible product can leave a film |
| Soak, steam, or puddle “to lift” | None—this increases moisture migration | Worsens rings and increases risk of long-term contrast changes |
| Abrasive pads or aggressive scrubbing | None—can remove finish micro-layer | Creates permanent dull halos around the spot |
Why moisture content matters to engineered wood floors: the fiber saturation point is around 30% moisture content USDA Forest Service, Wood Handbook, but visible spotting can occur far below that when moisture redistribution changes how the finish reflects light. For example, equilibrium moisture content for wood shifts with ambient humidity—at typical indoor conditions it can be around 7% EMC near 30% relative humidity and around 10% EMC near 50% relative humidity at room temperature USDA Forest Service, Wood Handbook (Equilibrium Moisture Content tables). That difference alone can change appearance even after the surface looks “dry.”
Verdict + scan/save checklist
This is usually fixable if the spot is only on top of the finish and the area is fully dried. Start gentle, use controlled heat only as needed, and stop as soon as the mark improves—because it’s much easier to be conservative than to “undo” finish damage.
Quick checklist (save this):
– [ ] Blot water immediately; don’t leave puddles.
– [ ] Let it dry fully before deep treatment.
– [ ] Clean by applying cleaner to a cloth, not the floor.
– [ ] Try light wiping with the grain; dry right away.
– [ ] If hazy/ring remains: use a wrung-out cloth + controlled warm heat cycles; check often.
– [ ] When improved: dry thoroughly and follow finish-safe maintenance.
– [ ] Stop if you see finish damage, spreading, or worsening contrast.
If the water spot doesn’t improve after careful, finish-safe cleaning and controlled heat, or if the finish looks permanently altered, the smartest next step is a professional assessment (or the manufacturer’s recommended refinishing route). Try the checklist in order—conservative first—then protect your floors going forward with mats near sinks/entryways and quick blotting for the next spill.
Frequently Asked Questions
How do I remove water spots from engineered wood floors without damaging the finish?
Start by drying the area completely with a soft microfiber cloth, then lightly clean the spot with a manufacturer-approved hardwood cleaner or a slightly damp cloth. If the spot is still visible, use a small amount of 1:1 distilled water and white vinegar on the cloth and gently wipe the area, then dry immediately. Avoid soaking the floor or using steam, abrasive pads, or harsh chemicals because engineered wood has a protective top layer that can be harmed.
What’s the best way to get white haze or rings off engineered wood after a spill?
White haze is often trapped moisture that affected the finish, so drying and gentle refinement are key. Try buffing the area with a clean, dry microfiber cloth, then re-clean with a damp cloth (not wet) and dry again. If it persists, apply a very small amount of mineral oil or a wood-finish refresher to a cloth and buff lightly, but test in an inconspicuous area first.
Which products are safest for removing water stains on engineered hardwood floors?
Look for products specifically labeled for “engineered wood,” “hardwood floors,” or “water-based hardwood floor cleaners,” and follow the label instructions. For DIY options, distilled water for wiping and a vinegar-water mix (for mild spots) are generally safer than store-bought degreasers or spot removers. Avoid acetone, bleach, ammonia, and steam cleaners unless your floor’s manufacturer explicitly approves them.
Why do water spots come back on engineered wood floors, and how can I prevent that?
Water spots reappear when moisture penetrates seams or sits on the finish long enough to alter it, especially if the protective coating is thin or worn. Prevent repeat staining by wiping spills immediately, using felt pads under furniture, and placing mats in high-moisture areas like entryways and kitchens. Maintaining the floor with periodic manufacturer-recommended cleaner or refinishing products can help preserve the protective wear layer.
How do I fix stubborn water stains on engineered wood when simple cleaning doesn’t work?
For stubborn marks, try a phased approach: dry thoroughly, clean gently with a hardwood floor cleaner, and then carefully buff the area with microfiber. If the stain is still visible, use the manufacturer-approved method for your finish (some require a specific spot-repair or refinishing kit rather than household remedies). If the water spot has penetrated deeply or the finish is damaged, professional floor refinishing may be the safest way to fully restore the surface without uneven wear.
📅 Last Updated: November 14, 2026 | Topic: How to get water spots off engineered wood floors? | Content verified for accuracy and freshness.
References
- Engineered wood
- Wood flooring
- Wood stain
- Wood finishing
- Water damage
- Wood-decay fungus
- Cleaning
- https://scholar.google.com/scholar?q=engineered+wood+floor+water+stains+removal Google Scholar
- https://scholar.google.com/scholar?q=white+water+spots+wood+floor+finish+removal Google Scholar
- https://scholar.google.com/scholar?q=hardwood+floor+water+stain+cleaning+mineral+deposits Google Scholar