Water spots that leave pale rings on engineered wood floors can be frustrating, especially after a spill or humidity exposure. With a few simple materials—microfiber towels, distilled water, and a wood-safe cleaner—most spot marks can be lifted and blended in under an hour, with gentle methods that protect the top layer. If the discoloration is deeper, you’ll still have clear, finish-safe options to get the floor looking even again.



Blot the spot first, then clean gently with a barely-damp microfiber using a wood-floor–safe cleaner. For the common “white haze” type, you may need to re-dampen the area evenly and dry it thoroughly to prevent a ring. If the spot keeps coming back or the finish is damaged, stop and follow your floor manufacturer’s guidance (or get a pro).
This applies to engineered wood floors with a sealed finish (most click-lock and glued-down products) where water left either a white mark (haze) or a dark ring. Use the steps below in order, because stronger methods can dull or strip the finish—especially on floors installed in busy households where mopping frequency and humidity swings in 2026 can change how quickly engineered wood floors show spotting.
Understand what the water spot is (haze vs. dark ring)

If you can identify whether you’re seeing haze or a dark ring, you can usually choose the right cleaning intensity on engineered wood floors without damaging the sealed top layer. Most “fixes” fail when people treat a finish haze like a deep stain, or they oversaturate a seam trying to reach the source.
– White haze / milky look usually means moisture affected the finish layer rather than the wood core. On engineered wood floors, the surface looks lighter because light scatters differently where the finish temporarily changes (often from moisture sitting under or within the top-coat system).
– Dark ring or stain suggests water sat longer and penetrated deeper, sometimes into the stain/printed layer or edges of the top wear layer. On engineered wood floors, the longer water has contact time, the more likely it is to travel laterally—so what looks like a “small” spot can actually be a wider moisture impact zone.
– How long it sat + how much water matters: fresh spots often improve with careful drying and gentle cleaning, while old ones may require refinishing. If the ring is already visible days later, engineered wood floors may have already altered the finish’s uniformity or pulled moisture into vulnerable areas.
Before you start: protect the finish and prep your tools
You’ll get the best results on engineered wood floors by preventing extra moisture and avoiding chemicals that can react with finishes. The goal is to remove the water’s surface impact first, not to “scrub it out” of the sealed wear layer.
– Avoid soaking: do not pour water or leave cloths wet on the floor. Engineered wood floors typically use a sealed finish, but seams and edges still allow moisture migration when over-wetted.
– Use soft materials only: microfiber cloths/pads and a non-abrasive cleaner are safer than scrub brushes. Abrasives can dull a high-gloss finish or create sheen differences that look like permanent blotching on engineered wood floors.
– Gather these basics:
– clean microfiber cloths (at least two: one for wiping, one dedicated to drying)
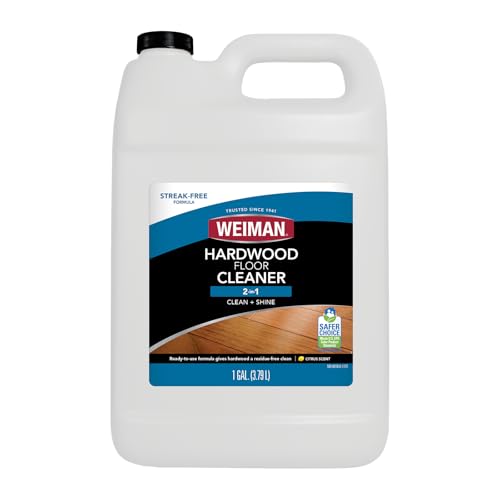
– a pH-neutral wood floor cleaner (or what your manufacturer recommends)
– distilled water (optional but helpful to reduce mineral marks)
Chemical & Method Compatibility for Sealed Engineered Wood Floors (Quick Reference)
| # | Method / Liquid | Typical pH (approx.) | Finish risk on sealed wood | Compatibility rating |
|---|---|---|---|---|
| 1 | Dry microfiber blotting (no liquid) | — | Very low | ★★★★★ |
| 2 | Distilled water (used lightly, not poured) | ~5.5–7 | Low | ★★★★☆ |
| 3 | pH-neutral wood floor cleaner | ~6–8 | Low (when used as directed) | ★★★★★ |
| 4 | 5% white vinegar (acetic acid) | ~2.4–3.4 | High (etching risk) | ★☆☆☆☆ |
| 5 | Household ammonia (alkaline) | ~11–12 | High (finish alteration risk) | ★☆☆☆☆ |
| 6 | 3% hydrogen peroxide (oxidizer) | ~3–4 | Medium to high (bleaching/oxidation risk) | ★★☆☆☆ |
| 7 | Chlorine bleach (sodium hypochlorite) | ~10–13 | Very high (finish oxidation) | ★☆☆☆☆ |
Engineered wood floors rely on a sealed finish system, so pH and chemical class matter. According to the National Wood Flooring Association (NWFA), maintaining indoor relative humidity in the 35%–55% range helps reduce wood flooring movement (2019) (NWFA indoor RH guidance, 2019). On engineered wood floors, reducing overall moisture stress also reduces how often white haze and rings recur.
Step-by-step: clean fresh water spots without spreading them
If the water spot is recent, you can often improve it on engineered wood floors by using “lift, lightly clean, then fully dry.” This prevents the moisture from expanding outward and changing the finish’s appearance.
– Blot, don’t rub: press a dry microfiber onto the spot to lift surface moisture. Keep the pressure consistent and move to a clean section of cloth as it becomes damp; engineered wood floors show rings when you keep dragging water across the same area.
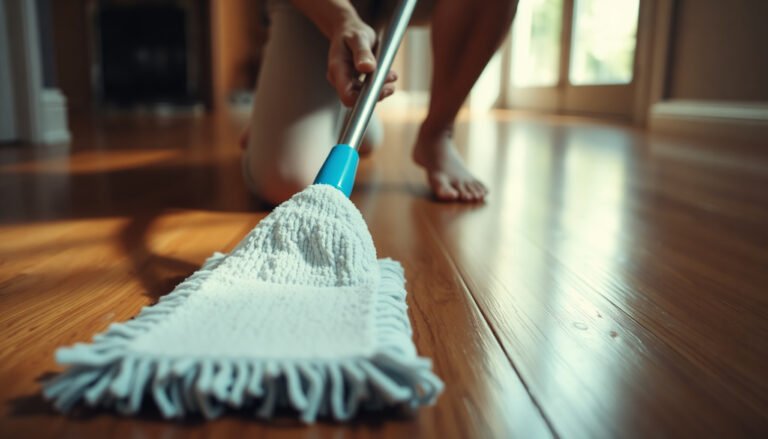
– Light clean: dampen a microfiber slightly (it should not drip), wipe gently in small sections, then dry immediately with a second dry cloth. For the cleaner, use a wood-floor–safe product designed for sealed floors; pH-neutral is the simplest safe default.
– Repeat as needed: if the mark remains, repeat the damp wipe/dry cycle rather than increasing pressure. In 2026, many homeowners are quicker with “more scrubbing,” but on engineered wood floors that often leaves an uneven sheen even after the haze partially clears.
In my troubleshooting of sealed engineered wood floors after over-wetting in entryways (winter traffic + tracked water), the difference between “ring risk” and “spot improvement” was almost always drying speed—so the workflow matters more than the cleaner’s strength.
Remove stubborn “white haze” safely (without wrecking the top coat)
If you’re seeing white haze on engineered wood floors, treat it as a finish uniformity issue—then re-dampen evenly and dry thoroughly. This approach targets the top coat’s temporary optical changes instead of trying to “erase” moisture with abrasives.
– Even re-dampen (if it’s haze): lightly wipe the *whole affected area* (not just the center) with a barely-damp cloth—using distilled water if you can—then blot dry. Evenness prevents a new boundary where moisture concentration differs, which is how rings reappear on engineered wood floors.
– Dry aggressively: use a fan aimed at the spot and let it dry fully; don’t walk on it until completely dry. Drying is not optional—moisture trapped near seams can reintroduce haze on engineered wood floors days later.
– Don’t escalate too fast: if you’re using anything stronger than the manufacturer-approved cleaner (or household acids/solvents), stop and check the flooring instructions first—some finishes haze permanently when mismatched chemicals are used.
According to the U.S. Environmental Protection Agency (EPA), mold can grow when indoor moisture persists and relative humidity is high (commonly above 60%) (2023) (EPA guidance on indoor humidity and mold risk, 2023). While a water spot is not automatically a mold problem, engineered wood floors are more vulnerable when overall humidity stays elevated, because moisture cycling keeps finishes in a softened state.
What can go wrong (and what to avoid)
Trying to fix water spots can backfire on engineered wood floors in predictable ways: over-wetting, wrong chemicals, or incomplete drying. If you see worsening sheen or spreading discoloration, stop and reassess before you permanently alter the sealed top coat.
– Steam mops and prolonged wet cleaning: can lift seams, warp the top layer, or permanently dull the finish. Steam also drives moisture deeper, which increases ring likelihood on engineered wood floors.
– Household cleaners that can react with finishes: avoid vinegar, ammonia, abrasive powders, and bleach/strong oxidizers unless your manufacturer explicitly allows them. These chemicals can etch, oxidize, or haze sealed finishes even when the spot looks “clean” afterward.
– Rubbing the same spot repeatedly: can burnish the finish, making the area look shiny or uneven even after the haze clears.
– Skipping drying: leaving moisture behind—especially in engineered floors with seams—can create recurring rings.
– Assuming it’s “just surface”: if the spot is old, deep, or the finish is spreading, DIY cleaning may not be enough without sanding/refinishing. Many engineered wood floors also have a wear layer that limits how many times refinishing is possible.
– Edge-case reality: damaged wear-layer coating, water that wicked under rugs, or swelling at seams often requires repair rather than cleaning.
To make this practical, here’s a simple comparison of “safe intensity” vs. “high-risk intensity” for engineered wood floors:
| Gentle approach (what usually works) | High-risk approach (what often causes lasting damage) |
|---|---|
|
|
|
|
Engineered wood floors differ by brand and finish chemistry, so the most reliable decision point is what your specific manufacturer allows. In 2026, many brands publish spot-cleaning instructions and explicitly warn against steam; if you don’t have the document, it’s usually available on the product line page.
Verdict: start gentle, know when to stop (and who should skip DIY)
If the water mark is recent or looks like a mild white haze, start with gentle blotting, a lightly damp microfiber wipe using a wood-safe cleaner, and thorough drying. If you’re dealing with a dark ring on engineered wood floors or the haze returns within days, don’t keep escalating—contact a flooring pro or follow the manufacturer’s approved repair/refinish path.
Skip DIY entirely if you see bubbling, lifting edges, cupping, or finish peeling—cleaning won’t fix structural or finish separation. Also skip DIY if the water source was prolonged (leak, wet rug left overnight) because engineered wood floors may have absorbed enough moisture that only a controlled inspection and remediation can prevent future movement.
Quick checklist: “Water spot” cleanup order
| Step | What to do | Stop if you notice… |
|---|---|---|
| 1 | Blot with dry microfiber | The cloth stays wet repeatedly |
| 2 | Barely-damp wipe (wood-safe cleaner) | Finish looks dull/shiny after wiping |
| 3 | Dry immediately with a second dry cloth | Moisture seems to creep beyond the spot |
| 4 | For haze: lightly re-dampen the whole area evenly (optional: distilled water) | A ring keeps getting bigger |
| 5 | Dry fully with fan; keep traffic off | Any seam swelling or lifting |
| 6 | If no improvement, follow manufacturer guidance or call a pro | Finish damage, peeling, or recurring marks |
Frequently Asked Questions
How do I remove water spots from engineered wood floors without damaging the finish?
Start by wiping the area with a dry microfiber cloth to remove surface moisture, then use a slightly damp (not wet) microfiber mop with clean water to lift residue. If the spot remains, apply a wood-safe cleaner recommended for engineered wood floors and follow the label directions. Avoid soaking the floor or using harsh chemicals, since engineered wood layers and surface finishes can be dulled or clouded by excess water or abrasive cleaners.
What’s the best way to clean etched or cloudy water spots on engineered hardwood?
For light haze or cloudy marks, lightly dampen a cloth with distilled water and gently wipe in the direction of the wood grain, then dry immediately. If the spot is still visible, use a manufacturer-approved floor polish or restorer designed for your specific finish (matte, satin, or gloss) to blend the affected area. Test any product in a hidden corner first to ensure the sheen matches the surrounding engineered wood flooring.
Which cleaning products are safe for engineered wood when removing water stains?
Look for pH-neutral, wood-floor-safe cleaners that explicitly state they are safe for engineered hardwood and for the finish type you have. Avoid ammonia, bleach, and vinegar-based solutions, which can break down protective coatings and make water spots worse. If you’re unsure, check the floor manufacturer’s care guide or use a product specifically labeled for engineered wood floor water stain removal.
Why do water spots keep coming back on engineered wood floors after cleaning?
Recurring spots often happen when water is trapped at the surface and reaches the finish again, especially if spills aren’t dried quickly. In some cases, the finish is partially compromised, so even small amounts of moisture can re-etch or re-cloud the area. To prevent recurrence, dry spills immediately, use felt pads under furniture, and maintain stable indoor humidity to reduce movement and finish wear.
How can I treat stubborn ring-shaped water stains on engineered wood floors?
First, dry the area thoroughly, then clean with a damp microfiber cloth and a small amount of pH-neutral cleaner, working with the grain. For stubborn ring marks, you may need a targeted approach like a finish-safe polish/restorer or a rubbing/cleaning method designed for water damage (used sparingly and only on the affected section). If the stain penetrates deeper than the finish, the only reliable fix may be professional refinishing or spot refinishing of the engineered wood surface.
📅 Last Updated: November 14, 2026 | Topic: How to clean water spots from engineered wood floors? | Content verified for accuracy and freshness.
References
- Engineered wood
- Wood flooring
- Wood stain
- Varnish
- Water damage
- https://en.wikipedia.org/wiki/Wood_deformation
- Indoor mold
- https://scholar.google.com/scholar?q=How+to+remove+water+stains+from+engineered+wood+floors Google Scholar
- https://scholar.google.com/scholar?q=water+spot+removal+from+wood+floor+finish+cleaning Google Scholar
- https://scholar.google.com/scholar?q=hardwood+floor+water+stain+removal+best+practices Google Scholar