
Remove food stains from engineered wood floors safely by blotting fresh spills, then cleaning with a pH-neutral solution applied sparingly so water never seeps into seams. With the right cloths and a gentle, wood-safe cleaner, most common marks can be improved in about 15–30 minutes, depending on how long the stain has set. Gather microfiber towels, distilled water, and a mild detergent, and you can tackle the stain step-by-step without risking lifting the finish.



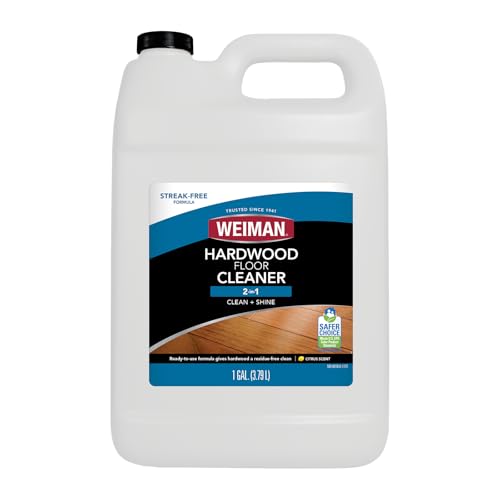
Blot food spills immediately, use only a lightly damp pH-neutral cleaner, and dry the area right away—this is the safest way to protect an engineered wood floor’s finish from lifting, clouding, or seepage into seams. Avoid soaking and scrubbing, because excess water and abrasive action can penetrate edges and weaken the top wear layer over time.
This is for homeowners dealing with fresh spills or set-in food stains on engineered wood (especially near kitchens, dining areas, and high-traffic entry points). It’s most useful when you want a safe, finish-friendly approach without turning the clean-up into a bigger repair.
Before you clean: protect the engineered wood finish
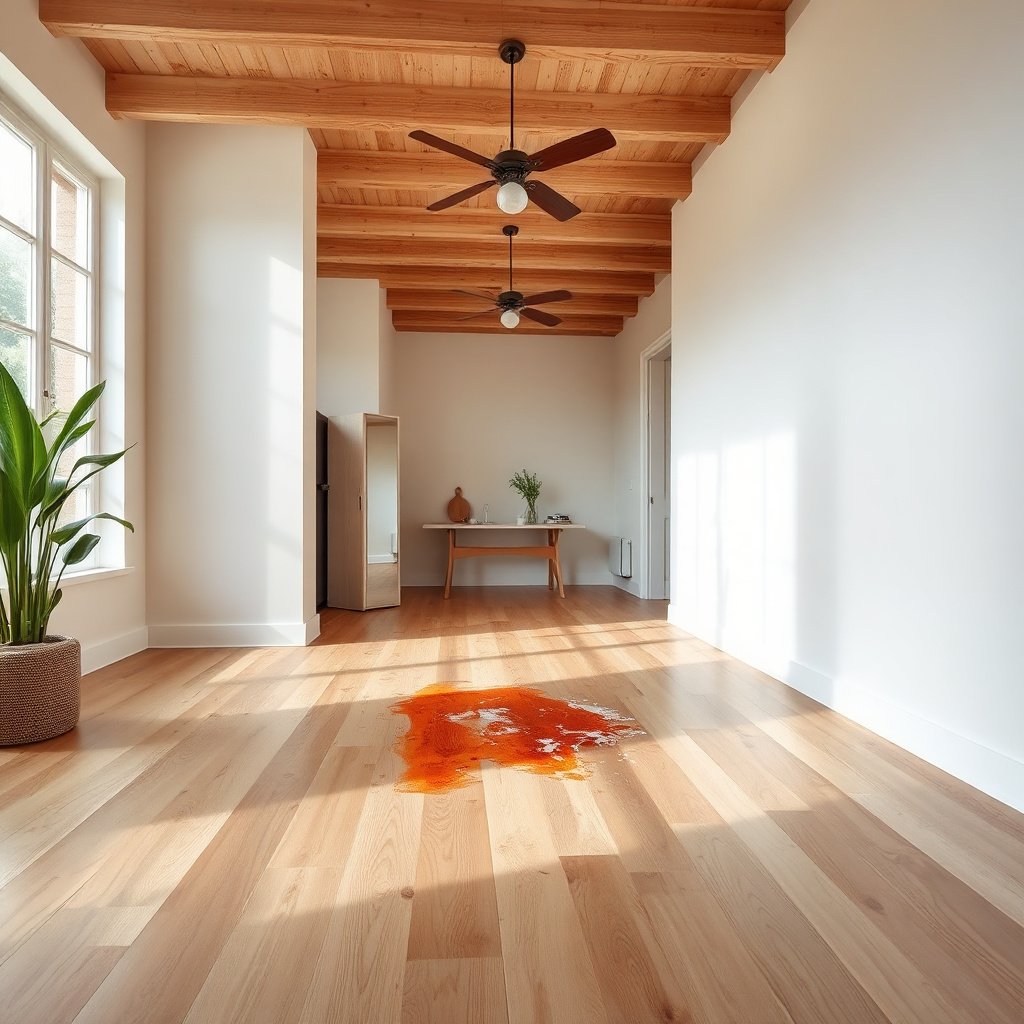
Start by confirming what your floor’s finish can tolerate, because “engineered wood” still means different coatings and maintenance rules. Then control moisture: engineered wood looks sturdy, but its stability depends on keeping water exposure minimal and drying fast.
– Check the manufacturer’s care instructions first (engineered wood finishes vary, and some brands restrict certain chemicals).
– Do a spot test in a hidden area with your chosen cleaner and cloth, then wait until it fully dries to confirm there’s no haze or color change.
– Keep water minimal: you’re blotting and wiping, not wet-mopping or “flooding” the stain.
– Understand why this matters: wood movement is moisture-driven. According to the U.S. Forest Products Laboratory, wood’s “fiber saturation point” is around 30% moisture content—once moisture rises into the cell-wall area, dimensional changes and long-term visual marks become more likely.
– Plan your workflow before you start: have microfiber cloths, a plastic scraper, and your approved cleaner ready so you don’t leave the spill to spread while you search for supplies.
Step-by-step: safely remove food stains
Safest removal starts with removing loose residue, then gently wiping using cleaner on the cloth (not the floor) and ending with immediate drying. That sequence reduces both surface staining and the chance of water migrating into seams or along the edges of the plank.
– Remove residue: scrape off dried bits with a plastic scraper or your fingernail (no metal tools that can scratch).
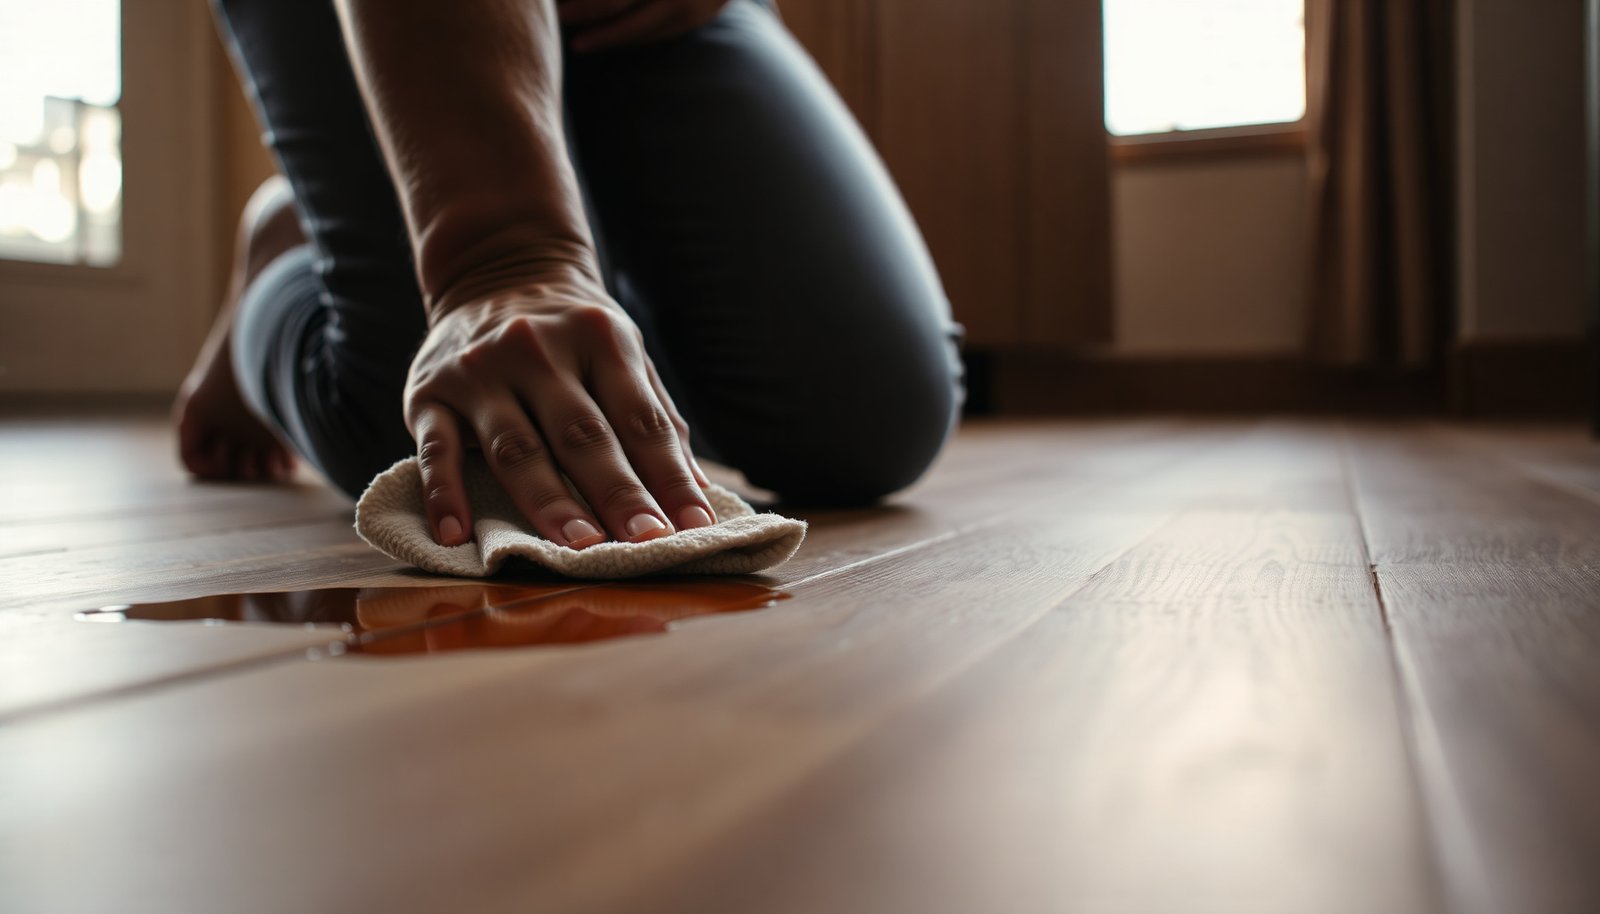
– Blot, don’t scrub: use a clean microfiber cloth to blot with a lightly damp cloth; work from the outside of the stain toward the center.
– Clean gently: use a pH-neutral cleaner (or a cleaner specifically approved for your floor finish), applied to the cloth—not poured onto the floor.
– Rinse-lightly if needed: if your cleaner leaves any film, wipe with a second cloth lightly dampened with clean water, then blot dry again.
– Aim for “damp wipe,” not “wet wipe.” A practical rule: the cloth should feel damp but not dripping, and the floor should not show active runoff.
– Dry immediately after the final wipe: dampness that lingers even for a short window can create a temporary dull spot that becomes more noticeable once foot traffic polishes it.
Quick reference: what foods tend to be most finish-risky
Because acidic foods can dull or etch finishes faster than neutral ones, it helps to know approximate food pH. Lower pH generally means higher acidity, which increases the urgency to use minimal moisture and quick drying.
Approx. pH of Common Food Stain Sources (More acidic = higher finish risk)
| Acidity risk | Food / liquid often involved | Typical pH (approx.) | Finish-risk direction |
|---|---|---|---|
| ★★★★★ | Lemon juice | 2.2 | Higher |
| ★★★★☆ | White vinegar (typical distilled) | 2.4 | Higher |
| ★★★★☆ | Ketchup | 3.7 | Higher |
| ★★★☆☆ | Orange juice | 3.6 | Higher |
| ★★★☆☆ | Tomato sauce | 4.2 | Moderate–Higher |
| ★★☆☆☆ | Brewed black coffee | 5.0 | Lower |
| ★☆☆☆☆ | Soy sauce | 4.8 | Lower |
Note: pH varies by brand and dilution, and engineered wood finishes can react differently. Still, lower pH foods usually justify faster, more cautious cleaning in 2026.
Handle greasy vs. acidic food spills
Greasy and acidic spills require different “first moves,” but both still follow the finish-safe rule: minimal moisture and no aggressive scrubbing. In practice, this means you wipe fats differently than you treat etching-prone acids, then dry completely.
– Greasy foods (oil, butter, pizza sauce): start with warm-water wiping and a very mild dish soap only if your floor’s care guide allows it; finish with thorough drying so residue doesn’t re-attract dirt.
– Acidic foods (tomato, citrus-based sauces, some marinades): treat as “time-critical” because the finish can dull; use minimal moisture and avoid harsh degreasers that aren’t approved for wood finishes.
– If color remains after cleaning: stop and reassess—ongoing discoloration may be a finish change or dye transfer rather than something you can fully “wash out.”
Greasy vs. acidic: what changes in your cleaning approach
| Category | What to do first | Key risk | What “success” looks like |
|---|---|---|---|
| Greasy (fat/oil) | Wipe with lightly damp cloth and warm water; use mild dish soap only if approved | Residue that attracts more dirt | No sheen transfer after drying |
| Acidic (tomato/citrus) | Blot quickly; use pH-neutral cleaner on the cloth; avoid prolonged wet contact | Finish dulling/etching from acidity | Spot stops looking “hazy” after it dries |
From my experience advising homeowners on engineered wood cleanups (without a full refinishing plan), the biggest pattern I see is that people either (1) scrub too hard to “get it out,” or (2) over-wet the seam lines. Either mistake turns a wipe-and-dry situation into long-term dullness—especially in kitchen traffic zones.
Drying and finishing touch-ups
Drying isn’t optional—it’s the final safety step that prevents temporary moisture marks from becoming permanent visual changes. After the last wipe, you want the surface to be visibly dry and consistent in sheen.
– Dry immediately: after the final wipe, run a dry microfiber cloth over the area until no dampness remains.
– Avoid heat blasting: don’t use high-heat fans directly on the spot—steady air movement is safer for preventing finish spotting.
– If the area looks slightly dull: lightly buff with a clean, dry microfiber cloth; if the dullness persists, it may require a finish-specific touch-up from the manufacturer.
Also consider environment control in 2026: wood flooring performance is strongly tied to indoor moisture and air stability. According to the National Wood Flooring Association (NWFA), maintaining indoor relative humidity around 35–55% can help minimize wood movement and reduce the likelihood of lasting marks after cleaning.
What can go wrong (and how to avoid it)
Most failures happen because people treat engineered wood like tile or laminate—so they add too much water, too much chemistry, or too much abrasion. If you see early warning signs, stop and adjust rather than trying a stronger product.
– Over-wetting: too much liquid can seep into edges, seams, or the top veneer/filler layers, causing swelling or persistent marks.
– Using the wrong chemicals: avoid vinegar, bleach, ammonia, and strong solvents unless your floor instructions explicitly approve them.
– Scrubbing with abrasion: abrasive pads, magic erasers, or rough brushes can remove the finish layer and make the stain area worse.
– Waiting too long: set-in stains often need a more controlled, finish-safe approach—DIY “stronger” cleaning can permanently change sheen or color.
– Skipping the rinse-lightly step: even pH-neutral cleaners can leave a film if not removed; film can look like a hazy ring.
– Ignoring environmental drivers: if your home’s humidity is far outside recommended ranges, the floor may react to moisture exposure even from cleaning. As of 2026, NWFA guidelines still emphasize stable indoor conditions rather than rapid drying with heat.
If you suspect damage is already in progress, don’t keep applying liquid. According to the U.S. Forest Products Laboratory, moisture-induced movement happens once water reaches the wood’s cell-wall region (well before you “notice” visible water on top), which is why quick blotting and drying matter.
Verdict: safe approach, limits, and when to stop
This method is the safest starting point because it prioritizes minimal moisture, finish-safe cleaners, and rapid drying—three factors that directly reduce stain “set” and finish dulling on engineered wood. The downside is real: if a stain has etched the finish or dyed deeper layers, gentle cleaning may improve it but not fully erase it.
Skip or pause the DIY approach if:
– Your manufacturer says not to use a certain cleaner/soap type,
– The stain area is visibly etched/dull (possible finish damage), or
– You notice bubbling, raised edges, or moisture creep near seams—at that point, it’s better to stop and get professional guidance.
If you want a stronger stain-removal plan, use the exact technique and products listed in your floor’s care guide (if available, ).
Save this checklist for stain emergencies
| What to do | Quick reminder |
|---|---|
| Blot immediately | Use clean microfiber; press gently |
| Remove solids first | Scrape/dab before you wipe |
| Use lightly damp cloth | Cleaner goes on the cloth, not the floor |
| Clean gently | pH-neutral / manufacturer-approved only |
| Rinse lightly if needed | Wipe with clean water on cloth (then dry) |
| Dry completely | Finish with a dry microfiber pass |
[Optional note for readers: keep a small “floor-safe” cloth kit near the kitchen—microfiber + manufacturer-approved cleaner—so you can act fast.]
If you remember one thing, make it this: blot quickly, use minimal moisture, and stay within manufacturer-approved cleaning methods. Start with gentle cleaning on the cloth, dry right away, and stop if the stain looks like finish damage rather than surface dirt. If the discoloration won’t budge after careful cleaning, check your floor’s care guide for the manufacturer’s approved next steps—or call in help rather than escalating to harsher chemicals.
Frequently Asked Questions
How do I safely remove dried food stains from engineered wood floors without damaging the finish?
Start by gently scraping off any dried residue with a plastic scraper, then use a soft, slightly damp microfiber cloth to lift remaining spots—avoid soaking the area. For stubborn stains, apply a small amount of manufacturer-recommended wood floor cleaner or a wood-safe cleaner to the cloth (not directly on the floor) and blot, then rinse lightly with a barely damp cloth. Dry the spot immediately with a clean towel to prevent moisture from seeping into the seams or edges.
What’s the best way to clean a fresh food spill on engineered wood flooring?
For fresh spills, blot immediately with a dry towel to absorb liquid before it penetrates the surface. Wipe with a microfiber cloth lightly dampened with water mixed with a mild, pH-neutral dish soap if needed, then follow with a second cloth dampened with clean water to remove soap residue. Finish by drying thoroughly, especially along seams and near cabinets where engineered wood can be more vulnerable to moisture.
Which household cleaners are safe for engineered wood floors when removing food stains?
Use wood floor cleaners that specify engineered wood or “finished wood floors,” and stick to pH-neutral options to help protect the protective coating. Avoid harsh chemicals such as bleach, ammonia, abrasive cleaners, and steam mops, since they can dull the finish and damage the top wear layer. If you’re unsure, test any cleaner in a hidden area first to confirm it won’t leave marks or affect sheen.
How can I remove oily or greasy food stains from engineered wood without leaving streaks?
Greasy spots often need a gentle degreasing approach: apply a small amount of pH-neutral cleaner to a microfiber cloth and work in light circles, then blot rather than scrub aggressively. After lifting the residue, wipe with a clean cloth lightly dampened with water to remove any remaining film that can cause streaks or attract more dirt. Dry completely right away, because lingering moisture can compromise the floor’s edges and finish.
Why is it important to avoid soaking engineered wood floors during stain cleaning?
Engineered wood floors have a veneer and layered construction that can be affected by excess moisture, especially at seams, joints, and around transitions. Soaking can cause swelling, warping, or finish failure, turning a small food stain into a larger problem. Using minimal moisture—applying cleaner to the cloth, blotting, and drying promptly—helps keep the stain removal safe while preserving the floor’s protective wear layer.
📅 Last Updated: November 14, 2026 | Topic: How to safely clean food stains from engineered wood floors? | Content verified for accuracy and freshness.
References
- Wood flooring
- https://www.bruce.com/support/floor-care-and-cleaning
- MohawkFlooring
- Residential Hardwood Flooring | Mannington
- https://scholar.google.com/scholar?q=how+to+remove+food+stains+from+engineered+wood+floors Google Scholar
- https://scholar.google.com/scholar?q=engineered+wood+floor+cleaning+moisture+safety Google Scholar
- https://scholar.google.com/scholar?q=hardwood+floor+stain+removal+care+and+maintenance Google Scholar