


To clean food stains from engineered wood floors without causing damage, you need to remove moisture quickly, then use a pH-neutral cleaner and the mildest method that works. Most stains can be lifted in about 10–20 minutes with the right supplies: a soft cloth or sponge, cool water, a pH-neutral wood-floor cleaner, and a dry microfiber towel. Start by blotting the stain gently, not scrubbing, so you can protect the finish and keep the planks looking uniform.



If you clean food spills quickly and keep moisture to a minimum, you can usually remove coffee, sauce, grease, and similar marks from engineered wood floors without damaging the finish. The key is blot-first removal, pH-neutral cleaner used on a cloth (not poured onto the floor), and immediate drying so liquid doesn’t sit on the wood veneer surface.
This is for anyone dealing with coffee, sauce, grease, or other food marks on engineered wood (wood veneer on top of layered core). Because engineered floors vary by finish, the safest approach is to follow the floor manufacturer’s care instructions when available.
Act Fast: Remove the Spill Safely
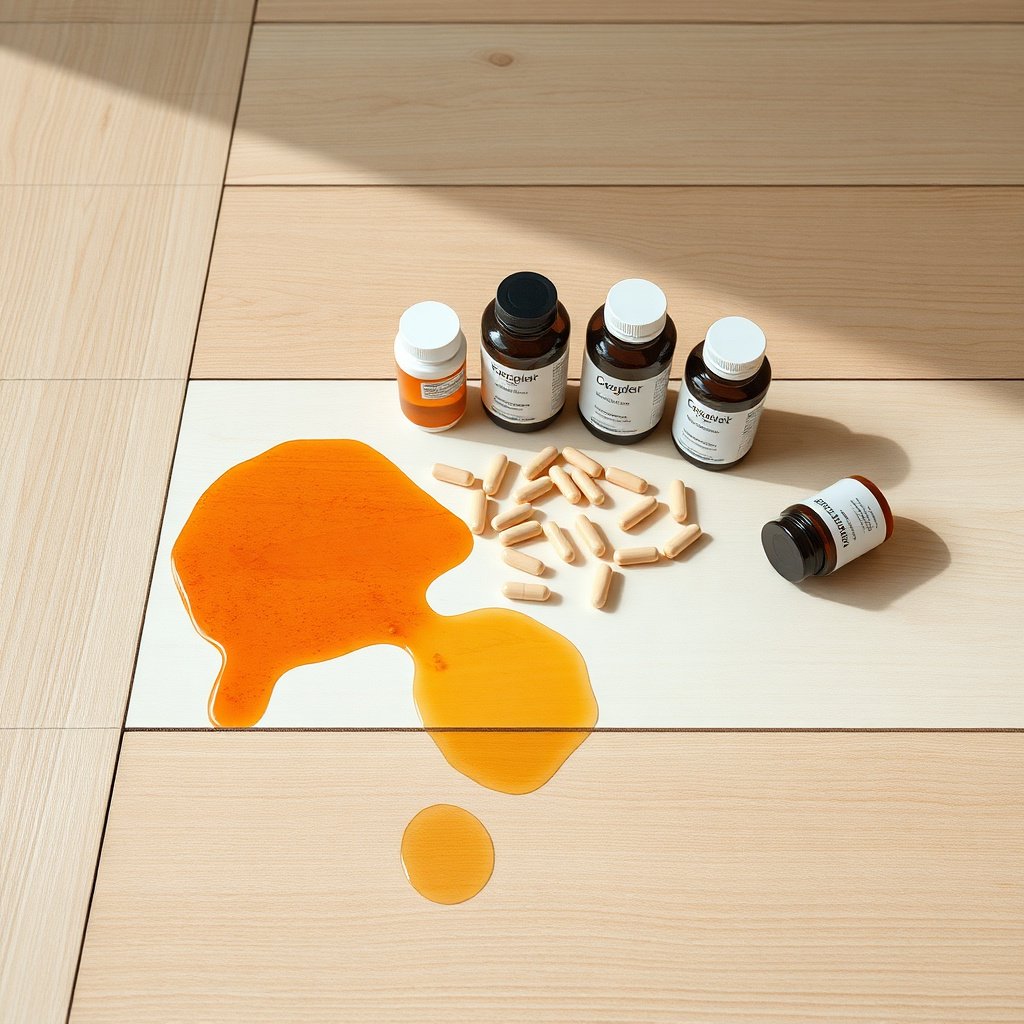
You prevent most engineered wood floor staining by stopping the spill from spreading and penetrating before it dries. Blotting safely removes liquid and reduces the amount of color and oils that later bond to the topcoat.
– Blot (don’t wipe) with a clean, dry cloth to lift liquid and reduce how far it spreads.
– If debris remains, gently scrape with a plastic scraper or old credit card edge, then wipe lightly.
– Keep water away: avoid puddling by using barely-damp cloths only.
Food stains are often a mix of water-based color (coffee, tea, wine, tomato) plus fats/oils (grease) plus sugar (syrup). On engineered wood floors, the protective wear layer only helps if the spill doesn’t sit long enough to transfer pigments and oils into micro-roughness or into the finish’s outer chemistry. In practice, I recommend treating the first 2–5 minutes as critical: the sooner engineered wood floors are blot-cleaned, the fewer repeated cycles you’ll need later.
Choose the Right Cleaner for Engineered Wood
You’ll protect engineered wood floors best by using a pH-neutral wood floor cleaner and applying it to the cloth—not the plank. This approach minimizes finish softening, which is a common cause of dull spots and “ghosting” after cleaning.
– Use a pH-neutral wood floor cleaner (or the exact cleaner recommended by your floor’s manufacturer).
– For routine cleaning, mix with water only as directed on the label—then apply via cloth, not directly to the floor.
– Skip harsh solvents (like acetone/paint thinner) and abrasive cleaners that can dull the finish.
Why pH matters: many hardwood and engineered-wood topcoats perform best near neutral conditions because extreme acidity or alkalinity can alter the surface film. According to the USDA Forest Products Laboratory, wood and finish behavior are sensitive to moisture and chemical exposure (2010) USDA Forest Products Laboratory, Wood Handbook; wood conditioning and dimensional stability discussion (2010). Separately, indoor humidity targets also influence how engineered wood floors react after cleaning; the National Wood Flooring Association (NWFA) recommends keeping indoor relative humidity roughly in the 35–55% range National Wood Flooring Association (NWFA), Recommended Environmental Guidelines (RH 35–55%) (commonly cited maintenance guidance; updated/republished across editions; reference your installer packet). As of 2026, many manufacturers still emphasize the same core idea: controlled moisture + approved cleaners.
Mandatory data snapshot: what common spill chemistries suggest
Engineered wood floors respond differently to acidic vs. oily messes. The table below summarizes typical acidity levels and how closely they align with “finish-friendly” conditions.
7 Common Kitchen Spill Types & Typical Acidity (Approx.)
| # | Spill source | Typical pH range | Finish-friendly score | Practical meaning for engineered wood |
|---|---|---|---|---|
| 1 | White vinegar (distilled) | 2.4–3.0 | ★ ☆ ☆ ☆ ☆ | Acid can increase risk of surface dulling if left to sit. |
| 2 | Cola / carbonated soda | 2.3–3.5 | ★ ★ ☆ ☆ ☆ | Often stains plus acid exposure; blot and rinse-wipe quickly. |
| 3 | Red wine | 3.2–3.8 | ★ ★ ★ ☆ ☆ | Color pigments can linger; repeated gentle cycles usually needed. |
| 4 | Tomato sauce / ketchup | 3.8–4.5 | ★ ★ ★ ☆ ☆ | Moderately acidic and highly pigmented—spot treat soon. |
| 5 | Coffee / tea | 4.6–5.2 | ★ ★ ★ ★ ☆ | Usually safe from an “acid” standpoint, but pigments can stain. |
| 6 | Milk / cream | 6.4–6.8 | ★ ★ ★ ★ ★ | Near-neutral; risk is residue/film, not etching. |
| 7 | Cooking oil / grease | ~6–7 (near neutral) | ★ ★ ★ ★ ☆ | Not usually “acid damaging,” but oily film can attract dirt and dull finish. |
As you can see, engineered wood floors are most threatened when spills combine color + time, or acid + dwell time. As of 2026, many manufacturers still steer users toward pH-neutral cleaners and cloth application precisely because it limits these risks.
Step-by-Step Cleaning for Common Food Stains
You get the best results on engineered wood floors by using a controlled, repeatable cleaning sequence instead of “one aggressive scrub.” Think of it like a PDCA loop (Plan → Do → Check → Act): small clean cycles, check progress, then decide whether to repeat.
– Start with a gentle pass: wipe with the pH-neutral cleaner on a microfiber cloth, working with the grain.
– If there’s residue, re-wipe with a lightly damp cloth (clean water) to remove cleaner buildup, then dry immediately.
– For tougher marks (grease/sauce colors), try a targeted approach: repeat small-cleaning cycles rather than increasing liquid or scrubbing pressure.
Engineered wood floors have a surface wear layer (often polyurethane or similar). When you scrub hard, you can create micro-marring that later “catches” stain pigments and makes the spot look larger. When you use too much liquid, engineered wood floors can also experience moisture migration at seams and along the board edges—so the finish may look unchanged while the plank geometry slowly shifts later.
Quick stain-type guidance
– Grease/oily food: dab with a cloth lightly moistened with the recommended wood cleaner first; don’t flood. Follow with a clean-water wipe on the cloth and dry right away to avoid leaving a slippery film on engineered wood floors.
– Sugar/syrup spills: remove stickiness by cleaning gently, then do a clean-water wipe to prevent tackiness. Sugar residue can attract dust and make the stained area look darker over the next few days on engineered wood floors.
– Colored stains (coffee, tea, wine, tomato): expect multiple gentle cycles; stubborn discoloration may require refinishing—.
From a chemistry perspective, pigments in coffee, tea, wine, and tomato are often water-soluble to a degree, but they can also “set” in the finish if left. That’s why engineered wood floors benefit from early blotting plus gentle, repeatable cleaning cycles rather than prolonged wet contact.
Drying and Protecting the Finish
You should towel-dry engineered wood floors immediately after cleaning to prevent moisture-related haze or edge swelling. Drying is not optional—on engineered wood, the top veneer may look fine while moisture still creeps into joints.
– Dry right away with a dry microfiber towel, especially along edges and joints.
– Avoid heat (hair dryers, strong fans blowing directly) that can cause uneven drying; let it air-dry naturally after towel-drying.
– If the finish looks dull after cleaning, you may need a manufacturer-approved touch-up product or professional refinishing—.
A practical detail: microfiber towels should be clean and dry, because a dirty towel can re-deposit soil and create a “shadow ring.” If you notice engineered wood floors becoming blotchy, reduce cleaner volume and switch to fewer, wetter-only-in-the-cloth passes—then dry thoroughly.
Engineered wood floors also respond to the surrounding indoor environment. According to the USDA Forest Products Laboratory, equilibrium moisture content depends on ambient conditions, and changing those conditions can drive dimensional movement in wood products (2010) USDA Forest Products Laboratory, Wood Handbook—Wood as an Engineering Material (2010). As of 2026, maintaining consistent indoor RH around the recommended range helps keep engineered wood floors stable while you clean.
What Can Go Wrong (and How to Avoid It)
The most common failures on engineered wood floors come from over-wetting, abrasive scrubbing, and chemical mismatches. Avoid these three paths and you’ll protect both appearance and performance.
– Over-wetting: too much water can seep at seams and cause swelling or cupping in engineered wood over time.
– Scrubbing abrasively: pads or rough cloths can wear through the topcoat, making stains easier to penetrate later.
– Skipping residue removal: leftover cleaner or food film can attract dirt and make the stain look worse.
– Using “safe” kitchen acids incorrectly: even common ideas like vinegar can be risky depending on your finish—.
Here’s the nuance: vinegar is often used for cleaning in other contexts, but engineered wood floors aren’t generic surfaces. Acids can alter certain coatings, and even if the finish doesn’t immediately fail, it may dull or change how pigments bind. If you use anything outside a manufacturer-approved pH-neutral cleaner, do a hidden test spot and stop at the first sign of dulling on engineered wood floors.
Also, don’t mistake “dry on top” for “dry everywhere.” Engineered wood floors can retain moisture under the top film or at seams—so the best practice is blot → minimal cloth dampness → immediate drying.
Verdict: When DIY Works vs. When to Call a Pro
DIY is a good first move when the food stain is fresh, surface-limited, and you can clean with gentle, minimal-moisture steps. Don’t DIY when the spill has had time to soak, you already see finish damage, or your warranty restricts certain stain-removal methods.
DIY is a good first move when the stain is fresh, only on the surface, and you can clean it with gentle, minimal-moisture steps. Don’t DIY if the stain has had time to soak, you see finish damage, or your manufacturer warns against certain stain-removal chemicals.
If you suspect the discoloration has penetrated beyond the finish, the honest route is a flooring pro—because the real fix may be screen-and-recoat or spot refinishing, not stronger cleaning.
To help you decide, use this quick comparison for engineered wood floors:
| Option | Best for | Main downside |
|---|---|---|
| DIY spot cleaning | Fresh spills, mild to moderate discoloration, grease residue that responds to pH-neutral cleaner | May not lift etching or deep pigment transfer; repeated cycles can expand the visible area on engineered wood floors |
| Manufacturer-approved touch-up | Small finish dulling after cleaning, limited spots where warranty allows cosmetic repair | Match can be imperfect; may require exact product and process for engineered wood floors |
| Professional spot refinishing | Etched/penetrated stains, larger discoloration zones, or finish failure concerns | Higher cost and downtime; scheduling depends on your finish system and floor size |
If you’re reading this in 2026, it’s also worth checking whether your engineered wood floor is warranted for certain chemical categories. Many warranties become stricter over time; keeping engineered wood floors within the stated care process can prevent claim disputes later.
Scan-Save Checklist: Clean Food Stains Correctly
Use this checklist for engineered wood floors so you don’t accidentally skip the steps that prevent damage.
| Step | What to do | Avoid |
|---|---|---|
| 1 | Blot liquid with a dry microfiber cloth | Wiping that spreads the stain |
| 2 | Gently scrape debris with plastic if needed | Metal blades or aggressive scraping |
| 3 | Use pH-neutral wood cleaner on a cloth | Pouring cleaner/water directly |
| 4 | Wipe with clean, lightly damp cloth | Leaving wet residue on the surface |
| 5 | Dry thoroughly and promptly | Heat that causes uneven drying |
| 6 | Repeat small cycles if needed | Heavy scrubbing or soaking attempts |
Frequently Asked Questions
What’s the best way to remove food stains from engineered wood floors?
Start by blotting (don’t rub) the spill with a clean, dry microfiber cloth to lift as much of the food as possible. Clean the area with a hardwood-floor–safe cleaner diluted in water, then wipe with a slightly damp cloth and dry immediately. For stubborn stains, use a manufacturer-approved wood floor cleaner or a gentle vinegar-water solution only if your finish allows it, avoiding excess moisture. Always test any product in a hidden spot first to prevent discoloration.
How do I clean sticky food residue from engineered wood without damaging the finish?
If the residue is tacky, allow it to soften slightly, then remove it carefully with a plastic scraper or a damp microfiber cloth—never metal tools. Follow up with a hardwood-safe cleaner, wiping in the direction of the wood grain, and finish by drying the area thoroughly. For greasy foods, a small amount of dish soap in warm water (well-rinsed and fully dried) can help, but don’t let liquid sit on the engineered wood surface. Repeated gentle cleanings are safer than aggressive scrubbing that can dull the finish.
How do I get rid of dark marks or discoloration from spilled coffee, wine, or sauces on engineered wood?
Blot spills right away, then clean using a pH-neutral cleaner made for engineered wood floors. If a dark stain remains, try targeted spot cleaning with the mildest approved method first, such as a specialized wood stain remover or the cleaner recommended by your floor’s manufacturer. Avoid hydrogen peroxide or harsh solvents unless the manufacturer specifically approves them, because they can lift or change the stain and damage the top wear layer. Once the stain fades, dry the spot completely and consider applying a compatible floor polish if your finish requires it.
Why can food stains on engineered wood be hard to remove, even after cleaning?
Engineered wood floors have a protective wear layer, but some food pigments and acids can penetrate into the finish over time, especially if the spill wasn’t wiped quickly. Oils and tannins from foods like sauces, coffee, and wine can leave behind residue that attracts more dirt, making the stain look worse. If moisture is allowed to sit, it can also cause dulling or temporary discoloration that looks like a stain. Using the right cleaner and drying promptly helps prevent the stain from setting into the finish.
Which cleaning products are safe for engineered wood floors when tackling food stains?
Use only cleaners labeled safe for hardwood or engineered wood, such as pH-neutral, non-wax, non-alkaline hardwood floor cleaners. Microfiber cloths and soft sponges are ideal for minimizing scratches, and you should always wipe with a lightly damp cloth followed by immediate drying. Avoid steam cleaners, abrasive pads, bleach, ammonia, and strong solvents, since they can damage the protective finish. If you’re unsure, check your floor manufacturer’s care guide or test the product in an inconspicuous area before treating the stained section.
📅 Last Updated: November 14, 2026 | Topic: How to clean food stains from engineered wood floors? | Content verified for accuracy and freshness.
References
- 404 Error
- https://www.armstrongflooring.com/care-and-maintenance.html
- MohawkFlooring
- Engineered wood
- https://www.afwa.com/knowledge-base/hardwood-floor-cleaning/
- https://www.universalfloorcare.com/cleaning-guides/engineered-wood-floor-care/
- https://scholar.google.com/scholar?q=engineered+wood+floor+cleaning+stain+removal Google Scholar
- https://scholar.google.com/scholar?q=hardwood+floor+stain+removal+food+spill Google Scholar
- https://scholar.google.com/scholar?q=wood+finish+cleaning+stain+removal+surface+chemistry Google Scholar
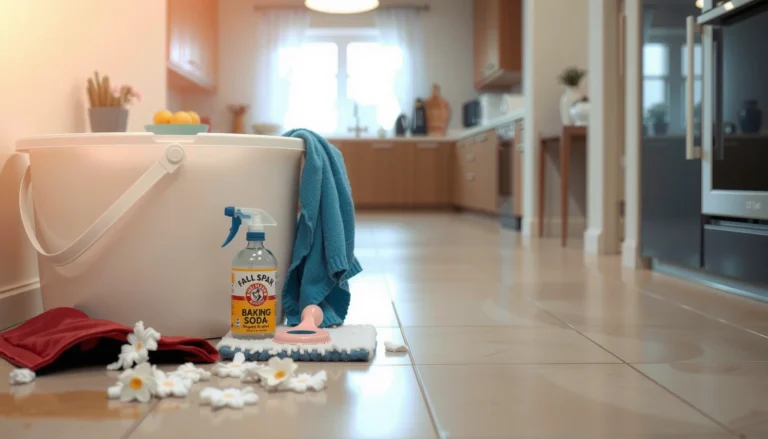
[…] but you can lift it safely with the right cleaner and technique. Plan for 20–30 minutes, gather a microfiber cloth, pH-neutral wood-floor cleaner, distilled water, and a plastic scraper, and use a gentle […]