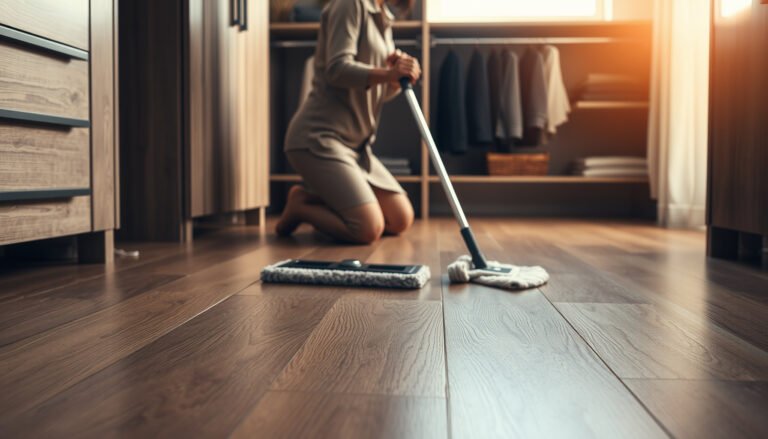
If you’re trying to clean stubborn sawdust from hardwood floors safely, the fastest winning approach is dry vacuuming with a soft brush attachment first, then using a lightly damp microfiber mop—never soaking or scraping. This method lifts packed dust without grinding it into the finish. You’ll also get the exact steps to avoid common damage, like dulling sheen or loosening the wood’s surface.
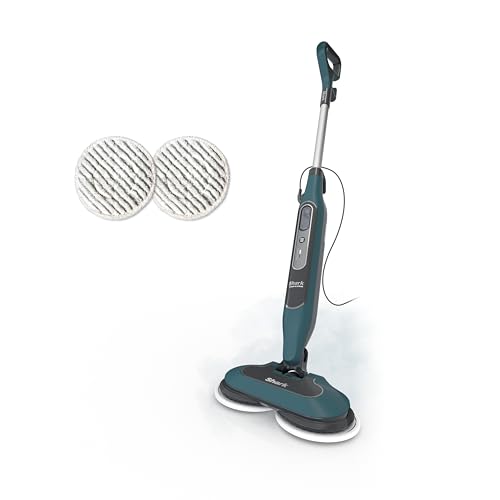



Vacuum and dry-brush the sawdust first, then clean the remaining film using a barely-damp microfiber (not soaking-wet) with a hardwood-safe cleaner. If sawdust has gotten stuck in grooves or along edges, use a soft brush on a lightly damp cloth and dry immediately to avoid finish damage. This approach removes debris without turning it into muddy paste or scratching the finish—especially important when construction dust has mixed with tracked-in grit.
If your hardwood is finished (polyurethane/urethane, aluminum-oxide, etc.) and you’re dealing with construction or sanding dust, the steps below are usually the safest. If your floor is unfinished, heavily waxed, or you’re not sure what finish it has, take extra caution and spot-test before you move on.
This guide is for homeowners and facility teams cleaning hardwood floors after sanding, remodeling, or installation—when sawdust looks “gone” but leaves a dull haze in seams, edges, and between boards.
Choose the right tools (so you don’t scratch or soak)
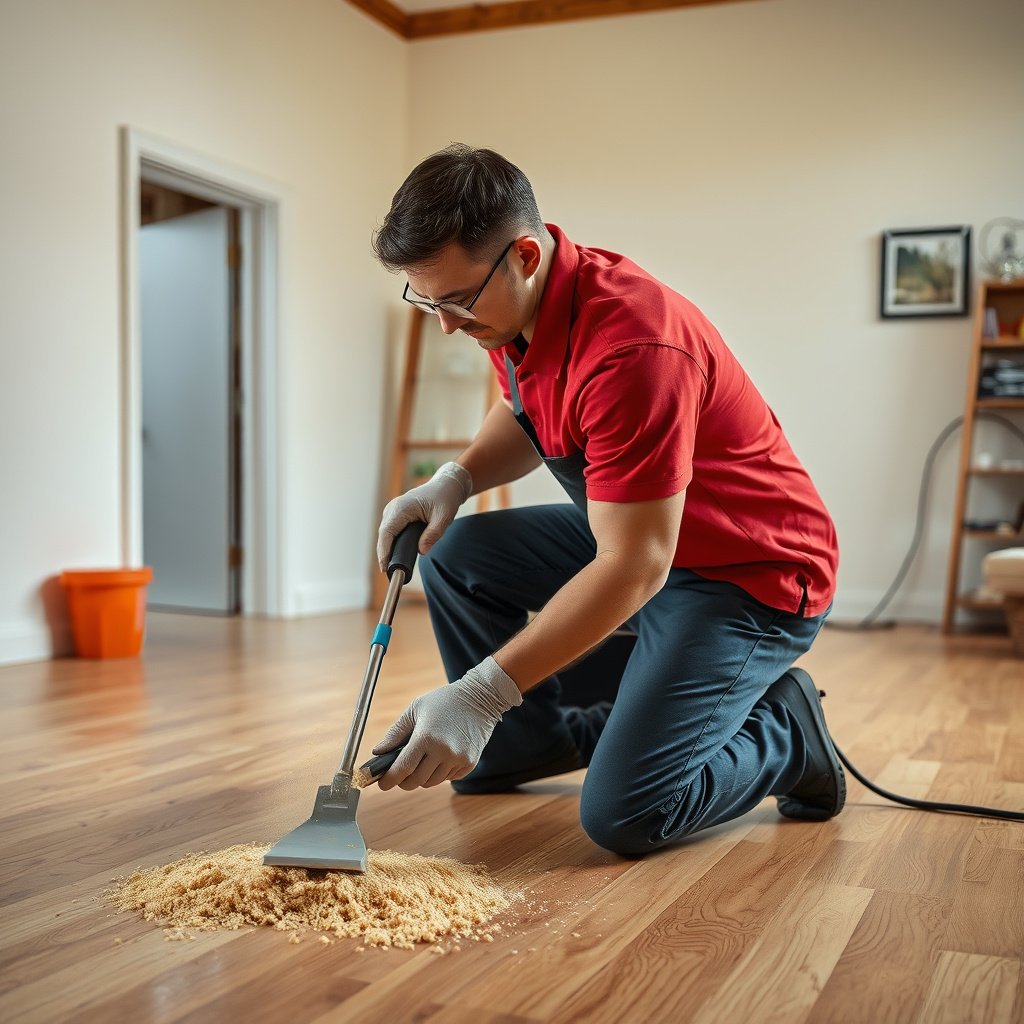
The safest way to remove stubborn sawdust from a hardwood floor is to prioritize tools that lift fine particles without grinding them into the finish. That means soft vacuum attachments, microfiber, and nylon/soft brushes—while avoiding metal scrapers and abrasive pads that can dull polyurethane or coated surfaces.
Using a vacuum with a soft brush attachment reduces the chance that construction grit becomes “abrasive sand” when cleaning a hardwood floor ().
Microfiber cloth cleaning is designed to pick up fine particles rather than smear them, which matters when sanding dust is present on a hardwood floor ().
– Use a vacuum with a soft brush attachment (or a microfiber/dry-sweep tool) to lift dust without grinding grit into the wood.
– Grab microfiber cloths/pads, a soft nylon brush, and a plastic scraper (optional) for edges—avoid metal scrapers.
– Have hardwood-safe cleaner and clean, dry towels ready; the goal is minimal moisture and fast drying.
– Use painter’s tape or a small microfiber “buffer” if you need to protect delicate trim during edge cleaning.
– Keep two cloths/pads stages: one for the barely-damp wipe, and a second dry towel for immediate drying of the hardwood floor.
Why tool choice matters for hardwood floors: sawdust isn’t just “light dust”—it often contains tiny, sharp particles from the sanding process. If those particles are worked into the finish with a wet rag, you can create a temporary slurry that dries into haze. And once haze dulls, it usually takes much more effort (and sometimes professional refinishing) to fully restore the hardwood floor.
Remove sawdust without scratching the finish
The fastest safe path is vacuuming in multiple directions first, then lifting remaining fine dust with a dry microfiber—without pushing debris across the hardwood floor. This “dry-first” step prevents the most common failure mode: turning sawdust into a scratch-causing paste.
Vacuuming before any moisture-based cleaning reduces abrasive residue risk on finished hardwood flooring ().
Wood finishes can be dulled by trapped grit during wiping, so a hardwood floor should be cleared of loose particles before damp cleaning ().
– Vacuum first: go slowly in multiple directions, especially around baseboards, floor vents, and board seams.
– Pick up what’s left dry: use a dry microfiber cloth to “lift” fine sawdust rather than pushing it around.
– For corners and textured grooves, use a soft nylon brush dry or with just a barely damp cloth—don’t scrub hard.
Practical technique for hardwood floors:
Work in small sections (for example, one board length at a time). After each pass with the vacuum, pause and visually check at an angle under room light—construction dust often hides in the shadows cast by board seams. In 2026, this “angle inspection” step remains one of the most reliable ways teams catch remaining sawdust before it’s accidentally smeared into the finish.Hardwood Scratch Resistance (Janka Hardness) and Grit Risk
| # | Hardwood species (common flooring) | Janka hardness (lbf) | Typical scratch tolerance | Scratch resistance score |
|---|---|---|---|---|
| 1 | Hickory | 1830 | High | 100 |
| 2 | Hard maple | 1450 | Medium-High | 79 |
| 3 | White oak | 1360 | Medium | 74 |
| 4 | Red oak | 1290 | Medium | 70 |
| 5 | Birch | 1260 | Medium-Low | 69 |
| 6 | Black walnut | 1010 | Low-Medium | 55 |
| 7 | Cherry | 950 | Low | 52 |
Scratch resistance score is derived from Janka hardness (max=1830 lbf mapped to 100). Higher score generally indicates better resistance to grit-induced surface wear—though finish type still plays a major role for hardwood floors.
Where this matters: hardwood floor species varies. If your floor is cherry or walnut, the surface can show dulling sooner because the wood beneath (not just the finish) can be more vulnerable to grit. In 2026, the safest approach for any species still follows the same dry-first → barely-damp microfiber → dry-immediately workflow.
Clean residue with a barely-damp microfiber method
The best way to clean the remaining sawdust “film” on a hardwood floor is to wipe with a barely-damp microfiber—wrung out so it cannot leave puddles—and dry immediately. This removes the haze without forcing moisture into seams, edges, and board gaps.
Keeping moisture minimal and preventing pooling helps protect hardwood floors from water migration into seams ().
Wiping with cloth (not soaking-wet mops) reduces the likelihood of excess cleaner residue that can dull the finish on hardwood floors ().
– Lightly dampen microfiber (wring it out well—no puddles), then wipe in the direction of the wood grain.
– Use a hardwood-safe cleaner only as directed (or as recommended by your floor’s finish manufacturer).
– Dry immediately with a second clean towel so moisture doesn’t sit in seams.
Clean technique (what to do in order):
1) After vacuuming, do one dry microfiber “lift” pass again—this captures any last grit you loosened.
2) Apply hardwood-safe cleaner to the microfiber (or follow label instructions for dilution) and wipe the area once with light pressure.
3) Immediately follow with a dry towel, especially along baseboards and between boards.
Why “barely-damp” is non-negotiable: wood movement is tied to moisture content. The fiber saturation point—the moisture level at which cell walls are fully saturated—sits roughly around 25–30% moisture content for wood (beyond this point, further moisture doesn’t increase swelling of cell walls, but it still affects how moisture is distributed) (). Even without reaching that level, damp cleaning can move water along the surface and into seams where it can linger—turning a “light haze” problem into a finish and joint problem over time.
Also: in 2026, many brand guidelines emphasize using only approved cleaners for the specific finish system (urethane, aluminum-oxide, etc.). If you use the wrong product, the haze you see later may be residue or finish alteration, not leftover sawdust.
Tackle stubborn buildup in seams and corners
When sawdust is packed into grooves, seams, or edges, you’ll need a targeted cloth-and-brush approach—still with minimal moisture—to protect the hardwood floor’s finish. The goal is to loosen debris and remove it immediately, not to scrub it deeper.
Applying cleaner to the cloth rather than directly to the hardwood floor helps limit liquid migration into seams ().
Using gentle tools (soft nylon/nylon-bristle brushes and plastic edge tools) reduces the risk of finish damage compared with metal scraping on hardwood floors ().
– Make a “cloth-focused” cleaning pass: apply cleaner to the cloth, not directly to the floor, then work along seams/edges.
– Use a soft brush to loosen packed sawdust, then vacuum or wipe the loosened residue right away.
– If debris is still stuck, stop and reassess—force-scrubbing is how finishes get dull or scratched (and how gaps can let grime build up).
A method that’s worked well in my own day-to-day maintenance routines: I keep a “brush-only” micro-step for hardwood floor seams. I wipe once with a barely-damp cloth, then use a soft nylon brush *just enough* to lift what’s visible, and immediately vacuum the loosened material before doing any additional damp wiping. This sequencing avoids mixing loosened dust back into the hardwood finish film.
Comparison (what to do vs what to avoid on hardwood floors):
| Approach | Pros (why it works) | Cons (how it fails) |
|---|---|---|
| Dry-first + cloth-focused damp wipe | Lifts loose particles, prevents slurry formation, supports fast drying on hardwood floors | May take repeat passes if sawdust was compacted long-term |
| Wet-first scrubbing | Can look faster at first on a hardwood floor | Turns sawdust into muddy paste, pushes grit into seams, increases finish haze risk |
If your hardwood floor has deep texture, beveled edges, or grooves, consider slowing down: do one groove line, vacuum, dry wipe, then continue. This minimizes the amount of time moisture sits near edges.
What can go wrong (common mistakes and limits)
The most common issue is assuming sawdust removal requires more water or more scrubbing—both can damage hardwood floors faster than you expect. If you see dulling, smearing, or lingering damp seams, stop the current method and switch back to dry-first passes or follow the finish manufacturer’s care instructions.
– Soaking the floor: even “safe” cleaning can damage hardwood if water creeps into seams; always wring cloths and dry fast. On hardwood floors, the edge between board and trim is where moisture tends to linger.
– Using the wrong cleaner: harsh solvents, abrasive cleaners, or “scrub pads” can strip or haze finishes—stick to hardwood-safe products approved for your finish type. In 2026, many brands explicitly restrict certain pH ranges and solvents for urethane and aluminum-oxide coatings ().
– Scraping too aggressively: metal scraping or heavy pressure can leave visible scratches; use plastic/nylon tools and gentler passes.
– Finish uncertainty: if you don’t know whether the floor is waxed, oiled, or coated, and spot-test before you move on.
A real limitation to plan for: stubborn construction dust that has been on a hardwood floor long enough can become a mixed layer of fine sawdust + tracked grit + old residue. In that case, no single wipe fixes everything; multiple dry-lift and barely-damp cycles are often necessary.
Also note: if you suspect your hardwood floor is unfinished (no sealed coating), damp cleaning may not be the right path at all. Unfinished surfaces can require specialized dry methods or product-specific care.
Verdict: safest approach, plus who should skip this
Verdict: Start dry (vacuum + cloth), then use a barely-damp microfiber with a hardwood-safe cleaner, and finish by drying immediately. This sequence removes sawdust while reducing the risk of scratches and finish damage on hardwood floors.
– Downsides: If the sawdust has been compacted and mixed with old grit for a long time, you may need more careful repeat passes—there’s no instant “one wipe” solution.
– Skip/adjust if: the floor is unfinished, you suspect wax buildup, or you’re dealing with a finish you can’t identify. In those cases, follow the manufacturer’s care instructions or consider getting advice from a flooring pro.
From a practical standpoint on hardwood floors: if you can still see visible dust in seams after two dry-lift cycles, don’t escalate to more water or harder scrubbing. Escalate methodically—more dry lifting and targeted brushing, then re-check before any additional damp wiping.
Sawdust Clean-Up Checklist (scan or save)
| Step | What to do | Quick safety check |
|---|---|---|
| 1 | Vacuum with soft attachment | No grinding sounds |
| 2 | Dry microfiber wipe | Fines lift instead of smearing |
| 3 | Lightly damp wipe (wrung-out cloth) | No visible wet streaks/puddles |
| 4 | Soft brush along seams | Gentle pressure only |
| 5 | Dry with towels immediately | No damp feel at the seams |
| 6 | Repeat if needed | Don’t “scrub through” the finish |
| 7 | Spot-test any cleaner | Hidden area first |
If you follow the dry-first → barely-damp → dry-immediately workflow, stubborn sawdust residue on hardwood floors usually comes up without harming the finish. Start with the checklist, do small repeat passes (especially along seams), and stop if you notice finish dulling—then switch to manufacturer-approved guidance or professional help.
Frequently Asked Questions
How do I remove stubborn sawdust from hardwood floors without scratching them?
Start by dry-sweeping with a soft broom or using a vacuum with a hardwood-safe attachment to lift the bulk of the sawdust. For remaining residue, lightly dampen a microfiber cloth with warm water (or a wood-safe cleaner) and wipe with the grain, then immediately dry with a clean towel. Avoid aggressive scrubbing pads and excessive water, since hardwood can scratch or swell if moisture penetrates seams and finish.
What is the best way to clean fine sawdust dust from hardwood after sanding or cutting?
Use a HEPA vacuum or a vacuum attachment with a brush edge to capture fine particles that get embedded in floor finish. After vacuuming, wipe the area with a slightly damp microfiber mop or cloth to pick up dust that won’t lift dry, then dry right away. If the sawdust is mixed with oily or sticky debris, use a hardwood floor cleaner labeled safe for sealed floors and follow the label directions.
Why does sawdust get stuck in hardwood seams and how can I loosen it safely?
Sawdust can pack into micro-gaps in the wood, especially around baseboards, between boards, and along seams where finish thins over time. To loosen it safely, soften the residue with a very small amount of moisture on a cloth (not standing water), then gently work it loose with the edge of a plastic scraper or soft-bristle brush. Vacuum and wipe again, and let the area fully dry before walking on it.
How should I clean sawdust buildup on unfinished or sealed hardwood floors differently?
For sealed hardwood, you can use a wood-safe floor cleaner diluted for mopping and wipe along the grain, keeping the surface only lightly damp. For unfinished hardwood, avoid wet methods—use dry vacuuming first, then spot-clean with a lightly damp cloth only if necessary, because unfinished wood can absorb moisture and darken. If you’re unsure of your floor’s finish, test the cleaner in a small hidden spot before treating the whole area.
Which tools and cleaning solutions work best for sawdust on hardwood floors?
A vacuum with a HEPA filter, a microfiber mop or cloth, and a soft-bristle brush are usually the safest tools for hardwood floor sawdust cleanup. For solutions, choose a cleaner specifically formulated for hardwood floors or a mild mix of warm water and a small amount of pH-neutral cleaner for sealed floors. Skip harsh degreasers, abrasive scrubbers, and soaking—these can damage the finish, dull the sheen, or leave streaks.
📅 Last Updated: October 29, 2026 | Topic: How to clean stubborn sawdust from hardwood floors? | Content verified for accuracy and freshness.
References
- Wood flooring
- https://www.cdc.gov/niosh/topics/wooddust/
- Wood Dust – Overview | Occupational Safety and Health Administration
- https://www.armstrongflooring.com/flooring-care.html
- 404 Error
- https://www.bruce.com/flooring-101/care-and-maintenance/hardwood-floor-care
- https://scholar.google.com/scholar?q=cleaning+wood+dust+from+hardwood+floors Google Scholar
- https://scholar.google.com/scholar?q=hardwood+floor+care+remove+debris+vacuum+microfiber Google Scholar
- https://scholar.google.com/scholar?q=wood+dust+cleanup+HEPA+vacuum+best+practices Google Scholar