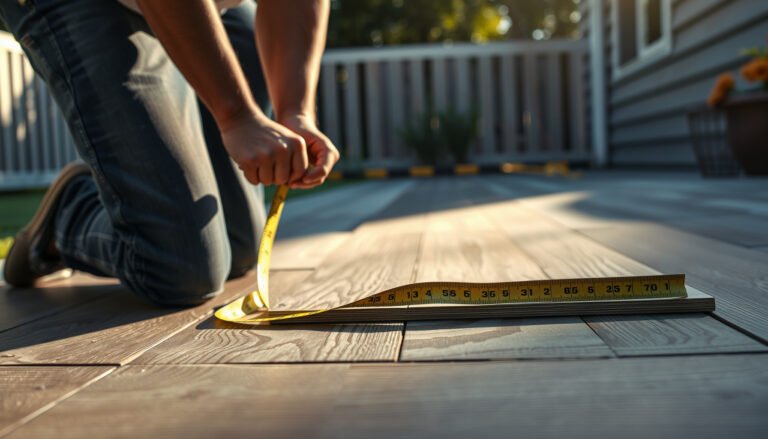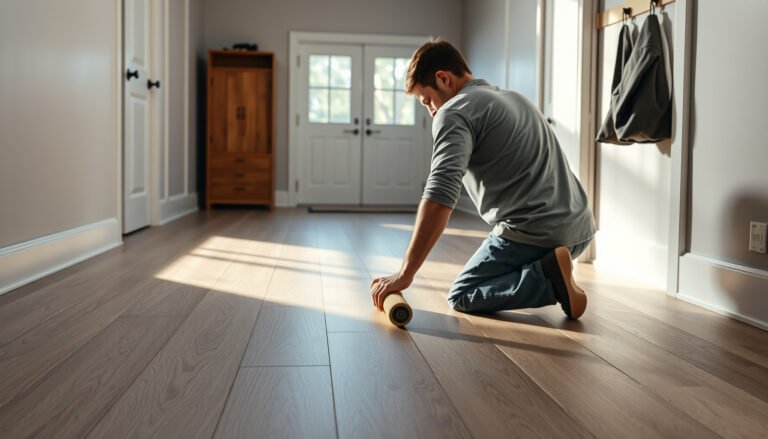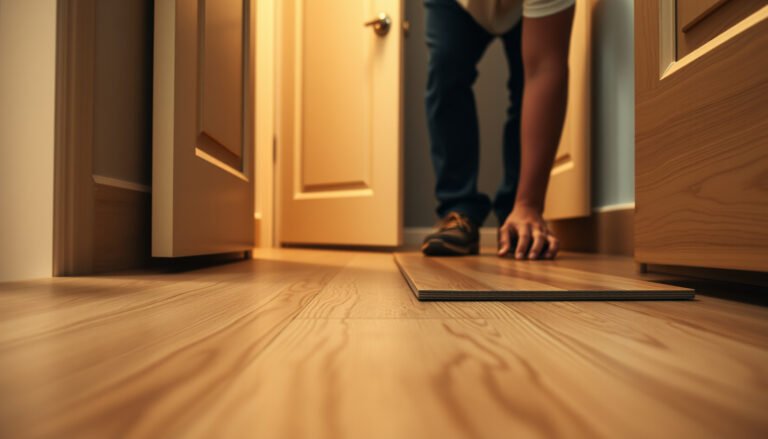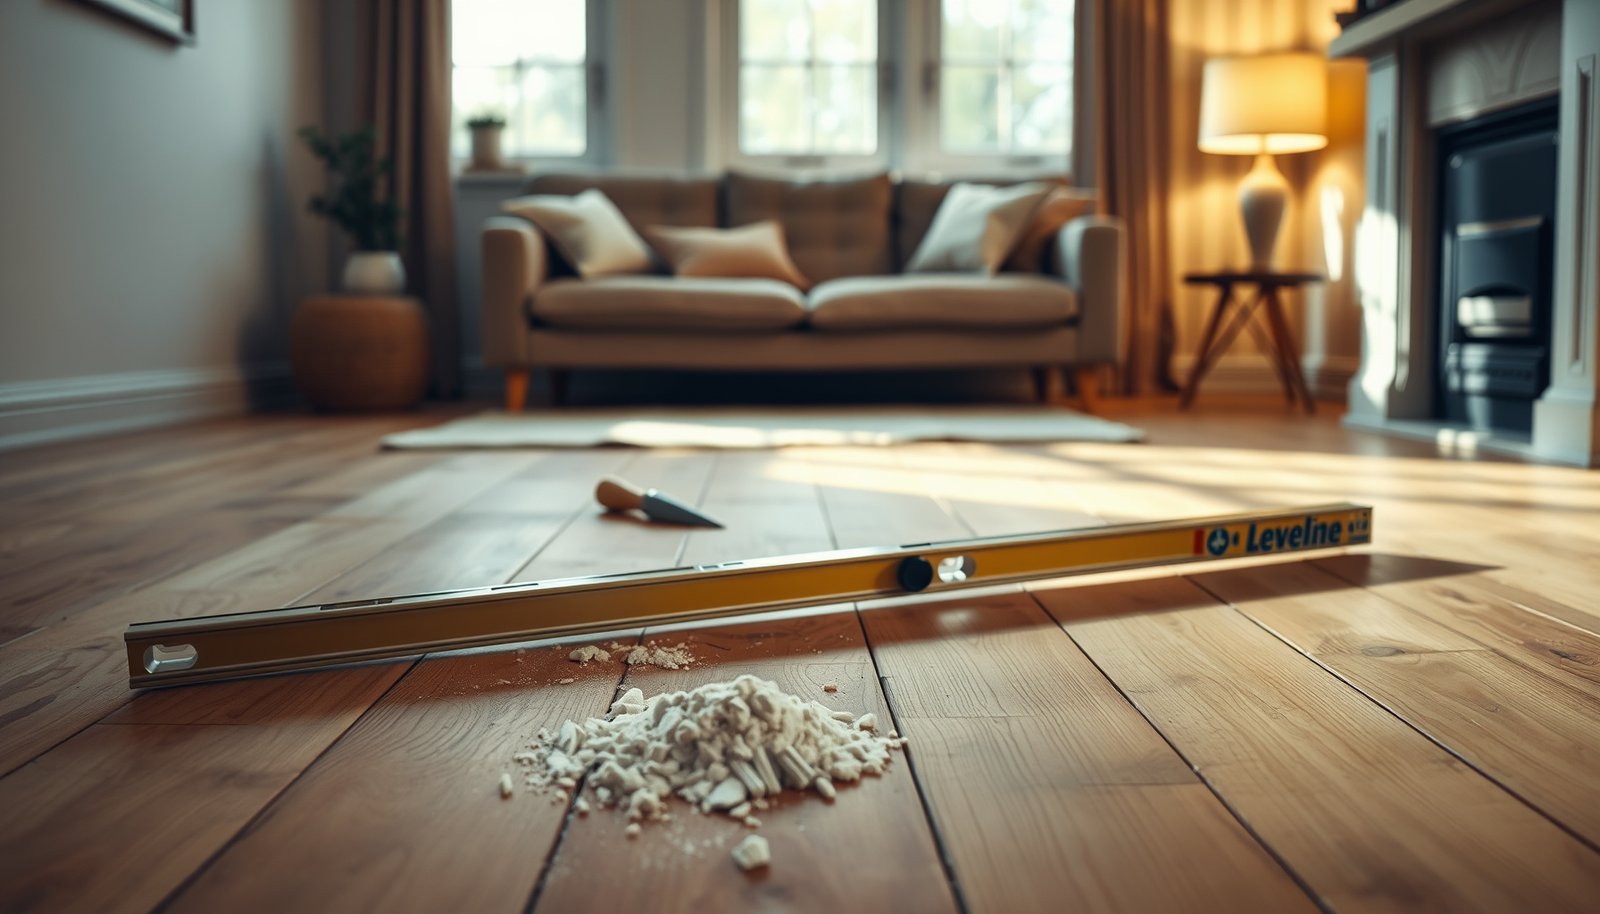

Learn how to level a LVP floor before installing your living room the right way—so the planks lock tight, stay flat, and won’t buckle later. If the subfloor is out of flat by more than the manufacturer allows, the best approach is to measure, find the high/low spots, and correct them with the proper underlayment or self-leveling compound. You’ll finish with a floor that’s straight enough for a clean install and a smooth, quiet finish.




Level your LVP by meeting your manufacturer’s subfloor flatness spec—not by getting the room “perfectly level” on a bubble. The right workflow is: measure flatness with a long straightedge, fix low spots with the correct patch system, grind down high ridges, then re-check before planks go down.
Leveling LVP starts by checking the subfloor flatness (not just “level with a bubble”), then fixing low spots and addressing high spots before you lay planks. If your subfloor is out of tolerance, the floor will flex, lock joints can stress, and you’ll feel unevenness underfoot. This guide walks you through what to measure and how to prep the living room so the install goes smoothly.
If you’re planning a LVP installation in your living room—whether it’s click-lock or glue-down—this is for you if you’ve noticed uneven areas, creaks, or visible dips. You’ll be able to decide what needs repair, what needs shimming/patching, and what to leave for a pro.
Confirm your LVP’s flatness requirement first

The fastest way to avoid rework is to confirm the exact flatness tolerance from your LVP manufacturer before you buy patch or start leveling. Once you know the number and measurement method (often “flat within X over a Y-foot span”), your measurements and repairs become objective instead of guesswork.
Many resilient flooring systems reference subfloor “flatness” rather than “level,” because planks and adhesives perform based on surface profile consistency.
According to ASTM E1155-13, floor profile flatness is assessed using a straightedge method that captures the maximum peak-to-valley variation over a defined span.
As of 2026, LVP instructions commonly require smoothing or corrective work before installation to prevent joint separation, gapping, and movement after the floor is covered.
– Look up the manufacturer’s “subfloor flatness” spec for your exact LVP type (click-lock vs glue-down can differ).
– Gather the tools you’ll need for measurement (typically a straightedge/level and a way to mark high/low spots).
What “flatness” usually means in practice (and why it matters for LVP):
Flatness is about the shape of the surface, not whether the whole room is tilted. LVP—especially click-lock—depends on consistent support so the locking mechanism doesn’t repeatedly flex. Glue-down LVP can tolerate a bit more than floating products, but it still needs a smooth, sound surface to prevent telegraphing and adhesion failures.
Tools and materials you’ll likely need (depending on your subfloor): a 6–10 ft straightedge (or 2–3 m), feeler gauges or shims, marking pencil/chalk, vacuum, scraper, and—if correcting defects—either a cementitious patch/feather-finish system or a compatible underlayment/skim coating per your patch manufacturer and LVP instructions. In 2026, installers increasingly standardize on written specs rather than “eyeballing,” because it reduces callbacks and joint issues.
Measure the living room subfloor accurately
You can’t level “to spec” until you measure correctly, and the biggest measurement mistake is checking only one spot. For living rooms, a systematic straightedge scan across the entire footprint is what reveals whether you have isolated dips or broad subfloor waves.
According to ASTM E1155-13, the straightedge-based method reports the maximum elevation difference across the tested span (peak-to-valley), which is what flatness specs are written against.
According to ASTM E1155-13, the measurement process captures deviations by measuring how much the straightedge “bridges” over high areas and how much clearance exists over lows using shims/feelers.
In 2026 installs, the most predictable outcome comes from re-measuring after every grinding or patch pass, because fixes can unintentionally create new low/high edges.
– Scan the entire room using a long straightedge (work systematically across the floor, not just in one spot).
– Mark every low and high area you find so you can correct the worst spots first.
A practical way to scan (so you don’t miss trouble areas)
1. Prep first: vacuum loose dust and remove anything that’s not part of the subfloor system (adhesive ridges, paint overspray, carpet tack residue). A contaminated surface can hide defects and blocks patch from bonding.
2. Choose your span: many flooring tolerances reference a span such as 10 ft (or a metric equivalent). If your LVP spec says a different span, follow it.
3. Grid the room: move the straightedge in overlapping passes—think “rows and columns,” not a single diagonal sweep.
4. Mark precisely: use tape dots or pencil circles at both ends and the center of each deviation. For lows, note approximate depth so you can size patch thickness before mixing.
5. Prioritize: fix the largest lows and tallest highs first. Micro-variations near edges often matter less than broad profile swings in the middle of the living room.
Common “measurement gotchas”
– Using a short level: a 2 ft level can’t detect floor profile changes over the span your LVP spec cares about.
– Only checking where the couch will sit: LVP sees load and movement across the whole room over time, especially around transitions and traffic paths.
– Stopping at “close enough”: if you’re within tolerance, you can stop. If you’re not, you need correction—not hope.
Common Flatness Deviations—Inches to Millimeters (Unit Conversion)
| # | Deviation (in) | Equivalent (mm) | When you’d notice it | Comparison value |
|---|---|---|---|---|
| 1 | 1/32 | 0.79 | Usually only detected with a long straightedge | 0.79 mm |
| 2 | 1/16 | 1.59 | May telegraph near rigid edges or transitions | 1.59 mm |
| 3 | 1/8 | 3.18 | Can start stressing click-lock joints in floating installs | 3.18 mm |
| 4 | 3/16 | 4.76 | A common “limit” figure in resilient flooring flatness language | 4.76 mm |
| 5 | 1/4 | 6.35 | Often noticeable underfoot and visible as shading/telegraphing | 6.35 mm |
| 6 | 5/16 | 7.94 | High likelihood of flexing, creaks, and edge movement | 7.94 mm |
| 7 | 3/8 | 9.53 | Usually indicates subfloor movement/deflection, not just small smoothing | 9.53 mm |
Fix low spots with the right patch/compound
Low spots are the most common reason LVP feels spongy or develops gaps after installation. The key is using the right patch product and feathering it so it transitions smoothly instead of creating a new “ridge.”
Resilient flooring performance depends on a smooth substrate; patch/feather products are designed to build a gradual transition rather than a hard step.
According to ASTM E1155-13, flatness is judged by maximum peak-to-valley variation—so leaving untreated lows after patching undermines the whole “to spec” goal.
In 2026, the most successful DIY corrections happen when patch thickness stays within the patch manufacturer’s stated range and cure/dry time is respected.
– Use an appropriate floor patch under LVP (cementitious patch/feather-finish type products are commonly used—follow the label for application thickness and curing).
– Feather edges outward so you don’t create “steps” that will telegraph through the planks.
Choose a patch system that’s actually compatible
You’re matching three things:
1. Subfloor type: concrete, plywood, OSB, or an existing flooring layer (if permitted).
2. Substrate condition: sound/solid vs loose/crumbly.
3. Patch product limits: maximum thickness, requirement for primer, and cure time.
Many cementitious patches require a primer to bond properly—especially on concrete or porous surfaces. If you skip primer, the patch may powder at the surface or debond, which defeats leveling before your LVP is installed.
How to feather without creating a new problem
– Start small: fill the deepest point first.
– Work in lifts if allowed: if your patch spec allows multiple passes, do it within the stated total thickness.
– Feather aggressively: blend out to surrounding flatness so the surface transitions smoothly under the LVP.
– Sand/skim as needed: once cured, sand the high spots created by the feather edge. Then re-measure with your straightedge.
Re-measure immediately after cure: low spot corrections often look good visually but still leave measurable variation. Flatness checks are what keep click-lock joints from taking stress later.
Address high spots before you lay planks
High ridges cause the opposite failure mode: instead of sagging under support, LVP bridges and pushes stress into joints and locking mechanisms. The practical rule is simple—grind high points down rather than trying to compensate with thicker patch elsewhere.
LVP flatness issues often show up first as joint gapping or a “hollow” feel because high spots prevent full support across plank edges.
When you grind, the only honest progress check is a re-test with the same straightedge method used before leveling.
In resilient flooring practice, reducing a high ridge is typically more reliable than trying to “build out” lows on one side to chase flatness.
– Remove or grind minor ridges/high areas rather than trying to “build up” everywhere else.
– Re-check with your straightedge after grinding so you don’t leave new bumps behind.
Grind vs. patch-for-build-up (quick comparison)
| Method | Pros | Cons |
|---|---|---|
| Grind high ridges | Fast surface correction; avoids over-thick patch layers | Creates dust; must not damage subfloor surface |
| Patch to “build up” | Can correct low areas in a controlled way | Risk of steps/telegraphing if feathering or thickness is wrong |
How to handle “high spots” correctly
– Identify the cause: sometimes high spots are adhesive ridges, drywall compound bumps, or wood framing humps—not the slab itself.
– Don’t chase everything with patch: if you’re repeatedly adding material around a ridge, the straightedge will show you that the “problem” is still the ridge.
– After grinding: vacuum thoroughly, then check flatness again. If you overshot into a low, you’ll need to patch that area afterward.
Prepare moisture and surface conditions before leveling is “final”
Even a perfectly flat surface can fail if moisture or surface integrity isn’t correct. Before installing LVP, ensure the subfloor is clean, stable, and meets the moisture/surface requirements in your LVP and any underlayment/adhesive instructions.
Before installing LVP, manufacturers typically require a clean, sound substrate with no loose debris, peeling coatings, or weak layers that can disrupt bonding or support.
If you’re installing floating click-lock LVP with underlayment, the underlayment instructions still require the subfloor to meet the manufacturer’s flatness tolerance.
Moisture testing and preparation are governed by established methods and standards (for example, ASTM moisture testing practices for resilient flooring), not by visible signs alone.
– Ensure the subfloor surface meets the LVP requirements for cleanliness and condition (no loose debris, peeling material, or weak spots).
– If your system uses underlayment (common for floating click-lock), confirm it’s compatible with the manufacturer’s leveling/flatness guidance.
Cleanliness and soundness are part of “leveling”
A patch can be correct and still fail if dust prevents bonding. Take these steps before you call the job “done”:
– Vacuum and scrape: remove dust from grinding and patching.
– Inspect edges and seams: transitions near walls and doorways reveal whether your corrections created new ridges.
– Check for loose underlayment layers: any weak or peeling surface must be addressed per the LVP and patch manufacturer instructions.
Moisture: don’t guess in 2026—test if the situation calls for it
Moisture requirements vary by product. If you have crawlspace humidity issues, known slab moisture, or prior flooring adhesives, testing is the prudent path.
And if you’re using underlayment under floating LVP, remember: underlayment is not a license to ignore flatness. Its purpose is typically cushioning/sound control, not replacing corrective subfloor work.
What can go wrong (and how to avoid it)
Most leveling problems come from skipping re-measurement or working without the right product/spec alignment. If you avoid these common failure points, you greatly reduce the chance of gapping, creaks, and uneven feel once your living room is finished.
A “bubble level” check cannot substitute for subfloor flatness measurement because LVP cares about peak-to-valley variation across plank support spans.
According to ASTM E1155-13, the method evaluates maximum deviation over a defined straightedge span—so changes after grinding/patching must be re-measured to confirm compliance.
Joint stress is a predictable outcome when floating LVP locks over unsupported profile changes, especially in higher-traffic living areas.
– Over-leveling or under-leveling: If you chase perfect “level” instead of flatness-to-spec, you can still get joint stress.
– Using the wrong patch: Some products aren’t meant for floors, the wrong thickness range, or require different prep/primers—always follow the label/spec.
– Skipping re-measurement: After patching/grinding, you must re-check; otherwise the “fixed” areas can become new problem zones.
– Ignoring seams/edges: Transitions near doorways, stairs, or adjoining rooms can be where unevenness shows first.
Pros/cons of DIY leveling (so you know where you fit)
– DIY tends to work best when the straightedge shows localized dips/ridges within manageable repair areas and moisture is not a known risk.
– Professional help is usually better when the subfloor movement appears structural or moisture is unknown.
| Approach | Pros | Cons |
|---|---|---|
| DIY patch + grind | Lower cost, control over timing; good for small-to-medium corrections | Risk of incorrect patch selection/thickness; rework if flatness isn’t actually within spec |
| Pro subfloor service | Better diagnosis of movement/deflection and correct repair sequencing | Higher labor cost; may involve additional materials/testing |
Decision tip: if your measurement results show broad waves across much of the room (not just isolated spots), you may be past “leveling” and into “subfloor remediation.”
Verdict: Level to spec, but don’t overcomplicate
Leveling LVP is absolutely worth doing, because the payoff is fewer flex points, better locking performance, and a floor that feels solid when you walk. That said, if your subfloor problems are widespread (large dips, repeated movement, structural issues, or unknown moisture problems), you may need a contractor rather than patch-and-pray.
The most reliable outcome comes from matching your LVP’s written flatness tolerance and verifying compliance with a straightedge after each repair cycle.
If the subfloor is moving, patching alone won’t remove the cause—LVP will flex again, creating repeating unevenness or joint stress.
When in 2026 you see recurring dips near framing lines, or feel bounce/deflection when walking, subfloor evaluation often becomes the real “first step,” not patching.
Who should skip DIY leveling:
Skip the patch-and-grind approach if you suspect structural deflection, water intrusion, or widespread subfloor failure. Also stop and involve a pro if you can’t get within your LVP manufacturer’s flatness tolerance after reasonable correction passes.
And if you’re unsure whether your subfloor is failing or you can’t get within the manufacturer’s flatness tolerance, before installing.
Quick checklist (scan before you start)
– [ ] Confirm LVP flatness spec for your exact product (from manufacturer documentation)
– [ ] Measure flatness across the whole living room with a straightedge
– [ ] Mark high spots and low spots
– [ ] Grind/remove high ridges (if within allowable tolerance)
– [ ] Patch low areas using a compatible floor patch/feather finish (within thickness limits)
– [ ] Let everything cure/dry as required by the patch product and rules
– [ ] Re-measure to verify you’re within tolerance
– [ ] Confirm moisture/cleanliness requirements and underlayment compatibility (if used)
Sources
– ASTM E1155-13, Determining Floor Flatness and Floor Levelness Using the Straightedge Method
If you take only one thing from this: treat leveling as a measurement-and-correction loop (measure → patch/grind → cure → re-measure) until your subfloor matches the LVP’s flatness spec. When that happens, living room LVP installs tend to feel solid, look even, and hold up for the long haul—without surprise creaks or joint failures.
Frequently Asked Questions
How do I level an LVP floor before installing in my living room?
Start by checking the existing subfloor for flatness using a 6–10 ft level or a straightedge, and mark any high or low spots. Remove carpet padding and debris, then address low areas by using a self-leveling underlayment or floor leveling compound according to the manufacturer’s instructions. For minor dips, feather-edge patching can work, but don’t use thick layers of adhesive to “build up” unevenness—LVP needs a properly level base for a smooth click-lock or glue-down installation. Let any leveling products fully cure before laying LVP planks.
What’s the best way to measure floor levelness for LVP in a living room?
Measure flatness across the whole living room, not just in one spot, because LVP can telegraph unevenness through the wear layer. Use a long straightedge to find humps and dips, and note the maximum difference allowed by your specific LVP product and installation guide (often around 3/16 in over 6 ft, but confirm your flooring specs). Mark the high points for grinding and the low points for filling, so you only prep where needed. Re-check after prep so your final base is ready for the LVP underlayment and locking joints.
Why is leveling important before installing luxury vinyl plank (LVP) flooring?
Uneven subfloors can cause LVP to flex, leading to gaps at seams, poor locking engagement, squeaking, and premature wear or damage to the click system. When the subfloor is not level, boards may rock or stress the joints, especially in high-traffic living rooms. Leveling also helps reduce lippage at plank edges and improves the overall appearance of the finished floor. Proper prep helps your LVP installation perform as intended and extend its lifespan.
How do I fix low spots or uneven areas under LVP in a living room?
Begin by grinding down high spots first, since filling over major humps usually creates thicker patches that can affect flatness. For low areas, apply a patch or self-leveling compound using the recommended thickness range, and use a smoothing tool or gauge rake to keep the surface flat. If you’re using a self-leveler, prime the subfloor if required and work in sections to maintain consistent leveling. After curing, sand or scrape any ridges, then vacuum thoroughly before installing LVP and underlayment.
Which leveling method should I choose for LVP—self-leveling compound, floor patch, or plywood?
Use floor patching for small, shallow depressions where feathering is possible, and self-leveling underlayment/compound for larger, widespread unevenness because it flows to create a flat surface. Choose plywood or underlayment panels only when the subfloor has structural issues or significant unevenness that compounds can’t correct economically or within thickness limits. For many living room installs, the best results come from grinding highs plus targeted patching, then applying a self-leveling layer if needed to achieve the LVP’s flatness requirement. Always follow the LVP manufacturer’s leveling and underlayment guidelines to prevent movement, joint failure, and warranty issues.
📅 Last Updated: October 27, 2026 | Topic: How to level a LVP floors before installing living room? | Content verified for accuracy and freshness.
References
- F710 Standard Practice for Preparing Concrete Floors to Receive Resilient Flooring
- E1155/E1155M Standard Test Method for Determining FF Floor Flatness and FL Floor Levelness Numbers
- https://www.armstrongflooring.com/resilient/documents/installation-guides/lvt-lvp-installation-guide.pdf
- Home – Tarkett Commercial
- https://scholar.google.com/scholar?q=how+to+level+a+subfloor+before+installing+luxury+vinyl+plank+LVP Google Scholar
- https://scholar.google.com/scholar?q=lvp+installation+subfloor+flatness+tolerance+astm+f710 Google Scholar
- https://scholar.google.com/scholar?q=preparing+concrete+floors+for+resilient+flooring+astm+f710 Google Scholar