
Want to measure laminate floors for a patio without guessing? The right method is straightforward: map the patio area, subtract permanent obstacles, and include the exact expansion gap you’ll need around the perimeter. By the time you finish measuring and planning your layout, you’ll know how many boards to buy and how to avoid costly cuts.




Measure your patio laminate flooring by calculating the usable layout area first (length × width), then subtract door/wall cutouts and add a modest waste allowance. After that, convert the adjusted square footage to the number of boards using the box coverage, and finally confirm the plank direction plus the expansion gap you must leave around the perimeter.
If you’re planning a laminate patio install (or a covered patio-like area), this “area first, then boards” workflow helps you avoid the two most expensive errors: short-ordering boards that leave you unable to finish, or over-ordering so much you’re stuck with leftover planks you can’t easily match later. Also, if your patio is exposed to frequent rain, you’ll want to verify the specific laminate’s outdoor suitability before you measure—because the wrong product can fail even when your math is perfect.
Gather what you need before measuring
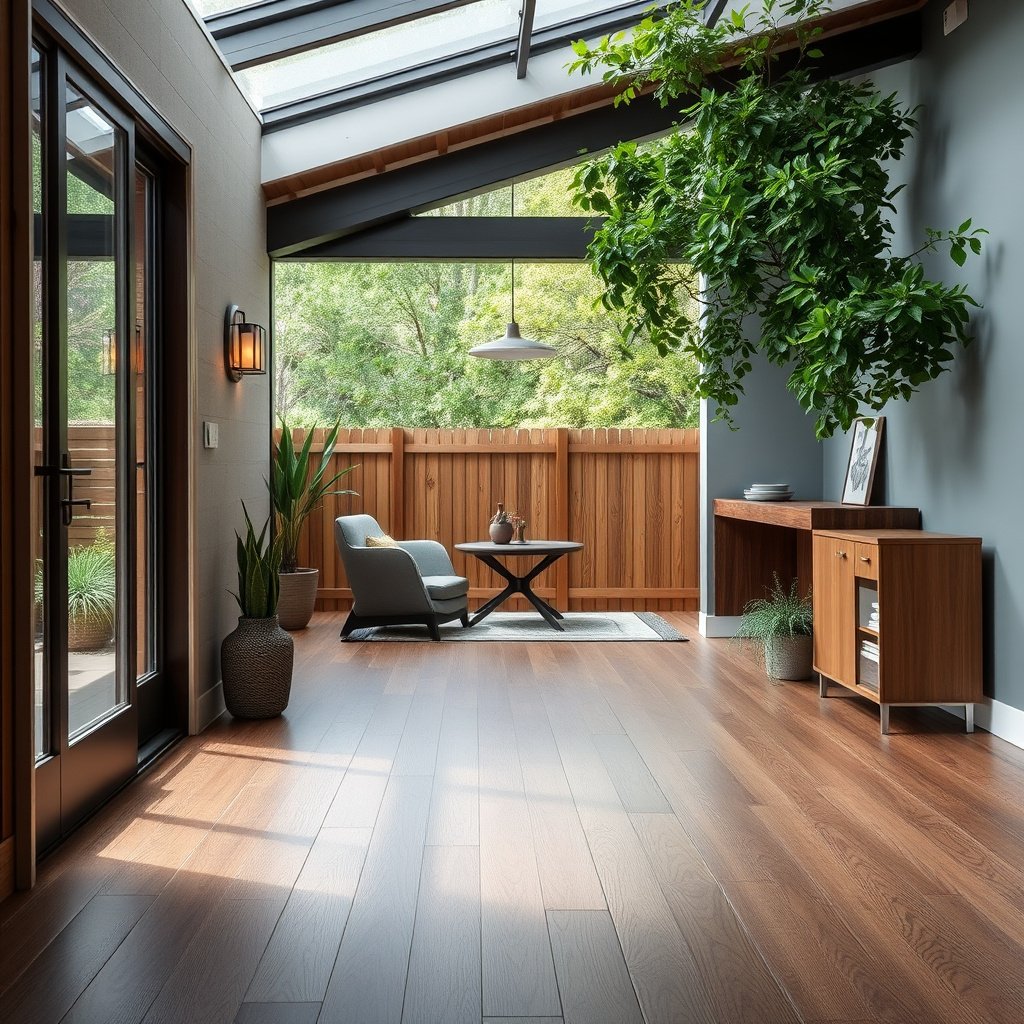
You can measure accurately in one pass if you collect the right dimensions and document every cutout before you calculate square footage. Start by building a simple sketch and recording measurements to the exact “finished floor” boundaries so your patio laminate flooring area matches the install plan.
For unit conversions used in flooring calculations, 1 inch equals exactly 25.4 mm, and 1 square foot equals exactly 144 square inches—these exact factors reduce rounding errors when you convert plans or packaging units (NIST, SP 811 (2019)).
A patio laminate flooring estimate becomes reliable when your measurements target the finished-floor boundary (where planks end), not the outer edges of the patio structure.
As of 2026, many laminate installation manuals still require documenting obstructions (posts, drains, built-ins) because these items change the usable layout area even when the patio looks “rectangular.”
Before you measure, assemble:
– A sketch pad or digital sketch (phone photo + notes works well)
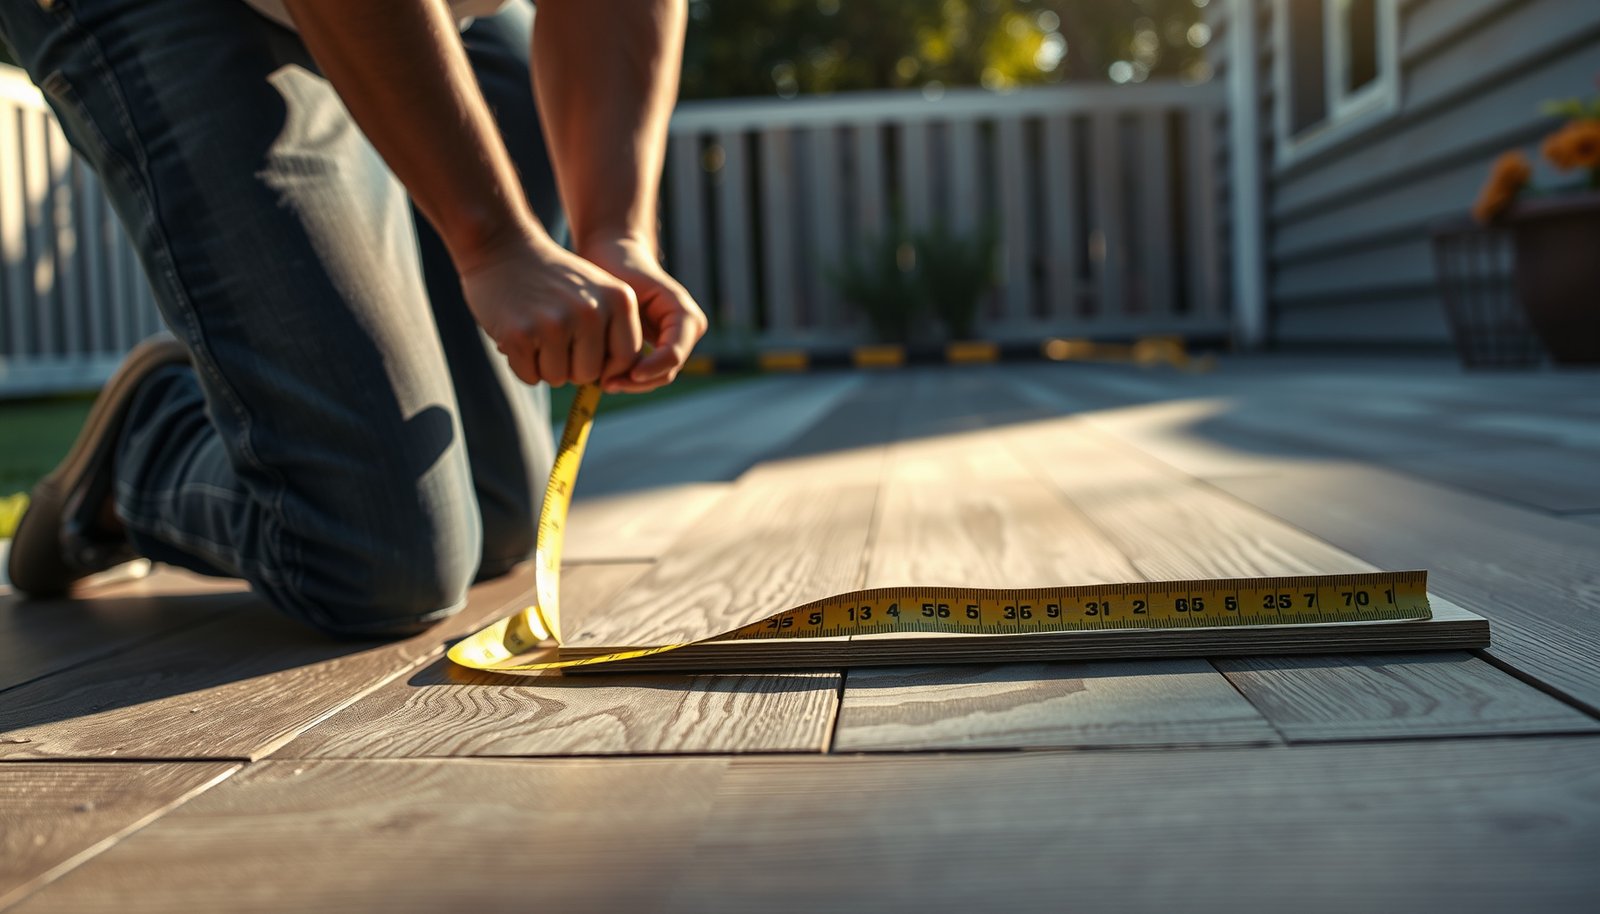
– Tape measure long enough for the longest patio run
– Calculator (or a spreadsheet) for area totals and board counts
– Chalk/marker and a straightedge if you plan to mark expansion gap lines on the patio surface
– The laminate box details (box coverage in square feet, plank dimensions, and any stated outdoor guidance)
Checklist it the way you’ll install it
– Sketch the patio shape: rectangles are simplest; cutouts like steps, posts, planters, and drain islands need explicit notes.
– Measure to the inside edges of where patio laminate flooring will go (or to the exact finished boundaries you plan to follow).
– Note obstructions: doors, drains, posts, and any area you’re skipping.
In my own measuring workflow, I keep one rule: for patio laminate flooring, every “missing” space (including under a built-in) gets drawn on the sketch before any area math begins. That prevents the most common spreadsheet mistake: subtracting nothing, then discovering the cutouts only after ordering.
Measure the patio area correctly (including cutouts)
You get the right board count by measuring the patio in shapes you can actually calculate—then subtracting what won’t be covered. For patio laminate flooring, treat the usable area like a geometry problem: rectangles plus add/subtract pieces, not one big “eyeballed” area.
Patio laminate flooring coverage starts with usable area because the installer can’t place planks where you’ve planned cuts for doors, drains, and other rigid obstructions.
Breaking an irregular patio into rectangles (and triangles for angles) is a standard measurement approach because area adds and subtracts cleanly across shapes.
Accurate square-foot totals rely on consistent units: for example, 1 ft² equals 0.092903 m² exactly (NIST, SP 811 (2019)), so converting early is safer than converting late.
Step-by-step for realistic patio footprints
– Split the patio into simple shapes
Example workflow:
– Main body: rectangle (length × width)
– Indent/cut corner: smaller rectangle (subtract)
– Step projection: add another rectangle (or subtract, depending on how you’re laying out the floor)
– Total the areas of the “covered” shapes.
– Subtract non-floor areas such as:
– Stair landings or surfaces you’re not covering
– Fixed furniture pads/bases you’re skipping
– Built-in barriers where planks stop
Handling angled sections (the part people skip)
If your patio laminate flooring layout includes angled sections (a wedge, chamfer, or angled step):
– Triangulate the angle by measuring the two perpendicular sides of a triangle (or triangle-equivalent shape).
– Compute triangle area as (base × height) ÷ 2.
– Add or subtract that triangle area like any other shape in your total.
Important: For patio laminate flooring, don’t “average” the angle by eye. If you can’t measure the base and height clearly, you’ll usually do better splitting into two rectangles than forcing a triangle where the measurement is uncertain.
Add waste allowance and expansion gaps
You should add waste first, then protect the perimeter with the required expansion gap—because both reduce how much area (and how many boards) you can truly cover. For patio laminate flooring, waste accounts for cuts and end-matches, while the expansion gap prevents buckling as temperatures and moisture conditions change.
Waste allowance exists because end cuts, board trimming for fit, and pattern-driven plank joining create unavoidable offcuts in patio laminate flooring installs.
Expansion gaps are not decorative: laminate is designed to move slightly with temperature/humidity, so perimeter gaps maintain the flooring’s ability to expand.
As of 2026, outdoor exposure adds additional movement risk, which is why manufacturers often emphasize both outdoor suitability and correct expansion-gap installation in the patio laminate flooring instructions.
Waste allowance (what to add and why)
– Add extra coverage for cuts, end matches, and mistakes
– Use the manufacturer’s recommended waste range if provided on the installation documentation
Expansion gap planning (don’t skip this)
– Plan an expansion gap around the entire perimeter of the patio laminate flooring area.
– Also consider expansion gaps around rigid surfaces (columns, fixed posts, and anything that won’t flex).
– Mark where the gaps land so you don’t under-order by counting “gap space” as usable coverage.
> Tip: If you already subtract cutouts from your square footage, don’t double-count—decide whether your “usable layout area” excludes the planned expansion gap zones from the start or whether you subtract them afterward. Consistency matters.
Quick pros/cons: waste vs. buying extra later
- Buy with a manufacturer-recommended waste allowance
- Pros: fewer mid-project stops; better chance you can finish with consistent board lots.
- Cons: you’ll still have offcuts, and leftovers may remain if your layout is simple.
- Try to “save” by reducing waste
- Pros: potentially fewer boards purchased initially.
- Cons: higher probability of short ordering mid-install—especially problematic for patio laminate flooring where matching the same color/batch later can be harder.
Convert square footage to number of boards
You convert area to boxes (and boards) by dividing your final adjusted square footage by the coverage per box listed by the manufacturer. For patio laminate flooring, the final board count also depends on your plank direction because it changes how many boards you’ll cut to fit.
The basic math for patio laminate flooring ordering is: (final adjusted area in sq ft) ÷ (box coverage in sq ft) = boxes needed.
When your calculation isn’t exact, always round **up** for patio laminate flooring so you can complete edge trimming and any re-cuts without running short.
If you’re converting units, using exact conversions like 1 ft² = 0.092903 m² helps prevent cumulative rounding errors (NIST, SP 811 (2019)).
Step-by-step conversion
1. Calculate final adjusted area
– Start with patio laminate floor layout area (your usable layout after cutouts)
– Add waste allowance (per manufacturer guidance)
– Ensure expansion gap planning is properly accounted for
2. Convert area to boxes
– Boxes needed = adjusted sq ft ÷ coverage per box (sq ft/box)
3. Round up
– Round up to whole boxes so your patio laminate flooring install isn’t interrupted
4. Check plank direction impact
– Confirm whether your layout runs lengthwise or crosswise based on your starting wall and the look you want.
Example structure (use your numbers)
– If your adjusted area is
– And your box coverage is
– Then:
– Boxes = [final adjusted sq ft] ÷ [sq ft/box] → round up
Verify against your planned cuts
Even when the math looks right, patio laminate flooring can fail at the edges because of:
– end-matching constraints
– unusual cutouts (drains/posts)
– transitions to thresholds
So treat the board count as “necessary coverage,” not “final install certainty.”
Plan the plank layout before ordering
You should plan the plank direction and edge results before you order so visible short pieces don’t ruin the finished look. For patio laminate flooring, layout planning also affects waste, cut quantity, and whether your expansion gap lines up cleanly.
Plank layout direction in patio laminate flooring affects the number of end cuts and how often you end up with narrow “stub” boards at edges.
A consistent starting wall and plank lines help patio laminate flooring look intentional, even when you’re working around cutouts and obstructions.
Most laminate installation instructions require honoring expansion gaps, so the planned layout must leave those gaps where they belong—not where you “wish” they were.
Decisions to make (fast, but critical)
– Starting wall direction: Decide which wall you’ll reference and keep plank lines consistent.
– Where short planks will land: Try to avoid very small end pieces in highly visible areas.
– Transitions at edges/steps/thresholds:
– If you’re butting against an existing floor or a threshold, confirm the correct transition approach (and whether molding or an expansion plan changes your effective usable area).
Maintain spacing discipline
Once your patio laminate flooring layout is planned:
– mark where the expansion gap will sit
– make sure cutouts don’t accidentally “eat” the gap area
– confirm that rigid obstructions aren’t trapping planks that need movement
What can go wrong (common measurement mistakes)
You avoid the most costly problems by subtracting cutouts correctly, using box coverage correctly, and honoring expansion gaps exactly as the manufacturer states. For patio laminate flooring, these mistakes can turn a “minor” ordering error into buckling, gaps, or an incomplete install.
The #1 measurable failure for patio laminate flooring is counting cutouts as usable coverage, which causes short-ordering after you account for trim.
Outdoor installation is not automatically equivalent to indoor use because patio laminate flooring products may differ in water-resistance, dimensional stability, and approved exposure conditions ().
If you ignore box coverage assumptions (such as installation method, plank orientation, or yield rules), the computed boxes needed for patio laminate flooring may not match what you actually install.
Common errors to watch
– Measuring only the largest rectangle and forgetting cutouts (drains, steps, posts): very common.
– Ignoring expansion gap requirements: boards can buckle or separate when patio temperatures and moisture change.
– Using box coverage incorrectly: some cartons list coverage tied to a specific installation approach—follow the packaging/installation documents for your product.
– Assuming outdoor is the same as indoor: many laminates are not rated for rain exposure or standing water.
When to pause (before you order)
If your patio laminate flooring area experiences:
– frequent direct rain
– puddling or standing water
– sprinkler overspray
…pause and verify suitability. Getting the measurement right won’t save a product not rated for your exposure conditions.
Verdict / tip
Measuring patio laminate flooring by area (including cutouts) + manufacturer-recommended waste + correct perimeter expansion gaps is the fastest path to accurate ordering. The downside is that you may still have leftover boards with simple layouts, and if your patio is fully exposed to frequent rain or standing water, you should skip the DIY measurement step until product suitability is confirmed—using the wrong laminate is worse than being off by a box.
If your patio laminate flooring product is rated for the covered environment you have, your strongest cost-control comes from correct usable-area math plus manufacturer waste and spacing rules.
For fully exposed patios in 2026, treat outdoor suitability as a prerequisite—because even perfect measurements can’t compensate for an unapproved product.
Insert-ready planning note
Before you commit to your final order, confirm:
– box coverage in sq ft/box
– expansion gap instruction in mm/in
– outdoor suitability statement for your exposure
Patio laminate measuring checklist (quick scan)
Use this quick scan to double-check your patio laminate flooring estimate before you order. If you catch an issue here, it’s far cheaper than returning boards mid-install.
A short pre-order checklist reduces the chance of under-ordering patio laminate flooring because it forces cutouts, waste, and expansion gaps to be reviewed in one place.
Rounding up box counts for patio laminate flooring is a practical risk-control step when your usable area is subject to trimming and fit.
Keeping plank direction consistent with your patio laminate flooring layout avoids last-minute layout changes that can increase waste.
– [ ] Sketch patio + mark cutouts/obstructions
– [ ] Measure lengths/widths; split into rectangles (and triangles for angles)
– [ ] Total area and subtract skipped sections
– [ ] Add waste allowance (use manufacturer guidance)
– [ ] Include expansion gap perimeter planning
– [ ] Convert to boards/boxes using box coverage
– [ ] Round up boxes; verify starting direction and end cuts
7 Exact Unit Conversions That Matter When Measuring Patio Laminate Floors (NIST SP 811, 2019)
| # | Conversion used | Exact factor | 2-decimal use | Accuracy if rounded |
|---|---|---|---|---|
| 1 | Inches → millimeters | 1 in = 25.4 mm | 25.40 mm | 100.0% |
| 2 | Feet → meters | 1 ft = 0.3048 m | 0.30 m | 98.4% |
| 3 | Square feet → square meters | 1 ft² = 0.092903 m² | 0.09 m² | 96.9% |
| 4 | Square meters → square feet | 1 m² = 10.76391 ft² | 10.76 ft² | 100.0% |
| 5 | Square feet → square inches | 1 ft² = 144 in² | 144 in² | 100.0% |
| 6 | Yards → meters | 1 yd = 0.9144 m | 0.91 m | 99.4% |
| 7 | Meters → feet | 1 m = 3.28084 ft | 3.28 ft | 100.0% |
Sources
A correct patio laminate flooring order comes from disciplined measurement (usable area, cutouts, and math consistency), then converting to boxes using the manufacturer’s stated coverage, and finally enforcing expansion gaps exactly where the instructions specify. If your patio is covered and your chosen laminate is rated for that environment, this workflow keeps ordering errors rare; if it’s fully exposed to frequent rain or standing water, verify suitability before you place an order—because product mismatch can fail even when your measurements are perfect.
Frequently Asked Questions
What are the exact steps to measure laminate flooring for a patio?
Start by measuring the length and width of the patio area, then calculate the square footage (length × width). Check whether the space is a perfect rectangle; if not, break it into smaller sections and add the totals. Account for doorways, built-ins, and any non-floor areas, then include a waste factor (typically 10%) for cuts and board layout. Finally, measure around edges where expansion gaps will be needed for laminate on outdoor surfaces.
How do I measure a patio area that isn’t a rectangle for laminate flooring?
Measure each section of the patio separately—such as the main rectangle plus any angled or stepped portions—then sum the square footage. For angled areas, take width and depth measurements at the largest points and use a simple breakdown method (for example, split into two rectangles). It also helps to create a quick sketch with dimensions so you can track how many laminate boards you’ll need and where irregular cuts will occur. Don’t forget to measure along the perimeter for expansion gaps, especially around posts or borders.
Why do I need to measure for expansion gaps when installing laminate flooring on a patio?
Laminate flooring requires room to move with temperature and moisture changes, even in partially covered outdoor areas. If you don’t measure for expansion gaps along walls, thresholds, and fixed objects, boards can buckle or separate after seasonal expansion. When measuring, include the clearance space you’ll leave at the perimeter (and any transitions) so you can plan the first and last board widths accurately. This makes installation cleaner and reduces the risk of damage.
Which measurement approach is best for calculating laminate square footage and board count?
Use square footage first: total usable floor area (minus drains, columns, and cutouts) × (1 + waste factor like 10–15%). Then convert to board count by dividing the total square footage by the coverage per laminate box, using the exact product specs on the packaging. For more accuracy, also measure the planned board direction and note whether you’ll install lengthwise or widthwise, because that affects cutting and waste. If your patio has tricky angles, consider increasing waste slightly to cover additional laminate board cuts.
How do I measure and plan for doors, thresholds, and uneven patio edges before buying laminate?
Measure the width and height of openings or transitions (like sliding doors or step-down thresholds) and include the area needed for underlayment and transition strips. For uneven patio edges, take multiple perimeter measurements (at least every 2–3 feet) and use the largest dimension to ensure your laminate layout fits. Mark where boards must stop under doorjambs or around fixed features, then plan for staggered seams and end cuts. This prevents shortfalls and ensures your laminate floor for patio stays aligned and professionally finished.
📅 Last Updated: October 24, 2026 | Topic: How to measure a laminate floors for patio? | Content verified for accuracy and freshness.
References
- Laminate flooring
- Floating floor
- Expansion joint
- Underlayment
- Patio
- https://www.britannica.com/technology/laminate-flooring
- F710 Standard Practice for Preparing Concrete Floors to Receive Resilient Flooring
- https://scholar.google.com/scholar?q=how+to+measure+laminate+flooring+for+installation+expansion+gap Google Scholar
- https://scholar.google.com/scholar?q=laminate+flooring+layout+calculation+room+measurements+waste+factor Google Scholar
- https://scholar.google.com/scholar?q=outdoor+patio+laminate+flooring+moisture+requirements+installation+planning Google Scholar