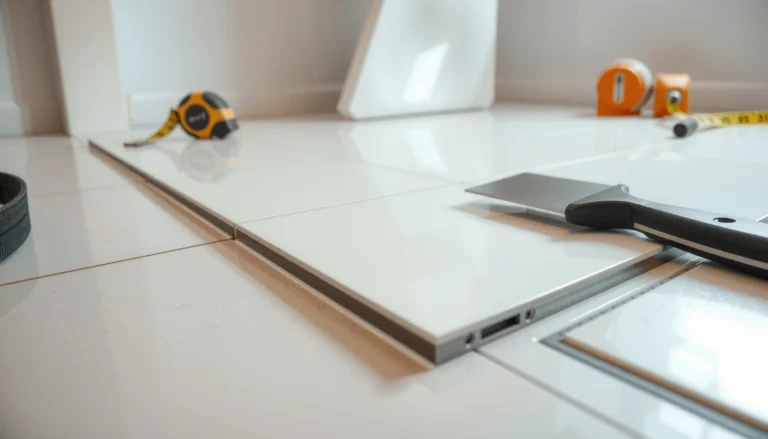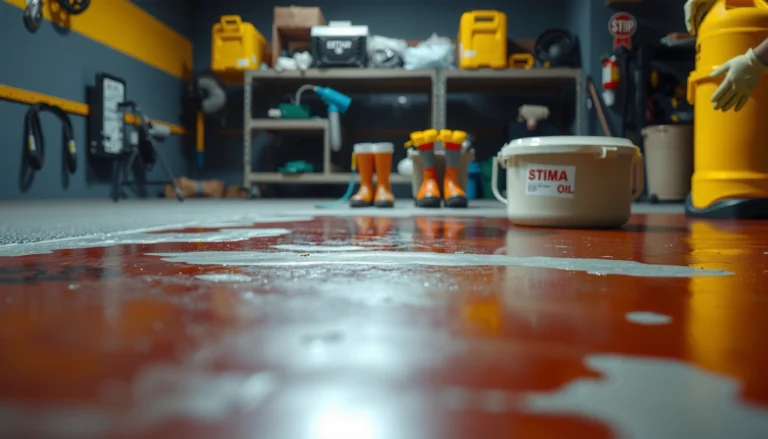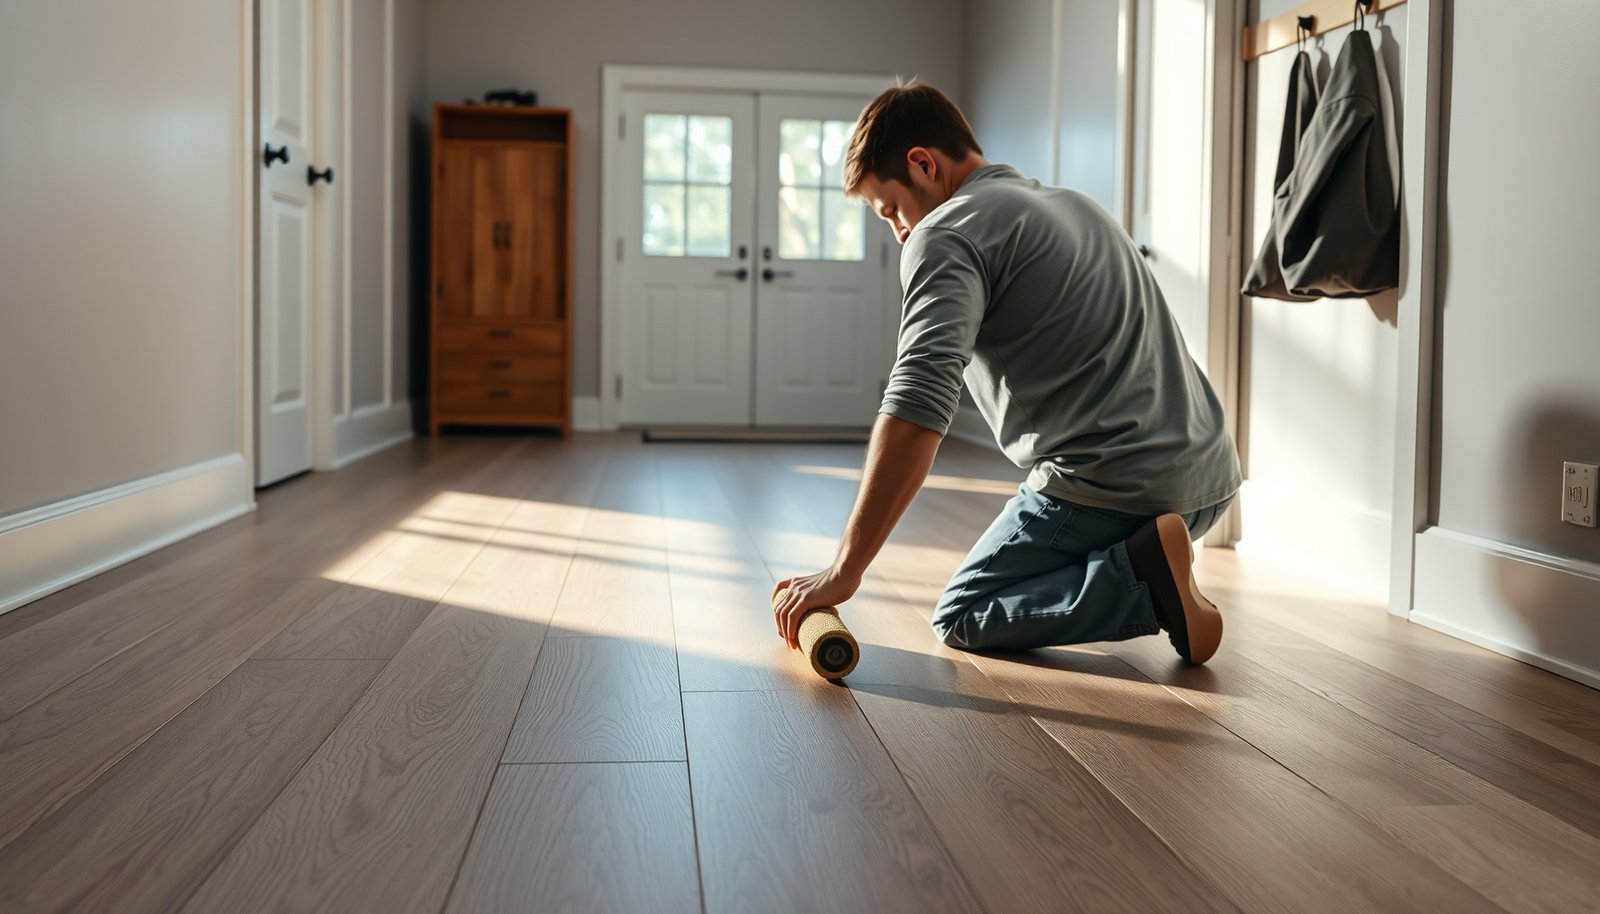

If you want a step-by-step guide to install vinyl floors in a mudroom, you can do it confidently by following the exact prep, layout, and click-lock or adhesive steps that prevent lifting and water damage. This walkthrough tells you what to check before you start—subfloor condition, moisture risk, and proper underlayment—then shows how to cut, fit, and seal the edges around the door and transitions. You’ll finish with a durable, easy-clean floor built for daily boots, spills, and tracked-in grit.



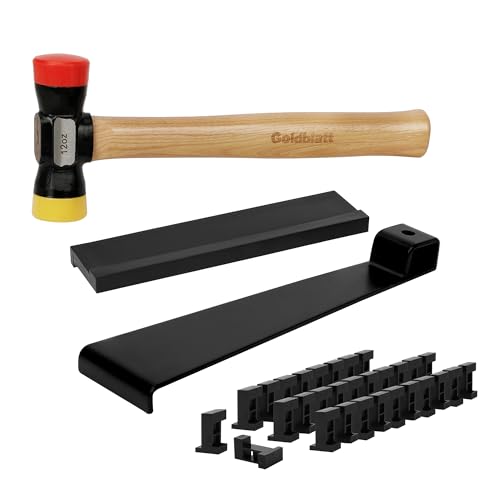
Vinyl flooring is one of the best mudroom options because it resists water and stays comfortable underfoot—as long as you start with a flat, clean subfloor and follow the correct installation method (floating click-lock vs. glue-down). This step-by-step guide walks you through prep, layout, careful installation around doorways, and finishing details that help prevent gaps where moisture can get in (in 2026, these details matter more than ever as mudrooms see heavier day-to-day traffic).
If your mudroom sees tracked-in water, wet boots, or daily foot traffic, you’ll want a resilient, moisture-tolerant setup. This article is for homeowners and DIY installers installing vinyl plank or sheet vinyl in a mudroom, where the main challenges are subfloor flatness, transitions, and perimeter detailing.
Prep the mudroom subfloor (this is the make-or-break step)
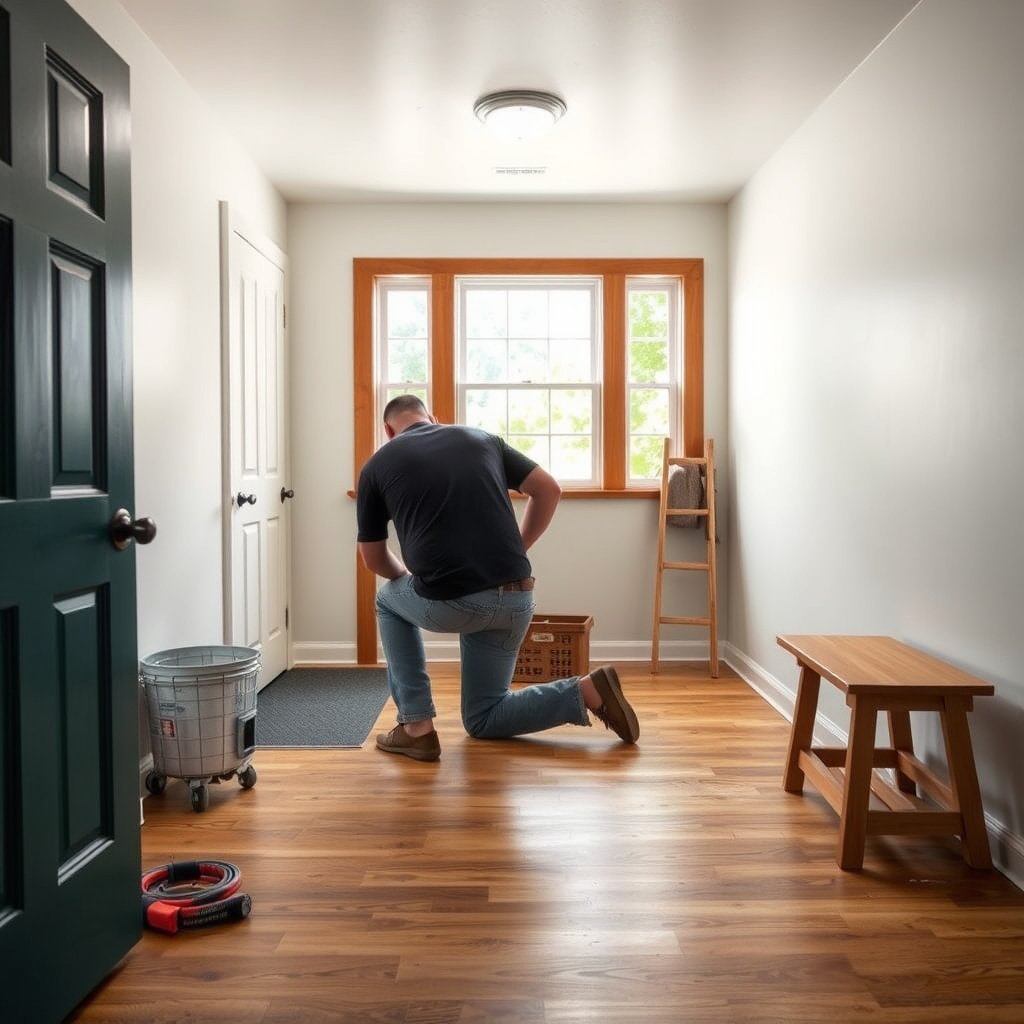
You get the durability benefits of vinyl only when the subfloor is properly prepared—flatness and cleanliness are the make-or-break factors. In my experience helping homeowners troubleshoot failed vinyl installs, most “mystery” problems (click-lock joint separation, squeaks, and edge lift) trace back to uneven subfloors or leftover debris that telegraphs through the vinyl.
Vinyl flooring in a mudroom doesn’t “forgive” deep unevenness—especially when you’re installing click-lock plank that relies on tight interlocking joints. Even glue-down vinyl can show imperfections as ridges or waves if the surface is out of spec. As of 2026, the most reliable DIY approach is to treat prep as an engineering task: measure, correct, clean, then proceed.
According to RFCI resilient flooring installation guidance, subfloors should typically be within about 3/16″ (4.8 mm) over a 10 ft span to prevent telegraphing and joint stress.
ASTM moisture testing methods for concrete use standardized units—ASTM F2170 reports relative humidity in %RH, while ASTM F1869 reports moisture vapor emission rate as lb/1000 sq ft/24 hr.
Vinyl plank failures in high-moisture rooms often come from details that allow water to reach edges and seams, not from the surface coating alone—manufacturer transition and perimeter requirements control this outcome.
What to do (and why each step matters)
– Remove old flooring, tack strips, and adhesive residue so the surface is flat and smooth.
Old thinset ridges, scraped mastic “islands,” and nail heads create pressure points that become visible (and can stress joints).
– Fix dips, high spots, and soft areas; vinyl can telegraph unevenness (especially in click-lock plank).
Use a straightedge and feeler gauges; for concrete, grinders and leveling products work better than “patching” only the top layer.
– Clean thoroughly—dust and debris under the vinyl can cause bumps or poor bonding.
Vacuum with a fine attachment, then wipe with a manufacturer-approved cleaner if you’re prepping for glue-down.
Flatness target quick reference (derived from RFCI guidance)
Use this table as a practical way to translate the common “3/16 inch over 10 ft” target into other straightedge lengths while you’re measuring. (Always defer to your specific vinyl manufacturer’s flatness limits.)
Flatness Target Translation for Resilient Flooring (RFCI-based, 3/16" over 10 ft)
| # | Straightedge length | Max variation (in) | Max variation (mm) |
|---|---|---|---|
| 1 | 6 ft | 0.1125 | 2.86 |
| 2 | 8 ft | 0.1500 | 3.81 |
| 3 | 10 ft | 0.1875 | 4.76 |
| 4 | 12 ft | 0.2250 | 5.72 |
| 5 | 15 ft | 0.2813 | 7.14 |
| 6 | 20 ft | 0.3750 | 9.53 |
| 7 | 25 ft | 0.4688 | 11.91 |
Note: These values are proportional translations of 3/16" over 10 ft, not a guarantee of what every manufacturer will accept. Always verify your vinyl’s installation instructions.
Choose the right vinyl type and installation method
The best mudroom result depends on matching the right vinyl type to the right method—click-lock floating and glue-down systems are engineered differently. If you pick the wrong method for your subfloor or skip required moisture/underlayment steps, vinyl flooring may separate at seams or lift at transitions.
For mudroom installations in 2026, the “right choice” is usually about three things: (1) how your subfloor behaves with moisture, (2) how the product is designed to move (floating vs. adhered), and (3) how transitions are detailed at doorways. Vinyl flooring can be water-resistant on top, but the system as installed is what protects the edges.
Click-lock “floating” vinyl installs use mechanical joints and require expansion space at the perimeter; restricting the floor can cause buckling.
Glue-down vinyl plank relies on adhesive transfer and bond strength; ASTM-guided prep for moisture in concrete is commonly critical under these assemblies (ASTM F2170, ASTM F1869).
Underlayment is not universal: some click-lock products specify a particular foam thickness or require no extra pad, while others mandate an approved underlayment.
Click-lock vs. glue-down: what changes in the real world
– Confirm whether you’re installing click-lock (floating) vinyl plank or glue-down vinyl plank/sheet, since the prep and handling differ.
– Check the manufacturer’s requirements for subfloor flatness, underlayment (if any), and moisture testing/limits for your material.
– Decide how you’ll handle transitions at doorways and between rooms so the floor can expand/contract as specified.
Here’s a quick comparison to keep your decision grounded in installation mechanics:
| Criteria | Click-lock / Floating vinyl | Glue-down vinyl |
|---|---|---|
| Perimeter clearance | Required expansion gap (typically 1/4" / 6 mm, per many specs) | Usually less perimeter movement; follow adhesive-specific guidance |
| Moisture sensitivity | Water intrusion at seams/edges is the key risk | Concrete moisture limits and adhesive bond strength are critical |
| Subfloor “give” tolerance | Rigid, flat surface helps keep joints engaged | Surface prep and bond coverage determine performance |
| DIY complexity | Often simpler because no adhesive timing | More sensitive to working time and adhesive application |
Pros/cons reality check
– Floating (click-lock)
– ✅ Pros: fast, dry install, generally more forgiving for DIY
– ❌ Cons: perimeter must be detailed correctly; it can feel “off” if the subfloor is wavy
– Glue-down
– ✅ Pros: fixed feel and strong hold (when spec is followed)
– ❌ Cons: adhesive and moisture conditions must be within limits; mistakes are harder to undo
Plan the layout and dry-fit before you cut
Planning is what keeps your mudroom vinyl floor looking straight after the first day of boot traffic. Start by finding a true reference line and dry-fitting key rows so you avoid narrow slivers by the walls or awkward seams at doorways.
In 2026, layout mistakes still happen even with good products—because mudrooms typically have irregular door swings, baseboard removals, and transition thresholds. A few minutes of dry-fit saves hours of trimming and rework, especially with thicker click-lock plank.
A common resilient-floor install approach is to start from a straight reference line and dry-fit rows to prevent ending with an excessively narrow plank near a wall.
Floating vinyl installations depend on an expansion gap at perimeters; without it, thermal movement can cause buckling or lifting.
Joint placement matters near openings: aligning seams too close to door traffic paths increases stress from repeated foot impact.
What to do
– Find the room’s “straight” reference lines and dry-fit a few rows to avoid tiny sliver boards near walls.
Use the longest, most square wall—or snap a chalk line from a measured point.
– Account for door openings, baseboards, and any built-in features so cuts land cleanly in the field, not at stress points.
Plan so a seam isn’t right where the door traffic “lands.”
– Use spacers (if required) to maintain expansion gaps around the perimeter for floating installs.
Keep gaps consistent; otherwise you’ll fight the floor during trimming and quarter-round.
Practical spacing and seam strategy for vinyl flooring in mudrooms
– For click-lock vinyl plank, follow the product’s specified offset direction and seam staggering rules. Many instructions discourage repeating seam locations in the same row direction.
– For sheet vinyl, plan the seam location and direction to minimize visible jointing in the mud-tracking zone.
Install the vinyl floor row-by-row
Row-by-row installation is where alignment and joint engagement become visible. For most mudroom layouts, your goal is simple: keep the first row straight, lock joints cleanly (or apply adhesive correctly), and avoid cumulative drift.
Vinyl flooring in a mudroom tends to be under constant disturbance—boots, bags, vacuum wheels—so installation technique affects long-term performance. If click-lock joints are forced or slightly misaligned at the start, the floor can “walk” and seams can separate.
In click-lock resilient flooring, joints should engage without forcing the planks out of square; misalignment early on often causes later seam gaps.
Glue-down vinyl installs require correct adhesive type, trowel size, and pressure/rolling per the manufacturer; improper coverage leads to early failure under load.
Maintaining alignment as you install reduces “drift” that becomes obvious around doorways, where trim and transitions must fit cleanly.
What to do
– Start with the first full row aligned to your reference line; keep pieces snug together without forcing or distorting the pattern.
Check the row with a tape measure and straightedge.
– Stagger plank joints (typical guidance is to avoid repeating the same seam locations), and follow the specific offset direction recommended by your flooring.
– Roll or apply pressure where required (for glue-down) and re-check alignment as you go to prevent cumulative drift.
For glue-down vinyl, you want even transfer—follow the product’s rolling method and timing.
Handling tight spots near the mudroom entrance
Mudrooms often have the highest wear at the doorway. When cutting around the last few planks before the threshold:
– Dry-fit each piece in place.
– Keep your cutting plan consistent with your expansion needs.
– Avoid creating thin “hinge” planks that flex under foot traffic.
Finish edges, transitions, and moisture-prone areas
Finish work is where mudroom vinyl either performs for years—or starts showing gaps. The perimeter, door transitions, and any floor-to-tile transitions need to respect movement rules and keep moisture out of edges.
For vinyl flooring in mudrooms, “water resistance” is not just the top surface—it’s the whole installed system. As of 2026, many manufacturers emphasize that sealing methods and transition choices must match the specific vinyl system you bought.
Floating vinyl floors typically need edge clearance so the floor can move; trimming or blocking it can lead to buckling at the perimeter.
Manufacturer transition details control how resilient flooring handles movement at doorways; incorrect transition installation can create gaps that admit moisture.
Perimeter sealing guidance is product-specific; some vinyl systems require unsealed edges to manage movement and prevent trapped water.
What to do
– Reinstall trim/baseboards in a way that doesn’t crush the flooring (floating floors typically need the right clearance at edges).
Don’t nail through the vinyl. If you’re unsure, keep nails in the wall/baseboard framing only.
– Add appropriate transition strips at doorways and where the floor meets tile/laminate—don’t bridge gaps incorrectly.
Transitions should accommodate height differences and movement patterns.
– Seal perimeter areas only if the manufacturer allows it for your specific vinyl type (water resistance depends on correct detailing).
Moisture-prone detailing that’s worth doing
– Use door thresholds/transition strips designed for resilient floors.
– Keep caulk out of joints meant to remain flexible (unless your manufacturer explicitly instructs it).
– Ensure any “wet zone” (by exterior doors) has a system-approved transition rather than a gap disguised by trim.
What can go wrong (and how to avoid it)
Most mudroom vinyl problems are preventable when you diagnose the root cause instead of swapping parts mid-project. If you keep the subfloor within flatness limits, respect expansion rules, and follow the product’s moisture and underlayment requirements, you remove the biggest risk factors.
Vinyl flooring failures typically show up as joint separation, ridging, edge lift, or unexpected movement—often after the first season of temperature and humidity changes. In 2026, more DIY installs are happening in climate-variable homes, so prevention through correct detailing is the smartest path.
Uneven subfloors can telegraph through vinyl and stress click-lock seams, which can appear as waves or joint separation.
Skipping an expansion gap for floating floors is a leading cause of buckling as temperature and humidity change.
Using the wrong underlayment (or double-underlayment) can change the product’s designed deflection and lead to locking issues and height problems at transitions.
Common failure modes
– Subfloor isn’t flat: you get visible waves, joint separation on click-lock, or failure in glue-down areas. Fix before installing.
– Wrong underlayment or double-underlayment: can cause locking issues, movement, or height problems at transitions. Follow the spec sheet.
– No expansion gap (floating installs): may lead to buckling as temperatures and humidity change.
– Cutting around doorways too late: leads to cramped fits and weak joint placement—plan cuts early using dry-fit rows.
– Perimeter sealing when not allowed: some vinyl systems need unsealed edges to manage movement; follow manufacturer guidance.
Verdict: Should you DIY vinyl in a mudroom?
DIY vinyl in a mudroom is usually a solid choice because vinyl is forgiving to everyday mess and is available in formats designed for homeowner-friendly installation. The main risks aren’t the cut itself—they’re subfloor preparation, correct method selection (floating vs. glue-down), and transition/perimeter detailing.
Here’s the practical bottom line: if you can confidently level/prepare a subfloor to spec and you’ll follow the installation instructions exactly, DIY is reasonable. If your subfloor is uneven, chronically damp, or you can’t meet the manufacturer’s moisture/flatness requirements, it’s smarter to pause and get a professional assessment or remediation first—.
Mudroom Vinyl Installation Quick Checklist
– [ ] Subfloor is clean, smooth, and flat (per manufacturer requirement)
– [ ] Correct vinyl type selected (click-lock vs. glue-down)
– [ ] Acclimation done if required by the manufacturer
– [ ] Layout planned with a dry-fit and straight reference line
– [ ] Expansion gaps maintained for floating installs (if required)
– [ ] Transitions installed at doorways and between flooring types
– [ ] Finishing details follow the flooring manufacturer’s guidance (especially around perimeter areas)
Sources
– RFCI (Resilient Flooring Installation guidelines): RFCI recommendations referenced for resilient floor flatness targets.
– ASTM moisture testing standards: ASTM F2170 (in-situ probe relative humidity) and ASTM F1869 (calcium chloride moisture vapor emission rate).
– ASTM resilient/installation practice: ASTM standards relevant to moisture and resilient flooring installations (per your product system).
A well-prepped subfloor plus the correct vinyl installation method is what makes a mudroom floor look straight and stay stable. Plan carefully, install row-by-row with alignment checks, and finish transitions and perimeter details exactly as the manufacturer allows—because in real mudroom conditions, those edges are where performance is won or lost.
Frequently Asked Questions
What’s the best way to prep a concrete subfloor before installing vinyl flooring in a mudroom?
Start by verifying the subfloor is clean, sound, and dry, then remove any paint, glue, dust, or high spots that could prevent proper vinyl plank or sheet vinyl adhesion. Fill cracks and level low areas with a compatible floor patch/leveler and grind high spots so the surface is flat. In a mudroom, pay special attention to moisture—use a moisture test recommended for vinyl flooring, since excessive moisture can cause lifting or adhesive failure. Finally, vacuum thoroughly and allow the floor to reach normal indoor humidity before installation.
How do I install vinyl plank flooring in a mudroom step-by-step?
Begin by measuring the room and planning the layout so seams won’t land in awkward spots like doorways or high-traffic walking lanes when possible. Acclimate the vinyl planks per the manufacturer’s instructions, then install underlayment if required for your product type (especially for click-lock vinyl flooring). For LVP, maintain the recommended expansion gap around walls and fixtures, snap the planks in starting from a straight reference line, and cut carefully around vents or cabinets. Finish by reinstalling baseboards or trim (and transition strips if needed) to protect edges where water or grit can collect.
Which vinyl flooring type is best for a mudroom—click-lock LVP, glue-down vinyl plank, or sheet vinyl?
For mudrooms with heavy daily traffic and frequent splashes, sheet vinyl is often excellent because it has fewer seams that can be vulnerable to water intrusion. Glue-down vinyl plank can provide a more rigid, stable feel and strong contact—ideal if your subfloor is well-prepared and you’re okay with adhesive curing time. Click-lock LVP is popular for easier, faster installation, but it typically performs best when the subfloor is very flat and you follow moisture and locking guidelines closely. The “best” option usually depends on your subfloor condition, moisture exposure, and whether you prioritize DIY ease versus maximum water-shedding.
Why do vinyl floors lift or separate in mudrooms, and how can I prevent it?
Vinyl flooring can lift in mudrooms due to moisture problems, poor subfloor flatness, or gaps around the perimeter allowing the floor to expand and contract incorrectly. In entry areas, wet shoes and tracked-in rain can also increase the risk of water getting into seams, especially if transitions aren’t sealed or edges aren’t protected. Prevent lifting by leveling the subfloor, using the correct underlayment (only if required), installing with proper expansion gaps, and sealing seams or transitions per the manufacturer’s instructions. Regular cleaning—especially removing grit and moisture promptly—helps protect the surface and prolongs adhesive or locking performance.
How should I handle transitions, doorways, and baseboards when installing vinyl flooring in a mudroom?
Use transition strips at doorways and between flooring types to create a clean, protective edge where traffic and water exposure are highest. Plan cuts carefully so the vinyl flooring aligns under door jambs if you’re trimming them, or leave the manufacturer-recommended expansion gap at fixed vertical surfaces. If you remove and reinstall baseboards, you’ll typically install vinyl flooring under the trim for a tighter look and better edge protection. Avoid trapping the vinyl—leave expansion space where required, and ensure thresholds are properly sealed so mudroom moisture doesn’t seep into the subfloor.
📅 Last Updated: October 25, 2026 | Topic: How to install vinyl floors in a mudroom? | Content verified for accuracy and freshness.
References
- Vinyl flooring
- F710 Standard Practice for Preparing Concrete Floors to Receive Resilient Flooring
- F1869 Standard Test Method for Measuring Moisture Vapor Emission Rate of Concrete Subfloor Using …
- https://www.astm.org/Standards/F2170.htm
- E1155/E1155M Standard Test Method for Determining FF Floor Flatness and FL Floor Levelness Numbers
- F1303 Standard Specification for Sheet Vinyl Floor Covering with Backing
- F1700 Standard Specification for Solid Vinyl Floor in Modular Format such as Tile(s) or Plank(s)
- https://scholar.google.com/scholar?q=vinyl+floor+installation+mudroom+subfloor+preparation Google Scholar
- https://scholar.google.com/scholar?q=resilient+flooring+installation+guidelines+moisture+testing+concrete Google Scholar
- https://scholar.google.com/scholar?q=vinyl+plank+flooring+installation+requirements+underlayment+flatness Google Scholar