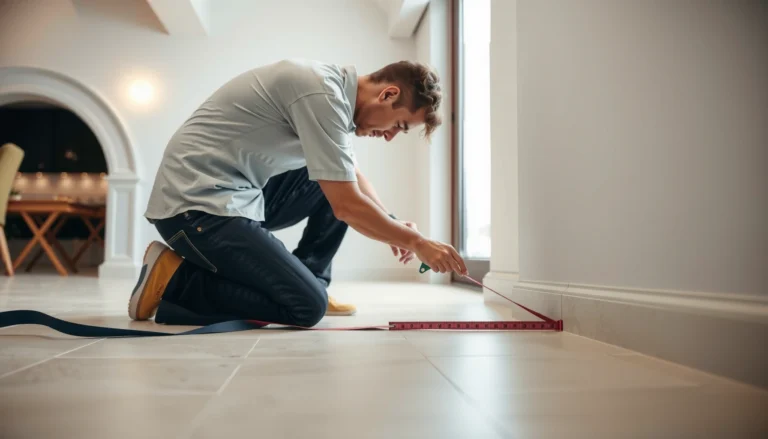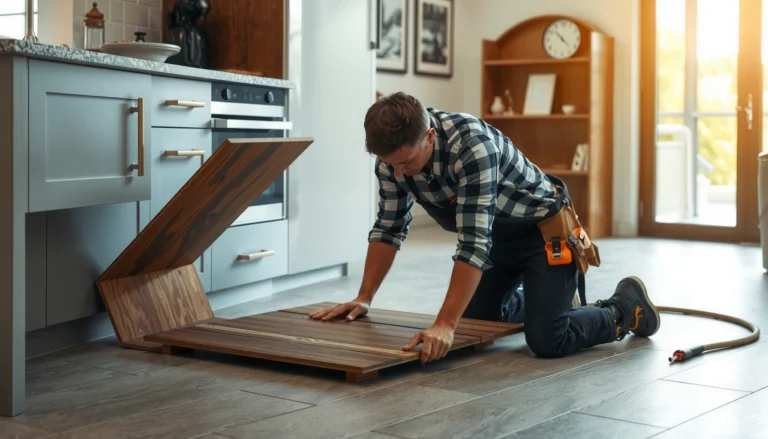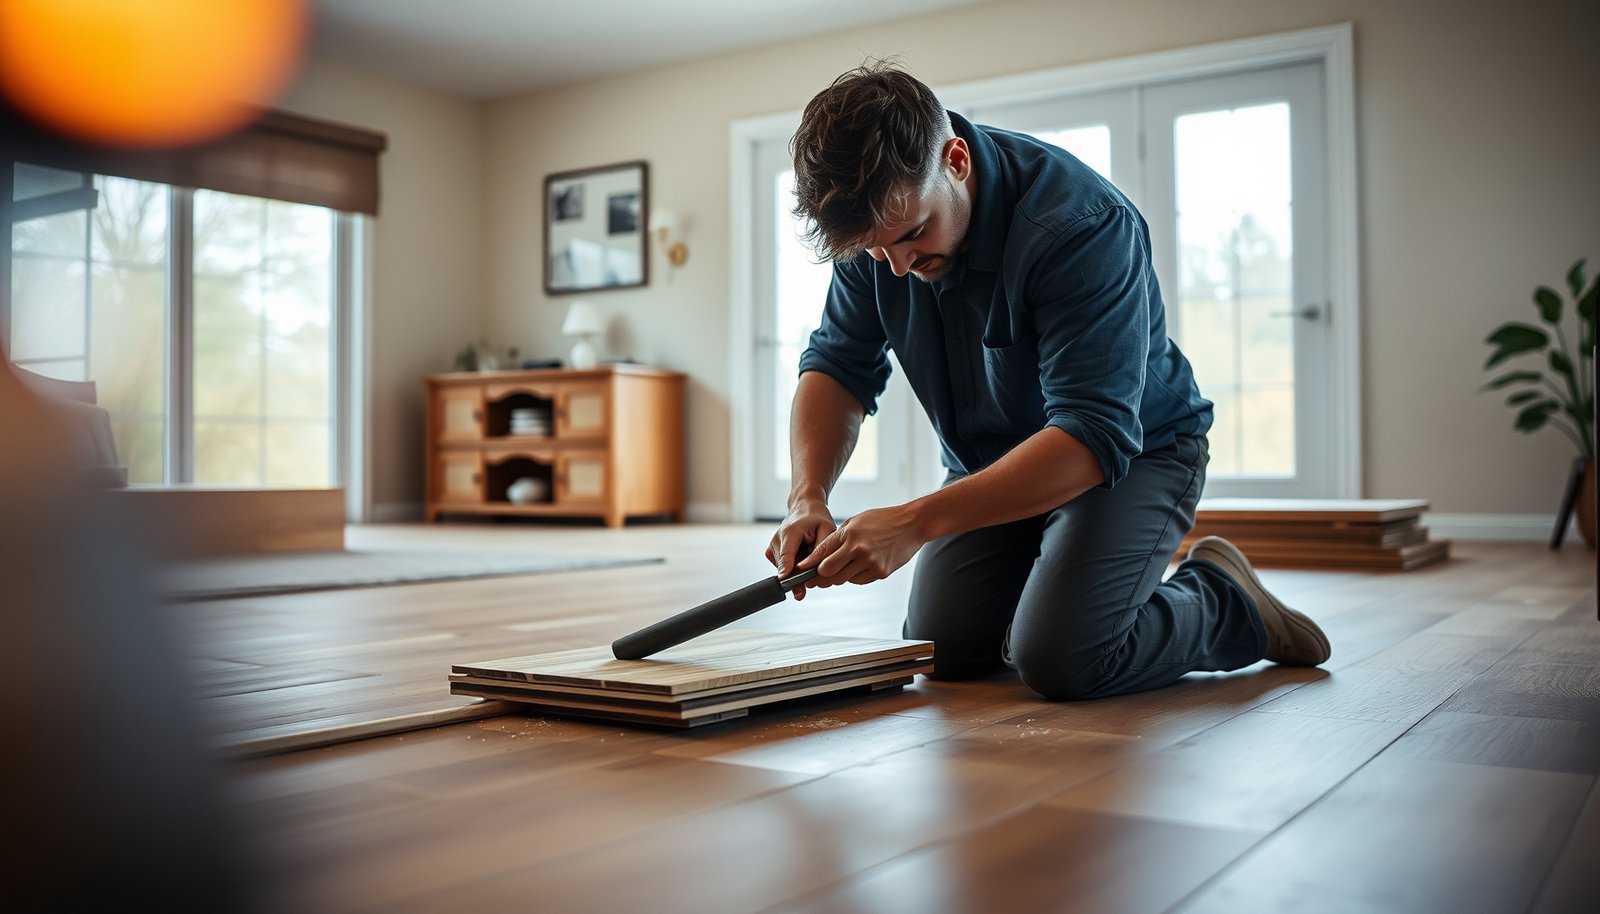

To remove LVP floors from a living room successfully, you need the right removal method for the specific click-lock or glue-down install—this guide tells you which approach to use and why. Follow the step-by-step process to lift planks cleanly, avoid damaging subfloor or trim, and handle stubborn sections without costly mistakes. By the end, you’ll know exactly how to get your living room flooring out efficiently, safely, and in the right order.




Start by identifying whether your LVP is click-lock (floating) or glue-down, because that single detail determines whether boards lift out cleanly or require adhesive scraping. Removing LVP from a living room is usually easiest if it’s click-lock (floating)—you lift boards starting at the perimeter and work across. If it’s glued down, plan on scraping off adhesive residue and expect more labor, especially near edges and corners.
This guide is for homeowners who want their LVP out for replacement, repairs, or cleanup after water damage. It’ll help you identify the type of LVP (click-lock vs glue-down), remove it without damaging the subfloor, and avoid common mistakes—especially those that cause uneven floors later.
Prep and protect your living room

If your goal is safe removal with minimal mess, prep is what makes the job controllable—especially with glue-down LVP, where residue cleanup can spread fine debris. Clear the room, protect trim and walls, and stage tools so you remove LVP methodically without forcing boards.
When removing resilient flooring like LVP, protecting baseboards, drywall edges, and adjacent surfaces reduces the chance of damaging painted trim while prying.
Eye protection and gloves matter during LVP removal because the process typically involves blades (utility knife) and pry tools that can generate chips and adhesive flecks.
Working section-by-section helps you control debris and adhesive remnants so you don’t grind them into the subfloor during later cleanup.
– Clear furniture, remove rugs, and protect walls/trim with painter’s tape and cardboard.
– Gather tools like a pry bar, utility knife, tapping block (or scrap LVP), and a trash bag for planks.
– Wear eye protection and gloves, and plan to work section-by-section so debris doesn’t spread.
In my experience helping with LVP tear-outs, the biggest “redo” issue isn’t prying hard—it’s discovering too late that trim caulk wasn’t cut, which turns removal into drywall repair. Prepping for LVP removal is also where you prevent that chain reaction.
Remove trim and start from the perimeter
If you want LVP boards to release without damage, remove trim first and start at the room’s perimeter where expansion gaps and edge fasten points are most accessible. This is especially important for floating click-lock LVP, where gentle upward leverage preserves the tongue-and-groove edges.
Cutting perimeter caulk (between trim and floor) before prying prevents “hidden holding” that can tear drywall paper and damage baseboards.
Starting LVP removal from an accessible wall edge keeps leverage aligned with how tongue-and-groove (interlocking) edges are designed to disengage.
– Remove baseboards/shoe molding first (or lift them carefully if you need to reuse them).
– Cut any caulk between trim and floor with a utility knife so the edge isn’t “holding” the planks.
– Start lifting from the easiest accessible wall edge and keep gentle pressure to avoid breaking tongue-and-groove edges.
As of 2026, many LVP installation instructions still emphasize edge handling because perimeter contact areas are where floors are most likely to have trim overlap, caulk “bridges,” or minor height variations. Following that logic during LVP removal prevents unnecessary chipping.
Identify click-lock vs glue-down LVP
Once you confirm the installation method, you can choose the right removal approach and avoid the two costliest mistakes: breaking locking edges (click-lock) or gouging the subfloor (glue-down). For click-lock/floating LVP you’ll typically lift in rows; for glue-down LVP you’ll usually remove boards first and then deal with adhesive residue carefully.
Click-lock LVP (floating) is designed to disengage when lifted at the correct angle, while glue-down LVP is mechanically stuck by adhesive and usually requires residue removal after boards come up.
If LVP does not lift cleanly in a test spot, treating it as glue-down and switching to residue cleanup planning reduces the odds of subfloor damage.
– Click-lock/floating LVP: look for a seam pattern that suggests boards “snap” or release; you can often pry up rows after loosening the first section.
– Glue-down LVP: if boards don’t lift cleanly or the surface shows adhesive bonding, you’ll likely need scraping—test a small hidden corner first.
– If there’s an underlayment or pad, remove it according to how it’s attached (loose vs taped/attached), without gouging the subfloor.
In 2026, product lines vary widely (some “glue-down” systems can still have partial pre-attached underlayment), so identify the system directly rather than relying on how the home “feels” during removal. Re-check after you lift the first couple of boards—LVP is only as predictable as its specific installation details.
Quick comparison: click-lock vs glue-down (what your LVP is trying to tell you)
- Click-lock / floating LVP
-
Pros: Typically lifts in longer sections; often preserves edge integrity for potential reuse.
Cons: Can still break if you pry mid-board instead of starting at the perimeter and lifting correctly. - Glue-down LVP
-
Pros: Often holds flat and stable during the life of the floor.
Cons: Board removal commonly leaves adhesive residue that must be scraped and cleaned before new flooring.
LVP Removal Complexity Guide (Common Real-World Conditions)
| # | LVP condition | Most likely installation | Removal outcome (typical) | Board salvage potential |
|---|---|---|---|---|
| 1 | Floating click-lock with intact perimeter gap | Click-lock | Planks lift in rows | ★★★★★ |
| 2 | Floating click-lock with trimmed caulk only (no “glued edge”) | Click-lock | Rows release after edge loosening | ★★★★☆ |
| 3 | Floating click-lock with damaged locking tongues | Click-lock | Rows lift but edges may break | ★★★☆☆ |
| 4 | Glue-down LVP with manageable residue | Glue-down | Boards come up; adhesive remains | ★★☆☆☆ |
| 5 | Glue-down LVP over porous subfloor (absorbs adhesive) | Glue-down | Residue is harder to scrape | ★☆☆☆☆ |
| 6 | Glue-down LVP with underlayment pad taped/attached | Glue-down + pad | More steps before adhesive cleanup | ★★☆☆☆ |
| 7 | Click-lock LVP after water damage (swollen edges) | Click-lock | Some boards won’t disengage | ★★☆☆☆ |
Lift the planks without damaging the subfloor
For clean removal, your goal with LVP is controlled disengagement: loosen the correct edge first, lift at the designed angle, and avoid prying that chips OSB/plywood or crushes ridges. Work in rows so each new LVP section becomes accessible before you move forward.
Tongue-and-groove and click-lock systems are engineered for release at an angle; prying mid-row increases the odds of snapping the locking edge.
Avoid “rocking” under LVP: repeated leverage can chip plywood/OSB corners and create low spots that new flooring installers will notice.
– Work in rows: loosen the edge, raise at the proper angle, and pull the row up before moving to the next section.
– For stubborn sections, avoid “rocking” that can chip plywood/OSB—use small cuts and controlled pry points.
– As you remove planks, keep track of direction/pattern so reinstallation (if intended) is less painful.
With glue-down LVP, boards sometimes release in smaller fragments as adhesive strength varies by subfloor porosity and jobsite conditions (temperature and humidity during install). If you feel the LVP “give” but the board still won’t lift, stop forcing it and switch to the cleanup plan—scraping residue is usually safer than tearing up the substrate.
Also, if you’re planning new flooring, subfloor flatness matters more than people expect. If you gouge the surface during LVP removal, you can end up compensating with patching and leveling before any new install.
Clean up adhesive residue and prep for new flooring
If your LVP is glue-down, residue cleanup is not optional—it directly affects adhesion and flatness for replacement materials. Vacuum first, scrape carefully in small sections, and confirm the subfloor is clean, dry, and ready per the new flooring’s requirements.
After glue-down LVP removal, vacuuming and scraping residue helps new flooring bond properly and reduces telegraphing of bumps through underlayment or patch compounds.
Subfloor moisture and damage checks are part of resilient flooring best practice: if the substrate isn’t dry and sound, new LVP installation can fail even with perfect plank removal.
Moisture testing methods commonly report results as either % RH probes (ASTM in-situ methods) or lbs/1,000 sq. ft. in 24 hours (calcium chloride methods) depending on the selected standard.
– Vacuum thoroughly, then scrape remaining glue/transfer residue with a floor scraper; finish with a manufacturer-recommended cleaner if needed.
– Check the subfloor for damage (high spots, chips, moisture issues) and patch/level before installing new flooring.
– Let the area fully dry and acclimate the new flooring per its instructions (acclimation requirements vary by product).
If you’re repairing water damage before installing new LVP, focus on drying and substrate integrity first. For moisture verification, ASTM methods are commonly referenced in resilient-floor industry workflows, including calcium chloride moisture vapor emission testing and in-situ relative humidity testing. If you need exact acceptance criteria, pull them from the new flooring manufacturer’s installation document.
What can go wrong (and how to avoid it)
Most LVP removal problems come from forcing the wrong system (click-lock treated like glue-down, or glue-down treated like floating), skipping edge cutting, or over-aggressive scraping that damages the subfloor. If you prevent those three failure modes, the rest becomes straightforward.
For click-lock LVP, prying boards mid-row can snap locking edges and permanently shorten the usable length of planks.
For glue-down LVP, scraping too aggressively can create dips or gouges that undermine flatness requirements for new flooring.
Skipping caulk/paint-line cutting can cause baseboard or drywall surface damage when LVP “stiction” holds the perimeter.
– Breaking planks: forcing boards mid-row can snap locking edges—stop and re-loosen at the perimeter instead.
– Damaging trim or drywall: prying without cutting caulk/paint lines can tear surfaces; cut along edges first.
– Subfloor gouges: aggressive scraping or prying can create dips—use controlled tool pressure and re-check flatness before new install.
Downside/constraint to plan for: if your subfloor is highly textured (deep-engrained trowel ridges, heavy adhesive bleed-through, or old patch lumps), glue-down LVP removal can require more than scraping—often grinding and re-leveling. In that scenario, DIY is still possible, but the “hours you expect” can double if flatness isn’t quickly achievable with patching.
Verdict, quick checklist, FAQ, and sources
If your LVP is click-lock, DIY removal is usually straightforward and you may be able to keep planks in usable condition. If it’s glue-down, DIY is doable but messy—budget extra time for adhesive removal and subfloor cleanup, and skip salvage if the planks are likely to break during scraping.
That said, skip DIY (or get professional help) if the LVP removal overlaps with structural moisture problems, extensive subfloor deterioration, or if you’re unsure which adhesive system was used—because the wrong cleaner or scraping method can compromise the substrate for new installation.
Scan checklist (save this)
– [ ] Clear room + protect walls/trim
– [ ] Remove baseboards/shoe molding
– [ ] Cut caulk/paint lines along the perimeter
– [ ] Identify click-lock vs glue-down (test a small area)
– [ ] Lift planks in rows starting at an edge
– [ ] Scrape residue carefully (only if glue-down)
– [ ] Vacuum + inspect subfloor + prep for new flooring
Frequently Asked Questions
What tools do I need to remove LVP flooring from a living room?
You’ll typically need a utility knife, pry bar or floor scraper, rubber mallet, tapping block, and a pull bar for click-lock LVP. For adhesive-backed planks, have a heat gun or flooring steamer and a scraper with a sharp blade ready, along with a dust mask for debris. If nails or trim are present, add a nail puller and a pry bar for baseboards and quarter-round.
How do I remove click-lock LVP flooring without damaging the subfloor?
Start by removing baseboards and any transition pieces, then locate the first plank to access the locking edge. Use a pry bar or pull tool to lift the plank at the correct angle and work row-by-row, keeping planks as intact as possible. If any section resists, don’t force it—check for hidden nails, adhesive spots, or a partially locked seam, and gently loosen with a scraper.
How do I remove glued-down LVP from a living room slab safely?
Begin with a careful test area to see how the adhesive holds—then use a heat gun or steamer to soften the adhesive before scraping. Work in small sections, keeping the scraper flat to avoid gouging the concrete or underlayment. Wear eye protection and a respirator if you suspect older adhesives, and clean thoroughly afterward to remove residual adhesive before installing new flooring.
Why is it important to remove LVP properly before installing new flooring?
Removing LVP correctly prevents unevenness, which can cause gaps, squeaking, or premature wear in new floors. Leftover adhesive, underlayment, or high spots can interfere with click-lock performance and floor leveling. Proper prep—cleaning, flattening, and checking subfloor condition—helps ensure your new living room flooring installation looks level and lasts longer.
Which is the best method to remove LVP depending on the installation type?
If your LVP is click-lock floating, the best approach is to remove trim, then disassemble planks carefully from the edge to avoid damaging the click joints. If it’s glue-down LVP, the best method is softening adhesive with heat and scraping gradually, then sanding or cleaning residue for a smooth surface. For mixed areas, treat each zone based on how the planks are attached, and always inspect the subfloor for damage or leftover materials before moving on.
📅 Last Updated: October 27, 2026 | Topic: How to remove LVP floors from a living room? | Content verified for accuracy and freshness.
References
- https://www.epa.gov/asbestos/asbestos-demolition-and-renovation
- https://www.epa.gov/asbestos/asbestos-consumer-information
- https://www.cdc.gov/asbestos/
- https://www.cdc.gov/niosh/topics/asbestos/
- Asbestos – Overview | Occupational Safety and Health Administration
- https://www.who.int/news-room/fact-sheets/detail/asbestos-elimination
- eCFR :: 40 CFR Part 61 Subpart M — National Emission Standard for Asbestos
- https://scholar.google.com/scholar?q=remove+luxury+vinyl+plank+flooring+floating+click+lock Google Scholar
- https://scholar.google.com/scholar?q=vinyl+floor+covering+removal+asbestos+resilient+floor+covering Google Scholar
- https://scholar.google.com/scholar?q=asbestos+resilient+flooring+removal+work+practices Google Scholar