
Get sawdust off hardwood floors safely with a proven step-by-step method that prevents scratches, residue, and lingering grit. You’ll learn the fastest way to remove sawdust with the right tools, when to damp-clean (and how lightly), and how to finish without damaging the finish. If you follow these steps in order, you’ll have a clean, spotless floor without risking swelling, dulling, or permanent marks.



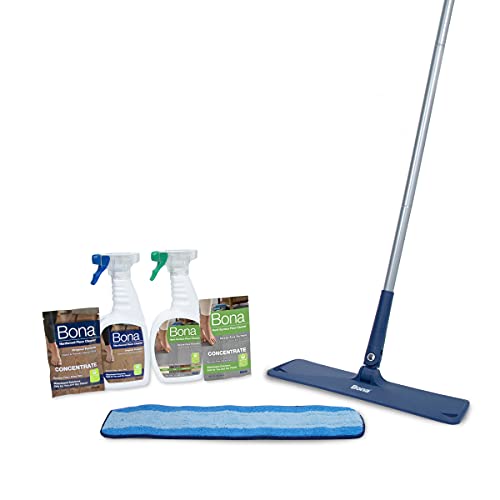
Suction and a microfiber wipe are the safest first move: vacuum up most sawdust gently, then wipe with a barely damp cloth to remove the fine dust. This matters because hardwood finishes can dull, haze, or even swell if moisture gets into seams—so the goal is “dry removal first,” not wet scrubbing.
If you’ve tracked in sawdust from sanding, a home project, or sawmill work, this is for you—especially if your hardwood is finished (polyurethane/varnish) or feels slightly rough after dust sits. The approach is also useful for dust that’s settled into seams and edges.
Get ready: protect the floor before you clean
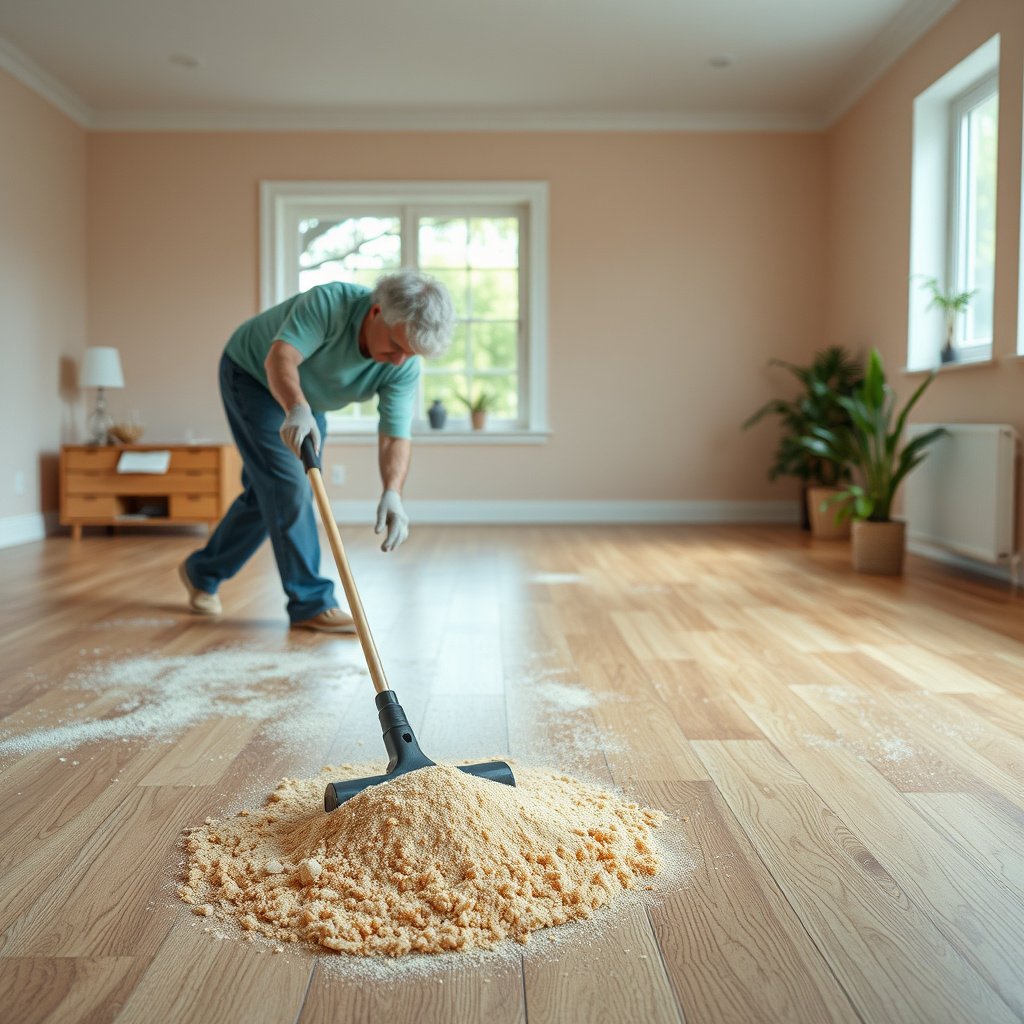
Start by reducing the chance of scratching and finish damage before you touch the sawdust again. For hardwood floors, the fastest path to safety is simple: control where dust goes, identify the finish type, and prepare tools that won’t grind particles into the surface.
Sawdust behaves like fine grit; vacuuming first prevents scratching that can happen when particles get dragged across a hardened hardwood finish.
Polyurethane and varnish are film-forming finishes, while oil/wax finishes absorb more—so moisture control is more critical when cleaning sawdust on oil/wax floors.
Identify your finish (poly/varnish vs oil/wax)
Before you clean sawdust off hardwood floors, confirm what’s on top. “Seams and edges” are the joint lines between boards and the perimeter gaps—those areas are where moisture can creep if you over-wet the surface. If you’re not sure whether your finish is polyurethane/varnish (protective coating) or oil/wax (more penetrative), use the gentlest method first and follow the finish-care guidance you already have.
– Use a soft-bristle brush attachment and a microfiber cloth to reduce scratching while you lift dust.
– Plan to work in small sections so dust doesn’t keep getting ground deeper into gaps.
– Check the floor’s finish first (poly/varnish vs oil/wax vs unknown). If you’re unsure, stick to the gentlest method and follow the finish-care instructions you have on hand.
From an operational standpoint, working in small sections also stops “recontamination,” where you clean one area and then walk dust into the next section on your shoes. As of 2026, this is still the same core dust-control workflow recommended in floor-care guidance: remove loose material first, then clean lightly, then dry fully.
Microfiber is designed to trap fine particles; when used barely damp, it helps lift the remaining dust without saturating hardwood joints.
If you clean sawdust on hardwood floors with abrasive tools, micro-scratches can turn into visible dull patches that are hard to reverse.
Dry removal first: vacuum safely, then brush
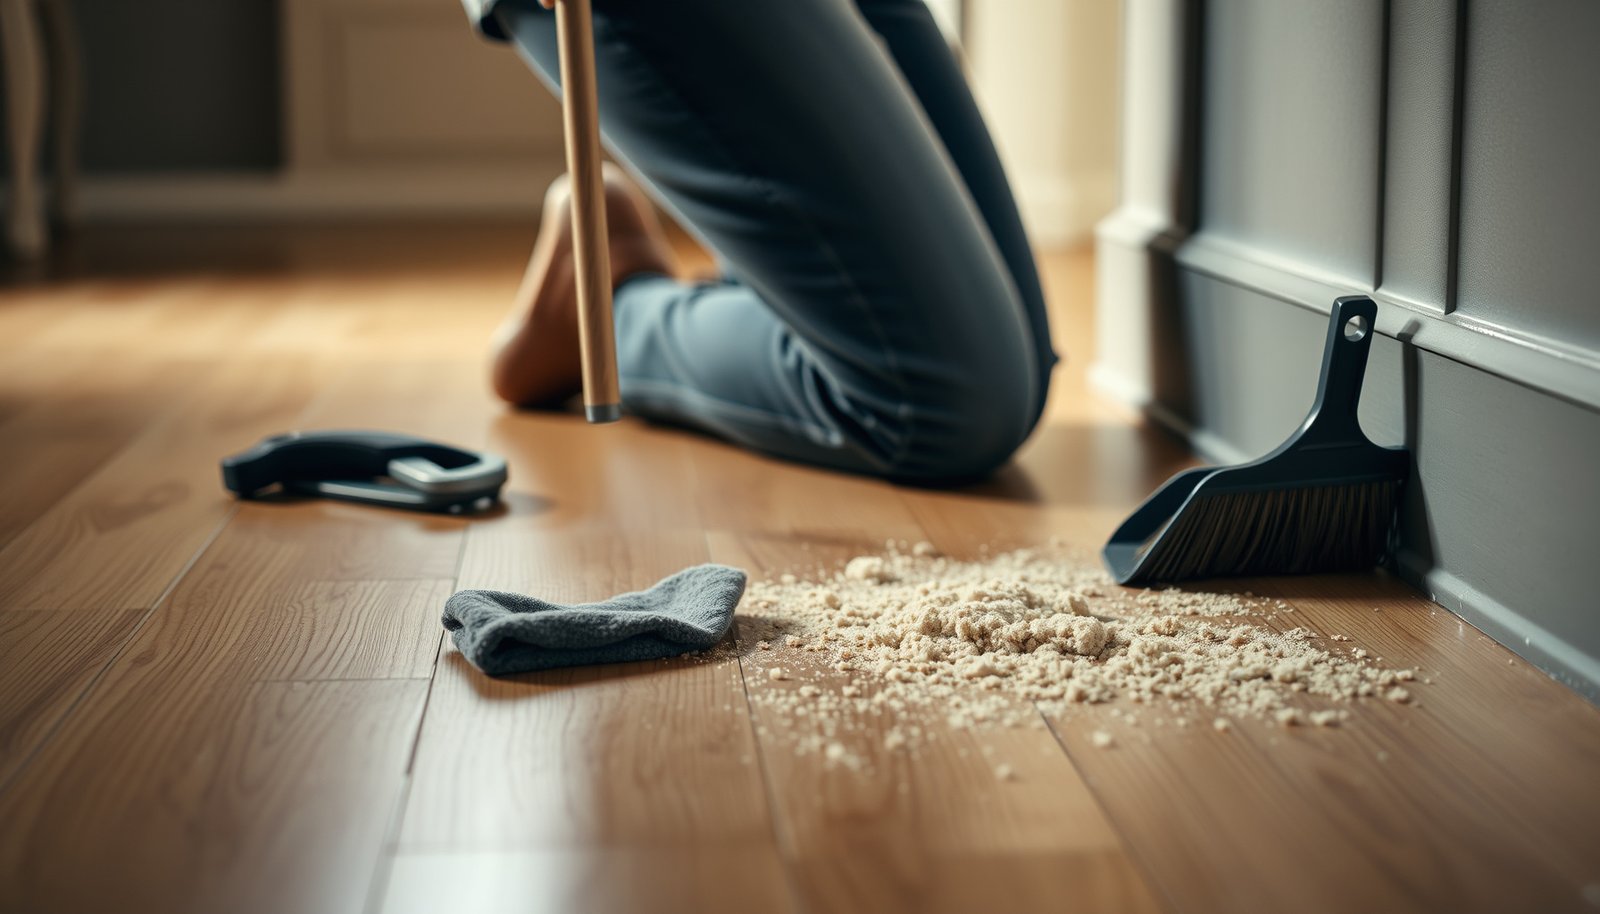
The safest way to start cleaning sawdust is vacuuming first, using the softest head you have, then only brushing if piles won’t lift. This sequence protects hardwood floors by removing the bulk of particles before any wiping spreads the finest dust.
According to OSHA guidance on combustible dust and dust control, minimizing dust accumulation and airborne dust is a core safety principle during cleanup.
HEPA filtration is designed to capture extremely small particles; HEPA-rated vacuum systems are commonly recommended when fine dust needs to be contained.
Vacuum settings and technique that matter
Use a vacuum with appropriate suction and a soft, non-aggressive attachment. Avoid beater bars (rotating brush heads) because they can scatter sawdust and increase the chance of dragging grit across the finish. If you’re dealing with a pile (not just dust), lift the bulk with suction first—then use a soft brush only to loosen what’s sitting too firmly.
– Vacuum with the soft/no-brush-head attachment first to pick up the bulk without grinding.
– If you have stubborn piles, lightly loosen them with a dry, soft brush—no scrubbing.
– For fine dust, do a second pass after brushing so you’re removing what’s actually sitting on top of the finish.
Dust-control reality check (what filtration actually means)
When you’re cleaning sawdust on hardwood floors, the dust you see is only part of the exposure picture. The airborne fraction—especially after sanding—includes very small particles that standard filters may not capture as effectively as HEPA/ULPA systems. The numbers below are real reference efficiencies used in filtration and respiratory protection standards, and they explain why “better filtration” reduces what returns to the floor.
Filtration reference efficiencies for fine dust control (key dust-cleaning particle size)
| # | Filtration grade / label | Reference particle (µm) | Minimum capture | Dust-control rating | Finish-safety impact |
|---|---|---|---|---|---|
| 1 | HEPA vacuum filtration (typical “HEPA” rating) | 0.30 | 99.97% | ★★★★★ | Green |
| 2 | ULPA filtration (typical “ULPA” rating) | 0.12 | 99.9995% | ★★★★★ | Green |
| 3 | N95 respirator grade | 0.30 | ≥95% | ★★★☆☆ | Red |
| 4 | N99 respirator grade | 0.30 | ≥99% | ★★★★☆ | Red |
| 5 | N100 respirator grade | 0.30 | ≥99.97% | ★★★★★ | Green |
| 6 | P99 respirator grade | 0.30 | ≥99% | ★★★★☆ | Red |
| 7 | P100 respirator grade | 0.30 | ≥99.97% | ★★★★★ | Green |
Deepen the clean without soaking
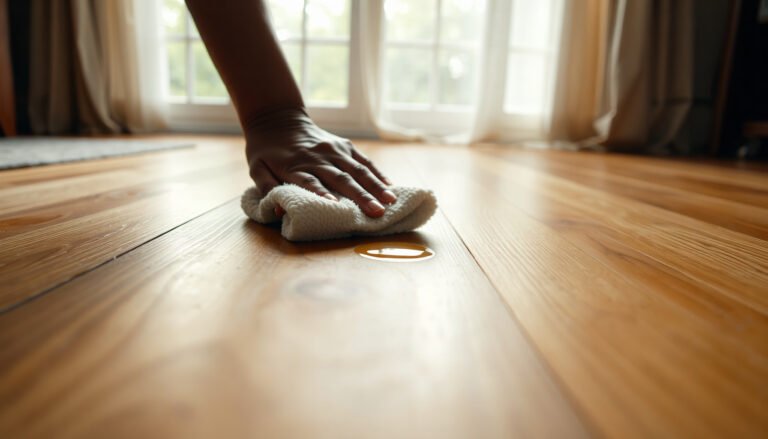
After the bulk sawdust is gone, you can remove the remaining fine dust with a barely damp microfiber wipe. This is the point where hardwood floors need control: the cloth should pick up dust, not leave water behind.
A microfiber cloth that’s “barely damp” reduces the risk of moisture migrating into hardwood seams compared with dripping mops or soaking.
According to manufacturer and association best practices, hardwood cleaning should prioritize minimal water and full drying rather than repeated wet passes.
Use the right moisture level, not more cleaner
For hardwood floors with polyurethane/varnish, light moisture can be acceptable, but “light” still needs discipline. “Barely damp” means you can almost wring the cloth dry—no visible puddles, no streaking, and no standing water at the baseboards.
– Wipe with a microfiber cloth that’s only slightly damp (think “barely wet”), working with the grain.
– Use a cleaner only if it’s approved for your hardwood finish; otherwise use a plain water-dampened cloth and change cloth sides often.
– Let the floor dry fully before walking on it, and keep airflow steady (fan in the room is usually fine).
From my side, I’m careful about one common failure mode: wiping too wet “because it feels like it’s working.” If you want a practical safeguard, use two cloths: one for the first light wipe and a second to “dry buff” immediately after—this keeps sawdust from redepositing.
To anchor the safety logic with real constraints, consider dust exposure too: According to OSHA’s wood dust workplace limits, wood dust is treated as a hazard and control should minimize airborne dust during cleanup (). Even in a home setting, the same principle applies when you’re cleaning sawdust off hardwood floors: don’t create a dust cloud.
Keep the finish safe: what to avoid
The finish-safe answer is: avoid soaking, avoid abrasives, and avoid methods that can drive moisture into seams. For hardwood floors, most “mystery haze” after sawdust cleanup comes from spreading fine particles with the wrong tool or introducing too much water.
Steam cleaning and dripping wet mops are common causes of hardwood dulling and joint damage because they apply moisture faster than the finish can tolerate.
Abrasive pads can permanently dull a polyurethane or varnish topcoat because they scratch the surface that protects hardwood.
– Don’t use steam cleaners, dripping mops, or wet pads—excess moisture can seep into seams and cause dulling or swelling.
– Avoid harsh degreasers, wax removers, or abrasive pads that can scratch and strip the topcoat.
– Don’t “polish while dirty”: buffing sawdust can act like grit and leave micro-marring.
At-a-glance comparison of “finish-safe vs finish-risky”
When deciding how to clean sawdust on hardwood floors, it helps to compare outcomes. Below is a parseable risk comparison that we use as a quick decision framework.
- Gentle vacuum + barely damp microfiber
- Pros: lifts fine dust with minimal moisture; low scratch risk when using soft attachments.
- Cons: won’t “strip” embedded contamination; may require repeat light wiping.
- Steam cleaner or wet pad method
- Pros: can look fast on heavy residue.
- Cons: higher risk of haze, swelling near seams, and finish clouding.
- Abrasive scrub pad + aggressive cleaner
- Pros: can remove stuck-on grime.
- Cons: increases micro-scratches; can damage the sheen of polyurethane/varnish.
What can go wrong (and how to adjust)
If the result isn’t what you expected, the fix is usually simpler than the problem. Haze, swelling, and scratches typically trace back to moisture level, the sequence (wiping too early), or using the wrong tool while cleaning sawdust on hardwood floors.
Haze is often caused by spreading fine dust or using too much moisture that leaves residue or a cloudy film on hardwood finishes.
Scratches typically happen when grit remains on the floor and is dragged by a brush head, mop pad, or abrasive cloth.
– Hazy spots after wiping: You may be spreading fine dust or using too-wet a cloth—switch to a drier wipe and change microfiber frequently.
– Swelling near seams or edges: Moisture likely got into gaps—stop mopping, use controlled damp wiping only, and increase drying time.
– Scratches from the wrong tool: Skip beater brushes and stiff scouring pads; use soft attachments and microfiber.
– Unknown finish reacting badly: If you see discoloration or film, stop and switch to the safest option: dry vacuum/soft brush only until you can confirm finish-care guidance.
As of 2026, one additional best practice is to inspect in good light after each pass. With sawdust, it’s easy to “feel clean” but still have embedded powder in the grain direction or in board joints. If you’re seeing swelling around seams, treat the area like a moisture event: pause wet cleaning, increase airflow, and reassess before continuing.
Verdict / tip: the safest routine (and who should skip what)
The safest routine is: gentle vacuum → light dry brush (if needed) → barely damp microfiber wipe. Here’s why: it removes sawdust without turning it into grit and limits moisture so hardwood floors and their finish stay protected.
The lowest-risk approach to sawdust on finished hardwood is removing particles dry first, then wiping with minimal moisture rather than soaking.
If you’re unsure about your hardwood finish, the safest default is controlled dry cleaning (vacuum and soft brush) until you can confirm finish-care guidance.
If you want the lowest-risk method, follow this order: gentle vacuum → light dry brush (if needed) → barely damp microfiber wipe. The downside is that this won’t “strip” or correct heavy contamination—if sawdust has embedded or the floor is already damaged, you may need a finish-specific cleaner or a professional assessment.
Skip damp wiping entirely (stay fully dry) if your floor is unfinished/unstable, recently installed, or you notice active cupping/gapping—moisture control is even more critical there.
Quick checklist (save this for later)
– [ ] Vacuum sawdust first (soft attachment; gentle passes)
– [ ] Lightly brush only if dust won’t lift
– [ ] Wipe with barely damp microfiber, grain direction
– [ ] Avoid steam, wet mops, and dripping pads
– [ ] Keep changing cloths; dry completely after
Sources
By design, this approach keeps sawdust from turning into grit: remove it dry with gentle suction, lift what won’t move with a soft brush, and finish with a barely damp microfiber wipe. If you follow that sequence and avoid steam, wet pads, and abrasives, your hardwood floors are far more likely to look clean without dulling, haze, or moisture-related swelling.
Frequently Asked Questions
What’s the safest way to remove sawdust from hardwood floors without scratching?
Start by gently dry-sweeping or using a vacuum with a soft brush attachment to avoid grinding particles into the wood grain. If sawdust is fine and dusty, use a microfiber dusting pad or a vacuum first, then follow with a lightly damp microfiber cloth. Avoid abrasive pads or stiff-bristle brooms, which can leave micro-scratches and dull the finish.
How do I clean sawdust from hardwood floors without damaging the finish?
Clean in stages: dry removal first (vacuum or broom), then minimal-moisture cleanup. Lightly dampen a microfiber mop or cloth with a manufacturer-approved hardwood floor cleaner or a small amount of pH-neutral cleaner diluted with water, then wipe in the direction of the grain. Don’t soak the area or allow puddles—excess moisture can seep into seams and cause swelling or warping.
Why is it important to clean sawdust quickly from hardwood flooring?
Sawdust can act like a fine abrasive when walked over, increasing the risk of surface scratches and finish wear—especially on high-traffic areas. Some dust can also hold moisture or oils from the worksite, which may leave dull spots if left to sit. Removing sawdust promptly helps protect the wood finish and keeps the floor looking uniform.
Which cleaning method works best for fine sawdust vs. larger wood shavings on hardwood?
For fine sawdust, vacuuming is usually most effective because it captures dust without pressing particles into the grain. For larger shavings or chips, sweep gently with a soft-bristle broom or use a dustpan carefully, then do a final vacuum pass. After dry removal, do a quick spot wipe with a barely damp microfiber cloth using a hardwood-safe cleaner to remove residue.
Best practices: What should I avoid when cleaning sawdust from hardwood floors?
Avoid using waxy cleaners, oil-based products, ammonia, or harsh degreasers, since they can interfere with the hardwood finish and cause streaking or discoloration. Don’t use steam mops or flood the floor with water, as moisture can penetrate seams and damage the wood over time. Also avoid rough scrub pads or dry mopping with abrasive cloths that can grind sawdust into the finish.
📅 Last Updated: October 29, 2026 | Topic: How to safely clean sawdust from hardwood floors? | Content verified for accuracy and freshness.
References
- https://www.cdc.gov/niosh/topics/wooddust/
- https://www.cdc.gov/niosh/topics/woodworking/
- Woodworking – Overview | Occupational Safety and Health Administration
- Renovate Right: Important Lead Hazard Information for Families, Child Care Providers and Schools …
- Wood flooring
- Sawdust
- 404 Error
- https://scholar.google.com/scholar?q=sawdust+cleaning+hardwood+floor Google Scholar
- https://scholar.google.com/scholar?q=wood+dust+cleanup+HEPA+vacuum+wet+cleaning Google Scholar
- https://scholar.google.com/scholar?q=hardwood+floor+care+safety+vacuum+microfiber Google Scholar