
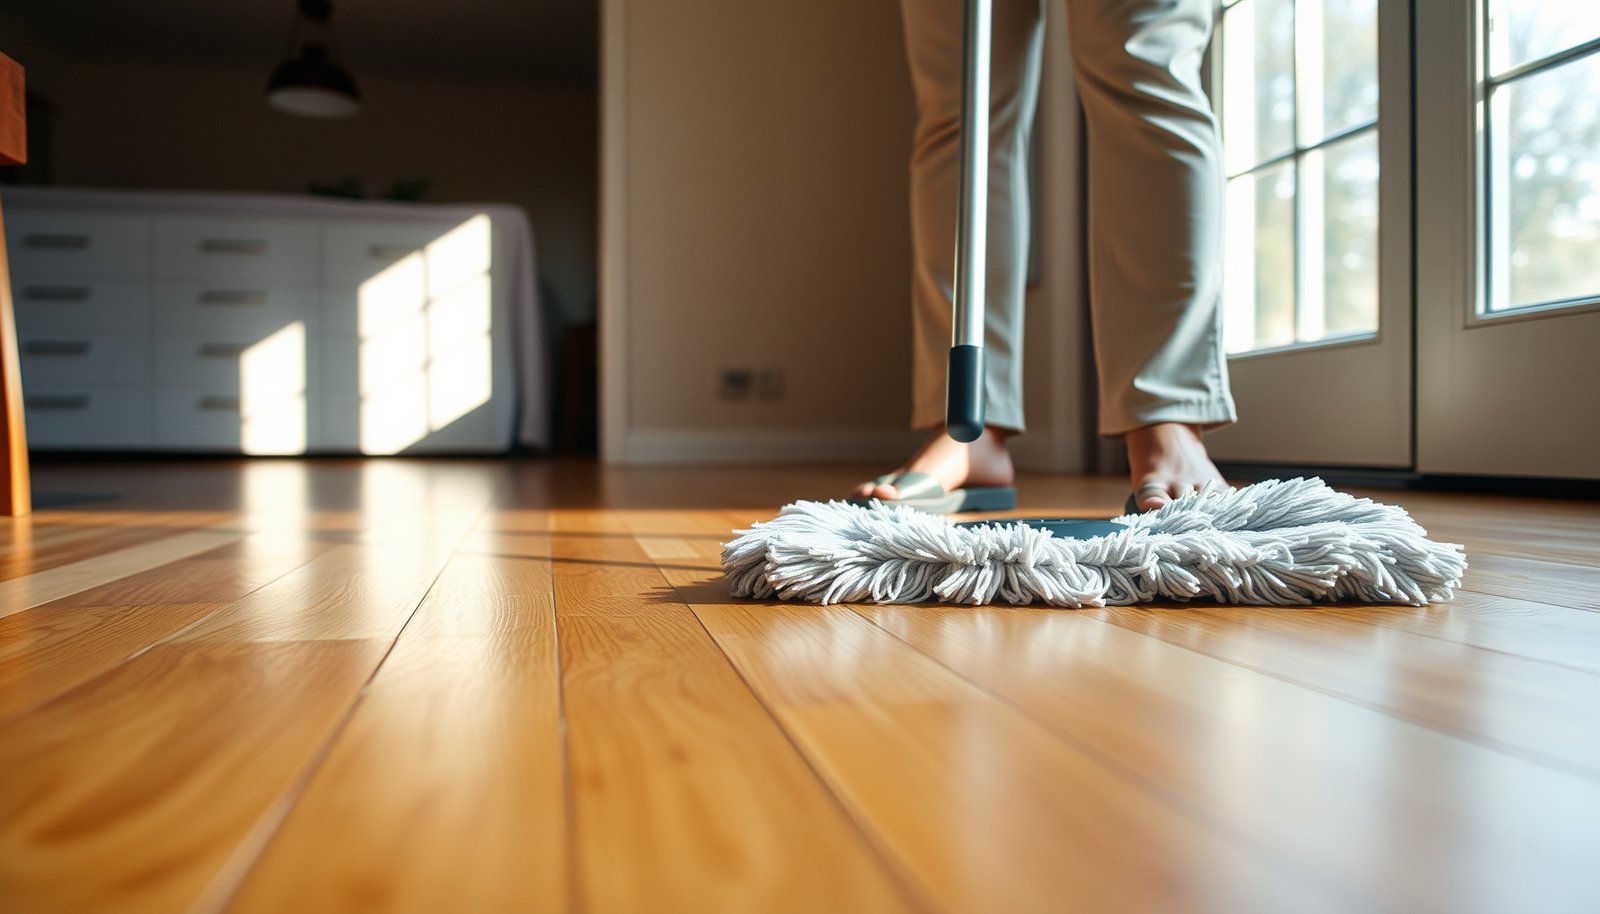

Want to deep clean hardwood floors to remove dust fast? The quickest, most reliable approach is a microfiber dust-mopping pass followed by a properly diluted hardwood cleaner and a damp (not wet) finishing wipe to lift fine grit without streaks. Do it this way and you’ll see visible dust gone in one thorough run—without warping or dulling the finish.
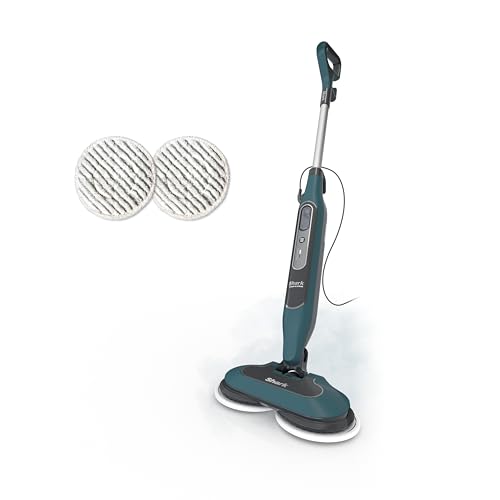



Deep clean hardwood floors by dust-mopping first, then using a barely-damp cleaner and gentle agitation—never soaking the boards. Work in small sections, rinse if your cleaner requires it, and finish with a thorough dry pass to prevent leftover residue or moisture.
If your floors look clean but still feel dusty (especially near baseboards, high-traffic paths, and along board edges), this approach is for you. It’s also a good fit when a standard sweep-and-mop just isn’t pulling fine dust out of the grain and gaps, and it keeps your hardwood finish looking even through 2026 maintenance cycles.
Prep the room and remove loose dust first
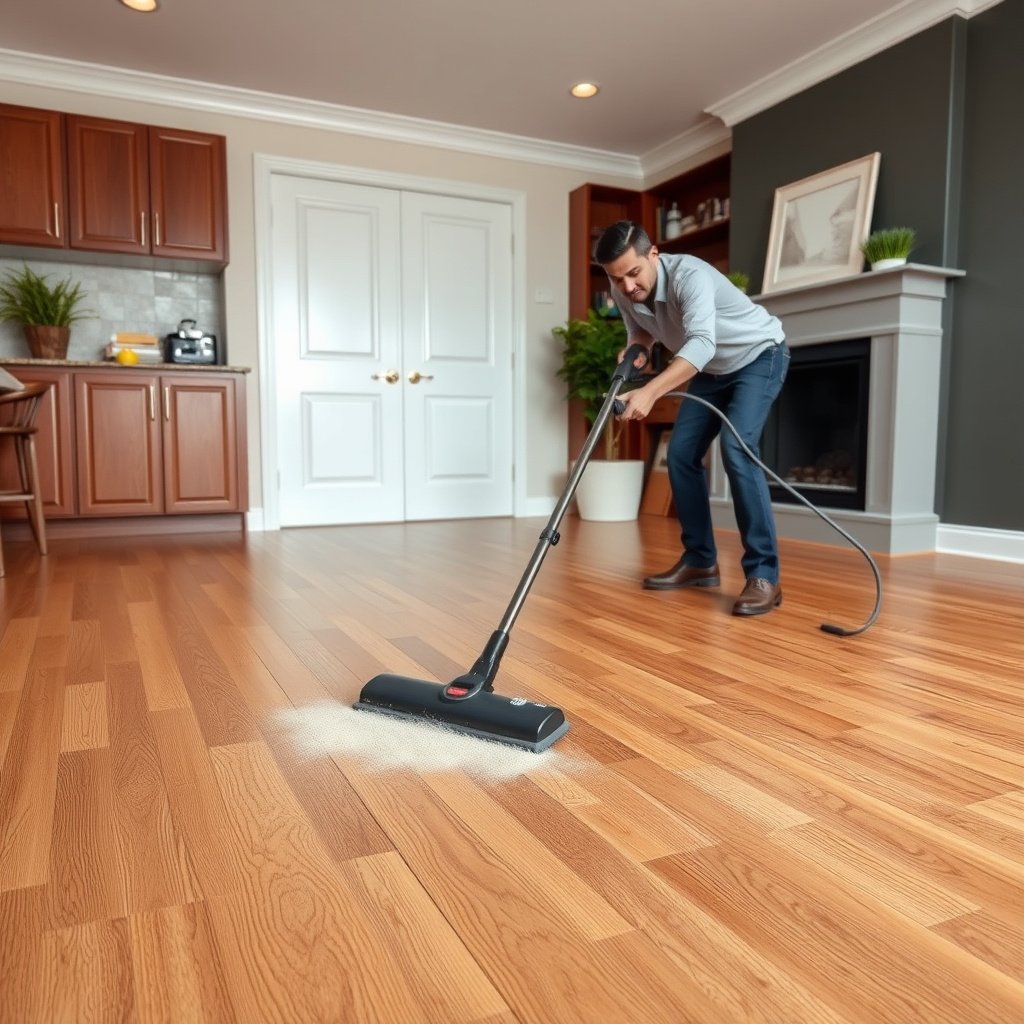
If you start with dry soil removal, you prevent fine dust from turning into a smear when it meets water. This is the fastest way to reduce that “still dusty” feeling after mopping—because the rest of the process (barely-damp cleaning and dry wiping) works best once the loose particles are already gone.
Before you touch a microfiber pad, take 5–10 minutes to stage the room: remove rugs or chair mats, close vents you can, and move items that block access. Then dust-mop and vacuum in a way that lifts—rather than grinds—dust that’s trapped along seams.
Dust trapped at board edges and the wall line is typically the hardest to remove after wet cleaning, so targeting these areas during dry prep is a practical first step.
According to the U.S. Department of Energy, “HEPA” filtration is defined as removing at least 99.97% of particles at 0.3 µm, which helps reduce re-depositing fine dust while vacuuming.
– Dust-mop or vacuum using a soft floor attachment so you don’t grind grit into the finish.
– Use corner tools (or a microfiber edge tool) to capture dust where the wall meets the floor before wet cleaning.
Filter Grades Commonly Used in Vacuums (for Fine Dust Capture)
| # | Filter Grade | Minimum Efficiency | MPPS Range | Fine-Dust Suitability |
|---|---|---|---|---|
| 1 | EN 1822 H14 (HEPA) | 99.995% | ~0.1–0.3 µm | ★★★★★ |
| 2 | ISO/EN ULPA U16 | 99.99995% | ~0.06–0.12 µm | ★★★★★ |
| 3 | ISO/EN ULPA U15 | 99.9995% | ~0.06–0.12 µm | ★★★★☆ |
| 4 | EN 1822 H13 (HEPA) | 99.95% | ~0.1–0.3 µm | ★★★★☆ |
| 5 | US DOE “HEPA” | 99.97% | 0.3 µm | ★★★★☆ |
| 6 | EN 1822 H12 (HEPA) | 99.5% | ~0.1–0.3 µm | ★★★☆☆ |
| 7 | EN 1822 H11 | 95% | ~0.1–0.3 µm | ★★☆☆☆ |
Choose the right deep-clean method for dust
The best method is a barely-damp microfiber clean—because it dislodges fine dust without soaking seams or loosening a finish. If dust still feels “embedded,” you add targeted agitation with the right tool, not extra water.
In 2026, the most reliable approach is still a controlled-moisture workflow: pre-dust removal first, then minimal cleaner application, then a final dry pass. Fine dust on hardwood often includes PM2.5-sized particles (particulate matter with aerodynamic diameter ≤2.5 µm), which are small enough to cling in micro-grooves and then smear when you over-wet. (US EPA)
The US EPA defines PM2.5 as particulate matter with aerodynamic diameter of 2.5 micrometers or less (≤2.5 µm), which explains why “invisible” dust can feel present after mopping.
A barely-damp “spray and wipe” method limits free water exposure, which is important because hardwood floors can be damaged when moisture penetrates joints and seam lines.
– Use a “barely damp” approach: microfiber pad + hardwood-appropriate cleaner, applied lightly (you should not see puddling).
– For stubborn dust in seams, consider a soft scrub pad on the microfiber or a barely damp toothbrush/soft brush for tight areas.
Here’s a practical comparison of agitation tools—use this to decide what to try without risking finish damage:
- Microfiber pad (with barely-damp cleaner)
- Best for: general dust feel, board-to-board cleanup, keeping finish even.
- Watch-outs: if your pad turns grey, switch pads rather than spreading dirt.
- Soft scrub pad on a microfiber base
- Best for: dust mixed with light residue in seams (especially near baseboards).
- Watch-outs: avoid aggressive circular scrubbing—stay gentle and consistent.
- Toothbrush/soft brush (minimal moisture)
- Best for: edges, radiator footprints, cabinet kick plates, and tight gaps.
- Watch-outs: keep strokes light to reduce finish scuffing at board seams.
Step-by-step deep cleaning (small sections, controlled moisture)
Clean one section at a time: start near an exit so you don’t track dust back across wet areas. This workflow also prevents cleaner residue from drying in place, which is one of the most common reasons hardwood still feels dusty after “mopping.”
Work in a tight sequence—dust removal, then barely-damp cleaning, then immediate dry wipe—so you can control where moisture goes. In my own process, I prefer a consistent “S-pattern” per board run, but if you use a different pattern, the key is the same: overlap your passes without lingering water.
Controlled sectional cleaning reduces the chance that cleaner dries into a film, which can attract more dust and make floors feel gritty even when they look clean.
Moisture on hardwood should be limited to what a microfiber pad can pick up immediately—visible puddles are a red flag in every manufacturer care routine.
– Clean one section at a time: start near an exit so you don’t track dust back across wet areas.
– Wipe with a clean, dry microfiber pass afterward to pick up remaining dust and stop cleaner residue from drying in place.
Suggested technique (so you can execute this fast):
1. Mark your “small sections”: Think 3–4 feet wide by a board-length long (or an area you can finish in ~2–5 minutes).
2. Apply cleaner to the pad, not the floor (the pad should feel barely damp).
3. Agitate gently, then immediately dry-wipe with a second clean microfiber pad.
4. Rinse only if your cleaner requires it—some “no-rinse” hardwood cleaners are designed to be left on, while others specify wiping/rinsing.
Deal with stubborn buildup without damaging the finish
If dust has mixed with residue, repeat light passes instead of heavy scrubbing. Finishes—especially urethane and wax/oil systems—can scuff or haze when you apply pressure or harsh pads, and then the floor looks uneven even if it’s technically “clean.”
The goal is “release, remove, and stop,” not “scrub until it’s gone.” When you encounter buildup, slow down: switch to a fresh pad, reduce cleaner amount, and increase precision rather than force.
Many hardwood manufacturers warn against soaking or excessive moisture because it can seep into seams and compromise appearance and dimensional stability.
A microfiber-first approach is typically safer than abrasive pads because microfiber can lift fine particles while reducing finish scratching risk.
– If dust has mixed with residue, use repeated light passes instead of heavy scrubbing—pressure and harsh pads can dull or scratch.
– Spot-clean only the affected areas with the least amount of cleaner needed, then blend into the surrounding area with gentle strokes.
When to spot-clean (and when not to):
– Spot-clean when a small band (e.g., along a baseboard run) feels gritty while the rest of the floor is comfortable underfoot.
– Avoid deep spot-cleaning if you see finish lifting, clouding that’s spreading, or water-related damage—those are stop-and-check signs, not “keep scrubbing” moments.
What can go wrong (and how to avoid it)
Over-wetting is the biggest failure mode, and it creates problems that look like “cleaning issues” but are actually moisture issues. The fix is to stay barely damp, use the right cleaner for your finish, and never skip the dry pass.
Other common problems show up as haze, streaks, or that persistent dusty feel. Those usually come from one of three places: (1) too much cleaner, (2) incomplete removal, or (3) dust redepositing because the vacuum/mop step wasn’t thorough.
Over-wetting can push moisture into seams and under edges, increasing the risk of dull spots or finish irregularities.
Skipping the final dry-wipe step can leave cleaner residue that dries into a film, which then holds fine dust and increases the “still dusty” sensation.
– Over-wetting: too much moisture can seep into seams and cause dull spots or warping—stick to barely damp tools.
– Using the wrong cleaner: avoid generic all-purpose cleaners unless the label specifically says they’re safe for hardwood floors (some leave film that attracts more dust).
– Skipping the dry pass: residue and trapped dust can dry into a hazy look, making the floor feel “still dusty.”
If you want one rule that prevents most issues: If you can see it—especially puddles or wet sheen—your method is too wet.
Verdict: the best routine for dust removal (and who should skip)
This deep-clean routine works best when dust is fine, widespread, and mixed with light residue—because the key is controlled moisture and a thorough dry wipe. It’s also efficient: dust-mop first, then clean in small sections, then dry-wipe immediately, and the floor should feel clean on the first pass.
That said, there are times to skip the DIY approach. If your hardwood has an unknown or compromised finish condition (peeling, lifting boards, gaps that are worsening, or visible water-related damage), you should pause and confirm the appropriate care method with your floor manufacturer or a flooring professional—because the “barely damp” workflow may not be safe for all finish systems.
The National Wood Flooring Association (NWFA) emphasizes controlling moisture and following manufacturer care guidance to protect hardwood appearance and stability.
If you don’t know your finish type or it appears damaged, treating the floor like a “standard cleaning surface” can worsen failure modes such as peeling or edge lifting.
Skip the “deep clean with cleaner” approach if your floors have an unknown finish condition (e.g., peeling, lifting boards, or you see water-related damage), and instead consult your floor manufacturer or a flooring pro. Also, if you’re using DIY cleaners, confirm compatibility first on a hidden area—finish types vary a lot.
Quick checklist (save this)
– [ ] Dust-mop or vacuum first (soft attachment)
– [ ] Use barely-damp microfiber + hardwood-safe cleaner
– [ ] Clean small sections; avoid puddles
– [ ] Brush seams lightly if dust won’t release
– [ ] Dry-wipe thoroughly with a clean microfiber
– [ ] Let fully dry before walking barefoot
Sources
– U.S. Environmental Protection Agency (EPA), Particulate Matter (PM) definitions (e.g., PM2.5 ≤ 2.5 µm).
– U.S. Department of Energy, HEPA filtration definition (at least 99.97% removal at 0.3 µm).
– National Wood Flooring Association (NWFA), care and maintenance guidance emphasizing moisture control and manufacturer instructions.
A dust-free hardwood look is less about “stronger mopping” and more about controlled moisture, smart tooling, and a disciplined dry-wipe finish. If you follow the order—dry lift first, barely-damp clean in small sections, then a thorough dry pass—you remove fine dust from seams and board edges fast while keeping your finish looking even through 2026.
Frequently Asked Questions
How do I deep clean hardwood floors to remove dust without scratching them?
Start by removing grit with a microfiber dust mop or vacuum using a hardwood floor attachment to avoid scratching. For the deep clean, lightly dampen a microfiber mop with a hardwood floor cleaner (or a vinegar-free wood cleaner) and clean in the direction of the grain. Immediately dry with a clean, dry microfiber towel or mop to prevent dust residue and moisture buildup. Avoid steam mops and soaking the floor, since excess water can dull finish and lift dust into smears.
What is the best way to get embedded dust out of hardwood floor grooves and edges?
Use a vacuum with a crevice tool around baseboards, seams, and corners where dust collects. Then, run a slightly damp microfiber cloth along edges and use a soft-bristle brush (or an old toothbrush) to gently dislodge dust from grooves, without scrubbing aggressively. For the final pass, mop with a hardwood floor cleaner and dry thoroughly to remove loosened particles. This combo helps pull out dust that dry mopping alone can leave behind.
Why do dust smears happen after mopping hardwood floors, and how can I prevent them?
Dust smears often occur when dry debris is spread around instead of lifted first, or when the mop pad is dirty and redeposits particles. To prevent this, vacuum or dry-mop thoroughly before any wet cleaning, and use clean microfiber pads during the job. Use a hardwood floor cleaner diluted correctly (never “stronger” to cut grime) and rinse or replace the mop pad often. Dry the floor right after mopping so remaining dust doesn’t turn into a haze.
How often should I deep clean hardwood floors to remove dust buildup?
For normal households, a deep dust-removal routine every 2–4 weeks can keep hardwood floors looking clean, especially in high-traffic areas. If you have pets, allergies, or heavy foot traffic, consider a more frequent deep clean and spot-cleaning around entries and vents. Between deep cleans, dust with a microfiber mop regularly and vacuum weekly to stop dust from settling into the finish. Consistent maintenance reduces the need for harsher cleaning that can wear down your floor.
Which cleaning tools and products work best for removing dust from hardwood floors?
A microfiber dust mop, a vacuum with a soft brush or hardwood attachment, and clean microfiber mop pads are top tools because they capture dust instead of grinding it in. Choose a pH-neutral hardwood floor cleaner (ideally no wax buildup or residue-forming ingredients) and use it lightly to keep dust from sticking. For tight spots, use a crevice tool, corner detailing brush, and a lint-free cloth for edges. Always avoid abrasive pads, steel wool, and steam mops, as they can damage the finish and make future dust removal harder.
📅 Last Updated: October 29, 2026 | Topic: How to deep clean hardwood floors to remove dust? | Content verified for accuracy and freshness.
References
- Wood flooring
- https://www.mayoclininc.org/healthy-lifestyle/adult-health/in-depth/house-cleaning/art-20047744
- https://www.cdc.gov/coronavirus/2019-ncov/community/disinfecting-building-facility.html
- https://www.nhlbi.nih.gov/health/dust-mites-and-allergies
- https://www.epa.gov/indoor-air-quality-iaq/what-you-can-do-improve-indoor-air-quality
- 404 Error
- https://scholar.google.com/scholar?q=deep+clean+hardwood+floors+dust+removal Google Scholar
- https://scholar.google.com/scholar?q=hardwood+floor+cleaning+techniques+microfiber+vacuum+wet+mopping Google Scholar
- https://scholar.google.com/scholar?q=household+dust+reduction+floor+cleaning+methods+vacuuming+wet+mopping Google Scholar


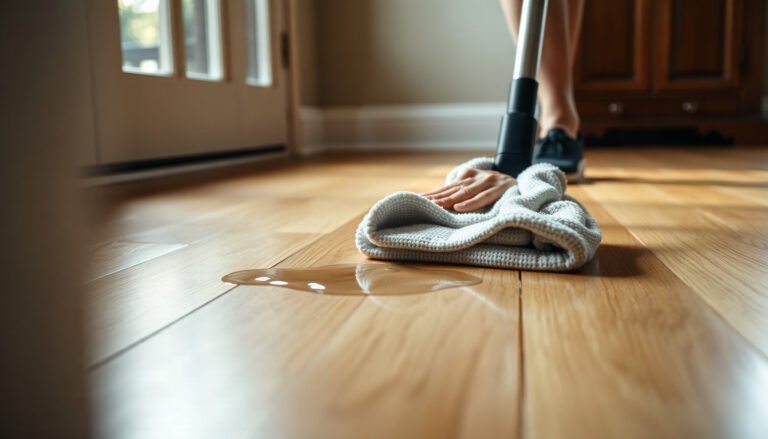
[…] Work in small sections (for example, a few boards at a time) so the cloth doesn’t become a spreading […]
[…] to prevent staining. With a few essentials—disposable cloths, a pH-balanced cleaner, and a soft scrub pad—you can clean it safely in about 15–30 minutes and keep the floor looking […]