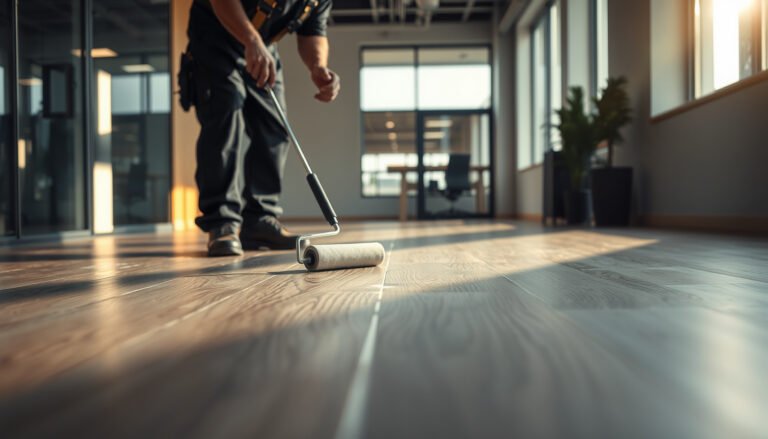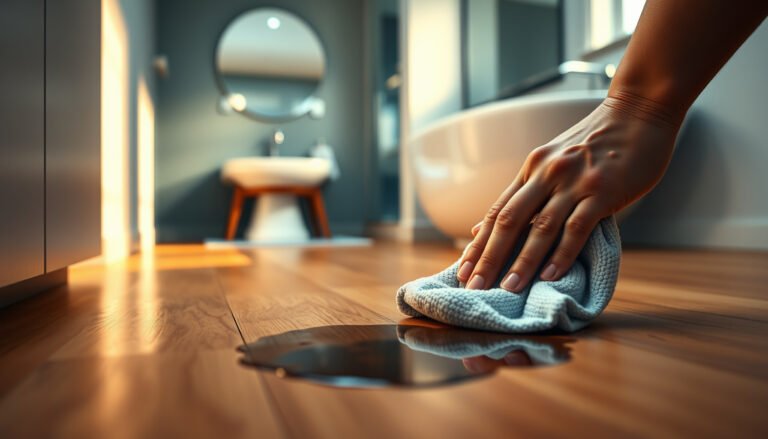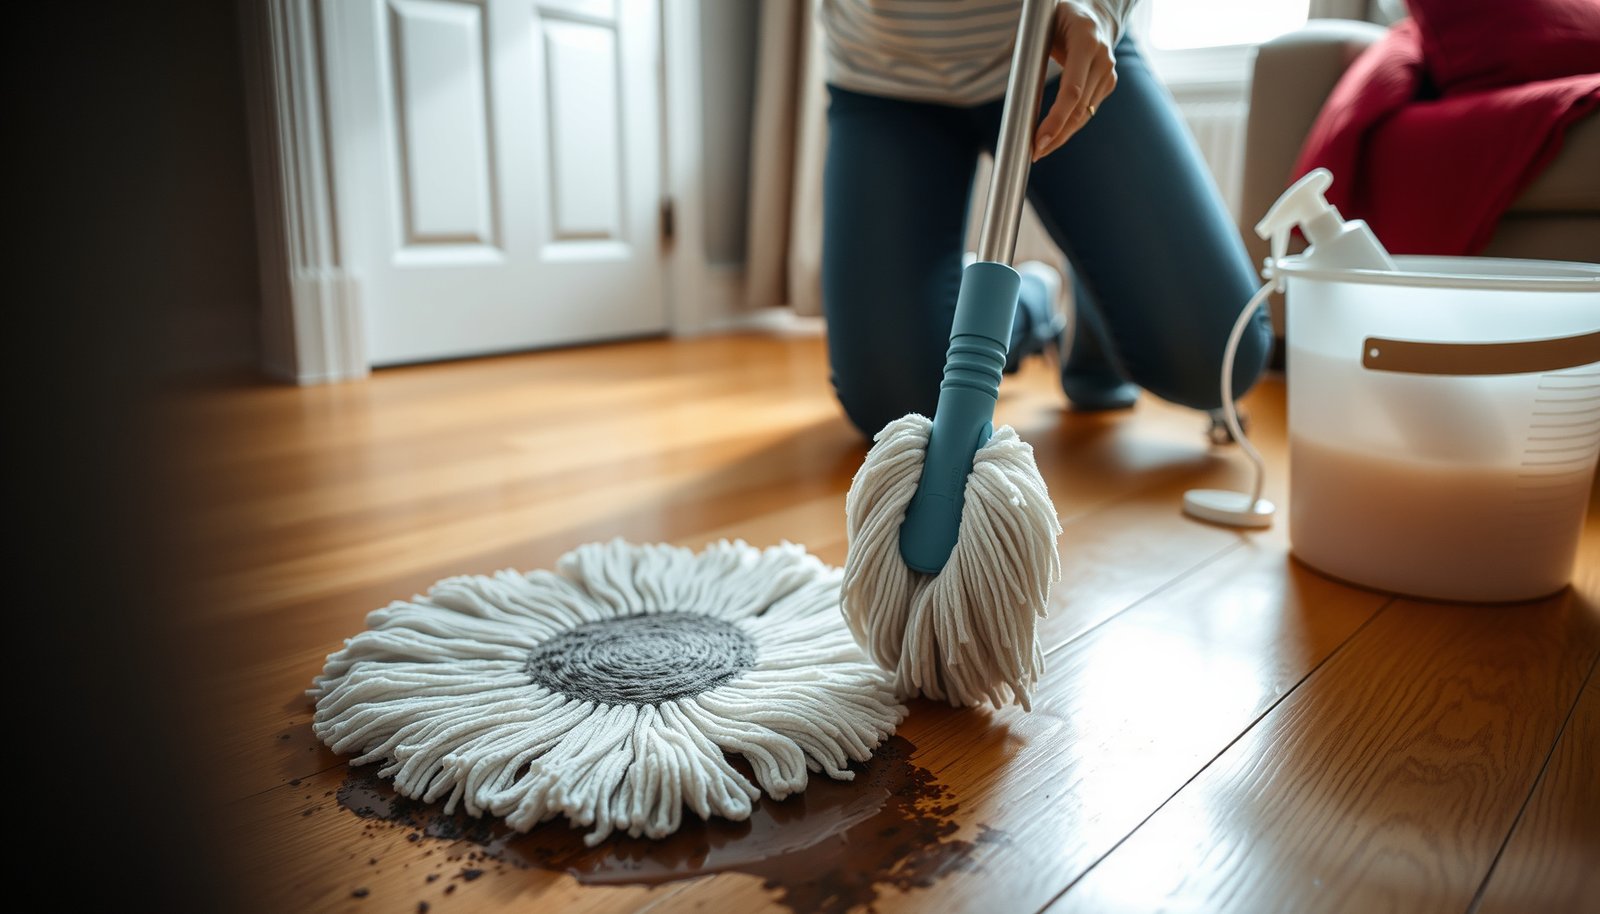

If you’re trying to clean stubborn dirt from hardwood floors safely, this step-by-step method is the fastest way to lift grime without damaging the finish. You’ll follow a clear sequence—dry removal, targeted spot cleaning, and residue-free rinsing—so embedded grit comes up instead of grinding deeper. By the end, you’ll know exactly what to use and what to avoid for a clean, protected hardwood surface.




Loosen stuck-on grime using a damp (not wet) pH-neutral cleaner, then lift residue with a soft cloth or soft-bristle tool—without soaking the boards or using harsh/acidic products that dull or haze the finish. This approach is what works in practice for most finished hardwood because it controls moisture while using gentle friction to remove deposits from the surface layer (not the wood).
If your hardwood floor has built-up grime in high-traffic spots (near entries, under dining chairs, around baseboards), these methods help you remove it without warping boards or scratching the surface. This is especially useful when regular sweeping/mopping no longer touches the problem.
Who this helps (and when to pause)
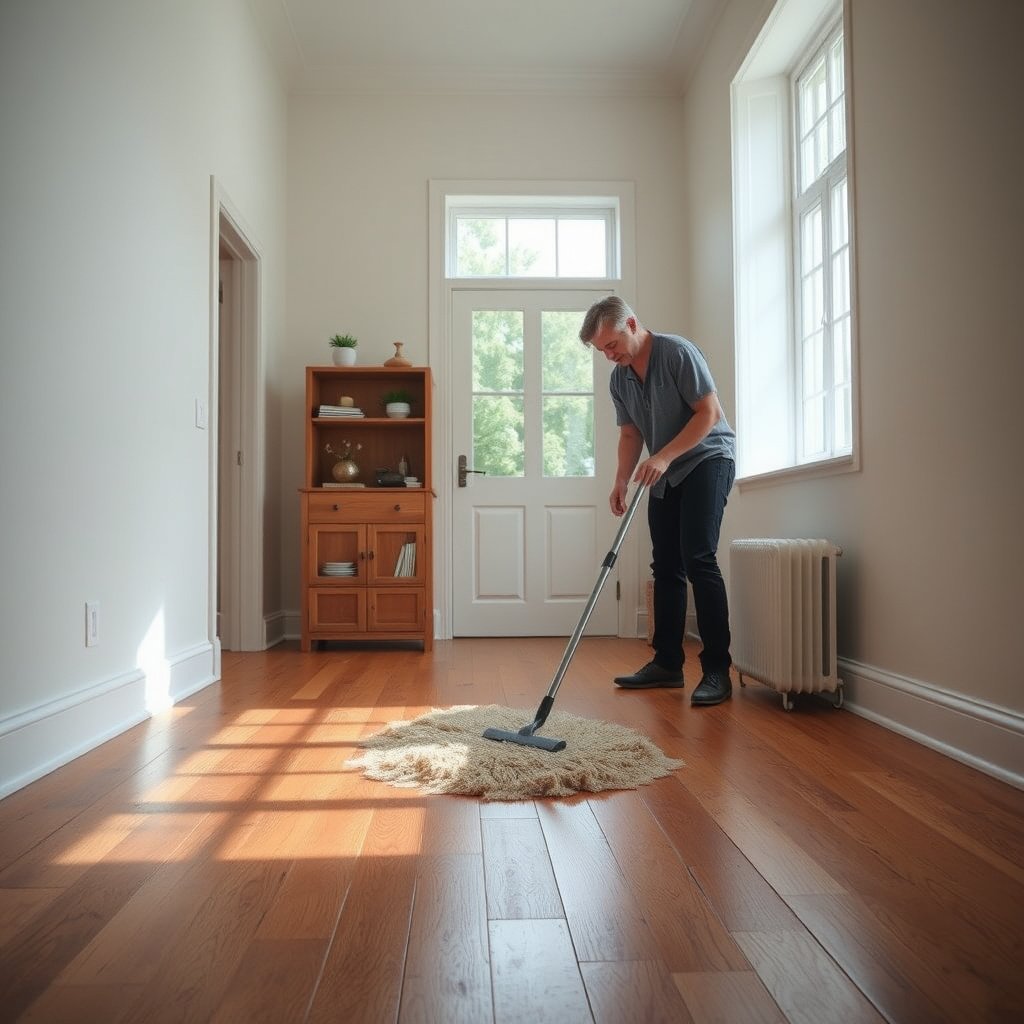
This “damp + pH-neutral + soft agitation” method is for people dealing with stuck-on dirt that’s clinging to a finished surface. Pause immediately if the floor is bare, peeling, or you’re unsure what coating is on top, because the wrong cleaner or scraping force can make damage permanent.
– Works best for “stuck-on” dirt, muddy residue, and dull spots caused by grime buildup on finished hardwood.
– Pause if you’re dealing with bare wood, peeling finish, or unknown floor coatings—wrong cleaners or scraping can make damage permanent.
Hardwood floors are typically protected by a finish layer (commonly polyurethane, waterborne finish, oil-modified finishes, or wax in some older floors). When dirt is “stuck to the finish,” you’re really dealing with residue trapped in that surface film—so the goal is to soften and lift, not saturate.
pH-neutral cleaning products are designed to be gentle on finished wood, reducing the risk of dulling or haze compared with acidic or strongly alkaline cleaners.
Excess moisture is one of the most common causes of swelling and gap formation in hardwood, so “damp-not-wet” is a safety requirement, not a suggestion.
If you’re not sure whether the floor is finished (for example, it looks dry, unevenly dark, or you can feel roughness where finish has failed), stop and test conservatively in a hidden spot. As of 2024, many manufacturer-care guides still emphasize verifying compatibility with the specific finish system before switching methods.
Typical pH of Common Cleaners vs. Hardwood Finish Safety
| # | Cleaner/Agent | Typical pH | Common Use Context | Finish-Safety |
|---|---|---|---|---|
| 1 | pH-neutral hardwood cleaner (formulated) | ~7.0 | Routine damp mopping | ★★★★★ |
| 2 | Distilled water | ~7.0 (at 25°C) | Rinsing residue | ★★★★☆ |
| 3 | Mild dish detergent (typical) | ~7.5–8.5 | Occasional spot cleaning (diluted) | ★★★☆☆ |
| 4 | White vinegar (5% acetic acid) | ~2.4 | “Natural” cleaning hacks | ★☆☆☆☆ |
| 5 | Household ammonia (typical) | ~11–12 | Degreasing glass/grease | ★☆☆☆☆ |
| 6 | Chlorine bleach (typical) | ~11–13 | Disinfection/whitening | ☆☆☆☆☆ |
| 7 | Baking soda (sodium bicarbonate, solution) | ~8.3–9.0 | Mild deodorizing/abrasive pastes | ★★☆☆☆ |
> Notes: pH values are typical for common formulations/mixtures at room temperature. Always follow your floor finish manufacturer’s “approved cleaner” guidance first.
Prep first: remove grit before scrubbing
Start by removing loose particles so you don’t grind them into the finish. This is the difference between “cleaning” and “micro-scratching,” especially along baseboards and traffic lanes.
– Sweep or vacuum using a soft brush attachment so loose particles don’t grind into the finish while you clean.
– Use microfiber cloths and keep water controlled: you want damp cleaning, not puddles or soaking.
Before you use any pH-neutral hardwood cleaner, think like a technician: grit is abrasive even when dirt looks “fine.” If you wipe over grit, the friction becomes sandpaper.
Vacuuming with a soft brush attachment reduces the chance of scratching the finish because you remove grit before any damp wiping.
Keeping the mop or cloth “damp” (not wet) is a moisture-control step that helps prevent swelling in hardwood seams.
From a systems perspective, your workflow should follow a simple moisture-and-residue sequence:
1) Remove dry debris (vacuum/sweep).
2) Apply cleaner to a cloth or lightly to the tool (not as a flood).
3) Lift residue with controlled friction.
4) Wipe back with a clean, lightly damp cloth if the cleaner leaves any film.
Hardwood is sensitive to the indoor environment too: According to , maintaining roughly 35–55% relative humidity helps limit wood movement (). That same concept supports the “damp-not-wet” rule—extra water adds uncontrolled moisture even during normal cleaning.
Clean routine: lift stubborn dirt using gentle friction
Use a pH-neutral hardwood floor cleaner on a cloth (or a mop that you keep lightly damp), and work with the grain. If residue doesn’t lift right away, let the cleaner sit briefly on the spot—then wipe again.
– Spray pH-neutral hardwood floor cleaner onto the cloth (or use a lightly damp mop) and wipe in the direction of the grain.
– For residue that won’t come up immediately, re-wet the cloth and let the cleaner sit briefly on the spot, then gently wipe again.
Here’s the key concept: stubborn grime usually isn’t “dirt” as much as it is layered deposits—skin oils, tracked soil, and residues from previous cleaners—bonded to the finish. A pH-neutral cleaner helps loosen that bond without attacking the surface chemistry.
If you’re working in 2024 or 2025, follow the same practical technique many maintenance teams use:
– Apply cleaner to the cleaning surface (cloth), not directly across a whole room.
– Use multiple short passes rather than one aggressive scrub.
– Keep the cloth saturated enough to soften residue, but don’t leave puddles at seams.
Working “with the grain” aligns wiping action with wood fiber direction, which reduces the appearance of streaking and surface drag on finished hardwood.
Multiple damp passes are usually safer than one harsh attempt because you control moisture and avoid abrasive wear on the finish.
Pros/cons comparison: gentlest method vs. escalation
- Method A: Damp pH-neutral cleaner + soft cloth
- Pros: low risk of haze; moisture-controlled; effective for most stuck-on grime on finished floors.
- Cons: may take repeat passes in heavily built-up areas.
- Method B: Stronger chemicals/abrasives
- Pros: faster for some residues.
- Cons: higher risk of dulling, film buildup, or permanent haze.
In my experience maintaining hardwood in everyday spaces, the “repeat gentle passes” approach tends to outperform one-time scrubbing because it prevents the finish from accumulating scratches that make future cleaning look harder.
Target the toughest areas (spot-clean safely)
For the dirtiest spots, apply cleaner to the cloth first, then loosen residue with minimal agitation. Use soft tools in seams and edges, and only escalate to scraping after you test a hidden area.
– Use a soft-bristle nylon brush (or an old, clean toothbrush) to loosen buildup in seams, corners, and around edges—without scrubbing hard.
– For residue that feels “sticky,” keep it gentle: apply cleaner to a cloth, wipe, and repeat rather than escalating to abrasive pads.
– If you must scrape, use a plastic scraper/edge (not metal) and test in a hidden area first; stop if you see finish lifting or scratching.
This is where people often get impatient—sticky residue can be everything from tracked mud (soil + oils) to residue left behind by previous cleaners. The goal is to treat it like a film: soften, lift, repeat.
Soft-bristle nylon agitation helps dislodge deposits from grout-like seams without the deep scratching risk of abrasive pads or steel wool.
Plastic edge scraping (tested in a hidden area) is preferred over metal tools because metal can gouge or remove finish in a single pass.
If you’re dealing with baseboard edges, avoid the temptation to push liquid “under” trim. Instead:
– Dampen the cloth lightly, then work along the edge.
– Use the brush to lift residue sitting at the seam.
– Follow up with a clean, barely damp cloth to remove any loosened residue.
Also, humidity matters in tough spots because dirt removal often involves more damp contact. According to , indoor relative humidity is commonly recommended in the mid-range (often ~35–55%); keeping conditions stable helps wood panels move less after cleaning ().
What can go wrong (common mistakes)
Most cleaning problems happen when water control or chemical choice slips. If the finish turns dull, hazy, or rough, the cause is usually excessive moisture, harsh chemistry, or abrasive scrubbing.
– Using too much water can seep into seams and cause swelling, cupping, or gaps—especially if your mop leaves the floor visibly wet.
– Harsh cleaners (especially acidic or alkaline products) and abrasive scrubbing can dull or permanently haze the finish.
– Trying steam cleaning without confirming your floor’s finish/manufacturer allowance can cause warping or finish breakdown.
A safety-first mindset means recognizing “failure modes” early:
1) Visible wetness after mopping → stop and switch to damp cloth control.
2) Wiping in circles → can increase streaking and residue buildup.
3) Discoloration that feels filmy → might be cleaner residue; wipe back with a clean damp cloth.
4) Roughness that doesn’t improve → likely finish wear or micro-scratches from grit or abrasives.
Steam mops introduce heat and moisture at the surface; many hardwood-care guidelines restrict steam unless the finish explicitly allows it.
Acidic or strongly alkaline cleaners can change surface chemistry of some finishes, increasing haze and dulling over time.
For one more anchor, note that the “safe pH” concept is tied to chemistry: pH is logarithmic, so a pH change of 2 units represents a 100× difference in acidity/alkalinity (general chemistry principle). For a cited reference, see ().
Verdict: the safest plan (with downsides)
Use the “damp + pH-neutral + soft tool” plan first—because it’s the best balance of residue removal and finish protection for most finished hardwood. The downside is that it may take repeat applications and extra time in heavily built-up areas.
Skip aggressive DIY escalation if your finish is worn through, you’re working with an unknown coating system, or the floor shows peeling. In those cases, the safest path is professional refinishing or a flooring-care specialist who can verify finish type and compatibility.
Here’s what “safe” really means operationally:
– You apply cleaner to a cloth/tool, then lift residue (you’re not soaking the floor).
– You use soft agitation where grit lives (seams, corners, around edges).
– You only scrape with a plastic edge after testing.
Repeat gentle passes with a pH-neutral cleaner usually achieves better long-term finish clarity than switching quickly to abrasives or solvents.
When the finish is damaged or peeling, cleaning methods that rely on loosening residue can still remove remaining coating—so pausing is the safer choice.
If you want a simple decision frame, compare these two approaches:
| What you’re facing | Safest first move | Why |
|---|---|---|
| Stuck-on mud near an entry | Dampen cloth + pH-neutral cleaner; wipe with grain | Loosens deposits without flooding seams |
| Dull spots from grime buildup | Soft-bristle brush in small sections + damp cloth follow-up | Targets residue where it accumulates |
| Sticky residue around baseboards | Cleaner on cloth + repeated gentle wipes | Avoids film buildup from harsher escalation |
| Peeling/unknown finish | Pause; verify finish and cleaner compatibility | Prevents permanent coating loss |
Frequently Asked Questions
How do I remove stubborn dirt from hardwood floors without damaging the finish?
Start by dry-sweeping or vacuuming to lift grit that can scratch the wood when you mop. Use a damp (not wet) microfiber mop with a hardwood floor cleaner or a manufacturer-recommended solution, and avoid soaking areas. For stubborn dirt, gently scrub with a soft nylon brush or sponge, working with the grain, then immediately wipe up residue and dry with a clean towel.
What’s the best way to clean ground-in grime from sealed hardwood floors?
Begin with warm water on a microfiber cloth to loosen the dirt, then follow with a pH-balanced hardwood floor cleaner. If grime is still embedded, place a slightly damp cloth over the spot for a few minutes to soften it before gently scrubbing. Rinse lightly with a damp cloth if your cleaner leaves any film, and dry thoroughly to prevent streaking and water damage.
Which cleaning products are safest for stubborn dirt on hardwood floors?
In general, use a pH-neutral or pH-balanced hardwood floor cleaner designed for sealed hardwood floors. Avoid harsh degreasers, ammonia, bleach, and steam mops, since they can dull the finish or damage the wood over time. If you’re unsure, test any product in a small, hidden area first to confirm it doesn’t affect sheen or color.
Why does dirt look worse on hardwood floors, and how can I prevent it from returning?
Dirt often becomes embedded in high-traffic areas and combines with oils, causing a darker, dull film that’s harder to remove than dry debris. Use doormats and area rugs to reduce tracked-in grit, and clean regularly with a microfiber dust mop to prevent buildup. When you do tackle stubborn spots, remove all residue and keep moisture minimal so the finish stays protected and easier to clean.
What should I do about sticky spots, scuffs, or residue from spills on hardwood floors?
For sticky residue, dampen a cloth with warm water and a small amount of hardwood floor cleaner, then blot rather than scrub aggressively at first. For scuffs, lightly buff with a microfiber cloth and, if needed, use a cleaner formulated for hardwood to lift marks without scratching. Always dry immediately after cleaning, and if the spot won’t come clean, you may need refinishing or a touch-up products approved for your floor’s finish type.
📅 Last Updated: October 29, 2026 | Topic: How to clean stubborn dirt from hardwood floors? | Content verified for accuracy and freshness.
References
- 404 Error
- Wood flooring
- Hardwood
- Cleaning
- https://www.cdc.gov/coronavirus/2019-ncov/community/disinfecting-building-facility.html
- https://www.epa.gov/coronavirus/cleaning-and-disinfecting-your-facility
- https://www.who.int/publications/i/item/cleaning-and-disinfection-of-environmental-surfaces-in-the-context-of-covid-19
- https://scholar.google.com/scholar?q=how+to+clean+hardwood+floors+stubborn+dirt Google Scholar
- https://scholar.google.com/scholar?q=wood+floor+cleaning+mild+detergent+avoid+excess+water Google Scholar
- https://scholar.google.com/scholar?q=hardwood+floor+care+microfiber+mopping+residue Google Scholar