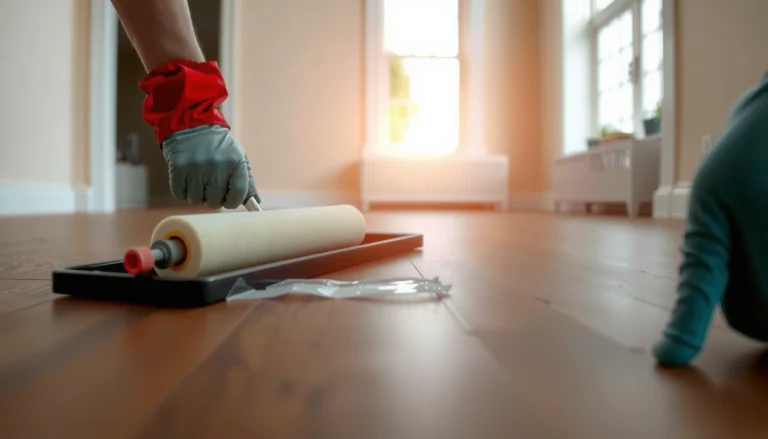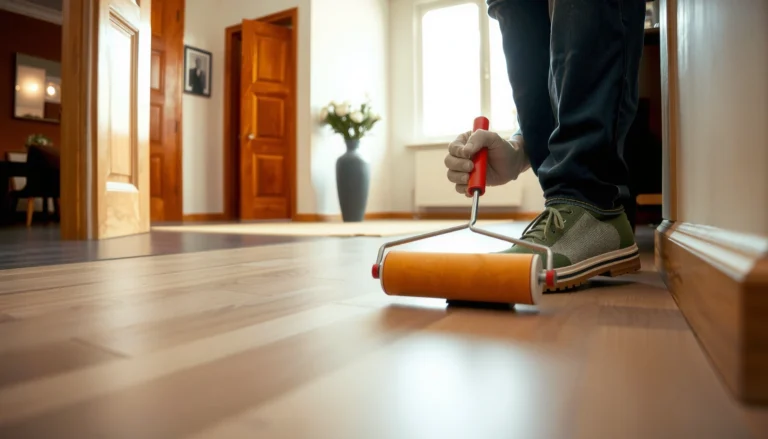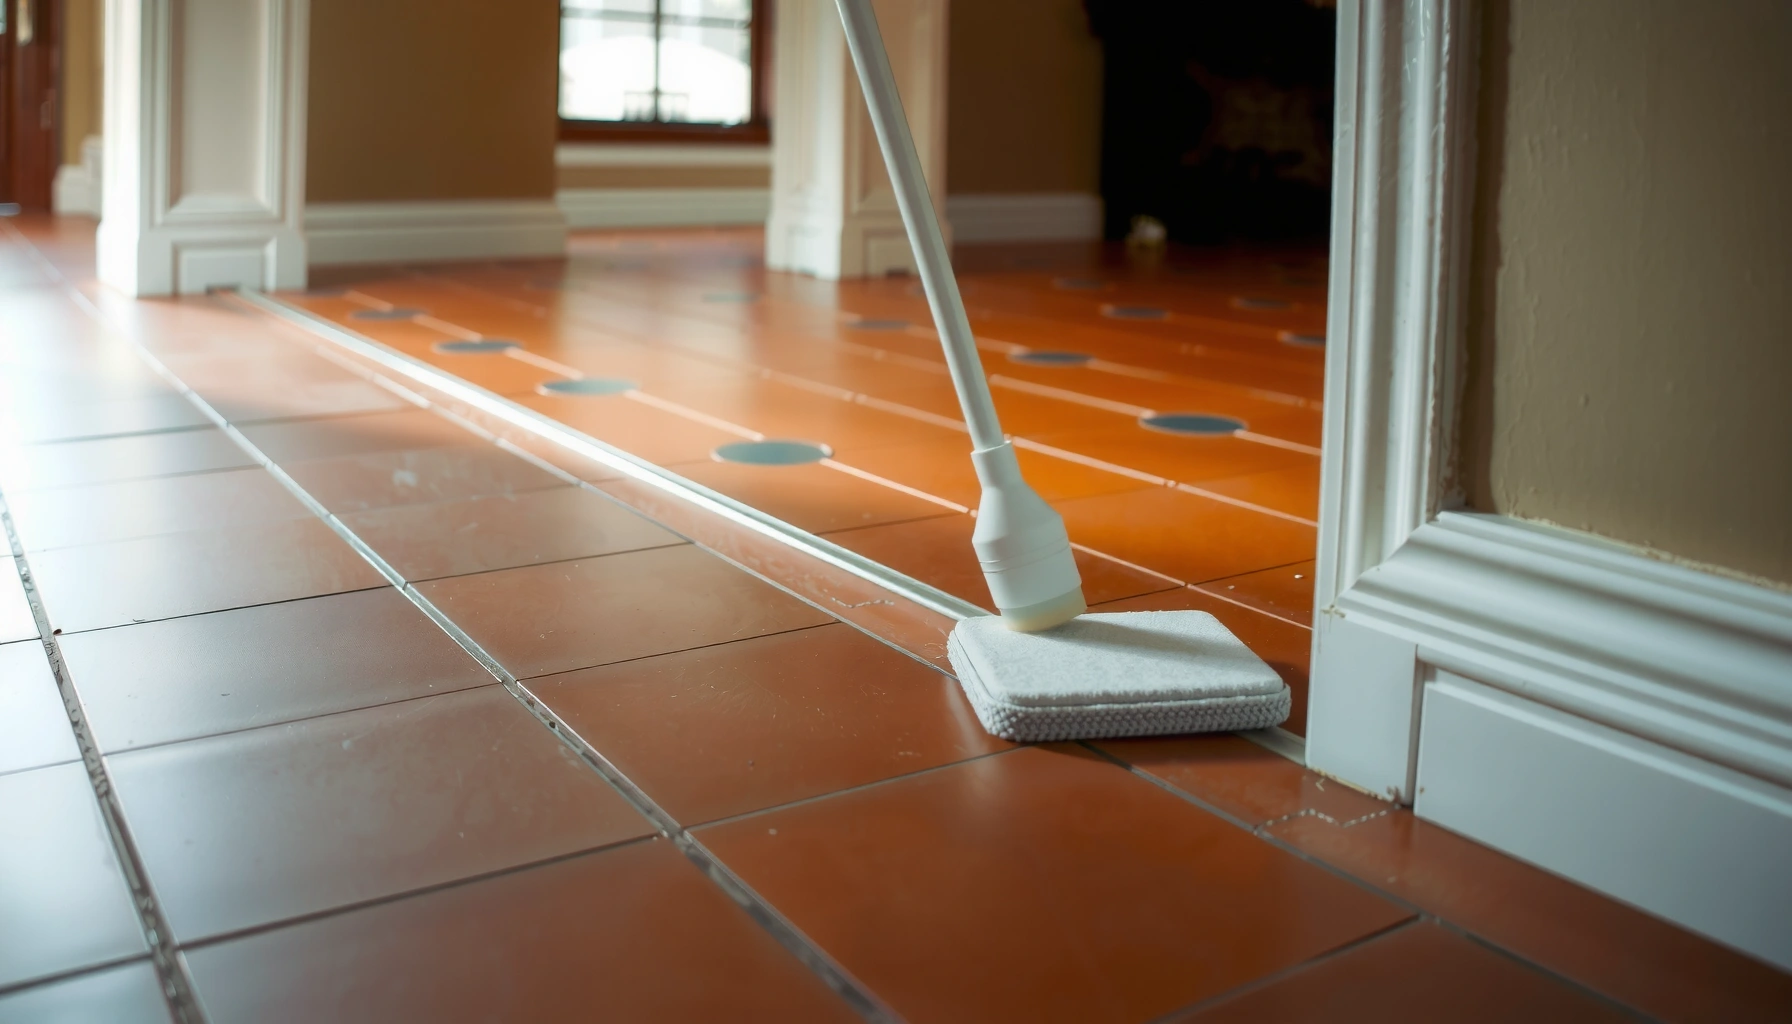

Want to know how to seal terracotta floors so they resist stains, water, and daily wear? Follow this step-by-step guide for the right prep, primer (if needed), and sealer application to get the cleanest, longest-lasting finish. If you want results you can see immediately—and keep for years—this is the most reliable way to seal terracotta without streaks or premature failure.
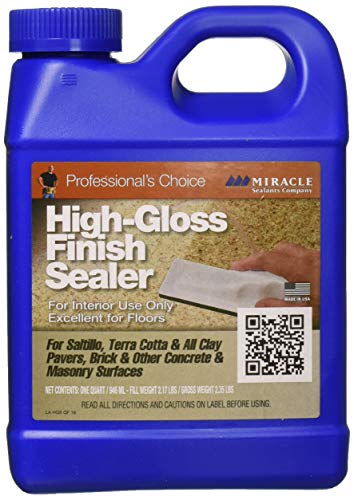



Sealing terracotta floors protects against staining and water while helping the color look more uniform—but the key is doing it in the right order: clean and dry thoroughly, choose a breathable/penetrating sealer that matches your tile, then allow full cure time. If you rush prep or apply the wrong coating type, you can get hazing, patchy absorption, or traction issues later, especially in high-use rooms like kitchens and entries.
If your terracotta tiles are new or used, sealing can reduce everyday messes like cooking splashes, tracked-in dirt, and pet accidents—especially in kitchens, entries, and bathrooms (when appropriate). This is for homeowners and DIYers who want clearer, safer results without turning the floor into a slick surface or trapping moisture.
Check your terracotta first (sealed, unsealed, or glazed)
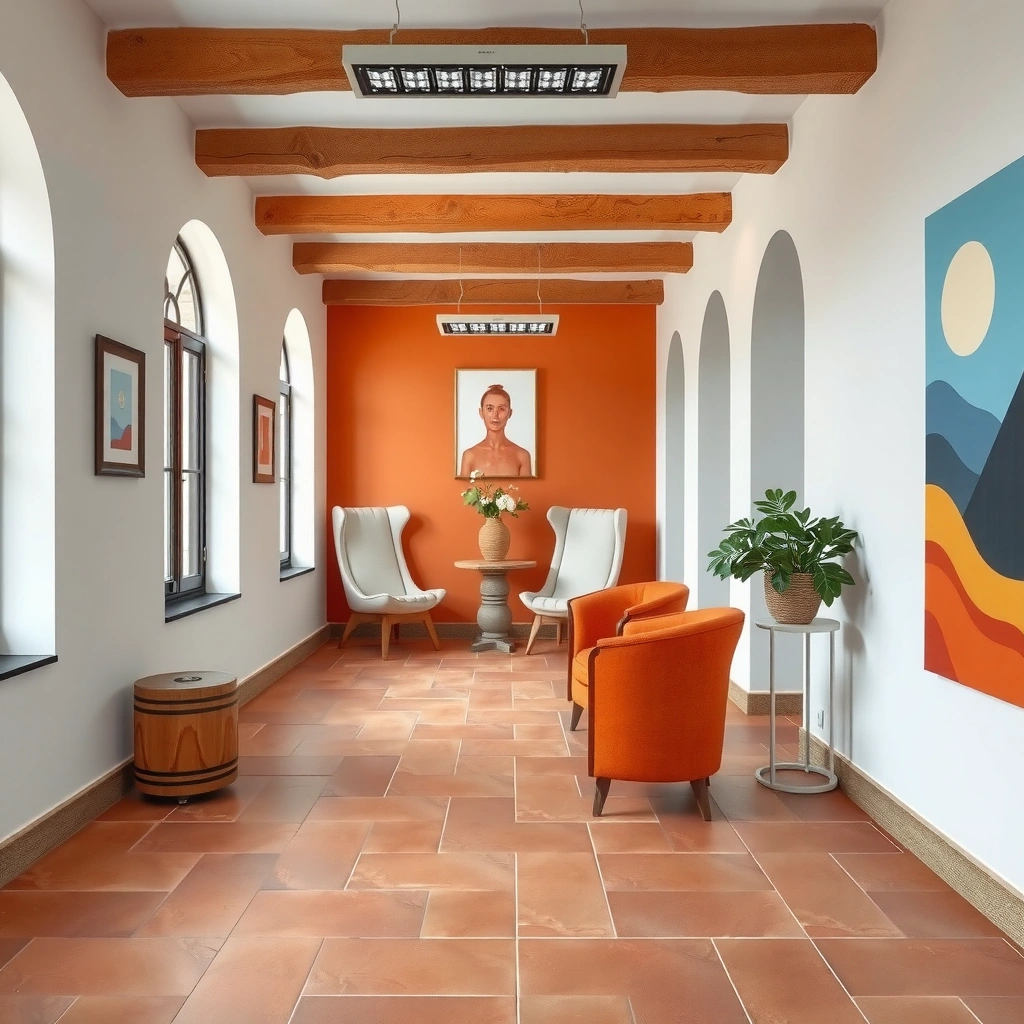
Before you buy a sealer, you need to confirm what kind of finish your terracotta already has—because penetration and adhesion depend on whether the tile is unsealed, previously sealed, or glazed/finished. The quickest path is a water test plus a label/installation history check, then you’ll know whether to use a penetrating (deep stain defense) or a more film-forming approach.
The most common failure I see (and the one you can prevent) is sealing “over something” that’s already there. If the tile has an existing surface coating, many penetrating products won’t soak in properly, and you may end up with blotchy color, uneven sheen, or reduced stain resistance. In my experience, the fastest way to avoid rework is to treat the first 30 minutes like a diagnostic step rather than a start of the project—then the rest of the job goes smoothly.
A simple water test helps determine whether terracotta is likely to absorb sealer (darkens/absorbs) or already has a surface film (beads strongly).
Manufacturer specs for your specific terracotta or tile system should control whether a penetrating or topical sealer is allowed.
To check your terracotta:
1. Identify what you have
– Unsealed terracotta: typically porous and designed to accept penetrating treatments.
– Previously sealed terracotta: often has a film that may bead water.
– Glazed/finished tiles: already have a finished surface and may only need cleaning (or a sealer specifically recommended for that finish).
2. Do a water test (on a hidden spot)
– If water beads and stays beaded for several minutes, you likely have an existing film.
– If water darkens the tile and absorbs, it’s usually unsealed and ready for penetrating sealers.
3. Confirm manufacturer guidance
– Cementitious floors, natural stone adjacent surfaces, and terracotta bodies can behave differently even if they look similar.
– If your floor was sealed before, resealing instructions may require stripping first.
> [ADD: source for your specific terracotta/tile manufacturer specs]
Choose the right sealer for terracotta
The best sealer choice for terracotta is the one that matches how moisture moves through your installation—often a penetrating or breathable sealer rather than a heavy surface film. In most interior setups, a breathable, stain-resistant penetrating sealer improves everyday cleanability while keeping the floor from becoming unnaturally glossy or trapping moisture.
This decision also depends on what you’re trying to prevent:
– Stains (oil, coffee, cooking residue, pet messes): penetrating stain control is often the most practical route.
– Water exposure in wet areas: you may still use a penetrating product, but you must follow label guidance for the moisture environment.
Also note: terracotta’s porosity means it can show effects like color darkening (sometimes “wet-looking” at first). Choosing the right product and doing a small test area can prevent surprises.
Penetrating sealers are designed to reduce staining by entering pores rather than forming a surface film that can alter traction and appearance.
Terracotta is a fired clay material with a porous body, so sealer performance strongly depends on absorption and existing coatings.
Here’s how to choose:
Penetrating vs. topical/surface sealers
– Penetrating (often “oil/water stain resistant”):
– Helps with stain protection by reducing how liquids enter the pores.
– Typically preserves a more natural look.
– Surface/topical (film-forming):
– Can provide a stronger barrier, but it may change sheen, feel, and maintenance requirements.
– If the film wears unevenly, you can see wear patterns.
Match the sealer to your room and history
– Indoor, moderate traffic: penetrating/breathable is usually the easiest win.
– Wet areas (e.g., bathroom floors): use only products the manufacturer explicitly approves for that use.
– Already sealed floors: you may need removal/stripping before applying a new system to avoid adhesion and hazing problems.
> [ADD: source for typical terracotta sealer compatibility]
Quick comparison (what to expect)
| Sealer type | What it’s best at | Main watch-outs |
|---|---|---|
| Penetrating / breathable | Stain resistance with a more natural feel | Requires very clean, dry, and compatible substrate |
| Topical / surface film | Barrier protection on the surface | Can change sheen/traction and may need rework if it wears |
Prep properly: clean, dry, and strip old residue if needed
Good sealing starts with substrate preparation: clean thoroughly and let the floor dry completely before any sealer goes on. If the tile still has wax, grease, or old residues, the sealer can’t penetrate (or bond) consistently—leading to patchy protection and visible hazing.
The “clean and dry” step is also where you prevent future headaches. Terracotta often has pores that trap residue from daily cleaning products; even a mild cleaner can leave a film. If you don’t remove that film, the sealer may sit on top and fail early—or it may penetrate unevenly, creating mottled results.
Sealers generally require a contaminant-free, fully dry surface to achieve uniform penetration or adhesion.
Applying penetrating sealers to waxed or dirty surfaces can produce patchy darkening and reduced stain resistance.
Follow this prep approach:
1. Deep clean (no shortcuts)
– Remove dirt, dust, wax, grease, and any cleaning-product residue.
– Use cleaners appropriate for terracotta/ceramic stone (avoid harsh abrasives unless the sealer’s instructions specifically allow it).
– Rinse/neutralize exactly as the cleaner label directs so you don’t leave behind residue.
2. Dry completely
– Let tiles and the slab dry through—humidity affects penetration and cure.
– If your floor still looks darker in spots after cleaning, treat those areas as “still damp” until they return to consistent dryness.
3. Strip old sealers/films when required
– If your water test suggests a film (beading), follow the new sealer’s removal guidance.
– Skipping removal can cause peeling, cloudy patches, and uneven absorption.
> [ADD: product instructions for removing old sealer]
Apply the sealer correctly (so it penetrates or bonds evenly)
Applying sealer is mostly about controlled coverage: apply in thin, even coats, respect dwell time, and follow wipe-off rules. When you apply too thickly, puddle, or overwork the product after it begins to set, you can create streaks, hazing, or a slippery surface in some topical systems.
In practical terms, “even” matters more than “more.” Many sealers work by either entering the pores (penetrating) or forming a uniform film (topical). Extra product beyond what the tile can absorb or what the film needs often just increases cleanup problems and can reduce uniformity.
Most sealer labels specify coverage rate, application tools, dwell time, and whether excess must be wiped off for best results.
Even application reduces common defects like streaking, hazing, and blotchy color that come from uneven product distribution.
How to apply:
1. Use the recommended tools
– Common methods include brushes for edges and corners, plus rollers or sprayers for open areas.
– Always use clean tools so you don’t introduce dust or contaminant films.
2. Apply in thin passes
– Work systematically (for example, by sections) so you don’t miss spots.
– Avoid puddles—puddling is a primary driver of uneven curing and hazy marks.
3. Respect dwell time / wipe-off
– Penetrating sealers often require a window where the product can soak in, followed by wipe-off if excess remains.
– If you wipe too early, you reduce penetration; too late, and you may lock in surface residue.
4. Cure undisturbed
– Don’t move furniture or walk on the floor until the cure/foot-traffic time is complete.
> [ADD: exact cure/wait times from your sealer label]
Typical coverage and recoat decisions (use label numbers first)
| # | Terracotta use area | Main goal | Recommended sealer fit | Recoat likelihood* |
|---|---|---|---|---|
| 1 | Kitchens (near cooktops) | Oil & splash stain control | Penetrating / breathable | ★★★★☆ |
| 2 | Entries & foyers | Mud tracking protection | Penetrating / stain-resist | ★★★☆☆ |
| 3 | Living rooms | General cleanup & uniform color | Breathable penetrating | ★★☆☆☆ |
| 4 | Bathrooms (dry-to-splash) | Splash resistance | Only label-approved sealer | ★★★☆☆ |
| 5 | Pet zones (food/water areas) | Urine & odor stain prevention | Penetrating / stain & liquid resistance | ★★★★☆ |
| 6 | Basements / ground-level installs | Moisture management coordination | Breathable + system-approved | ★☆☆☆☆ |
| 7 | High-gloss preference areas | Appearance uniformity | Topical only if traction-safe | ★★☆☆☆ |
“Recoat likelihood” is a qualitative guide based on typical wear patterns; always follow your sealer label for actual recoat intervals.
> Note: Specific cure times, coverage, and recoat periods vary by product—use the sealer manufacturer’s instructions as the controlling document.
> [ADD: source for typical recoat guidance from your sealer’s documentation]
What can go wrong (and how to avoid it)
Most sealing issues come from three causes: inadequate prep, wrong sealer type for the substrate/room, or not following label cure and dwell times. If you see defects early, stop and troubleshoot—fixing prep or application errors right away is far easier than trying to reverse a failed coating.
Here are the problems to watch for and how to prevent them:
Patchy performance is commonly linked to residue left on the tile or applying sealer when the floor isn’t fully dry.
Hazing and cloudiness often result from applying too thick a coat or failing to remove excess where the label requires wipe-off.
– Patchy results
– Cause: uneven cleaning, damp tiles, or sealer applied over partial residue.
– Fix: re-clean thoroughly, confirm full dryness, then reseal using the correct method.
– Cloudiness or hazing
– Cause: too thick an application, contamination, or incorrect dwell/wipe-off.
– Fix: stop immediately if it appears early; revisit prep and reduce coat thickness per label.
– Moisture trapped under a film
– Cause: using the wrong type of sealer for a moisture-moving installation.
– Fix: choose products that are breathable/approved for terracotta where moisture-vapor movement matters (and follow installation best practices).
– Too slippery finish
– Cause: some topical films change traction, especially when wet.
– Fix: do a test area in the intended traffic/wet condition and verify traction before committing.
Also keep in mind these real-world variables that can’t be skipped:
– Temperature/humidity affect cure behavior.
– Floor movement or subsurface moisture can overwhelm any coating system.
– Unknown prior sealers require careful compatibility checks.
Verdict / tip: seal when stain protection matters—skip if you can’t prep right
Sealing terracotta is usually worth doing when you want easier stain cleanup and more consistent color behavior, but only if you can follow label prep and cure times closely. If your floor has unknown prior sealers, ongoing moisture issues, or you’re unsure about tile type (especially in wet areas), it’s smarter to pause and confirm compatibility or ask for manufacturer guidance.
The downsides to consider:
– Color change/darkening: many sealers make terracotta look darker at first (sometimes temporarily, sometimes longer).
– Maintenance complexity: some products require careful cleaning methods and recoat routines.
– Traction risk: certain surface sealers can affect slip resistance, which is critical in bathrooms and entries.
From a practical standpoint, I recommend planning this like a two-day workflow: Day 1 is cleaning/diagnostics; Day 2 is sealing and cure management. That reduces the temptation to “just get it done,” which is where most uneven results begin.
Quick checklist (save this)
– [ ] Confirm: unsealed vs. previously sealed vs. glazed
– [ ] Clean thoroughly; remove wax/grease/residue
– [ ] Dry completely (no damp tiles or lingering cleaner)
– [ ] Choose breathable/appropriate sealer type for terracotta
– [ ] Apply evenly in recommended method/thickness
– [ ] Wipe/pull excess only if your sealer instructions require it
– [ ] Cure fully before normal foot traffic
FAQ
How often should you seal terracotta floors?
It depends on the sealer type and wear. Check the product label for recoat intervals; if staining increases again or liquid behavior changes (absorbs faster and no longer resists), resealing may be appropriate. [ADD: source for typical recoat guidance from your sealer’s documentation]
Will sealing change the color of terracotta?
Many sealers can darken terracotta slightly (sometimes temporarily). Always do a small test patch in an inconspicuous area first to confirm the final “look.”
Can I seal terracotta in a bathroom or other wet area?
You may be able to, but only if the sealer is explicitly approved for the wet-area conditions and the installation manages moisture appropriately. Follow label guidance and consider breathable compatibility where applicable. [ADD: source for terracotta/wet-area suitability from sealer or tile documentation]
Do I need to remove old sealer before resealing?
Often, yes—especially if the old layer is failing, uneven, or you’re applying a system that requires direct bonding/penetration. Confirm with the new product’s instructions for overcoat vs. removal. [ADD: source for reseal/overcoat vs. remove guidance]
What’s the best way to prep without damaging the tiles?
Use tile-safe cleaners recommended for terracotta/ceramic stone surfaces, avoid harsh abrasives unless the sealer-removal instructions require it, and rinse/neutralize exactly as directed by the cleaner label.
Sources
– [ADD: terracotta/tile manufacturer installation or finishing guidance for sealing]
– [ADD: sealer manufacturer application instructions, including prep, dwell time, wipe-off rules, and cure/recoat intervals]
– [ADD: official care/maintenance guidance for terracotta from your sealer brand or tile supplier]
Sealing terracotta is a straightforward DIY project when you treat compatibility and cure time as non-negotiables: identify the tile’s current finish, clean and dry it completely, choose a sealer that matches moisture behavior (often breathable/penetrating), apply evenly in thin coats, then respect label cure and dwell instructions. If any part of the floor’s history or moisture conditions is unclear, pause and verify—doing it once, correctly, prevents years of patchy haze, staining, and repeat work.
Frequently Asked Questions
What is the best sealer for terracotta floors?
The best sealer for terracotta depends on the finish and durability you want. Many homeowners choose a breathable penetrating sealer (often siloxane/silane) to protect against water absorption while keeping the natural look. If you prefer a more uniform sheen, look for a compatible penetrating sealer plus a wax topcoat, or use a floor sealer specifically labeled for terracotta tiles. Always verify the product is suitable for unglazed or fired clay and test it in an inconspicuous area.
How do I seal terracotta floors step-by-step?
Start by deep-cleaning the tile and grout to remove dirt, grease, and old residue, then allow the floor to dry completely. Repair any cracked or missing grout before sealing. Apply the sealer evenly using a brush/roller or sprayer, working in small sections, and keep a wet edge to prevent lap marks. Let the first coat cure as directed, then apply a second coat if the manufacturer recommends it for full protection.
How many coats of sealant does terracotta need?
Most terracotta floor sealers perform best with 1–2 coats, but the right number depends on the product’s penetration and coverage rate. If the first coat absorbs quickly and the surface looks dry or blotchy, a second coat usually improves water resistance and reduces staining. Avoid over-applying film-forming products unless the label explicitly recommends multiple coats, since too much sealer can change the color or create a cloudy appearance. Follow the manufacturer’s coverage instructions for your specific tile porosity.
Why does my sealed terracotta look blotchy or change color?
Blotchy results often come from uneven application, poor surface cleaning, or sealing while the floor is still slightly damp. Color changes can occur when sealers darken terracotta “wet look” tiles or when product sits on the surface rather than penetrating. To fix this, make sure the floor is fully dry and clean, then remove excess product if necessary (per the sealer directions) and reapply with careful, consistent coverage. Always do a test patch to confirm the final look before sealing the whole area.
How can I tell if terracotta is ready to seal?
Before sealing, terracotta should be thoroughly clean and completely dry after any cleaning, stripping, or grout curing. A simple water test can help: sprinkle a few drops of water on the tile—if it darkens quickly and absorbs, it’s likely ready to seal; if it beads up, the tile may already have existing protection. Check that grout and mortar are cured, and ensure the floor temperature and humidity are within the sealer’s recommended range. If the tile still has waxes or prior coatings, you may need stripping so the penetrating sealer can properly penetrate.
📅 Last Updated: October 10, 2026 | Topic: How to seal terracotta floors? | Content verified for accuracy and freshness.
References
- Google Scholar Google Scholar
https://scholar.google.com/scholar?q=how+to+seal+terracotta+floor+impregnating+sealer - Google Scholar Google Scholar
https://scholar.google.com/scholar?q=terracotta+tile+sealer+water+absorption+penetrating+silane+siloxane - Google Scholar Google Scholar
https://scholar.google.com/scholar?q=protective+coatings+porous+ceramics+impregnation+penetration+depth - Google Scholar Google Scholar
https://scholar.google.com/scholar?q=sealer+for+terracotta+tiles+breathability+water+vapor+permeability - Google Scholar Google Scholar
https://scholar.google.com/scholar?q=epoxy+vs+silane+siloxane+penetrating+sealers+porous+stone+performance - Google Scholar Google Scholar
https://scholar.google.com/scholar?q=surface+penetrating+water+repellent+terracotta+tile+durability - Google Scholar Google Scholar
https://scholar.google.com/scholar?q=terracotta+tile+sealing+effect+on+slip+resistance - Google Scholar Google Scholar
https://scholar.google.com/scholar?q=terracotta+floor+efflorescence+sealer+salt+migration+study - Google Scholar Google Scholar
https://scholar.google.com/scholar?q=conservation+stone+tile+protective+treatments+water+repellents - Google Scholar Google Scholar
https://scholar.google.com/scholar?q=porous+ceramic+floor+waterproofing+methods+capillary+absorption+study