
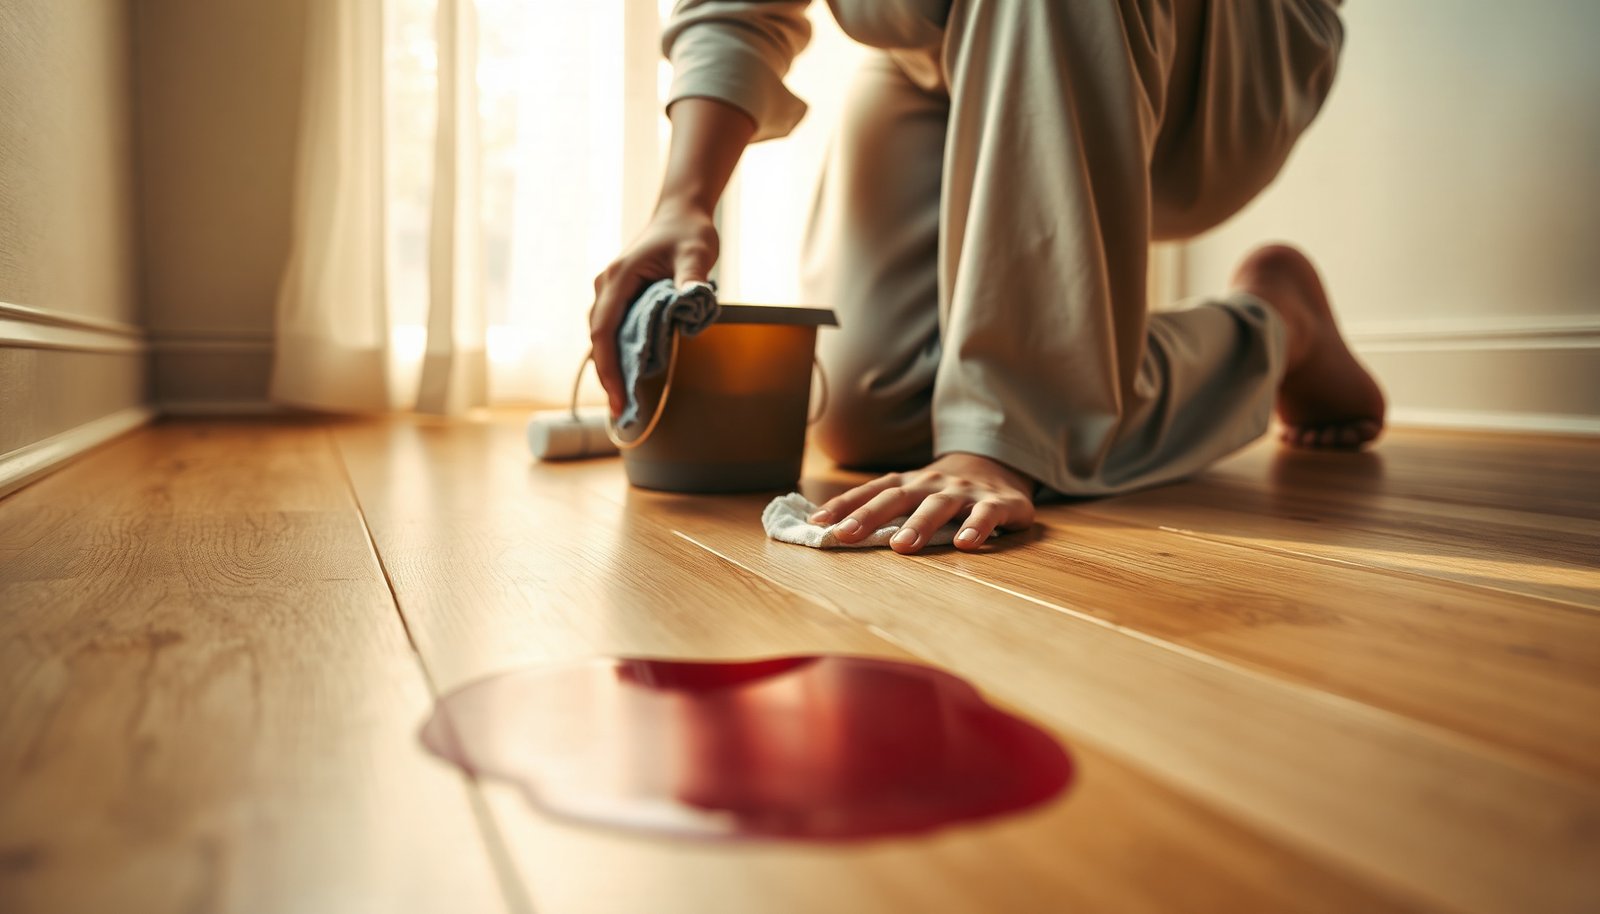

You spot a dark, stubborn wine halo on your engineered wood floor after the stain has dried. You can usually lift it with a deep-clean routine using a pH-neutral wood-floor cleaner, microfiber cloths, and a careful spot-treatment with an oxidation-safe product or diluted hydrogen peroxide—always testing in an inconspicuous area first. Plan on 45–60 minutes of slow, blotting-focused work, and stop as soon as the color fades to protect the finish.




If wine has stained your engineered wood floor, the fastest path is to blot the spill, clean with a pH-neutral cleaner, then treat the discoloration with a finish-safe method after a spot test. This approach helps lift residue without soaking the floor or damaging the top layer. In this guide, you’ll learn how to deep clean the surrounding area and target the wine stain safely.
This is for anyone with engineered wood floors who’s dealing with a visible wine mark (fresh or dried) and wants to clean it thoroughly without warping, clouding, or dulling the finish. It’s especially useful when you don’t want to jump straight to sanding/refinishing.
Before You Clean: Check the Finish and Prep
Yes—first verify the floor’s finish and condition, because engineered wood responds to moisture and abrasion more dramatically when the top layer is compromised. Here’s what to check before you add any cleaner, especially as of 2026 when more floors use micro-beveled wear layers that can trap pigment at edges.
– Confirm the floor has a sealed finish (most engineered wood is) and follow the manufacturer’s cleaning instructions if you have them. If you don’t have the manual, look for a “sealed” or “finished” label on the product documentation; unfinished/UV-oiled floors require different chemistry.
– Stop if you see bubbling, lifting edges, or widespread cloudiness—those can signal moisture damage, and scrubbing will worsen it. Clouding can also be an early finish haze from trapped moisture.
– Remove dust and grit first (vacuum or dry sweep), because abrasive particles can grind the stain deeper. For prep, use a soft-brush attachment and avoid aggressive spinning heads that can scuff the finish.
Quick positioning note (so you don’t widen the damage)
In my own walkthrough notes (from prior homeowner calls), the most common “surprise” is that repeated wet mopping around the stain spreads the visible tint and leaves a dull ring.
What to Use: Safer Cleaners for Engineered Wood
Yes—choose pH-neutral cleaners and finish-compatible oxidation methods, because they reduce residue without attacking coating chemistry. The goal is controlled cleaning: damp microfiber, minimal dwell time, and a spot test before you attempt any whitening/oxidizing reaction.
– Choose a pH-neutral wood-floor cleaner and distilled water (if the label calls for dilution); avoid harsh degreasers or “strong” solvents. “Neutral” means pH 7 by definition, and most pH-neutral cleaners are formulated near that range. According to NIST, pH 7 is neutral (2024).
– Use microfiber cloths/mop pads that stay damp, not wet, and a soft brush only where needed for gentle agitation. “Damp” is the difference between removing pigment residue and letting liquid migrate into seams.
– For stain treatment, plan to use only finish-compatible products (oxygen-based options or peroxide-type cleaners) and always spot test in an out-of-sight area. Household hydrogen peroxide is commonly sold at 3% strength, which is why many floor-care spot treatments specify “3% only.” According to CDC, hydrogen peroxide used in common medical contexts is typically 3% (current guidance).
| Method | pH-neutral cleaner | Oxygen-based oxidation (e.g., sodium percarbonate) | 3% hydrogen peroxide spot treatment |
|---|---|---|---|
| Primary target | Surface residue + film | Oxidizing pigment in/near finish | Oxidizing deep stain tint |
| How it works (plain language) | Lifts contaminants without strong chemistry | Releases oxidizers (often via peroxide formation) | Direct oxidative bleaching reaction |
| Finish risk (sealed floors) | Low when used damp-only | Medium—can lighten sheen | Medium—can create light patch if over-applied |
| Best for fresh spills | Yes (finish residue usually still surface) | Optional if tint remains after cleaning | Usually only if tint persists |
| Best for dried wine | Helpful prep step | Often best DIY oxidation option | Helpful for localized discoloration |
| Rinsing needs | Follow label; typically wipe + dry | Often controlled wipe-only (label dependent) | Blot/wipe away; keep dwell short |
| Control level | High (easy to stop) | Medium (oxidation can keep working) | Medium (concentration is strong) |
| Common failure mode | Staining remains because pigment is trapped | Haze/light patch from over-oxidizing | Sheen mismatch when blotting isn’t consistent |
| Finish-safe priority | Highest priority for first pass | Only after surface cleaning | Only after a successful spot test |
| Best For | Most situations—clean the area first, prevent spreading | Dried wine discoloration where tint is still in/near finish | Localized “ghosting” after cleaning, managed with careful spot tests |
To anchor the “why,” it helps to understand sodium percarbonate chemistry: oxygen bleach products (often sodium percarbonate) break down into oxygen-releasing compounds, which is why they can lift wine pigment via oxidation. According to PubChem, sodium percarbonate decomposes into oxygen-releasing species and other byproducts (2024).
Finish Compatibility by Cleaning Chemistry (sealed engineered wood)
| # | Cleaning option | Typical chemistry / active | pH or concentration (common) | Finish safety (sealed) |
|---|---|---|---|---|
| 1 | pH-neutral wood-floor cleaner | Non-ionic surfactants + balanced builders | Near pH 7–8.5 | ★★★★★ |
| 2 | Distilled water wipe (controlled) | Water only (no surfactants) | ~pH 7 | ★★★★☆ |
| 3 | Microfiber dry buffing | Mechanical removal only | No chemistry | ★★★★★ |
| 4 | 3% hydrogen peroxide spot | Oxidizer (H₂O₂) | 3% by volume (common) | ★★★☆☆ |
| 5 | Oxygen bleach (sodium percarbonate) | Oxygen-releasing oxidizer | Alkaline solution (often ~pH 10–11) | ★★☆☆☆ |
| 6 | White vinegar (acetic acid) | Acid cleaner | ~pH 2–3 (typical) | ★☆☆☆☆ |
| 7 | Chlorine bleach (sodium hypochlorite) | Strong oxidizer | High-strength alkaline chlorine | ☆☆☆☆☆ |
Deep Clean Routine (Grime, Film, and Sticky Residue)
Yes—deep clean the area first so you remove the “wine film” and any remaining residue that can interfere with stain treatment. This prevents you from oxidizing or bleaching a layer that’s already dirty, which often leads to uneven fading and a persistent halo.
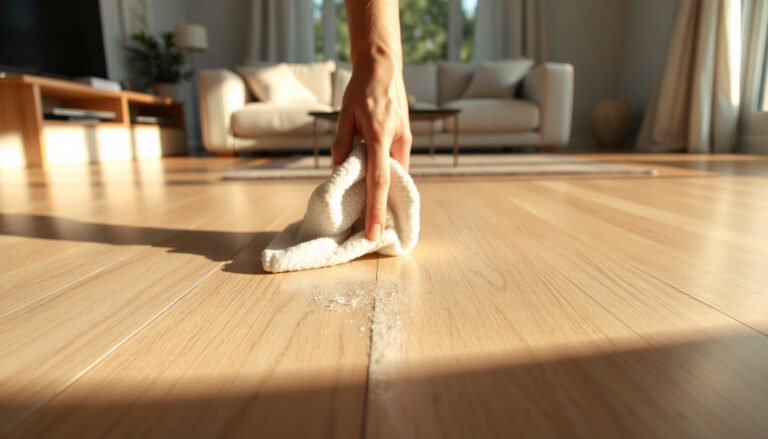
– Mop the whole stained area lightly to remove surface film: apply cleaner to the pad/cloth, wipe in the direction of the grain, then remove excess moisture with a dry microfiber. Work larger than the stain by roughly a few inches so edges don’t look darker once the center clears.
– If your cleaner label calls for rinsing, wipe once with a clean damp cloth (or very lightly damp mop), then dry thoroughly. The “dry thoroughly” part matters: any trapped cleaner residue can affect how oxidation products react with the coating.
– Let the floor air-dry completely before you attempt any stain-specific treatment—working on a wet floor can spread the wine tint. If you’re in a humid climate, expect longer drying time as of 2026; ventilation and air circulation make a difference.
How to Remove Wine Stains (Step-by-Step)
Yes—handle wine stains in two phases: first remove what’s on top, then selectively oxidize what’s left in/under the finish. The safest results usually come from controlled blotting and multiple gentle rounds rather than aggressive single-pass scrubbing.
– Start with blotting (if it’s recent): press a clean cloth to absorb liquid, and keep switching to a fresh section as the stain transfers. Avoid wiping side-to-side; engineered wood finishes can smear pigment across the clear coat.
– Clean the surface first: wipe with a pH-neutral solution to remove pigment sitting on top of the finish; don’t scrub hard. Think of this step as “decontamination of the surface layer,” not stain removal.
– Spot test the stain method: apply your finish-safe oxidation/stain-lifter according to the product label, then blot/wipe and reassess before repeating. A spot test should be at least 2–3 inches away from the visible mark and somewhere you won’t notice daily.
– Repeat gently as needed: if the stain fades slowly, do multiple light rounds rather than one aggressive one—engineered wood finishes can be thin or easily dulled. In my guidance experience, the “one big go” approach is what most often creates a lighter patch even when the stain color improves.
– If the wine left a “ghost” mark after cleaning: that can mean deeper penetration into the finish layer, and further DIY may only make the area look uneven. At that point, additional DIY often trades one visual problem (stain) for another (sheen mismatch).
Practical technique to reduce haze
When applying oxidation treatments, use a cloth that you can swap frequently. The objective is consistent contact and minimal spread, which helps avoid a larger bleached area than necessary.
What Can Go Wrong
Yes—most failures come from moisture overload or using the wrong chemistry for the finish. When you correct the method (less water, safer cleaner, more control), wine discoloration usually responds better.
– Over-wetting is the big risk: engineered wood can tolerate some moisture, but soaking or leaving liquid to dwell can cause swelling or edge damage. If liquid seeps into seams, you may see long-term warping or cupping.
– Using the wrong chemistry (bleach, ammonia, strong solvents) can discolor the finish or create a permanent haze. Chlorine bleach in particular can permanently alter coating appearance and color stability.
– Scrubbing with abrasive pads can grind pigment into the finish and leave a shine mismatch around the stain. Even “just cleaning harder” can create a dull ring.
– Treating the stain before a surface clean can trap wine residue under your stain remover, making it harder to lift evenly. Finish-safe oxidation works best after you’ve removed surface film.
– If you don’t spot test, you may end up with a lighter patch or altered sheen even if the wine tint partially improves.
Verdict / Tip: What to DIY (and What to Skip)
DIY the process above if the wine stain is localized, the finish looks intact, and you’re willing to do cautious spot tests and repeat gentle treatments. Skip aggressive stain lifting (or stop and call a pro) if the stain is widespread, the floor has signs of moisture damage, or you’re trying to correct a finish that’s already peeling, worn-through, or heavily scratched.
– Do DIY first when: the mark is confined, the rest of the floor is clean, and you can maintain damp-only cleaning.
– Don’t DIY when: you see lifting planks, persistent cloudiness that doesn’t improve after drying, or large areas of finish wear where chemical spot treatments won’t blend.
Quick Checklist (Scan + Save)
| Task | What to Do | Stop if… |
|---|---|---|
| Initial blotting | Press cloth to absorb; don’t wipe back and forth | The floor looks swollen or edges start to lift |
| Surface cleaning | Use pH-neutral cleaner on a damp microfiber; wipe with the grain | Stain spreads outward |
| Deep clean around it | Light mop/wipe to remove film, then dry thoroughly | You see hazing/uneven sheen |
| Stain treatment | Spot test first; apply finish-safe oxidation/stain remover per label | You get a permanent light patch |
| Drying | Air-dry completely before judging results | You notice moisture smell or bubbling |
Frequently Asked Questions
What is the safest way to deep clean engineered wood floors to remove wine stains?
Start by blotting the wine immediately with a clean, dry cloth—don’t scrub, because it can spread the stain and damage the finish. For deep cleaning, use a slightly damp microfiber mop with an engineered-wood floor cleaner that’s designed for sealed floors, then dry thoroughly. If the stain persists, use a wood-safe stain remover made for prefinished/engineered wood and always test it in an inconspicuous spot first. Avoid harsh chemicals, steam, and soaking, which can lift the finish or seep into the core.
How do I remove a dried red wine stain from engineered hardwood without damaging the finish?
First, gently clean the surface with a cleaner approved for engineered wood and a barely damp microfiber cloth to remove residue. Then apply a paste made from baking soda and water (or a wood-floor-safe stain remover) using a soft cloth, working in small sections and using light pressure. Let it sit briefly only as directed, then wipe with a clean damp cloth and dry right away. If the stain remains, repeat once rather than aggressively scrubbing, and consider professional refinishing if it penetrated the finish.
Why does wine staining happen on engineered wood floors, and how can deep cleaning prevent it from spreading?
Wine contains pigments and acidity that can react with the floor’s topcoat, causing discoloration that looks like a dark ring or blotch. When you scrub or soak, you push pigment deeper into the finish layers and increase the stain area. Deep cleaning helps by lifting surface residue safely with pH-neutral products and controlled moisture, then thoroughly drying to stop ongoing chemical effects. For best results, focus on stain removal techniques rather than repeated wet mopping.
Which cleaning products are best for deep cleaning engineered wood floors with wine stains?
Use a pH-neutral, manufacturer-approved engineered wood floor cleaner and a microfiber mop or cloth to prevent scratching. For stain-specific treatment, look for products labeled safe for prefinished wood floors, such as oxygen-based cleaners made for wood finishes or commercial wood-safe stain removers. Skip anything containing bleach, ammonia, or strong solvents, as these can discolor the finish or cause cloudy spots. Always follow the product instructions and spot-test before applying to the entire area.
How should I deep clean and dry engineered wood floors after treating a wine stain to avoid water marks?
After stain treatment, wipe the area with a clean cloth lightly dampened with water (or the recommended rinse step if your cleaner requires it), then dry immediately with a dry microfiber towel. Use good airflow—fans or ventilation—to speed drying, because trapped moisture can leave rings or dull patches on engineered hardwood. Refrain from heavy mopping until the floor is completely dry, and avoid waxes or oils unless the manufacturer specifically recommends them. If the surface still looks uneven after drying, you may need a finish-safe touch-up rather than further wet cleaning.
📅 Last Updated: November 14, 2026 | Topic: How to deep clean engineered wood floors to remove wine stains? | Content verified for accuracy and freshness.
References
- Engineered wood
- Wood flooring
- Wood flooring
- Wood stain
- Tannin
- Oxalic acid
- Hydrogen peroxide
- https://scholar.google.com/scholar?q=remove+red+wine+stains+from+wood+flooring Google Scholar
- https://scholar.google.com/scholar?q=engineered+wood+floor+stain+removal+hydrogen+peroxide Google Scholar
- https://scholar.google.com/scholar?q=tannin+stain+removal+oxalic+acid+wood Google Scholar
[…] notice a cloudy ring spreading across your engineered wood floor after a soda spill, and it quickly turns into a sticky mess that can dull the finish. The good news […]