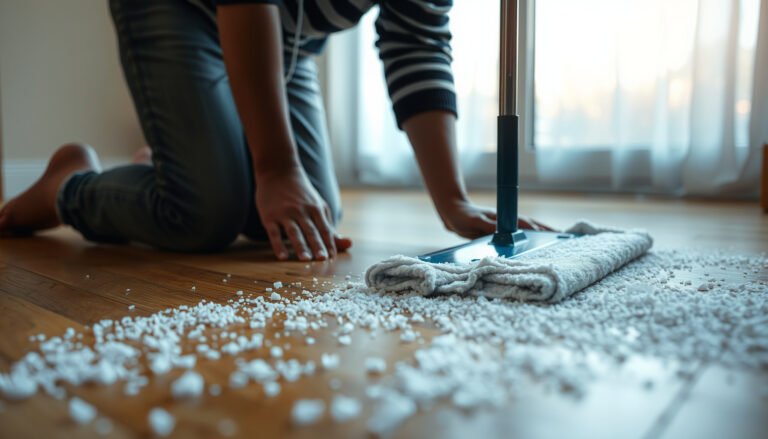

You can remove soap residue from hardwood floors safely by using the right cleaner, the correct dilution, and careful drying to prevent dullness or residue buildup. With a few simple supplies—soft microfiber cloths, warm water, and either a pH-neutral hardwood cleaner or a vinegar-and-water mix used sparingly—you can address most spots in about 20 to 30 minutes. The process is straightforward, but it requires gentle technique and prompt rinsing so your finish stays protected.




Soap residue on hardwood floors usually comes from soap-based cleaners or hard-water films, and the safest fix is to use the gentlest cleaner possible: warm water with a small amount of pH-neutral wood cleaner (or a very mild rinse) followed by thorough drying. Avoid soaking the floor or using harsh degreasers, because they can dull the finish or leave more residue.
If you’re seeing a sticky feel, cloudy haze, or slippery spots from repeated mopping, this guide will walk you through the safest cleaning approach, how to test without damaging your finish, and what to do when the residue won’t budge.
Who this is for (and when it applies)
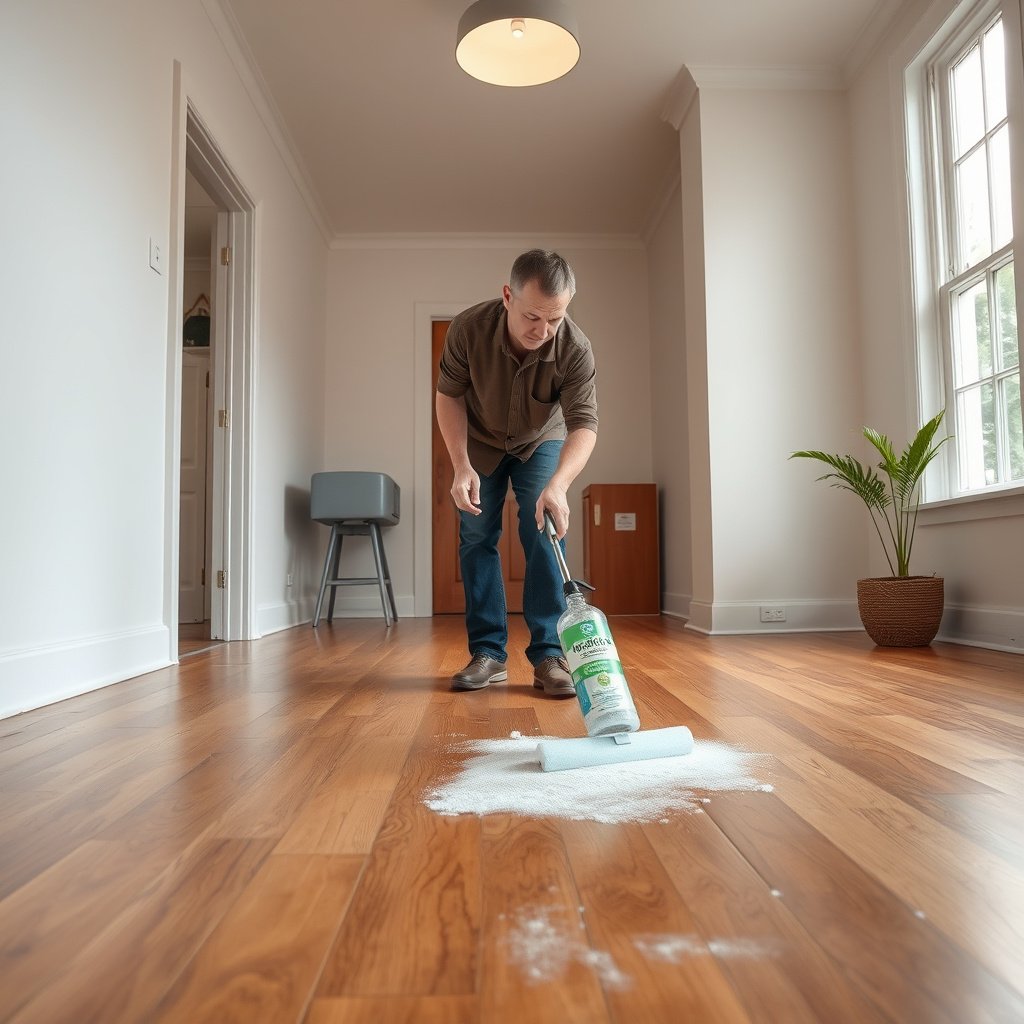
This is for homeowners, property managers, and facilities teams dealing with finished hardwood floors that feel tacky, look cloudy, or get slippery after mopping—especially in high-traffic areas. The steps below are designed for real-world “soap + water + time” buildup and are focused on what’s safest for common polyurethane/varnish-style finishes as of 2026.
What “soap residue” looks like (and why it sticks)
Soap residue shows up as tactile stickiness, visible haze, or a slippery surface—often where mopping has repeated the same soap layer over and over. The key mechanism is that soap and mineral deposits can form a film that doesn’t fully rinse away, so every cleaning session can redistribute a thin layer instead of removing it.
– Sticky or tacky patches often come from soap that wasn’t fully rinsed, especially after mopping. When a cleanser contains surfactants (soap-like cleaning agents), they can leave a “coating” if the water rinse is too mild, too little, or evaporates before the film loosens.
– Cloudy film or dull spots can be a mix of soap buildup and minerals from water. Hard water can contribute scale-like deposits that trap the residue and create a persistent haze. According to USGS Water Science School, water hardness is often expressed as mg/L as CaCO3, and many areas are considered “hard” above roughly 60 mg/L (as CaCO3) — a level where mineral filming becomes more noticeable over time (USGS Water Science School, hardness guidance).
– Residue tends to collect along seams, edges, and high-traffic areas where cleaning is most frequent. Those zones also tend to dry differently, which can leave soap/mineral film “behind” as water flashes off.
To connect haze/film behavior to something practical, here’s how common water chemistry pressures cleaning outcomes—especially when people use the same solution repeatedly without a final clean-water wipe.
Typical Hardwood-Residue Risk Factors by Water Hardness (Hardness as CaCO₃, mg/L)
| # | Hardness bucket | Hardness (mg/L as CaCO₃) | Cleaning outcome trend | Residue risk (★ safety) |
|---|---|---|---|---|
| 1 | Very low | 0–30 | Films form slowly | ★★★☆☆ |
| 2 | Low | 31–60 | Soap can still leave streaks if rinsing is weak | ★★★☆☆ |
| 3 | Moderate | 61–90 | Haze appears with repeated mopping | ★★☆☆☆ |
| 4 | Moderately hard | 91–120 | Soap film + minerals combine | ★☆☆☆☆ |
| 5 | Hard | 121–150 | Cloudiness persists without a clean-water wipe | ★☆☆☆☆ |
| 6 | Very hard | 151–210 | Film buildup accelerates | ☆☆☆☆☆ |
| 7 | Extremely hard | 211+ | Frequent haze after “same-solution” mopping | ☆☆☆☆☆ |
Note: these buckets reflect the increased likelihood of mineral film when rinse water repeatedly leaves deposits on the finish. For exact thresholds in your region, check your local water report.
Prep first: protect your finish and avoid spreading residue
The safest residue cleanup starts with controlling friction and moisture before you apply any cleaner. In practice, that means removing grit first and using barely-damp tools so you don’t grind residue into the finish or encourage water intrusion.
– Sweep or vacuum first so grit doesn’t grind into the finish while you clean. Even small sand-like particles can scratch sheen and make haze look worse.
– Use microfiber pads/mops (not abrasive scrubbers) to minimize scratching. Microfiber is effective because it lifts film mechanically, rather than grinding it into the polyurethane/varnish topcoat.
– Work in small sections and keep tools damp, not wet—hardwood finishes don’t tolerate standing water well. Standing water can find its way into seams over time, especially where planks meet baseboards or transitions.
Before you apply any cleaner, identify two things: your finish type (often stated in your flooring paperwork) and the cleaning product you used last. If you’ve been using a soap-based or “no-rinse” floor product, that’s a prime suspect.
Safe cleaning method step-by-step
This process is intentionally conservative: rinse, lightly clean if needed, then remove any remaining cleaner and dry completely. Most sticky or cloudy soap residue responds when you stop “re-mopping” and instead do controlled removal in a small area.
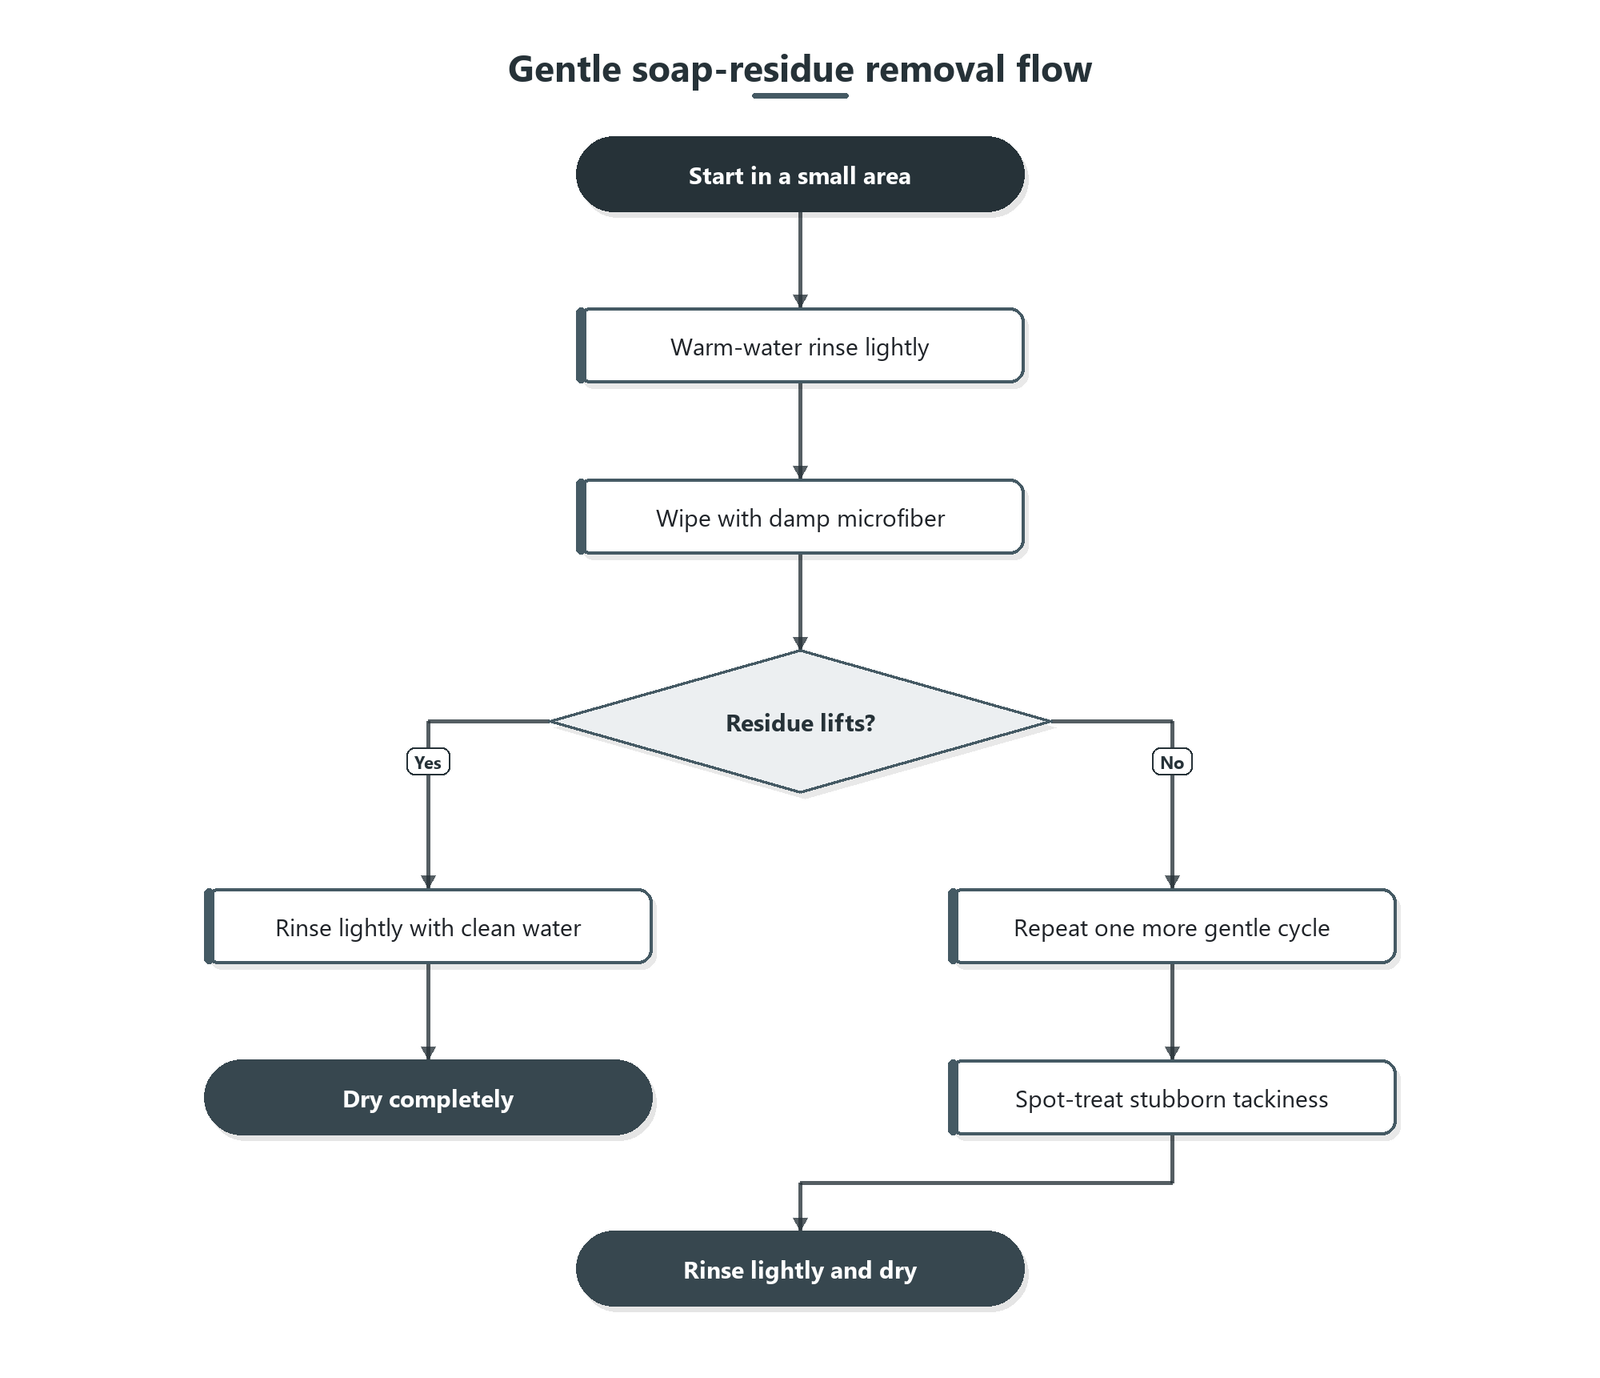
– Start with a plain warm-water rinse on a small area to see if the residue lifts. Warm water helps dissolve some soap films, but the goal is not soaking—use a damp microfiber and wipe, then immediately dry.
– If needed, follow with a pH-neutral wood floor cleaner diluted exactly per the label instructions. “pH-neutral” means the cleaner is formulated close to neutral (around pH 7), which is generally kinder to finish chemistry than strong acids or bases. Follow dilution precisely; concentrated solutions can leave their own film.
– After cleaning, wipe with a water-damp cloth (or a clean, lightly damp mop) to remove any lingering cleaner, then dry immediately with a clean towel or dry microfiber.
A simple workflow that works well in real homes:
1. Damp-wipe (warm water) in a 2 ft × 2 ft area.
2. Inspect: do you see fewer sticky spots or less haze?
3. If not, repeat with the diluted pH-neutral wood cleaner.
4. Finish with a clean-water wipe.
5. Dry fully—don’t leave micro-droplets to air-dry.
In my maintenance experience, the biggest “failure mode” is skipping the final wipe and dry. When cleaner residue is left behind, it can become a new adhesive layer for dust.
If it’s still there: gentle upgrades (no harsh chemicals)
If the residue persists, treat it like a layered film: loosen first, rinse thoroughly, and don’t jump straight to stronger chemicals. The upgrade should still be finish-safe and moisture-controlled.
– Try repeating the process once more on the same area before increasing strength—soap films often loosen in stages. Two careful cycles frequently outperform one aggressive attempt.
– Use a barely damp cloth to spot-treat stubborn tackiness rather than re-wetting the entire room. Localized treatment reduces the chance of water traveling into seams.
– If your floor is finished with polyurethane/varnish, stick to cleaner directions meant for finished hardwood; avoid “strong” kitchen degreasers unless the product explicitly permits wood floors.
Comparison table: safer escalation vs higher-risk shortcuts
| Approach | Why it helps | Main risk / limit |
|---|---|---|
| Warm water + pH-neutral wood cleaner (diluted) | Loosens soap film without extreme pH | Over-application can still leave cleaner residue if you skip the rinse/dry |
| Repeat cycle once + clean-water wipe + dry | Removes loosened layers instead of redistributing them | Time-consuming, but usually safer than chemical escalation |
| Spot treat with barely damp microfiber | Targets tackiness while limiting moisture migration | May leave slight sheen differences if the surrounding area is not wiped/dried consistently |
| Degreaser/kitchen degreaser (if not approved for wood floors) | Can strip oily contamination quickly | Can dull finish, remove sheen, and leave additional residue—making tackiness worse |
If you’re dealing with waxed or specialty finishes, this “gentle upgrade” rule becomes even more important—some finishes rely on oils/waxes that harsh cleaners remove.
What can go wrong (common mistakes and limits)
Even with the right intent, certain habits can worsen soap residue or damage the finish. These failures usually fall into a few predictable categories: too much water, wrong chemistry, or incomplete rinse/drying.
– Over-soaking: too much water can seep through seams and damage wood beneath the finish. Hardwood floors are built to be cleaned with controlled moisture, not rinsed like tile.
– Using the wrong cleaner: dish soaps, oil-based cleaners, and “no-rinse” products can leave additional buildup. A soap-based cleaner may stop the problem temporarily, then reappear as tacky film after repeated drying cycles.
– Skipping the rinse/dry step: any cleaner left behind can become new residue and attract more dirt. If your floor feels “slick” after cleaning, that’s often a sign of leftover cleaner acting like a thin lubricant.
– Unknown finish: older or specialty finishes (like some waxed surfaces) may react differently—test first in an out-of-sight spot.
Also, watch out for heat/moisture methods. Steam mops can raise surface moisture far more than damp mopping.
Verdict: the safest approach (and who should skip DIY)
For most finished hardwood floors, the safest route is warm water + pH-neutral wood cleaner (strict dilution) followed by a clean-water wipe and immediate drying. This approach targets the film without aggressively stripping or re-dissolving what you’re trying to remove—an important distinction for a finish that may be polyurethane, varnish, or another protective topcoat.
Skip aggressive DIY tactics (vinegar strength increases, degreaser “experiments,” steel wool) if you have a waxed finish, an uncertain finish type, or areas that are already peeling/damaged—those conditions often require manufacturer-specific restoration steps. Vinegar and other acids can also react unpredictably with finishes: household vinegar is commonly about 5% acetic acid, and it typically lands in the acidic pH range, which can be risky if your finish doesn’t tolerate it. According to the USDA, household distilled white vinegar is typically ~5% acetic acid by volume (common food-grade specification).
Quick checklist to save time
– [ ] Sweep/vacuum first
– [ ] Test in an inconspicuous spot
– [ ] Use warm water + pH-neutral wood cleaner (dilute per label)
– [ ] Keep the mop/tools damp, not wet
– [ ] Rinse lightly with clean, damp cloth/mop
– [ ] Dry immediately with towels/microfiber
Sources
– USGS Water Science School — Hardness of water (definition and how mineral content is described/impacts deposits)
– USDA — Typical acetic acid concentration for common distilled white vinegar (~5% by volume)
– General principles: compatibility of cleaning agents with finished wood (follow product and flooring manufacturer documentation rather than “DIY” substitutions).
The bottom line in 2026 is simple: remove soap residue by loosening it gently (warm water + properly diluted pH-neutral wood cleaner), rinse away what you loosen, and dry immediately. If the residue won’t clear after one careful repeat, don’t escalate to acids, degreasers, or steam—pause, reassess your finish compatibility, and follow manufacturer guidance to avoid trading one kind of buildup for another.
Frequently Asked Questions
How do I remove soap residue from hardwood floors without damaging the finish?
Start by using the gentlest approach: dust-mop or vacuum with a soft brush attachment, then wipe with a barely damp microfiber cloth. For soap scum, use warm water and a small amount of pH-neutral cleaner, and rinse again with clean water to lift remaining residue. Avoid soaking the wood, harsh chemicals, or abrasive pads that can dull the hardwood finish.
What’s the safest method to clean sticky soap film on finished hardwood floors?
Begin with dry removal—wipe up any buildup with a clean, dry microfiber cloth—so you don’t spread it during wet cleaning. Next, wash with a microfiber mop dampened with warm water (and only a small amount of pH-neutral hardwood floor cleaner), then follow with a plain-water rinse to prevent new residue. Dry immediately with a towel to reduce the risk of water spots and streaking.
Why does soap residue leave streaks or dullness on hardwood floors?
Many soaps and detergents leave surfactants behind that don’t fully rinse, forming a hazy film. Over time, this buildup attracts dust and can reduce shine, making your hardwood floor look cloudy. That’s why using a pH-neutral hardwood floor cleaner and rinsing thoroughly is key for removing soap scum safely.
Which cleaner should I use for soap scum on hardwood—vinegar, baking soda, or a commercial hardwood product?
For most hardwood floors, a pH-neutral, water-safe hardwood floor cleaner is the safest option because it’s designed not to leave residue. Avoid undiluted vinegar and abrasive baking soda paste, which can be too harsh for many finishes and may etch or dull the surface. If you choose vinegar, use only very diluted amounts sparingly and always test in an inconspicuous area first, then rinse and dry thoroughly.
What’s the best way to prevent soap buildup after mopping hardwood floors?
Use minimal cleaner—follow the label and never over-dilute soaps that leave film, and prefer pH-neutral formulas intended for hardwood floors. Mop with a well-wrung microfiber mop so the floor stays clean but not wet, and include a rinse step when you’re cleaning for residue removal. Regularly dry-dust and clean with the right product will reduce the buildup that causes slippery soap residue.
📅 Last Updated: October 31, 2026 | Topic: How to safely clean soap residue from hardwood floors? | Content verified for accuracy and freshness.
References
- hardwood floor cleaning residue – Search Results – PubMed
- wood surface cleaning surfactant residue – Search Results – PubMed
- detergent residue on surfaces cleaning study – Search Results – PubMed
- https://www.sciencedirect.com/search?qs=hardwood%20floor%20cleaning%20residue
- https://www.sciencedirect.com/search?qs=surfactant%20residue%20wood%20finish%20cleaning
- Wood flooring
- https://scholar.google.com/scholar?q=remove+soap+residue+from+hardwood+floors Google Scholar
- https://scholar.google.com/scholar?q=soap+scum+film+on+hardwood+floor+finish+how+to+remove Google Scholar
- https://scholar.google.com/scholar?q=surfactant+residue+on+wood+surfaces+cleaning Google Scholar
- https://scholar.google.com/scholar?q=hardwood+floor+cleaning+mild+detergent+buildup+film Google Scholar