
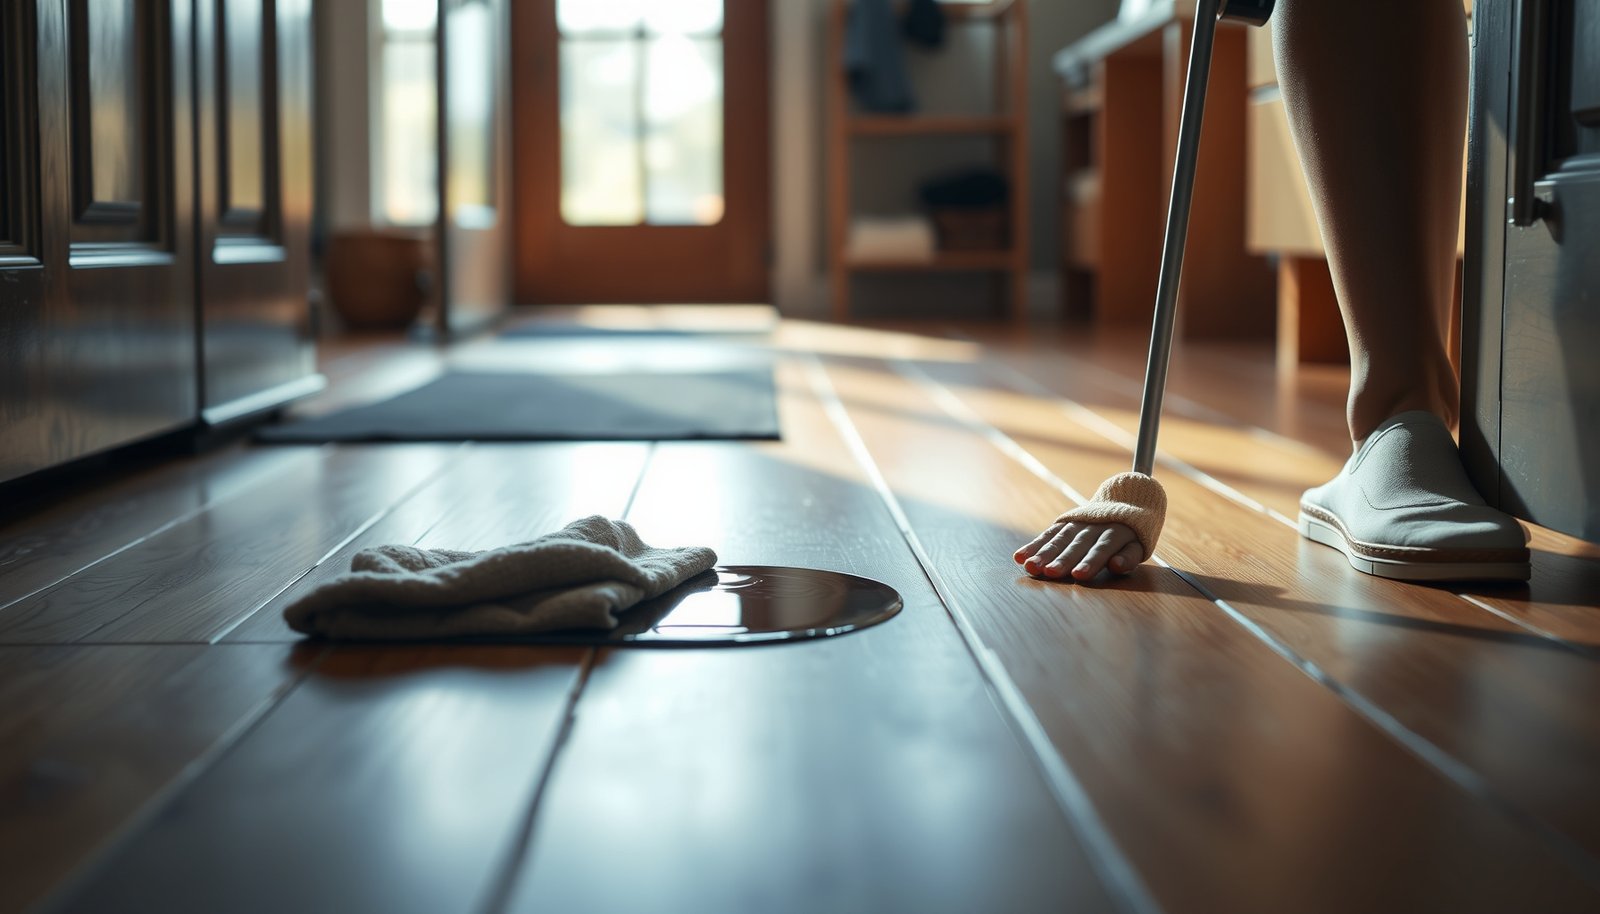

Prevent water damage to hardwood floors in a mudroom by stopping moisture at the door and keeping spills from ever reaching the wood. The winning approach pairs a high-absorbency entry mat with a strict wet-entry rule, backed by fast cleanup and a protective finish designed for heavy foot traffic. Get these steps right, and your hardwood stays stable, clean, and protected—even during the wettest season.
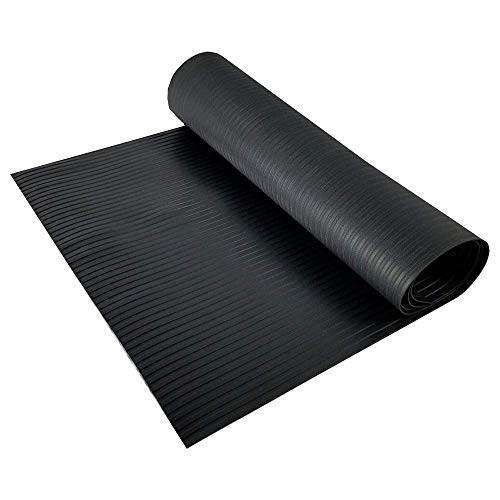



Prevent water damage by blocking moisture at the door, managing matting so it absorbs instead of spreading, and protecting the hardwood finish so spills don’t soak in. This guide walks you through practical steps for a mudroom setup—then shows what to do when water gets through.
If your mudroom sees muddy boots, wet umbrellas, dripping pet paws, or frequent snow/rain entry, this is for you. It’s especially relevant if you have solid or engineered hardwood and want to reduce swelling, cupping, or finish failure without constant repairs.
Keep water from reaching the hardwood
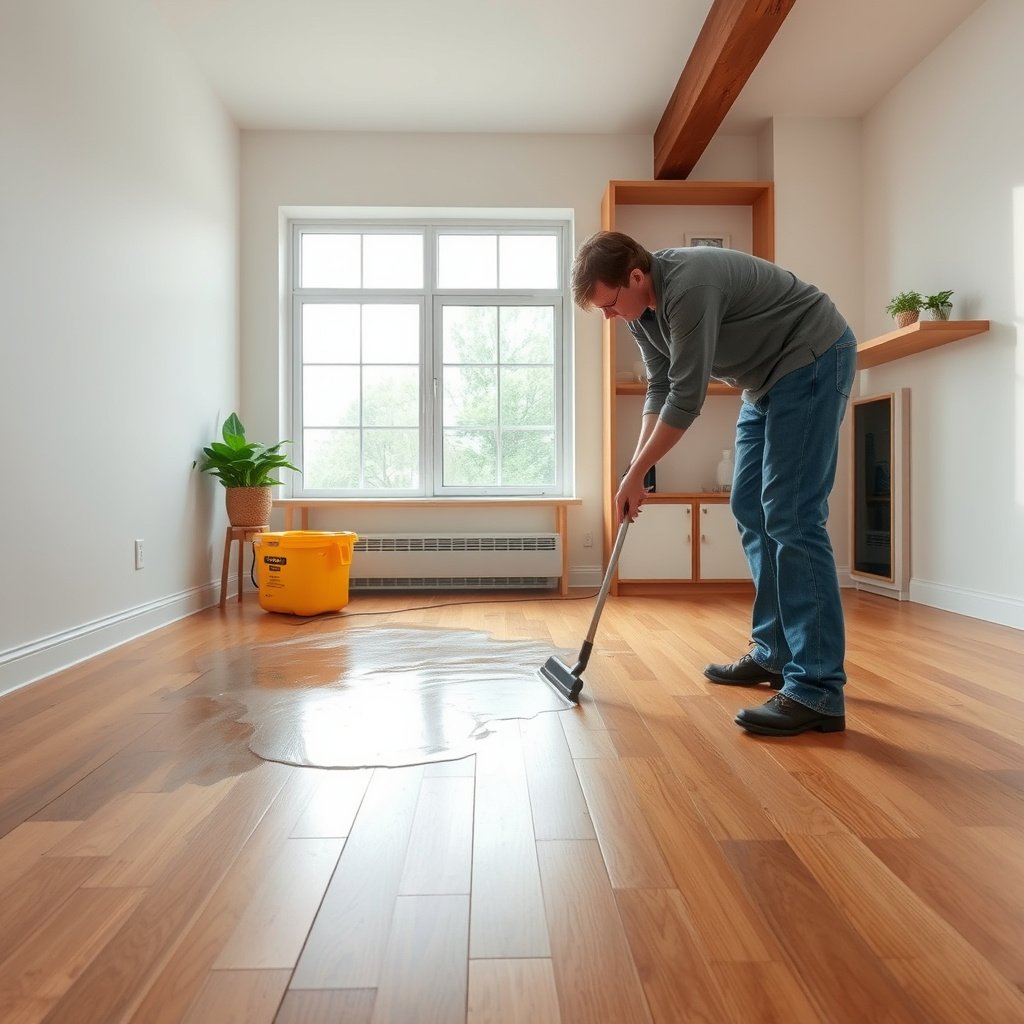
To prevent hardwood damage in a mudroom, stop water before it ever touches the boards—this is where most failures are prevented. Start by creating a clear “wet traffic zone” that catches moisture at the entry, then prevent tracked drips from traveling across the floor.
“NWFA recommends maintaining indoor relative humidity around 35%–55% to limit wood movement caused by moisture.” (National Wood Flooring Association, wood floor environment guidance)
“USDA Forest Products Laboratory guidance notes mold risk increases when wood moisture content reaches around 20%.” (USDA Forest Products Laboratory, wood/mold moisture threshold references)
Beyond humidity, mudroom risk is often physical transfer: water clings to boots, umbrellas, and pet paws, then dries just long enough to leave grit and salts behind. Those salts and abrasive particles can wear your finish faster at seams and edges—exactly where cupping and finish failure usually start.
From my experience helping homeowners spot early risk, the common pattern is simple: people place one mat, then let wet traffic “walk it out.” That single mistake turns a mudroom into a slow, repeated flooding event—only you don’t see the damage until the floor starts to cup or the finish turns patchy.
How to build a real stop zone (not just a “mat spot”)
– Create a “stop zone” right at the entry so wet traffic meets something absorbent before it touches the floor.
– Separate shoe storage from the walking path so drips don’t track outward across the boards.
– Treat visible wetness like a spill—don’t let it sit long enough to migrate into seams and edges.
H3: What “seams and edges” actually means for hardwood
Hardwood doesn’t fail only because water lands on top. Water can wick into joints, around fasteners, and along board edges—especially when the floor finish has worn down. In both solid and engineered hardwood, once water reaches the seam area, the protective surface can’t do its job anymore, and swelling starts where the wood is most vulnerable.
H3: A practical mudroom layout that works
If you can, design the entry so people step onto absorbent material immediately after the doorway. Place shoe storage slightly off to the side (or in a recessed area) so boots don’t “cross” over bare boards after they’re already wet. This also reduces salt tracking from winter weather, which accelerates finish wear.
Use mats and drip paths the right way
To reduce water exposure dramatically, use mats as a controlled system: capture moisture early, then keep it from being redistributed across the floor. The goal is absorption and containment—not “pushing” water sideways into hardwood.
“A two-stage mat setup (outside/threshold plus inside) is a common floor-care strategy to capture water and debris early.” (National Wood Flooring Association, matting/wet-area maintenance guidance)
“When mats become saturated, they stop absorbing and begin redistributing moisture.” (Mat/rug manufacturer care instructions for moisture-handling and cleaning)
What to do (and what to avoid)
– Use a two-stage mat approach: one outside/at the threshold plus one inside, so dirt and water are captured early.
– Choose mats that can handle wet feet (look for durable, non-slip surfaces) and avoid setups that push water sideways.
– Keep mats maintained: when they’re saturated, they stop absorbing and start redistributing moisture—replace or clean as needed.
H3: Why two-stage matting matters in a mudroom
In wet seasons, the outer entry mat typically handles the “bulk” of mud, snow melt, and umbrella drips. The inside mat catches the remaining moisture and fine grit that slips past the first layer. Without the second stage, your hardwood finish becomes the “backup sponge,” and the floor surface wears unevenly where foot traffic concentrates.
H3: Mat placement that prevents “side spill” behavior
Some mats create channels that redirect water toward the room. When that happens, you see a slick band near the doorway or around the mat edges. Adjust the mat so its highest water-carrying direction flows toward the center and into absorbent material, not toward the hardwood seams.
Data you can use when planning your “wet zone”
The table below compares common indoor relative-humidity conditions and the resulting equilibrium moisture content (EMC) range often used in wood-floor environment planning. It’s one way to visualize why controlling humidity (and eliminating standing moisture) matters in mudrooms year-round.
Indoor RH Levels and Wood Moisture Equilibrium (70°F/21°C)
| # | Indoor RH (Target) | Wood EMC (Approx.) | Movement Risk | Stability Score |
|---|---|---|---|---|
| 1 | 25% RH | ~6.2% | Higher shrinkage risk | ★☆☆☆☆ |
| 2 | 30% RH | ~7.2% | Moderate shrinkage risk | ★★☆☆☆ |
| 3 | 35% RH | ~8.1% | Balanced (often acceptable) | ★★★☆☆ |
| 4 | 40% RH | ~9.0% | Low movement risk | ★★★★☆ |
| 5 | 45% RH | ~9.6% | Low movement risk | ★★★★☆ |
| 6 | 50% RH | ~10.2% | Very low movement risk | ★★★★★ |
| 7 | 55% RH | ~10.7% | Still acceptable; watch spikes | ★★★★☆ |
Note: This table is for planning intuition (relative-humidity → wood moisture equilibrium). Your floor’s actual risk depends on construction, installation details, and subfloor conditions. For the exact RH range, follow (National Wood Flooring Association guidance) and your manufacturer’s specs.
Protect the floor finish before problems start
To prevent water damage, you need a finish layer that’s intact—because once the finish wears through, water can reach wood much faster. The best time to protect hardwood floors in a mudroom is before the wet season ramps up.
“NWFA emphasizes that proper maintenance and timely recoat/refinish help prevent moisture ingress through worn finish areas.” (National Wood Flooring Association, wood floor maintenance guidance)
“Finish systems vary; manufacturers typically require using compatible products for recoat so adhesion isn’t compromised.” (Hardwood finish manufacturer recoat/compatibility documentation)
Mudroom traffic is abrasive even when you don’t “see” it. Sand, grit, and de-icing salts act like sandpaper, thinning the topcoat around board edges. In 2025–2026, we’ve also seen more outdoor shedding from new footwear materials and longer seasonal snow—both increase how often water and contaminants get dragged across hardwood.
What to do before water finds weak spots
– Inspect the finish regularly (especially at high-traffic board edges) and refinish/recoat when the surface looks worn or uneven.
– Use only products recommended for your specific finish type and floor construction; what works on one system may not bond well on another.
– Avoid “extra layers” (like waxes or incompatible coatings) that can trap moisture or interfere with later refinishing.
H3: Focus your inspection where water actually enters
On hardwood, the most vulnerable points are rarely the center of a board. Instead, look around:
– Board joints and seams
– Areas just outside the mat boundary
– Edges where finish can wear faster from twisting steps
– Any spot with hazing, tackiness, or uneven sheen
If you’ve noticed small darkened lines after wet days, that’s often a finish-wear cue—water is getting in, at least temporarily, and leaving behind a change in appearance.
H3: Don’t “mix” finish types
Incompatible coatings can reduce bonding. That can create peeling or cloudy areas, which then collect moisture and accelerate failure. Follow manufacturer documentation for your floor’s finish system (water-based vs. oil-based, penetrating vs. film-forming), and keep your mudroom plan consistent through 2026.
Clean spills and dry correctly when water happens
When water gets through, fast and correct drying is the difference between a surface issue and deep moisture trouble. Blot immediately, remove wet materials, and dry to “fully dry,” not “dry enough.”
“Hardwood care guidance generally instructs users to blot spills rather than soak or leave standing water on finished wood flooring.” (Hardwood floor maintenance guidance from major manufacturers / installation manuals)
“Many manufacturers warn against steam cleaning wood floors because heat and moisture can drive water deeper than visible areas.” (Manufacturer steam-cleaning limitations in wood floor care docs)
The mudroom spill response sequence
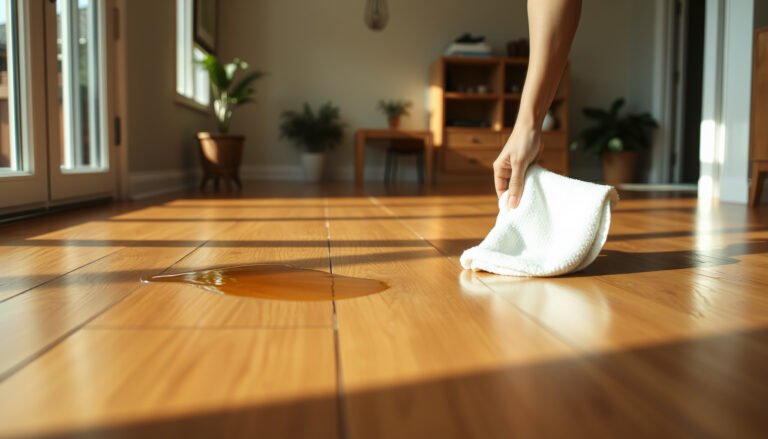
– Blot immediately rather than spreading—use absorbent towels, then remove them so moisture doesn’t keep transferring.
– Dry with airflow aimed at the surface; if water reached seams/edges, continue drying until the area is fully dry to the touch.
– Don’t use steam cleaners or flood-wetting methods on hardwood floors—they can push water deeper than you can see.
H3: How to tell if you’ve dried enough
A common mistake is stopping once the puddle disappears. If water got to joints, you may need to keep airflow on until the seam area feels dry with clean hands (no cool dampness). If you notice a lingering “raised” area, a sour smell, or persistent darkening, treat it as an unresolved moisture event and consult a floor professional.
H3: What to do with wet accessories
Mudrooms often have wet items that keep transferring moisture:
– Replace damp towels after blotting (don’t keep them in contact with the floor).
– Remove saturated doormat inserts or rugs promptly.
– If footwear is soaked, move it away from the floor instead of letting it drip in place.
In my observations, the “second wave” of damage usually comes from these accessories—not from the original puddle.
Control humidity and airflow in the mudroom area
To prevent swelling and finish stress, you control the moisture in the air—especially after rainy or snowy days. Mudrooms can become humidity traps, and hardwood responds to that even when no puddle is visible.
“NWFA recommends maintaining indoor relative humidity within about 35%–55% for wood floor performance.” (National Wood Flooring Association, wood floor environment guidance)
“Equilibrium moisture content (EMC) ties wood moisture to indoor humidity, meaning humidity control helps reduce movement even without direct wet spills.” (USDA Forest Products Laboratory, EMC/wood moisture concepts)
Humidity and airflow steps that actually help
– Keep indoor humidity within the range recommended for your flooring system to limit wood movement and finish stress.
– Ensure the mudroom has enough air exchange so damp conditions don’t linger after rainy or snowy days.
– Watch for seasonality: humidity swings can compound small leaks or minor wet footprints into bigger finish failures.
H3: Air exchange is as important as dehumidification
If your mudroom has limited ventilation, moisture can linger even when you “only” track in small amounts of water. A ceiling fan set to gentle circulation, a door/vent strategy that supports airflow to the HVAC system, and proper exhaust (where applicable) can prevent humid air from repeatedly conditioning the hardwood.
H3: Measure instead of guessing (especially in 2025–2026)
In 2026, many homeowners are surprised to find that relative humidity swings correlate with rainy weeks. Using a reliable hygrometer helps you confirm whether your mudroom is creeping above the recommended range. When you see spikes, your mat and spill response needs to work harder—or your ventilation needs attention.
What can go wrong (common mistakes and limits)
Even with good habits, certain patterns make mudroom water damage more likely. If you’ve already started seeing cupping, persistent darkening, or seam separation, surface-only fixes may not address the real moisture source.
“A single mat that becomes oversaturated can stop absorbing and instead redistribute water across the floor.” (Mat manufacturer care guidance on saturated absorbent performance)
“Engineered hardwood still depends on subfloor/substrate moisture conditions; it’s not the same as waterproof flooring.” (Engineered hardwood installation/maintenance documentation; general manufacturer limits)
– Relying on one small mat: it often becomes oversaturated and turns into a water-spreader across the boards.
– Leaving damp rugs/runners in place for long periods: trapped moisture can migrate under edges and into seams.
– Assuming “engineered hardwood is waterproof”: the top wear layer may resist water better, but moisture can still affect seams, backing, or subfloor conditions.
– Overapplying sealants: if the product is incompatible with your existing finish, you can end up with peeling or cloudy areas instead of better protection.
Comparison: setups that work vs. setups that backfire
| Approach | Pros | Cons | Best For |
|---|---|---|---|
| Two-stage mat + defined stop zone | Captures water early | Requires maintenance | Active mudroom entries |
| Single mat only | Simple setup | Oversaturation/spread risk | Dry climates / light traffic |
H3: When you should stop DIY prevention and investigate moisture
Skip aggressive refinishing or added sealants if you already have signs of active moisture problems—like persistent cupping, noticeable swelling that doesn’t normalize, or seam separation. In those cases, the moisture might originate from the subfloor, not the surface.
Verdict / tip: a simple prevention plan that’s worth it
If you do three things consistently—capture water at the door (mats + drip path), keep the finish in good condition, and dry spots quickly—you can prevent most mudroom-related water damage. The tradeoff is ongoing upkeep: mats need cleaning/replacement, and the floor needs periodic finish attention to stay protective.
Skip this approach (or get professional input) if your floor already has active cupping, separation, or suspected subfloor moisture problems—surface-only fixes won’t stop the underlying issue.
Quick checklist (save this for mudroom days)
| Task | What “good” looks like |
|---|---|
| Outside + inside mat | Water is captured before it reaches boards |
| Mat condition | Mat isn’t visibly saturated or pushing water outward |
| Surface finish | No worn-through areas at seams/edges |
| Spill response | Blot, remove towels, then dry with airflow |
| Humidity control | Wood isn’t exposed to prolonged damp conditions |
| Seasonal resets | Re-check mats and finish after wet/cold weather stretches |
Sources
– National Wood Flooring Association (NWFA), .
– Hardwood floor manufacturer installation/maintenance documentation for finish care, .
– Mat/rug moisture-handling guidance from .
Frequently Asked Questions
What are the best ways to protect hardwood floors in a mudroom from water damage?
Use high-absorbency entry mats and a waterproof floor mat system to catch wet boots and reduce puddles before they reach the hardwood. Wipe up spills immediately and keep a towel or mop near the entry for quick response. Consider adding felt pads under rugs and furniture legs to prevent trapped moisture and abrasion that can worsen water intrusion.
How can I prevent standing water from soaking into my hardwood in the mudroom?
Prevent standing water by improving drainage and airflow—mop with a damp (not wet) method and avoid soaking the surface during cleaning. Use a dehumidifier or run HVAC to keep indoor humidity low, since damp conditions can allow water to penetrate and lift finish over time. Promptly dry high-risk areas (near the door, dog traffic, and boot zones) with a microfiber cloth and allow the floor to fully dry after any wet weather event.
Why do hardwood floors in mudrooms warp even with finish on them?
Even sealed hardwood can be damaged when water sits long enough to penetrate seams, edges, and micro-cracks in the protective coating. Mudroom conditions—snow melt, wet umbrellas, and frequent foot traffic—create repeated exposure that wears down finish faster than typical rooms. If the finish breaks or the wood seams swell, the floor can cup, crown, or show dark staining that indicates moisture absorption.
Which cleaning methods are safest for hardwood floors in a mudroom?
Use a hardwood-safe cleaner applied sparingly and avoid steam mops, excessive water, or soaking during mopping. For daily maintenance, vacuum or sweep to remove grit and then spot-clean with a damp microfiber cloth, followed by immediate drying. If you use a wet/damp mop, wring it thoroughly, clean in small sections, and dry the area right away to prevent water damage to hardwood floors.
What preventive maintenance should I do to keep a mudroom hardwood floor water-resistant?
Reapply a suitable protective finish (polyurethane, water-based topcoat, or appropriate sealant) when you notice dullness, scuffing, or water no longer beads on the surface. Inspect and seal vulnerable areas like expansion gaps, baseboards, and transitions where moisture can seep under or along edges. Keep a routine for checking mat placement, replacing worn mats, and addressing small spills immediately before they penetrate the hardwood or lift the finish.
📅 Last Updated: October 16, 2026 | Topic: How to prevent water damage to hardwood floors in a mudroom? | Content verified for accuracy and freshness.


[…] mudrooms, a two-stage mat approach is usually more effective than one […]