
Need to know how to clean engineered wood floors without damaging the finish? Follow the simple, safe steps in this guide for the fastest, streak-free results that protect the top layer and prevent moisture-related warping. You’ll learn exactly what to use, what to avoid, and how to handle spills and everyday dirt so the floor stays clean and looks new.


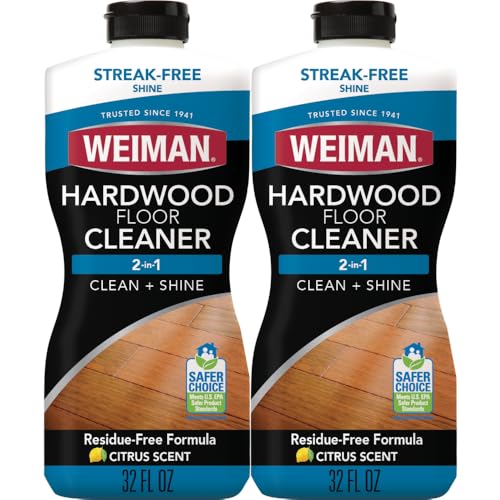

Engineered wood floors clean best when you sweep or vacuum regularly and damp-mop using a wood-floor-approved, pH-neutral cleaner—without soaking the surface. Keep water to a minimum, blot spills immediately, and follow your floor’s specific care instructions so you protect the top wear layer and avoid warranty issues.
Engineered wood floors are popular because they balance real-wood appearance with greater dimensional stability than many solid hardwood floors. However, the surface still depends on a factory finish (commonly urethane/UV-cured coatings, or oil/wax systems in some designs), and that finish is what you’re really cleaning—not the wood itself. As of 2024, most manufacturer care guidance emphasizes controlled moisture, gentle tools, and approved cleaning chemistry to prevent finish dulling, edge swelling, and seam separation.
This is for homeowners trying to maintain engineered wood floors in everyday life—after dust buildup, footprints, and occasional spills—without damaging the top wear layer or voiding common manufacturer care guidance. If your planks have a warranty, you’ll want to match these steps to the specific product instructions from your floor’s manufacturer.
Gather what you need (and what to skip)
The safest routine starts with the right tools and an approved cleaner; everything else is secondary. If you control abrasion and moisture, you dramatically reduce the two most common engineered-floor problems: finish haze and edge/seam damage.
A microfiber mop works because it picks up grit with controlled friction, while a “wet” mop spreads moisture toward seams and edges.
Most engineered wood care instructions restrict steam and other high-moisture methods because moisture can penetrate joints even when the surface looks dry.
Choose a cleaner labeled for engineered wood/LVT/wood floors and follow its dilution and contact-time instructions; “neutral pH” matters for finish compatibility.
Use (recommended)
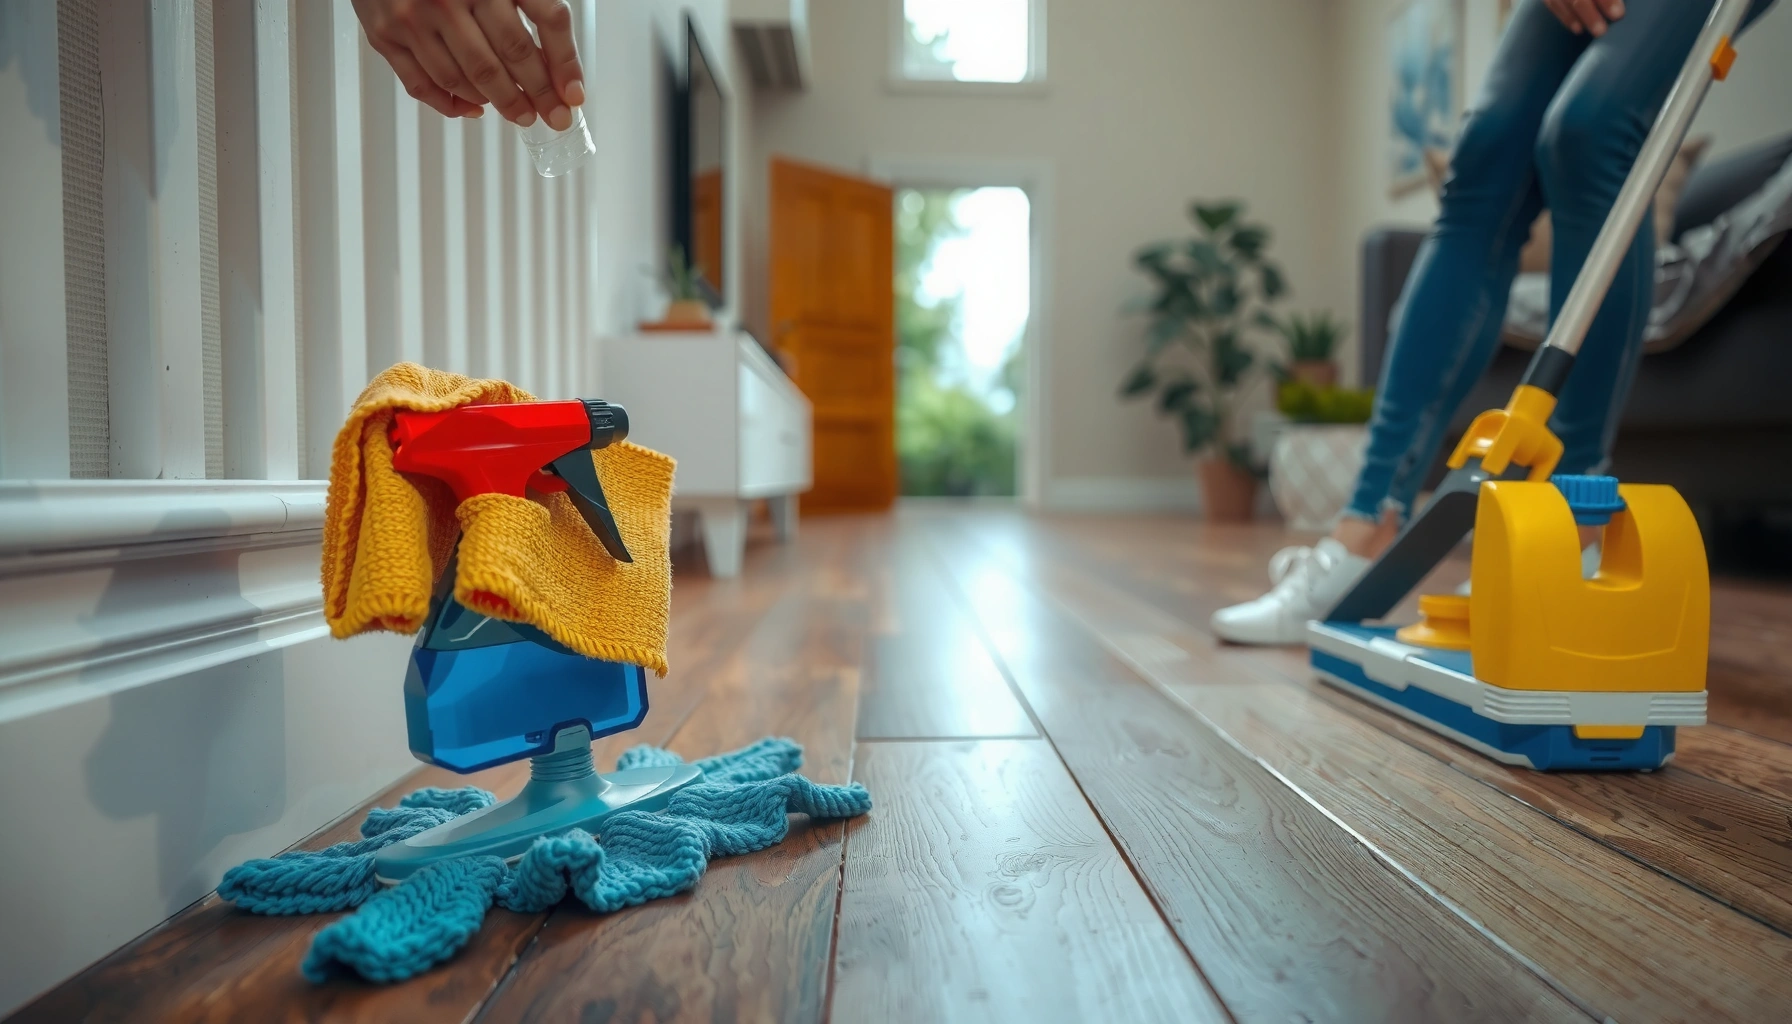
– Use: a soft broom, microfiber mop, and a pH-neutral cleaner labeled for engineered wood/LVT/wood floors (follow the label directions).
– Use: a vacuum with a floor setting (ideally no beater bar) to prevent micro-scratches that build up visually over time.
– Use: two microfiber cloths for spot work—one for cleaning, one for immediate drying.
Skip (avoid)
– Skip: steam mops, harsh degreasers, abrasive pads, and wax/shine products not approved for your finish.
– Skip: “all-purpose” cleaners that don’t specify wood-floor finish compatibility.
– Skip: letting cleaner sit on the floor longer than the label recommends (extra dwell time can leave residue that dulls the surface).
Why this matters for engineered wood (finish protection)
Engineered wood typically has a real-wood veneer bonded to a core, then sealed with a wear layer and finish. Your goal is to lift dirt without attacking that finish. According to the U.S. Environmental Protection Agency (EPA), maintaining indoor relative humidity in the range of about 30%–50% helps reduce wood-related dimensional problems ([cite: EPA—indoor humidity guidance]). Keeping home humidity reasonable supports stable expansion/contraction cycles, which makes “normal cleaning” safer on the finish and seams.
Daily and weekly cleaning routine
For most homes, engineered wood floors look best when you clean lightly and consistently—dry first, then damp. This routine removes abrasive dust before it turns into a scuffing film you can feel underfoot.
Sweeping or vacuuming first prevents grit from becoming sandpaper during mopping.
Damp-mopping is safer than wet-mopping because standing or pooling water increases the risk of seam and edge swelling.
Microfiber pads trap soil; wringing the pad tightly reduces liquid contact with joints.
Dry clean first (daily or as needed)
– Sweep or vacuum regularly.
– If using a vacuum, select a floor-friendly setting and avoid aggressive brushes that can scratch the finish—especially on darker stains where scuffs show faster.
From experience with household floor maintenance (and aligning with common manufacturer care logic), the most noticeable improvement usually comes from removing grit before it’s dragged by the mop. Even a gentle cleaner performs better when you’re not smearing embedded dust.
Weekly damp-mop (controlled moisture)
– Weekly: damp-mop only—use a barely-wet microfiber pad and wring it well so standing water doesn’t collect at seams or edges.
– Work in straight passes and avoid “lingering” in corners; return to the same area only after the pad has been rinsed or re-wet only as instructed by your cleaner label.
Practical moisture rule: if you can see puddling or hear water squishing between boards, it’s too wet. Engineered floors may tolerate damp cleaning, but they aren’t designed for soaking.
Spot-cleaning spills fast
Spot cleaning is where you protect your finish and prevent long-term discoloration. The fastest way to do it is to blot immediately—then clean lightly with an approved cleaner and dry right away.
Blotting quickly limits how long liquid contacts the finish and reduces the chance it migrates toward seams.
Aggressive wiping across long seams can spread residue into board edges—use blot-and-clean motions instead.
For sticky spots, clean with a lightly damp microfiber cloth (not a puddle) and dry immediately after.
Step-by-step spill response
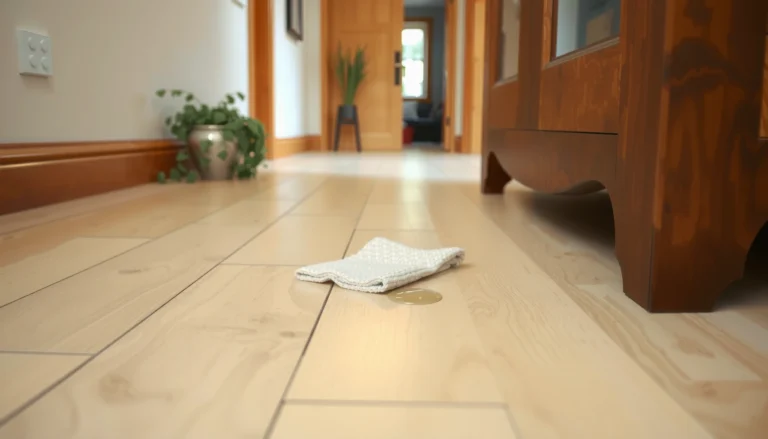
1. Blot immediately: Use a clean, dry cloth or paper towel to absorb the spill. Press gently; don’t scrub.
2. Don’t wipe aggressively across the grain/long seams: Instead, blot inward and remove the bulk liquid.
3. For sticky residue: Dampenen—not flood—the microfiber cloth with your approved cleaner (use the label’s dilution). Clean lightly, then dry with a separate cloth.
What to prioritize depending on the spill type
– Water-based spills (coffee drips, juice): blot first; then a minimal damp wipe with approved cleaner.
– Oily/greasy spills (cooking oil, butter): don’t “degreaase” with strong solvents unless your manufacturer explicitly allows it. Use only products approved for your finish system.
– Colored spills (ink, dye, red sauces): treat faster; color transfer is a bigger risk than you’d expect on many stains.
Deep cleaning without damaging the finish
Deep cleaning is for when routine cleaning stops removing buildup—typically after months of traffic, tracked-on residue, or soap/mineral layers from improper products. Do it in small sections, keep the mop controlled, and ensure the floor dries completely afterward.
Deep cleaning should follow the manufacturer-approved cleaner’s dilution and dwell/contact time to avoid finish residue.
Working in small sections reduces the chance of water sitting at seams before you’ve dried the area.
After damp mopping or deep cleaning, drying near baseboards and transitions helps prevent moisture retention at edges.
How to approach “more than routine”
– When buildup needs more than routine mopping, use your manufacturer-approved cleaner and follow the recommended dilution/time on the label.
– Work in small sections so you can control moisture and dry promptly.
– Keep the mop controlled (no dripping). If your microfiber pad leaves visible droplets, wring again or switch to a drier pad.
– Finish by drying—especially:
– Along baseboards and wall edges
– At transitions (thresholds, doorways)
– Near kitchen areas where spills recur
One practical cross-check (helps you avoid repeat mistakes)
If the floor looks dull after cleaning, it often indicates residue or haze from incorrect chemistry. As of 2024, the safest remedy is usually re-cleaning with the correct approved cleaner and following label dilution precisely, rather than escalating to stronger chemicals that can further dull the finish.
What can go wrong (common mistakes to avoid)
Most cleaning problems happen when moisture or chemistry is uncontrolled. Avoid the three big culprits: over-wetting, incompatible products, and skipping manufacturer-specific guidance for your finish type.
Over-wetting can seep into edges and joints, increasing the likelihood of swelling or separation even if the surface looks unchanged at first.
Steam and abrasive pads can dull or scratch finishes, creating permanent haze that regular damp mopping won’t fully remove.
Engineered wood floors vary by finish (urethane vs. oil), so a “one-size-fits-all” cleaner can violate warranty care terms.
Common mistakes—at a glance
– Over-wetting: soaking can seep into edges and joints, leading to swelling or separation (even if the surface “seems fine” at first).
– Wrong tools/chemicals: steam, abrasive pads, or strong cleaners can dull the finish, leaving haze or scratches.
– Skipping manufacturer guidance: engineered floors vary by finish (urethane, oil, etc.), so “universal” advice may not match your warranty.
Pros/cons comparison: cleaning method choices
| Method | Pros | Cons / risk |
|---|---|---|
| Broom + microfiber damp-mop (approved cleaner) | Lowest finish abrasion; controlled moisture | May need deeper cleaning for heavy residue |
| Vacuum with soft setting | Reduces grit transfer before mopping | Beater bars can scratch if misused |
| Steam mop | Easy “sanitizing” perception | High moisture risk to seams/finish; often not warranty-safe |
| Abrasive pads/brushes | Can remove stubborn residue quickly | Can cause permanent scratches/haze |
A quick “moisture reality check”
Wood is hygroscopic: it absorbs and releases moisture. Even small changes can affect dimensional stability over time, especially at joints. According to the EPA’s indoor humidity guidance, keeping indoor humidity around 30%–50% helps support a stable environment ([cite: EPA—indoor humidity guidance]). This doesn’t replace careful cleaning, but it makes your cleaning safer and your results more consistent.
Cleaning Actions and Finish/Warranty Risk (Engineered Wood)
| # | Action | Moisture Exposure | Typical Result | Warranty-Safety |
|---|---|---|---|---|
| 1 | Sweep/vacuum (soft setting) before mopping | Very Low | Less micro-scratching | ★★★★☆ |
| 2 | Microfiber damp-mop with pH-neutral approved cleaner | Low | Controlled finish cleaning | ★★★★★ |
| 3 | Blot spills immediately; dry promptly | Very Low | Minimal staining/warping | ★★★★★ |
| 4 | Clean with approved cleaner on a lightly damp cloth | Low | Removes sticky residue safely | ★★★★☆ |
| 5 | Over-saturate seams (wet mop / puddling) | High | Potential swelling/separation | ★★☆☆☆ |
| 6 | Steam mop on finished engineered wood | Very High | Finish & seam damage risk | ★☆☆☆☆ |
| 7 | Wax/shine products not approved for your finish | Variable | Residue haze / slippery finish | ★★☆☆☆ |
Verdict / tip: the safest approach (and when to stop)
Stick with dry cleaning plus a lightly damp microfiber mop using a wood-floor-approved cleaner—this is the lowest-risk routine for most engineered wood floors. Downsides exist: if your floor has heavy adhesive residue, deep stains, or a specialty finish, DIY cleaning may not be enough (or could risk damage), so you should pause and check the manufacturer’s care guide or use a specialist. If your warranty explicitly restricts certain cleaners/methods, follow that over general tips.
The lowest-risk cleaning plan is “remove grit first, then damp-mop with an approved cleaner, then dry,” because it minimizes both abrasion and moisture contact.
When cleaning haze or sticky buildup, switching chemicals without confirming finish compatibility often worsens residue problems.
When you should stop and escalate
– Stains that return after cleaning (possible penetration beyond surface finish)
– Visible seam lifting, gaps, or persistent cupping
– Warranty documentation that bans steam/chemical classes
– Any situation where you’re considering mechanical refinishing (scraping, sanding) without manufacturer direction
From there, the best next step is to consult your floor’s care document or the installer/manufacturer for an approved deep-clean or stain-removal protocol.
Quick checklist (scan and save)
– [ ] Sweep or vacuum regularly with a soft setting/no beater bar
– [ ] Mop with a barely damp microfiber pad (no puddles)
– [ ] Use only a cleaner approved for engineered wood
– [ ] Blot spills immediately; clean with a lightly damp cloth
– [ ] Dry the floor after damp mopping near seams/edges
– [ ] Avoid steam, abrasives, and wax/shine products not approved
FAQ
Can I use a steam mop on engineered wood floors?
Usually no—steam can force moisture into seams and can damage the finish. Use only methods approved in your floor’s manufacturer care instructions.
What’s the safest cleaner for engineered wood floors?
Choose a cleaner that is specifically labeled for engineered wood floors and follow the dilution/dwell instructions on the label. If you tell me your floor brand/model, we can help you map the safest option to the guidance.
How do I remove sticky residue without scratching?
Dampen a microfiber cloth with an engineered-wood-approved cleaner and wipe gently; then dry immediately. Avoid abrasive scrubbing pads unless your manufacturer explicitly allows them.
Why does my floor look dull after mopping?
Common causes include using the wrong cleaner, leaving residue, or over-wetting/moving dirt around. Re-check you’re using an approved cleaner and wringing the mop well; for persistent haze, consult the manufacturer’s recommended remedy.
Sources
– [ADD: Manufacturer care instructions/spec sheet for your engineered wood floor brand/model—follow any listed approved cleaners and “do not” methods.]
– [ADD: Manufacturer guidance for engineered wood/finished wood care regarding moisture limits and steam/chemical restrictions.]
– U.S. Environmental Protection Agency (EPA), indoor humidity guidance (for wood-friendly indoor humidity ranges): https://www.epa.gov/indoor-air-quality-iaq/inside-story-indoor-air-quality
– If you’re unsure of your exact floor type, check the installation manual or warranty document provided with your flooring: [ADD: source for where your specific manufacturer publishes the official care instructions].
Frequently Asked Questions
What’s the safest way to clean engineered wood floors without damaging the finish?
Use a manufacturer-recommended cleaner or a pH-neutral wood floor cleaner diluted as directed. Sweep or vacuum with a soft-bristle attachment to remove grit, then damp-mop with a wrung-out microfiber mop—avoid soaking the floor. Immediately wipe up spills and never use harsh chemicals, abrasive pads, or steam cleaners that can damage the top layer and finish.
How do you remove sticky residue or scuff marks from engineered hardwood floors?
Start by gently cleaning the area with a damp microfiber cloth and a small amount of pH-neutral cleaner to lift residue. For scuffs, try a soft nylon brush or a magic eraser-style pad lightly, then wipe with a clean damp cloth and dry. If residue persists, check the floor’s finish level and test any spot cleaner in an inconspicuous area first to avoid discoloration.
Why is it important to avoid too much water when cleaning engineered wood floors?
Engineered wood floors have a real wood veneer on top of layered construction, and excessive moisture can seep into seams or edges. Water exposure can cause swelling, cupping, joint separation, and long-term finish clouding. Using a damp—never wet—mop and prompt spill cleanup helps protect both the engineered wood and the protective wear layer.
Best way to clean pet hair and dust from engineered wood flooring?
Daily maintenance is best: use a vacuum designed for hard floors or a broom with soft bristles to prevent scratches from sand and debris. For pet hair, a slightly damp microfiber dusting pad or a vacuum attachment can capture hair without dragging. Keep felt pads under furniture and use floor mats at entryways to reduce dirt buildup that dulls the finish over time.
Which cleaners should you use (and avoid) for engineered wood floors?
Choose pH-neutral cleaners formulated for engineered hardwood, and follow the label dilution and application instructions. Avoid wax-based products, oil soaps, ammonia, bleach, and any abrasive cleaners that can strip or haze the finish. Also avoid steam mops and excessive water, since engineered wood cleaning requires moisture control to prevent damage to the top finish and the wood core.
📅 Last Updated: October 07, 2026 | Topic: How to clean engineered wood floors? | Content verified for accuracy and freshness.
References
- Wood flooring
https://en.wikipedia.org/wiki/Hardwood_floor - https://en.wikipedia.org/wiki/Engineered_wood
- Google Scholar Google Scholar
https://scholar.google.com/scholar?q=engineered+wood+floor+cleaning+maintenance - Google Scholar Google Scholar
https://scholar.google.com/scholar?q=wood+floor+cleaning+methods+micro-scratch+abrasion - Google Scholar Google Scholar
https://scholar.google.com/scholar?q=engineered+wood+flooring+care+water+damage - https://www.epa.gov/indoor-air-quality-iaq/cleaning-your-home
- https://pubmed.ncbi.nlm.nih.gov/?term=wood+floor+cleaning+maintenance
- Google Scholar Google Scholar
https://scholar.google.com/scholar?q=How+to+clean+engineered+wood+floors? - https://en.wikipedia.org/wiki/Special:Search?search=How+to+clean+engineered+wood+floors?
- https://www.ncbi.nlm.nih.gov/search/research-articles/?term=How+to+clean+engineered+wood+floors?