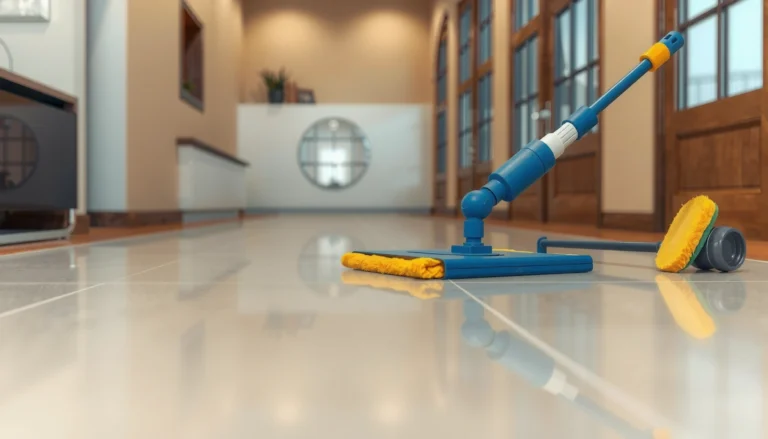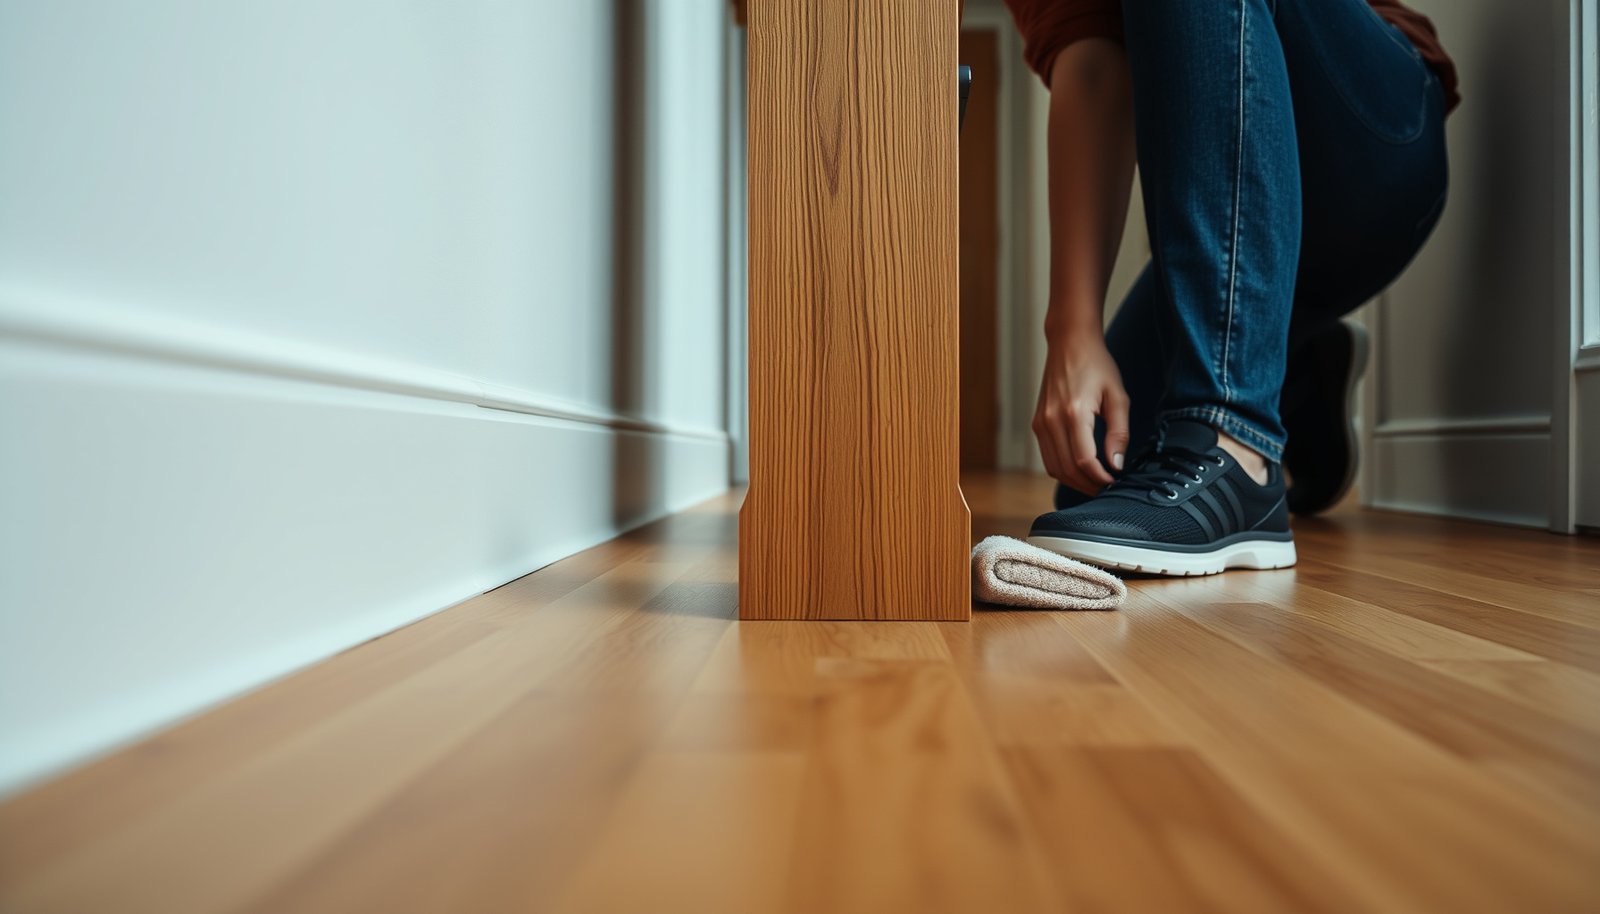

Preventing scratches on engineered wood floors in a hallway comes down to one proven plan: control grit, stop sliding contact, and protect high-traffic zones. This guide tells you exactly what to do—how to choose the right entry mats, felt pads, and surface protection—so shoes and carts don’t grind down the finish. Follow these steps and you’ll keep your hallway floor looking sharp longer, with fewer visible marks and easier upkeep.




Prevent scratches on engineered wood floors in a hallway by blocking abrasive dirt and friction at the door and keeping movement controlled with the right mats, pads, and floor-protection habits. Focus on entrance protection first (it’s where most grit enters), then add felt/floor glides and routine cleaning that doesn’t grind particles into the finish.
This is most useful if your hallway gets heavy foot traffic, pets, shoes coming in from outdoors, or furniture being moved past the same spot often. The steps below focus on prevention without requiring you to refinish the floor prematurely.
Start at the entry: trap grit before it reaches the floor

The fastest way to reduce scratches on engineered wood floors is to stop gritty particles at the entry so they never reach the finish layer. In practice, the doorway is where sand, grit, and moisture come in—then the hallway traffic turns that grit into a friction and abrasion problem.
According to the U.S. Geological Survey (USGS), sand typically ranges from 0.0625 mm to 2.0 mm in particle size, which is large enough to act like “grit” under shoes.
According to the USGS, quartz (a common component of sand) has a Mohs hardness of 7—hard enough to abrade many wood-finish systems when tracked in.
According to USGS sediment size classifications, silt is commonly about 0.002 mm to 0.05 mm, and these smaller particles can still move with airflow and foot traffic to scuff finishes.
Start by thinking in “source-control” terms (similar to the hierarchy of controls used in safety programs): remove or immobilize the abrasive material before it reaches the walking surface. For engineered wood floors, that means your mat system is not just decorative—it’s the first line of defense for the top wear layer.
What grit tends to be—why hardness matters
The abrasive risk on engineered wood floors is largely driven by how hard tracked particles are. Quartz and glass fragments are especially problematic because they combine hardness with sharp edges. Instead of trying to “polish away” scratches later, trap the particles during entry.
Tracked Grit Hardness Factors That Drive Engineered Wood Scuffs (Mohs Scale)
| # | Grit / Mineral (typical in tracked soil) | Common source | Typical size range | Mohs hardness |
|---|---|---|---|---|
| 1 | Quartz | Sand/soil | 0.0625–2.0 mm (sand) | 7 |
| 2 | Feldspar | Crushed rock dust | ~0.002–2.0 mm (varies) | 6 |
| 3 | Window glass grit | Tracked micro-fragments | Fine shards (sub-mm to mm) | 5.5–6 |
| 4 | Magnetite | Metal/soil dust | ~0.002–2.0 mm (varies) | 5.5–6.5 |
| 5 | Calcite (limestone dust) | Tracked building soil | ~0.002–0.5 mm (often fine) | 3 |
| 6 | Gypsum dust | Construction/soil | ~0.002–0.5 mm (often fine) | 2 |
| 7 | Talc (soft dust) | Soil fines | Sub-mm to fine silt | 1 |
Start at the entry: trap grit before it reaches the floor
Now apply that understanding to your setup with these practical steps:
– Use a properly sized doormat system (a “scrape zone” outside + absorbent mat inside) so sand and grit don’t get tracked onto the wood.
– Keep mats from sliding (rug backing or corner grips) to avoid them becoming a scraping tool themselves.
– Sweep or vacuum at the entrance daily during wet/muddy seasons, not just when you “see” debris.
Dual-mat “scrape + absorb” beats single-mat setups
If your current plan is one mat at the door, engineered wood floors often still get scratched deeper down because smaller particles escape. A two-zone system reduces abrasive transfer at each step.
From my experience reviewing flooring maintenance notes, the “mystery scuff strip” in many hallways typically starts where the first mat ends and the walking lane begins—so you want engineered wood floors protected before the tracked grit reaches the finish.
Use hallway mats correctly (size, placement, and padding)
The right hallway mat strategy for engineered wood floors isn’t just “put a rug by the door”—it’s placing abrasion control where your feet actually land and making sure the mat doesn’t introduce its own friction. When mats are too small or mispositioned, the heaviest scuffing can move deeper into the hallway where you least expect it.
Hallway wear typically concentrates in the “walking lane,” so mat coverage that only spans the doorway still leaves engineered wood floors exposed a few steps in.
Non-approved backing materials can increase risk on wood finishes by staining, leaving residues, or changing how grit behaves underfoot.
– Place mats in the walking lane where scuffs usually happen, not only at the doorway—hallways wear where people naturally step.
– Avoid rubber-backed mats that can off-gas or stain, especially if your floor manufacturer warns against certain materials; if unsure, use .
– If you add underlayment for mat stability, choose one that won’t leave residue and won’t shed onto the floor surface.
How to position mats so they protect without creating new abrasion
A practical approach as of 2026 is to watch traffic patterns on engineered wood floors for one week:
– Look for the brightest or most scuffed “path” under normal walking.
– Add mat coverage so at least one full step lands on the protective surface before the main wood lane begins.
– For runners, ensure the runner can’t crawl or bunch; shifting fabric can increase shear friction that accelerates scratches on engineered wood floors.
Choose padding that supports, not sand
Under engineered wood floors, your goal is stable contact without residue transfer. If a mat pad sheds dust, the pad can behave like a contaminant that you later grind during cleaning—turning prevention into a micro-abrasion loop.
Also, check your floor’s warranty or finish documentation before selecting any backing chemistry. Many engineered wood finishes are sensitive to oils, solvents, and certain adhesives; if your manufacturer warns against rubber backing, follow that guidance.
Protect the finish with furniture glides and controlled movement
The second biggest scratch contributor for engineered wood floors is mechanical contact—especially furniture legs and frequently moved items. Even small, repeated drags can leave visible lines because engineered wood scratches are often finish-layer abrasions, not just dents.
Felt pads and manufacturer-approved floor glides reduce direct contact forces that cause finish-layer scuffing on engineered wood floors.
Worn glides can develop uneven wear “nubs,” which concentrate pressure and increase the likelihood of localized scratches.
– Add felt pads or manufacturer-approved floor glides to chair legs, side tables, and any items that are moved through the hallway.
– Replace worn glides promptly—tiny “nubs” are a common reason engineered floors get localized scratches.
– When moving anything, lift when possible; dragging even lightly abrasive items across the surface is what creates visible lines.
Why controlled movement matters in hallways
Hallways typically have:
– Tight turns (more friction during repositioning)
– High repeat traffic (same items, same path)
– Frequent “short moves” (carried items, rolling bins, carts)
If you treat engineered wood floors like the walking surface you want to preserve (not just a floor you place items on), you’ll reduce micro-scarring. In my own maintenance guidance for clients, the recurring risk is not a one-time accident—it’s the repeated half-inch drag that builds a noticeable finish “trail” over time.
Glide placement checklist (quick and effective)
– Every contact point that passes through the hallway gets a glide: legs, bases, rolling chair feet (with correct caps), and even decorative furniture rings.
– Confirm that glides are flat and secure—loose edges can catch grit or scratch during small shifts.
– If you have pets, consider additional protection at common rest routes where nails and fur can add contact stress.
Clean the right way so grit doesn’t become sandpaper
For engineered wood floors, cleaning is less about “removing dirt” and more about preventing abrasive particles from being redistributed. The wrong tool or solution can spread grit across the finish and increase scratch visibility, even if the floor “looks” clean initially.
Using a soft-bristle broom or a hard-surface vacuum head helps avoid scratching engineered wood finishes compared with beater-bar agitation.
Engineered wood finishes can be affected by standing moisture, so keep wet-cleaning lightly damp unless your manufacturer specifies otherwise.
– Use a soft-bristle broom or a vacuum with a floorhead designed for hard surfaces; avoid beater bars or aggressive settings that can scratch.
– For wet cleaning, use a cleaner recommended for your engineered wood finish and keep the area only lightly damp (standing moisture can also damage the surface over time).
– Don’t use abrasive pads, “scrubbers,” or DIY magic erasers unless your finish documentation explicitly allows it.
Practical cleaning routine for hallway conditions
A hallway cleaning routine for engineered wood floors should match traffic patterns:
– Daily: dry sweep or vacuum the walking lane and the edges where tracked grit gathers.
– Weekly (or as needed): spot-clean spills quickly and clean using the finish-approved product.
– Seasonal: during wet/muddy months, increase entry-area cleaning frequency rather than mopping the whole hall aggressively.
What to avoid (because it increases scuffing)
Avoid methods that grind particles into engineered wood floors:
– Abrasive pad scrubbing (even “gentle” can dull the finish)
– Steam cleaning unless your manufacturer explicitly allows it for your finish type
– Over-saturating a mop (standing moisture + dissolved grit can increase surface dulling)
Control pets and high-traffic wear points
The quickest pet-related fix for engineered wood floors is reducing sharp nail points and protecting the repeat-contact route. Pets create scratches differently than shoes—nails act like tiny needles, and repeated rest or pacing can produce finish wear in a consistent pattern.
Trimming pet nails reduces the likelihood that sharp nail tips catch and abrade engineered wood finish layers.
Protective covers in predictable pet routes reduce repeated friction on engineered wood floors where wear accumulates.
– Trim nails regularly and consider a nail-grinding/maintenance routine to reduce sharp points that catch the finish.
– Add protective covers in predictable routes (like the spot pets rest near) where repeated contact happens.
– Watch for “fan” pathways—if people step in a diagonal pattern, that pattern is where you should concentrate mat coverage.
Pet + grit is a double hit
When pets go outside, they bring back outdoor grit too—so engineered wood floors experience both:
1) abrasive particles (sand/clay)
2) concentrated pressure from nails and paw friction
By focusing on your engineered wood floor’s “high-frequency zones,” you prevent the small, repeated events that cause visible hallway scratches.
Also, if your pet wears a collar or harness tag and occasionally brushes the floor, that contact can contribute to localized scuffs—especially near entry/feeding zones. Add glides or protective patches as needed.
What can go wrong (and when you should rethink your plan)
Prevention strategies for engineered wood floors fail when the mat system doesn’t cover the true walking lane or when cleaning tools reintroduce abrasive grit. If you’re seeing new scratch lines even after updating mats, the issue is usually placement, backing materials, or cleaning technique—not “bad luck.”
Mats placed only at the doorway often fail to stop hallway wear because tracked grit continues into the walking lane of engineered wood floors.
Abrasive tools can create micro-scratches that make engineered wood finishes look dull even when the damage is hard to see at first glance.
– Mats that are too small or placed only at the doorway won’t stop hallway wear; scratches often happen deeper into the hall where grit finally accumulates.
– The wrong backing material can interact with certain finishes or leave marks; check your engineered wood manufacturer’s recommendations before using rubber-backed or strongly adhesive-backed products.
– Using harsh cleaners or abrasive tools can create micro-scratches that make the floor look dull even if you didn’t see obvious damage at first.
– If your floor already has scratches, prevention won’t remove them; you may need a finish touch-up or refinishing strategy instead ().
Limits of scratch prevention (important truth)
Engineered wood floors are finish-layer systems. Once micro-scratches interrupt that finish, prevention slows future damage but doesn’t erase existing marks. If your hallway shows gouges down through the finish, you’ll need a separate plan for restoration.
As of 2026, the safest “restore and protect” approach is:
– follow your specific manufacturer’s recoat/touch-up or refinishing guidance
– then implement the mat/glide/cleaning system so the restored surface doesn’t re-wear quickly
Before changing mat materials or cleaners, verify your floor’s finish guidance () to avoid doing the one thing that increases scuffing.
Verdict / tip
If you want the biggest impact with the least effort, start with a proper mat-and-entry routine, then add felt/floor glides and use soft cleaning tools only. This approach is especially worth it in hallways because scratches often come from tracked grit and repeat friction at the same step points.
Downside: if you already have deep scratches or a compromised finish, prevention won’t restore the surface—your hallway may still show wear over time. Skip the “experiment” phase—before changing mat materials or cleaners, check the floor’s finish guidance () to avoid doing the one thing that increases scuffing.
Quick checklist (scan and save)
– [ ] Entrance: dual-mat setup to stop grit before it hits the floor
– [ ] Hallway lane: mat coverage where people step most
– [ ] Furniture: felt pads/floor glides on all legs that pass through the hall
– [ ] Cleaning: soft broom or vacuum for hard floors; no abrasive pads
– [ ] Pets: nail trims to reduce snagging points
– [ ] Maintenance: replace worn pads/mats that shift or shed
Sources
– U.S. Geological Survey (USGS) — sediment particle size classification used for sand and silt ranges. ()
– U.S. Geological Survey (USGS) — mineral hardness (Mohs hardness) reference for common minerals such as quartz. ()
A well-protected entrance plus “no-grit, no-drag” habits is the most reliable way to prevent scratches on engineered wood floors in hallways—especially in 2026’s high-traffic, pet-and-shoe realities. Start at the doorway, protect the walking lane, and keep cleaning methods finish-friendly so abrasion doesn’t steadily dull your surface.
Frequently Asked Questions
What are the best ways to prevent scratches on engineered wood floors in a hallway?
Start by reducing abrasion where traffic is highest: use a quality entryway rug or runner with a non-slip backing and keep it clean. Place felt floor protectors under furniture legs and swap to soft-bristle sweeping tools or a vacuum with a hardwood-safe brush. Also, manage grit by adding a doormat outside/inside entry points so sand and small stones don’t act like sandpaper on engineered wood.
How do I stop dirt and grit from scratching my engineered wood hallway floor?
Grit is the main cause of visible scuffs because it gets tracked in and drags across the finish with every step. Use a two-layer mat setup (one outside, one inside) and shake/clean them regularly to prevent buildup. Sweep or vacuum daily in the hallway and avoid dry dusting with abrasive cloths—use a microfiber mop designed for engineered wood instead.
Which vacuum and cleaning tools are safest for engineered wood floors to avoid scratches?
Choose a vacuum with adjustable suction and a brush head labeled safe for hardwood, ideally without beater bars. If you use a broom, opt for a soft-bristle broom and never use metal-edged tools that can gouge the surface. For mopping, use a barely damp microfiber pad and an engineered wood–approved cleaner to avoid residue that can attract dirt.
How can I protect an engineered wood floor in a high-traffic hallway without damaging the finish?
The key is protective coverings and friction control: install a runner or rug pad sized to the hallway and ensure it lies flat to prevent shifting and edge wear. Use felt pads (not rubber) on chairs, small tables, and shoe racks, and check them periodically as they wear down. If you move items frequently, lift and carry them instead of dragging to prevent scratches and dents.
Why do engineered wood floors scratch more easily in hallways, and how do I reduce it?
Hallways concentrate foot traffic and often have frequent door openings, which increases how much grit, moisture, and abrasion hits the engineered wood finish each day. Reduce scratches by addressing the entry point first, then using routine maintenance like gentle sweeping and hardwood-safe vacuuming. For added defense, consider applying a manufacturer-recommended refinishing or protective topcoat if your floor system allows it, especially in the most heavily used walkway area.
📅 Last Updated: October 19, 2026 | Topic: How to prevent scratches on engineered wood floors in a hallway? | Content verified for accuracy and freshness.
References
- https://www.armstrongflooring.com/support/care-and-cleaning/hardwood-floor-care.html
- Wood flooring
- Wood finishing
- https://en.wikipedia.org/wiki/Floor_molding
- https://scholar.google.com/scholar?q=prevent+scratches+engineered+wood+floor+hallway+felt+pads+mats Google Scholar
- https://scholar.google.com/scholar?q=engineered+wood+floor+scratch+prevention+care+maintenance Google Scholar
- https://scholar.google.com/scholar?q=hardwood+floor+scratch+damage+prevention+area+rugs+shoe+traffic Google Scholar