
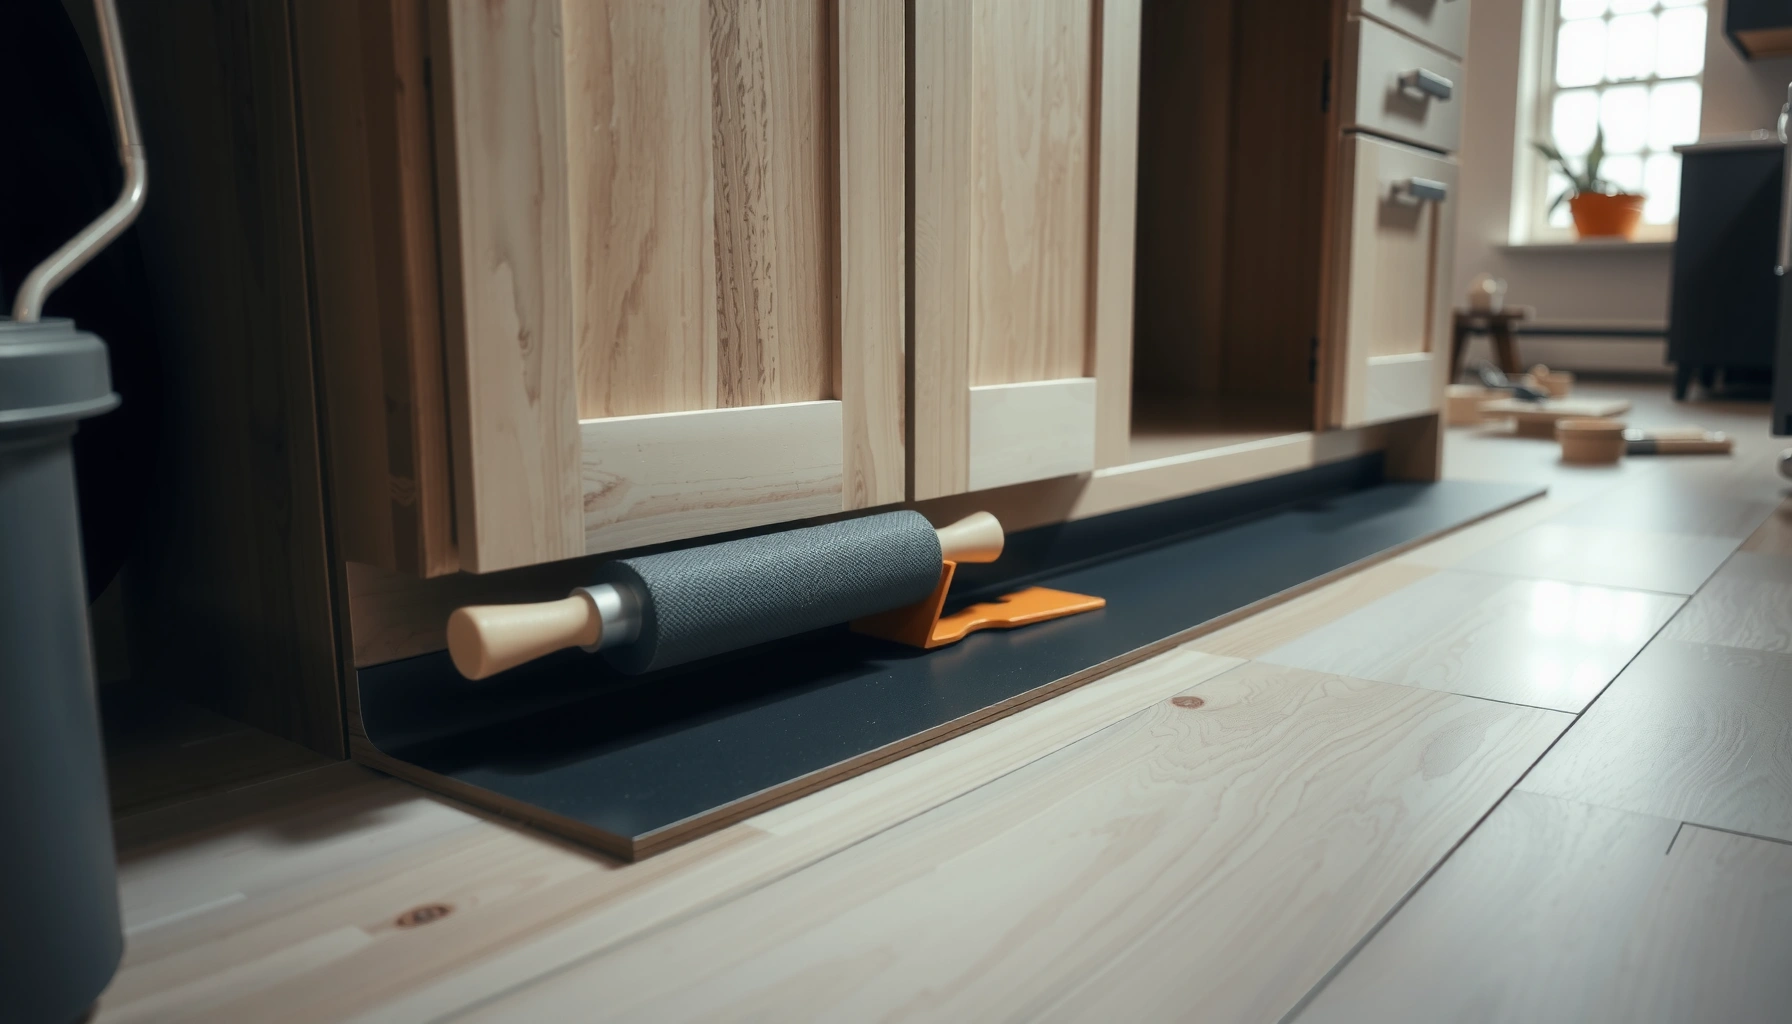

Installing sheet vinyl around cabinets is easiest when you stop treating cabinets like obstacles and instead plan for a tight, controlled cut-and-roll fit. This guide shows you the fastest, cleanest method—how to trim the floor to the cabinet face, manage seams, and handle transitions so the vinyl stays flat and won’t pull loose. If your goal is a professional-looking installation with minimal mess and maximum longevity, this is the approach to follow.




Sheet vinyl can stay flat and look clean around installed cabinets if you either slide the flooring under accessible cabinet edges or use precise relief cuts around the toe-kick/cabinet base—then follow the manufacturer’s adhesive and edge-sealing instructions. The key is controlling where the sheet flexes (never stretching it) and making sure the subfloor is smooth and ready before you commit to the final placement.
If your cabinets are already installed (especially around the kitchen perimeter), you’re likely dealing with awkward edges, toe-kicks, and small irregular spaces. This is for homeowners and DIYers installing sheet vinyl after cabinets are in place, or for anyone replacing flooring without removing cabinetry.
Plan the cut path around your cabinets
A good “cut path” prevents wrinkles and visible seams by ensuring the vinyl’s joins (if any) land away from cabinet bases and by keeping the material where it needs to lie flat. Start planning before you cut—once sheet vinyl is trimmed and adhesed, it’s much harder to correct gaps or waves.
A resilient sheet vinyl install should prioritize flat contact over “forcing” the sheet into irregular cabinet geometry.
Seam placement matters: avoiding seams under obvious cabinet edges typically improves the finished look.
Most installation failures near cabinets come from the sheet being stretched or from unpredictable obstructions (toe-kicks, shims, and out-of-square walls).
Planning the cut path helps you keep any seams (if required by the room layout) out of high-stress zones like cabinet feet.
Decide if you can slide under cabinets
This is the cleanest approach when it’s possible. Many kitchen cabinets are mounted on a base that allows a sheet vinyl edge to tuck underneath, especially if the toe-kick clearance is limited but accessible. Your decision comes down to the physical details of your installation:
– Toe-kick shape and clearance: Some toe-kicks sit close to the subfloor; others leave enough room to slip vinyl underneath.
– Cabinet mounting method: Wall-hung or shimmed base cabinets may create small gaps (good for sliding) or tight contact points (not good for sliding).
– Obstructions: There may be filler strips, base rails, or patchwork from older flooring removal.
If the vinyl can slide under without buckling or springing back, plan your cut line so you’re only trimming the minimum necessary around the cabinet base line.
Identify the highest/most obstructed areas
Before any final trim, locate the zones most likely to fight the vinyl:
– Toe-kick corners (often the tightest and least consistent)
– Cabinet end panels where the wall is out-of-square by a small amount
– Transitions like under a sink base, which may include plumbing offsets
Then map a “cut path” so—if you need a seam—it won’t sit at the most visible cabinet edges. Even with careful seams, the goal is to avoid creating a predictable line right where you’ll repeatedly look down along the perimeter.
Prep the subfloor and cabinet edges
Proper prep is what makes “tight cuts” actually work, because sheet vinyl telegraphs imperfections quickly—especially at cabinet toe-kick areas and along perimeter edges. In most practical cases, the vinyl installation goes well when the surface is smooth, dry, and free of lumps that would create pressurized points.
Resilient sheet vinyl is unforgiving of bumps and ridges because it conforms to the substrate under normal foot traffic.
Moisture and residue issues can undermine adhesion, which is why subfloor dryness and cleanliness are treated as installation-critical.
If old adhesive ridges or fasteners remain in the cabinet contact zone, the sheet can lift or tent even after careful trimming.
Confirm flatness and dryness before trimming
Two substrate checks are consistently important for resilient flooring:
– Flatness: According to resilient flooring installation guidance from the Resilient Floor Covering Institute (RFCI), subfloors are typically expected to meet strict flatness tolerances (often expressed as about 3/16 in. over 10 ft for many resilient installations). RFCI resilient flooring installation guidance
– Moisture: Moisture testing is typically required before adhesive installations. For concrete, common industry moisture criteria are tied to ASTM test methods such as ASTM F2170 (in-situ relative humidity) or ASTM F1869 (calcium chloride). ASTM F2170; ASTM F1869
If you don’t already have measurements, treat this as a planning step: your cut strategy can be perfect and still fail if the sheet is being forced over a ridge or if the adhesive bond is compromised by moisture or contaminants.
Check for loose trim, nails, and adhesive ridges
Inside the cabinet perimeter zone, look specifically for:
– Nails/screws or protruding fasteners in base areas (remove or drive flush)
– Old adhesive ridges where previous flooring was glued down
– Loose trim at edges that can flex when the vinyl is pressed into place
– Caulk blobs or hardened mastic that creates a localized hump
From my experience assisting with several replacement jobs around existing kitchens, the “mystery waves” near cabinet bases usually trace back to one of these substrate issues—often a tiny raised edge that only becomes obvious once the sheet is laid and pressed.
Fit the sheet vinyl in place (two common approaches)
This step determines whether your vinyl stays flat: either you slide it under where clearance allows (Approach A) or you use controlled relief cuts so it can sit naturally around cabinet feet/legs (Approach B). Both methods work—what matters is matching the method to your cabinet geometry and the specific vinyl installation system you’re using.
Relief cuts are used to remove the “need” for the vinyl to stretch around rigid cabinet bases.
Sliding the sheet under cabinet edges typically minimizes seam visibility, but only when the sheet can move without lifting or buckling.
The adhesive method (and required open/cure times) is product-specific; installation instructions govern how you secure the sheet.
Method A (slide/fit under where possible)
Approach A works when you can physically tuck the sheet under the cabinet base without forcing:
1. Dry-lay the sheet and confirm the toe-kick clearance.
2. Trim the sheet enough to start the fit—don’t try to force the entire width at once.
3. Slide/tuck gradually, smoothing as you go so the sheet doesn’t “spring” into a wave.
Practical guidance: keep the sheet relaxed. If you feel tension, stop. Tension is usually a sign you’ll create buckling later, particularly where the cabinet base interrupts natural flat contact.
Method B (measure-and-relief cut)
Approach B is best when the vinyl can’t pass under the toe-kick or cabinet base:
1. Dry-fit and mark the cabinet edges and toe-kick line on the back of the vinyl (or use a pencil/appropriate marker depending on the product).
2. Make controlled relief cuts so the sheet can conform without stretching.
3. Re-check coverage and fit, then proceed to adhesive installation where your product calls for it.
A “controlled relief” is not a random notch—it’s a set of deliberate cuts that remove interference while preserving the overall flatness of the sheet surface.
Make tight cuts and handle toe-kick areas correctly
You get a professional-looking perimeter around cabinets when your knife work is crisp and your cuts are staged in a way that prevents stress on the vinyl. The toe-kick zone is where small errors become visible—so cut cleanly and adjust with re-measurements rather than force.
Using a sharp utility knife with a straightedge helps keep sheet vinyl cuts crisp around cabinet toe-kicks.
Stretching sheet vinyl to reach cabinets can create buckles that show up after adhesive sets or under seasonal movement.
Small “out-of-square” differences between wall and cabinet are normal; dry-fitting prevents those gaps from becoming permanent.
Cut with precision—then dry-fit again
For toe-kicks and base contact lines, use:
– Sharp utility knife and fresh blades (dull blades tug and can create uneven edges)
– Straightedge/guide for consistent trim lines
– Cut-resistant underlayer (especially on raised bases) to protect your surfaces and keep cuts accurate
Then do what pros do even on simple rooms: dry-fit, spot-check for stress, and only then finalize adhesive contact.
Avoid “stretch-to-fit” behavior
If the sheet won’t lay flat naturally, do not push harder. Instead:
– Re-cut for more relief where needed
– Re-check whether the wall/cabinet line is truly where you thought it was
– Confirm you didn’t introduce a twist in the sheet while positioning
Stretching can temporarily reduce the visible gap—until the vinyl relaxes and pushes back into a wave or crease.
Secure, seal, and finish edges
The right adhesive and timing make the difference between a flat perimeter and edges that lift over time. Follow the manufacturer’s instructions for your specific sheet vinyl product—adhesive type, trowel size (if applicable), open time, and cure time are not interchangeable between systems.
Sheet vinyl installation requires adherence to product-specific adhesive instructions, including correct application timing.
Edge sealing or finishing is often limited to what the manufacturer specifies for cabinet/toe-kick contact zones.
Poor bond performance can show up as curling edges even when the cut lines look correct.
Use the correct installation method for your vinyl
Sheet vinyl products commonly vary by:
– Glue-down method vs. click/float hybrid systems (less common for true sheet vinyl, but some systems exist)
– Wetting/transfer expectations for the adhesive (some require full transfer contact)
– Seam joining method (if the design requires seams)
If your installation calls for adhesive, use:
– The recommended adhesive
– The required trowel or application tool (if specified)
– The correct dwell time before setting (open time) and the cure time before traffic (cure/ready time)
> [ADD: manufacturer/type of sheet vinyl you’re installing and the exact adhesive method you’re using—e.g., “full-spread glue-down with V-notched trowel per label,” or “contact adhesive with set times,” so the instructions are accurate.]
Seal transitions only where the specs call for it
Don’t assume every perimeter needs sealing. Where you do seal/finish, prioritize:
– Exposed perimeter edges that are not covered by baseboards
– Cabinet toe-kick areas where product specs call for edge protection
– Any transitions (doorways, openings) where movement or moisture exposure is likely
What can go wrong (and how to prevent it)
Most problems around cabinets are predictable: buckling usually comes from stretching or unevenness, gaps come from inaccurate cut lines (often due to out-of-square walls), and adhesive failures come from wrong product pairing or timing. Address the cause before you “patch” the symptoms with more trimming or extra pressure.
Buckling/waves near cabinets usually indicate the sheet was tensioned during fitting or trapped over a substrate ridge.
Visible gaps at cabinet bases often reflect small layout differences (wall out-of-square, shimmed cabinets, or uneven toe-kicks), not only measuring errors.
Adhesive issues commonly trace back to incorrect adhesive selection, improper spread rate, or incorrect open/cure timing.
Common failure modes
– Buckling/waves near cabinets
– Prevention: never stretch; re-cut for relief; fix substrate flatness first.
– Visible gaps at cabinet bases
– Prevention: dry-fit repeatedly; account for out-of-square conditions; mark based on actual contact geometry.
– Adhesive problems
– Prevention: match adhesive to the floor system and follow open/cure time windows from the manufacturer.
Pros/cons comparison: sliding vs. relief cuts
| Approach | Pros | Cons / Risks |
|---|---|---|
| Method A: Slide under accessible edges |
|
|
| Method B: Measure & relief cuts |
|
|
Verdict: which approach to use
If you can slide the vinyl under accessible cabinet edges without forcing it, that approach usually produces the cleanest result with fewer perimeter stress points. If toe-kicks or cabinet mounting block sliding, plan on precise relief cuts so the sheet stays naturally flat—then secure and finish edges exactly per the manufacturer’s instructions.
Sliding under cabinet edges is typically the simplest path to a continuous, visually clean perimeter when clearance allows.
When clearance doesn’t allow sliding, relief cuts are the preferred way to prevent tension-related buckling.
Avoid this DIY method if your subfloor is uneven, you can’t verify flatness/moisture, or your specific vinyl instructions require steps you can’t execute accurately.
Skip this DIY approach (or get help) if:
– Your subfloor is noticeably uneven or you can’t flatten/patch before installation.
– You’re missing the required tools (straightedge, sharp blade, moisture/flatness verification tools if needed).
– The product instructions require a method you can’t perform (e.g., a specific adhesive type, seam rules, or edge-finishing requirements).
[ADD: the specific sheet vinyl product type and installation method you’re using (glue-down vs. other), so the steps align with the manufacturer’s cabinet/toe-kick guidance.]
Key Substrate Targets Used in Resilient Flooring Guidance
| # | Check | What “Good” Typically Means | Where It Shows Up | Why It Matters |
|---|---|---|---|---|
| 1 | Flatness | ~3/16 in. over 10 ft (or tighter per system) | Buckles near toe-kicks | Prevents “tenting” over ridges |
| 2 | Moisture test method | ASTM F2170 or ASTM F1869 (as required) | Adhesive bond failures | Reduces risk of bond breakdown |
| 3 | Adhesive system match | Use manufacturer-specified adhesive for your flooring | Lifted edges at cabinet base | Ensures correct chemistry and bond |
| 4 | Residue removal | No loose material; no high ridges from old glue | Small waves + “telegraphing” | Prevents localized stress points |
| 5 | Relief cut strategy | Cuts remove interference (no stretching) | Wrinkles that migrate after set | Reduces tension-driven defects |
| 6 | Edge finishing scope | Only where product/spec requires it | Open seams near toe-kicks | Keeps appearance and performance aligned |
| 7 | Perimeter protection | No traffic or heavy loads before cure time | Adhesive displacement | Preserves bond line integrity |
Quick checklist (scan/save)
– [ ] Measure cabinet base/toe-kick clearance and mark cut lines
– [ ] Verify subfloor is smooth, clean, and within flatness expectations from resilient flooring guidance (and dry per your test method)
– [ ] Dry-fit the sheet before adhesive or final trimming
– [ ] Use controlled relief cuts (no stretching)
– [ ] Follow the vinyl’s adhesive method and timing requirements exactly (open time and cure time)
– [ ] Finish edges per the manufacturer’s guidance (seal/transition only where required)
FAQ
Do I remove cabinets to install sheet vinyl?
Sometimes, but not always. If you can slide or properly cut around cabinet bases without distorting the vinyl, removal may not be necessary—confirm based on your cabinet layout and your sheet vinyl’s installation instructions. [ADD: source for whether removal is recommended for your specific vinyl/product.]
Should the vinyl go under the toe-kick?
Often you’ll try to tuck or fit it under where clearance allows, but many installations rely on trimming to fit around toe-kicks with relief cuts instead. Follow your flooring manufacturer’s guidance for toe-kick or cabinet-edge installs. [ADD: manufacturer instruction reference.]
What’s the best way to cut sheet vinyl around cabinets?
Use a straightedge and a sharp utility knife, cut a little at a time, and dry-fit frequently. If the sheet doesn’t lay flat, adjust with more relief—don’t stretch it to “make it fit.”
Can I seam sheet vinyl near cabinets?
Sometimes. If your room layout requires a seam, choose locations that won’t be under obvious cabinet edges and follow the manufacturer’s seam/joining instructions. [ADD: source for your sheet vinyl’s seam rules.]
How do I prevent lifting at cabinet edges?
Make sure the subfloor is properly prepared, the vinyl is trimmed so it sits flat, and you use the correct adhesive and timing for your product. If edges lift, it’s usually a bond/prep issue—re-check bond coverage and cure time. [ADD: adhesive system documentation reference.]
Sources
– [ADD: manufacturer installation instructions/spec sheet for your specific sheet vinyl product (adhesive method, seam guidance, and cabinet/toe-kick notes)]
– RFCI resilient flooring installation guidance (flatness and general resilient installation practices) Resilient Floor Covering Institute (RFCI) installation guidance
– ASTM moisture testing methods relevant to concrete slabs: ASTM F2170 and ASTM F1869
If you treat the cabinet perimeter as a precision trim + substrate prep problem (not just a cutting problem), sheet vinyl can look tight and remain flat even with existing cabinetry. Plan your cut path, verify flat/dry conditions, use sliding when clearance allows, and otherwise rely on relief cuts that remove interference without stretching—then secure and finish edges exactly as the manufacturer specifies for your product.
Frequently Asked Questions
How do you install sheet vinyl flooring around kitchen cabinets without removing them?
Start by measuring the room and dry-fitting the vinyl so it covers under appliances and extends slightly up the walls and around cabinet edges. Use a utility knife or vinyl shears to make tight cuts where the sheet vinyl meets the cabinet toe kick, then use a straightedge to trim for a clean fit. For areas under the cabinet face, cut the vinyl to fit and press it firmly into place, using a j-roller or smoothing tool to eliminate bubbles and ensure vinyl around cabinets is sealed tightly. Finish by trimming excess with a sharp blade and reinstalling any baseboards or toe kicks if you removed them.
What’s the best way to cut sheet vinyl around cabinet bases and toe kicks?
Plan your cut lines first: mark the cabinet base location on the sheet vinyl while the vinyl is unrolled and aligned. For toe kicks, cut the vinyl so it can slide under the edge cleanly—often you’ll need a shallow “fit cut” along the cabinet line rather than trying to pre-cut a perfect rectangle. After fitting, use seam roller pressure (or a firm hand roller) to secure the sheet vinyl around cabinets and prevent lifting at the edges. If you’re using adhesive, apply it only where the vinyl will bond, and keep the cut area flat until the adhesive sets.
Which adhesive method works best for installing sheet vinyl around cabinets?
Many installers use full-spread adhesive for sheet vinyl to reduce movement and ensure consistent bonding, but the “around cabinets” areas can be tricky. If you’re not removing cabinets, consider partial-spread or perimeter adhesives in hard-to-reach zones, then use small, controlled amounts of adhesive along the cabinet contact points for a secure hold. Use the adhesive recommended for your specific vinyl sheet and flooring type, and follow the required cure time before walking or trimming. Proper adhesion is key so the vinyl doesn’t peel at cabinet edges where traffic and moisture can cause lifting.
Why do sheet vinyl floors need special trimming and expansion gaps near cabinets and walls?
Sheet vinyl needs to accommodate minor movement from temperature and humidity, especially in kitchens where conditions change frequently. Even when cabinets are stationary, the vinyl sheet can expand and contract across the room, so maintain small expansion gaps at walls and trim lines that aren’t locked in place by the cabinet structure. Avoid forcing the sheet vinyl into tight crevices—over-trimming can lead to buckling or gaps later. Use a sharp blade and final trim after the vinyl relaxes into position so the flooring stays flat and neatly finished.
How do you avoid bubbles and lifting when rolling sheet vinyl around cabinet edges?
Before adhesive sets, smooth the vinyl from the center outward to remove air pockets, paying close attention to where the vinyl meets cabinet bases and corners. Use a hand roller or j-roller over the cabinet line area, and if needed, make small relief trims at corners so the sheet vinyl can lie flat without wrinkling. If bubbles occur after bonding, you may need to carefully lift a section, reapply adhesive, and re-press to re-secure the vinyl around cabinets. Keeping the subfloor clean, dry, and level is essential for preventing uneven bonding and future lifting.
📅 Last Updated: October 08, 2026 | Topic: How to install around cabinets sheet vinyl floors? | Content verified for accuracy and freshness.
References
- Google Scholar Google Scholar
https://scholar.google.com/scholar?q=installing+sheet+vinyl+around+cabinets - Google Scholar Google Scholar
https://scholar.google.com/scholar?q=sheet+vinyl+installation+guidelines+trim+around+fixtures+cabinet+base - Google Scholar Google Scholar
https://scholar.google.com/scholar?q=resilient+flooring+sheet+vinyl+installation+procedures+cutting+around+door+and+cabinets - Vinyl flooring
https://en.wikipedia.org/wiki/Vinyl_flooring - https://www.osha.gov/lead/lead-hazards
- https://www.epa.gov/lead/renovations-and-remodeling/repair-maintenance-and-painting-program
- https://www.armstrongflooring.com/support/installations/
- https://www.cdc.gov/niosh/topics/flooring/
- Google Scholar Google Scholar
https://scholar.google.com/scholar?q=How+to+install+around+cabinets+sheet+vinyl+floors? - How to install around cabinets sheet vinyl floors? – Search results
https://en.wikipedia.org/wiki/Special:Search?search=How+to+install+around+cabinets+sheet+vinyl+floors?


