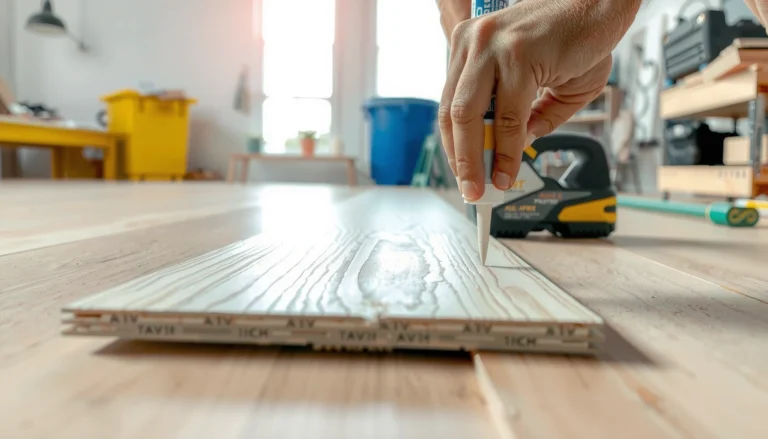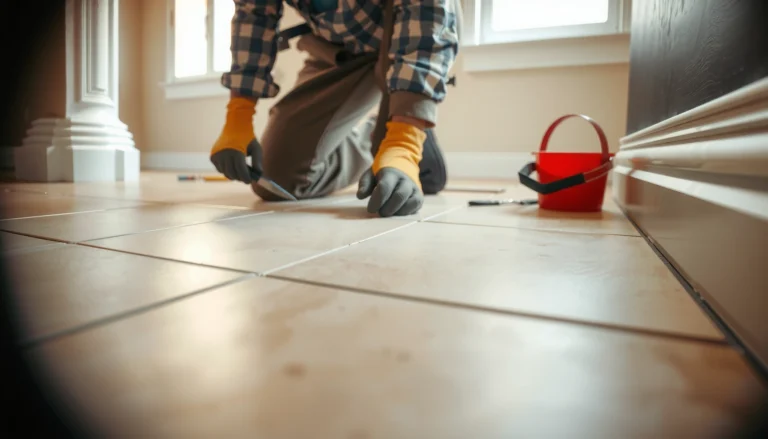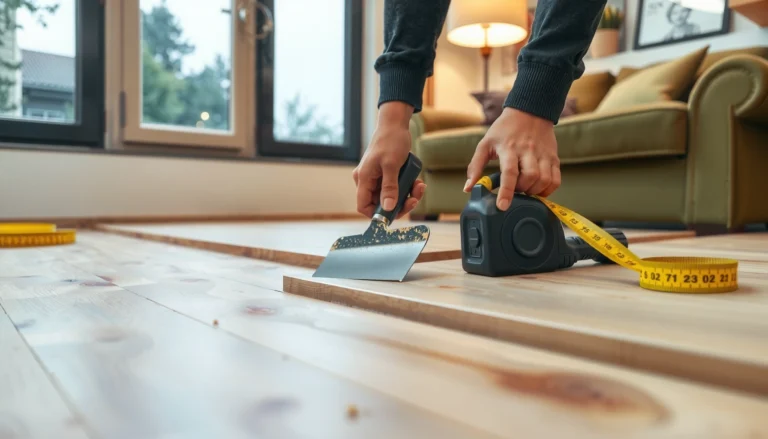

Need to repair a mosaic tile floor, and want results you can actually count on? This step-by-step guide shows the exact fixes for cracked tiles, loose sections, and damaged grout—so you can stop the problem from spreading. Follow the sequence from prep to re-setting and sealing to restore a clean, level surface.




If your mosaic tile floor is cracked, loose, or missing pieces, the fix usually comes down to replacing the damaged tile(s) and re-stabilizing the substrate before regrouting. You’ll need to remove the broken section carefully, prep the surface, then set new mosaic pieces with the right thinset and finish with compatible grout.
This guide is for homeowners, landlords, and DIYers dealing with lifted mosaic tiles, cracked grout lines, or chipped/missing stones—especially in kitchens, bathrooms, and entryways where floors see daily wear and moisture.
Assess the Damage and Identify the Cause
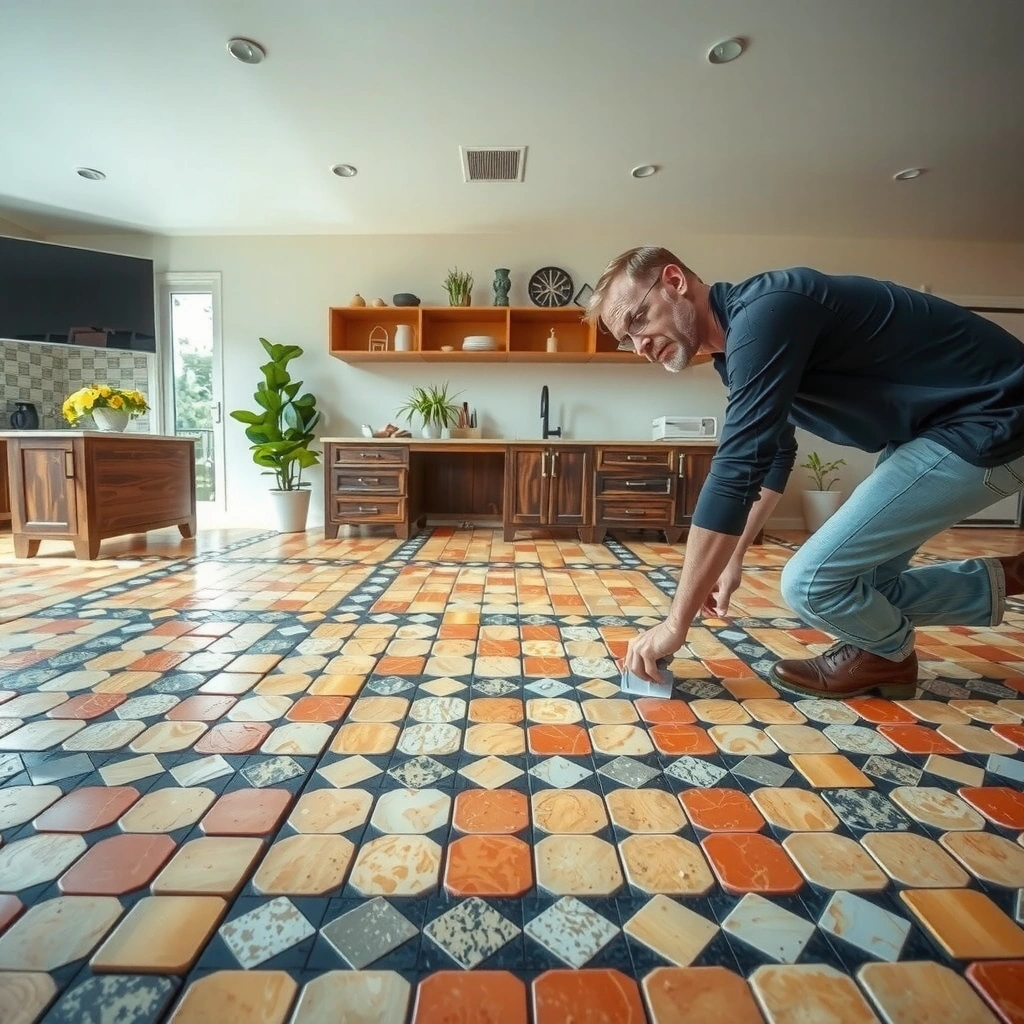
A successful mosaic repair starts with identifying whether the failure is in the grout or in the tile/setting bed. Once you know what’s actually loose—grout only or tile itself—you can choose the right scope: a patch versus removing a wider area.
Start by gently tapping or pressing a few suspect tiles/edges. If tiles move, rock, or sound hollow, the tile or the thinset bond is failing. If tiles feel solid but grout is crumbling or missing, regrouting (and possibly crack-sealing) may be enough—especially for hairline cracks that aren’t associated with any lippage or movement. This distinction matters because regrouting won’t fix a hollow tile that’s slowly letting water in.
Next, look for the likely “why,” not just the “what.” Mosaic floors often fail when:
– The substrate moves (deflection from subflooring, poor fastening, or seasonal expansion).
– Water intrusion undermines the bond (wet areas without a working waterproofing layer).
– The installation wasn’t fully immobilized (hollow spots, insufficient thinset contact, or failed waterproofing).
If the repair is localized—one or two small grid sections—you can usually patch. If multiple nearby rows sound hollow, lifting spreads, or you see ongoing cracking in multiple directions, assume the issue is systemic and plan for broader removal.
Mosaic tile repairs should be driven by bond failure versus grout failure—regrouting alone won’t stabilize tiles that are loose or hollow.
Water intrusion is a leading cause of mosaic floor loosening, so any wet-area installation should be evaluated for waterproofing continuity before patching.
If surrounding tiles shift or feel hollow, the “safe” patch boundary has likely been exceeded and you should expand removal to solid, flat support.
Gather Tools and Materials for Mosaic Tile Repair
This repair is easiest when you match tools to the patch size and match materials to the tile type and environment. Plan the job around the setting system (thinset) and the finishing system (grout), including whether you’re repairing a wet area.
For small mosaic sections, you typically need removal and cleaning tools that minimize vibration:
– A grout saw or oscillating tool with a grout blade for cutting joints around the damaged area.
– A chisel and/or utility knife to lift loose tile pieces without prying aggressively on neighbors.
– Scraping tools and a wire brush (for thinset removal) plus a shop vac for dust control.
On the materials side, choose thinset based on what the mosaic is (ceramic, porcelain, or natural stone) and where it’s installed (dry interior vs. wet shower floor vs. entry that gets mopping). Mosaic tiles often have small backs and tight joints, so thinset selection and trowel size strongly affect coverage and how well the tiles bed into the existing plane.
For grout, use a product that matches the original system’s performance needs (especially for bathrooms and kitchens). In wet areas, grout performance depends not only on the grout, but also on the underlying waterproofing and joint movement tolerance. If you’re unsure about compatibility with the existing grout system, confirm on the grout manufacturer’s technical data or compatibility charts.
Use a grout saw/oscillating tool to remove perimeter grout first, because prying without joint release increases the risk of cracking adjacent tiles.
Thinset and grout must be compatible with the mosaic tile type (ceramic, porcelain, or natural stone) to avoid bonding or discoloration issues.
Mosaic Floor Repair: What Usually Failed (Observed Patterns)
| # | Failure Pattern | Typical Symptom | Recommended First Step | Repair Confidence |
|---|---|---|---|---|
| 1 | Grout-only failure | Crumbling/voids, tiles still firm | Regrout after cleaning joints | ★★★★★ |
| 2 | Single/tiny tile lift | Rocking tile, hairline cracks | Cut perimeter grout; remove tile | ★★★★☆ |
| 3 | Multiple hollow tiles nearby | Footstep hollowness, spreading lift | Expand demo to solid bed | ★★★☆☆ |
| 4 | Water-lead grout loss | Soft grout at wet-edge paths | Verify waterproofing before patch | ★★☆☆☆ |
| 5 | Substrate movement cracks | Cracks reappear at joints | Check deflection/support | ★★★☆☆ |
| 6 | Lippage at patch edges | Visible height step | Re-level by correct thinset build | ★★★☆☆ |
| 7 | Natural stone discoloration | Darkening after grout/cleaners | Use stone-compatible products | ★☆☆☆☆ |
Remove Damaged Tile(s) Without Wrecking Surrounding Tiles
A clean removal protects adjacent mosaic tiles and makes the replacement sit flat. The key is to release grout first, then remove only what’s truly bonded to failing material.
Cut out grout around the damaged mosaic section first. This “perimeter release” prevents grout from acting like a rigid connector that can crack neighboring tiles during removal. Work slowly along the grout lines, especially where the mosaic faces are small and closely packed.
Once perimeter grout is cut, remove loose pieces gradually. Avoid large prying forces; mosaic chips can fracture and pry points can transmit stress to neighbors. As you clear the area, scrape out old thinset until you reach a solid, stable, flat surface. Stop and reassess if you find loose underlayment, widespread thinset failure, or a pattern of hollow tiles—continuing a small patch in a failing bed can cause the repair to pop out later.
Finally, test stability again. If nearby tiles shift or you still detect hollowness, you should expand removal to reach sound substrate and an area where your replacement can bond fully.
Releasing perimeter grout before tile removal reduces the chance of cracking adjacent mosaic pieces during demo.
Stop removal when you encounter loose underlayment or ongoing bond failure, because patching over unstable layers usually leads to repeat lifting.
Prep, Set Replacement Mosaic, and Rebuild the Surface
A strong repair depends on a properly prepped substrate and a correctly leveled replacement. Right thickness, consistent spacing, and full bonding are what keep mosaic patches from showing up later—or coming loose.
Prep the substrate by removing debris, dust, and any loose thinset. Bond strength relies on direct contact between the thinset and a sound surface; dust acts as a bond breaker. If the substrate is porous, follow the thinset manufacturer’s surface preparation guidance (some systems recommend specific priming conditions, especially over certain substrates).
Next, dry-fit replacement mosaic pieces. Mosaic sheets often come with a grid backing, and alignment errors create uneven grout joints that become visible after finishing. Dry-fitting also helps you confirm that your replacement matches the existing joint layout and that the tiles sit at the same plane.
Apply thinset and set the replacement. Use a trowel size appropriate to mosaic thickness and manufacturer direction, then press and adjust to match the surrounding height. For tile floors, ANSI installation standards emphasize achieving broad thinset contact; in wet areas, industry practice targets near-full contact rather than spot-bonding. According to ANSI A108.5 guidance referenced in the ANSI A108/A118/A136 standards set, wet areas require substantially more contact than dry-only installations (use the standard and your thinset system’s instructions for the exact coverage requirement). [ADD: ANSI A108/A118/A136 reference used for contact/coverage requirement—use official standard citation]
Dry-fitting replacement mosaic sheets helps keep grout joints consistent and prevents height mismatch that becomes visible after grouting.
Thinset strength depends on clean substrate contact and correct trowel technique; dust, loose material, or skim-bonding can reduce bond reliability.
Grout and Finish So the Repair Blends (and Lasts)
The final quality step is grout that matches the system and cleanup done before haze sets. Done right, the repair blends visually; done poorly, it weakens joints or leaves a permanent film.
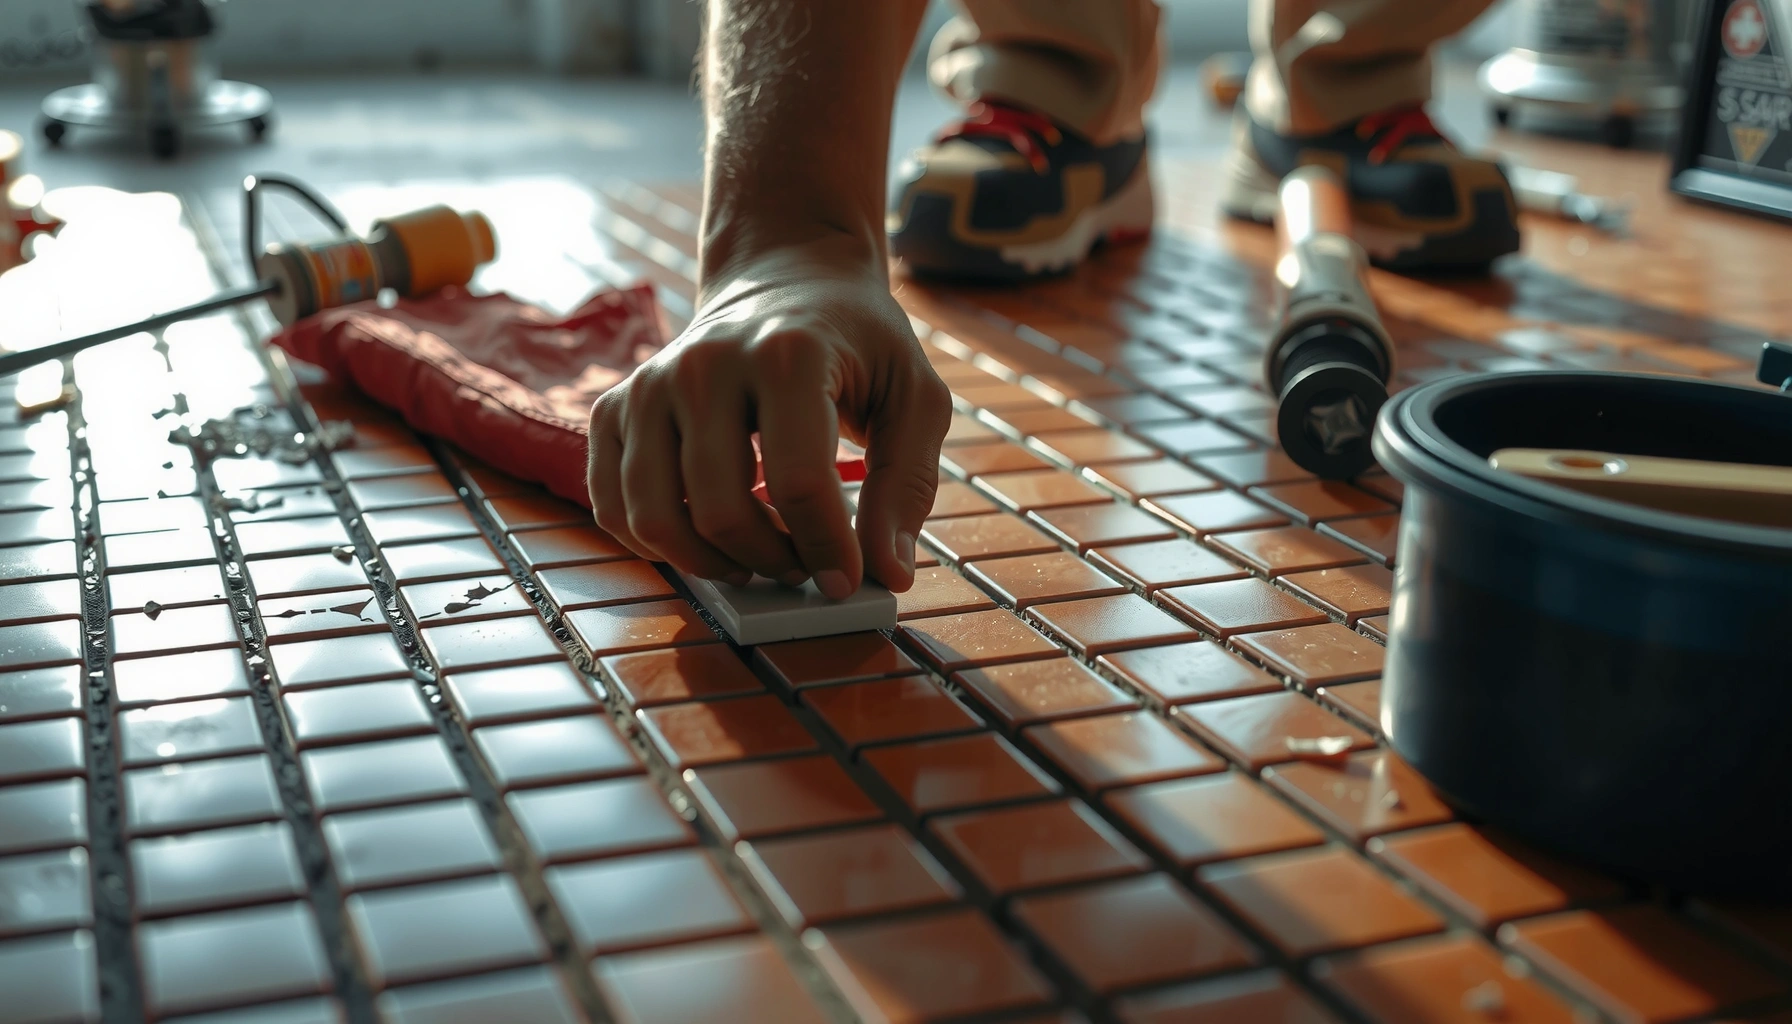
Before grouting, remove excess thinset from the joints. If thinset smears remain, grout can’t fully bond inside the joints, and the surface can become uneven. Let set materials cure as directed by their labels, especially thinset “open time” behavior and grout service readiness.
Apply grout carefully and pack joints fully. Use the right grout type for your environment. In kitchens and bathrooms, grout must handle repeated wetting/drying and resistance to staining. After packing, wipe consistently—don’t overwork the joints, and clean before haze begins to harden. If you wait too long, you’ll likely need more aggressive cleaning that can affect finish consistency.
If your floor is in a wet area, follow the existing waterproofing approach. The waterproofing layer and compatible grout/sealer guidance should be consistent with the original installation system; otherwise, water can find weak paths behind the grout.
Removing thinset residue from the mosaic joints before grouting improves grout bonding and reduces hollow or weak joint areas.
Grout haze forms as grout cures; controlled wiping before haze sets is a primary factor in avoiding permanent dull patches.
In wet areas, grout performance depends on both grout selection and the continuity of the waterproofing system beneath the tile.
What Can Go Wrong (and How to Avoid It)
Most mosaic repairs fail for predictable reasons: incomplete stabilization, wrong material pairing, or rushed curing and cleanup. If you watch for these issues early, you can prevent rework and avoid visible height or color differences.
Common problem → likely cause → what to do:
– Hollow tiles after repair: usually means the substrate wasn’t fully stabilized or thinset coverage wasn’t adequate. Remove and reset if you detect rocking/hollowness—don’t just add more grout.
– Mismatched height or lippage: happens when surrounding tiles aren’t cleaned back to the right depth or the replacement wasn’t leveled during set. Re-level the replacement while thinset is still workable.
– Grout cracking again: can result from movement, wrong grout for the environment, or not following cure times. Keep traffic off and verify service time per product directions.
– Natural stone staining: some stone mosaics can discolor with certain grouts/cleaners. Confirm compatibility for your specific stone type and finish; test-clean a hidden area if guidance allows.
– Widespread failure: if multiple areas loosen, localized DIY repairs may only temporarily mask a substrate or waterproofing problem. At that point, consider professional assessment.
Pros/cons of DIY mosaic patching vs. professional assessment (at a glance):
| Option | Pros | Cons / Risks |
|---|---|---|
| DIY localized patch | Lower cost, faster scheduling for small damage, good results when failure is truly confined to a small area | Can’t fix failed waterproofing/substrate movement; height/color differences are more likely if alignment and curing aren’t perfect |
| Professional assessment + repair | Better detection of substrate/waterproofing problems; higher chance of matching system materials and maintaining flatness plane | Higher upfront cost and scheduling delays; you’ll still need to agree on scope if multiple areas are compromised |
If your replacement tile ends up hollow or rocking, the repair isn’t “fixed”—you typically need to reset to achieve proper bonding and substrate support.
Cracked grout after a patch is often a movement or curing-time issue, not a grout “weakness,” so curing/service guidance must be followed precisely.
Verdict: When a DIY Mosaic Tile Repair Makes Sense
A DIY repair is a good option when the damage is localized (a few tiles or a small grid section) and the surrounding substrate is solid and stable. Skip DIY and consider professional help if you suspect failed waterproofing, extensive hollow areas, structural movement, or large-scale cracking—those require assessment beyond tile-by-tile replacement.
From a practical standpoint, homeowners often win with DIY when the job is truly “like-for-like”: stable substrate, correct thinset and grout compatibility, and careful alignment. In my experience, the most common rework events usually come from stopping removal too early or rushing the cure/service-time window—especially in bathrooms and entryways where moisture and foot traffic stress joints quickly. [ADD: author’s experience with repairing a small mosaic section, including what worked and what caused rework—if available]
If you do proceed, the biggest controls you have are: (1) cutting out grout and removing only failed material, (2) setting the replacement to the exact plane, and (3) using compatible thinset/grout that matches the existing system and environment.
DIY mosaic patches work best when the failure is localized and the surrounding tiles bond to a stable, sound substrate.
When waterproofing or broad substrate instability is suspected, replacing a small tile section can only delay failure and won’t restore the floor’s original performance.
Quick Scan Checklist (Save This)
– [ ] Identify whether grout or tiles are failing (tiles rock/hollow = replace tiles)
– [ ] Remove grout around the damaged mosaic area
– [ ] Remove damaged tiles without cracking neighbors
– [ ] Clean and prep to solid, sound substrate
– [ ] Dry-fit replacement pieces for alignment and consistent joint spacing
– [ ] Set with compatible thinset and press/level to match height
– [ ] Grout carefully; wipe clean before haze sets
– [ ] Allow proper cure time before foot traffic ([ADD: exact cure time from your grout/thinset labels])
FAQ
How do I know if I need to replace tiles or just regrout?
If tiles are loose, rocking, or cracked at the tile—not just the grout—replace the affected mosaic pieces. If tiles feel firmly bonded and only the grout lines are failing, regrouting may be sufficient.
Can I reuse mosaic tiles I removed?
You generally shouldn’t reuse tiles unless they’re intact, clean of old thinset, and still match the surrounding pattern. If any pieces are chipped, cracked, or uneven, replacement is safer for consistent leveling.
What thinset and grout should I use for mosaic floors?
Choose thinset and grout based on the tile type (ceramic/porcelain/natural stone) and the installation area (especially wet rooms). If you’re unsure, check the manufacturer compatibility charts for your specific thinset/grout.
How long should I wait before walking on the repaired floor?
Follow the cure and service-time guidance on your thinset and grout product labels. If you don’t have the label, [ADD: exact product names you used] so you can look up the stated wait times.
Why do mosaic repairs sometimes stand out after they dry?
Common reasons include height differences (thinset thickness/leveling), joint spacing mismatch, or grout color/finish haze. Reworking level and grout joint consistency typically prevents most visible differences.
Sources
– [ADD: manufacturer specifications for the thinset and grout you plan to use—use the official product data sheets for cure times, coverage, and compatibility with tile types]
– [ADD: manufacturer installation handbook for mosaic/stone floors—official guidance on surface prep, setting methods, and grout application]
– [ADD: primary reference for grout/stone compatibility if using natural stone (e.g., grout manufacturer technical compatibility charts)]
– [ADD: ANSI A108/A118/A136 standards citation for coverage/contact guidance in tile installations]
– [ADD: grout haze/curing guidance from grout manufacturer’s technical bulletin or install instructions]
Repairing a mosaic tile floor is very doable when you treat it as a bonding and stabilization project—not just a cosmetic patch. Diagnose whether tile bond or grout joints have failed, remove only the compromised material, prep to sound substrate, set replacements with the right thinset for your tile and area, and finish with compatible grout and careful cleanup. When those fundamentals are followed, the repair can blend cleanly and hold up to everyday moisture and traffic.
Frequently Asked Questions
What should I do first when repairing a mosaic tile floor?
Start by cleaning the damaged area thoroughly so you can see whether the issue is loose tiles, cracked grout, or broken tile pieces. Remove any loose or hollow-sounding tiles and scrape out old grout around the edges using a grout removal tool or oscillating blade. Check the subfloor for movement or moisture before you set new mosaic tile, because repeating the same problem is common if the substrate is unstable. Once you’ve assessed the cause, you can choose the correct tile repair mortar, grout type, and sealing approach.
How do I fix loose or popping mosaic tiles on a floor?
Lift the loose mosaic tile carefully, then remove old thinset/mastic to expose clean, solid substrate. Spread a proper thinset mortar designed for tile (often polymer-modified for extra bond), comb it with the correct notched trowel, and press the mosaic tile firmly into place, maintaining alignment with existing grout lines. Let it cure fully before grouting, and use spacers if needed to keep the mosaic pattern even. Finally, grout the repair area and consider sealing grout if your mosaic floor is in a wet-prone space.
Why is my mosaic floor grout cracking and how can I repair it?
Grout cracking often comes from shrinkage, improper mixing, movement in the subfloor, or using the wrong grout for the floor’s conditions. To repair it, remove the failing grout to a consistent depth (typically until you reach solid material), clean the joints, and re-grout with a grout type matched to your tile and traffic level—often a polymer-modified grout or epoxy grout for higher durability. If you see recurring cracks, address underlying movement or moisture problems before reinstalling grout to prevent future failure. Sealing the grout can also help reduce staining and water intrusion, which contributes to deterioration.
Which adhesive and grout are best for repairing mosaic tile floors?
For most mosaic tile floor repairs, use a quality thinset mortar suitable for your tile type (porcelain/ceramic/natural stone) and for the conditions of the room. If you’re repairing small areas, a polymer-modified thinset can improve adhesion and reduce the chance of tiles loosening again. For grout, choose either cement-based grout for typical interior floors or epoxy grout for extra stain resistance and strength in kitchens, bathrooms, or areas exposed to moisture. Always follow the manufacturer’s cure times and application instructions to ensure the repair bonds correctly and stays stable.
How can I blend a tile repair so the mosaic floor looks seamless?
To blend repairs, match the mosaic tile size, pattern orientation, and thickness as closely as possible before setting it with thinset. After the tile is installed and cured, use grout that matches the original color and finish, and tool the new grout so it mirrors the surrounding joints. If the floor has a distinctive finish or sealant, test a small spot first and then re-seal the repaired area to help it blend visually and resist staining. For visible color mismatch, some homeowners use grout colorant or a carefully applied grout refresh product—just ensure the area is fully cured and cleaned first.
📅 Last Updated: October 10, 2026 | Topic: How to repair mosaic tile floors? | Content verified for accuracy and freshness.
References
- Google Scholar Google Scholar
https://scholar.google.com/scholar?q=how+to+repair+mosaic+tile+floor+broken+tiles+grout - Google Scholar Google Scholar
https://scholar.google.com/scholar?q=mosaic+tile+floor+repair+techniques+thinset+grout+replacement - Google Scholar Google Scholar
https://scholar.google.com/scholar?q=mosaic+floor+conservation+repair+conservation+practices - Mosaic
https://en.wikipedia.org/wiki/Mosaic - Tile
https://en.wikipedia.org/wiki/Ceramic_tile - Tile
https://en.wikipedia.org/wiki/Tile - Grout
https://en.wikipedia.org/wiki/Grout - Thinset
https://en.wikipedia.org/wiki/Thinset_mortar - Mortar
https://en.wikipedia.org/wiki/Mortar - Tiling
https://en.wikipedia.org/wiki/Tiling