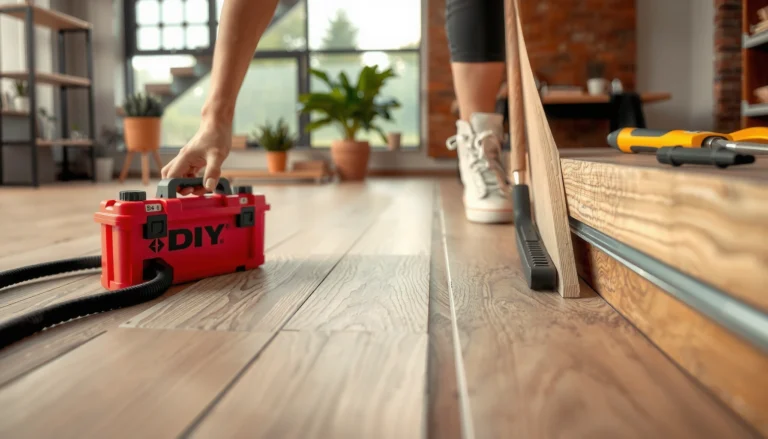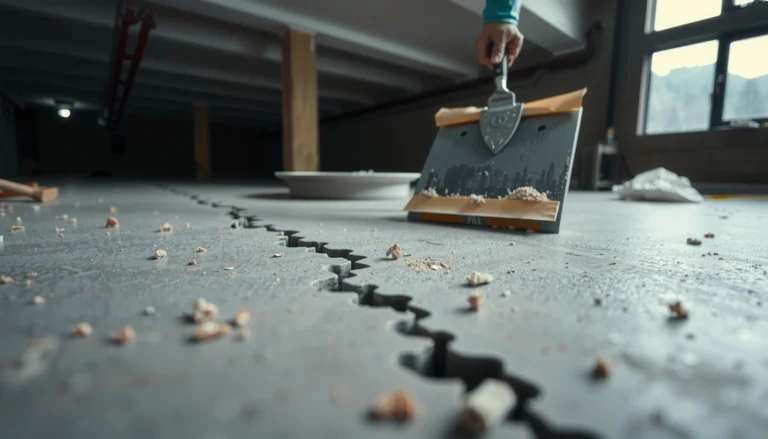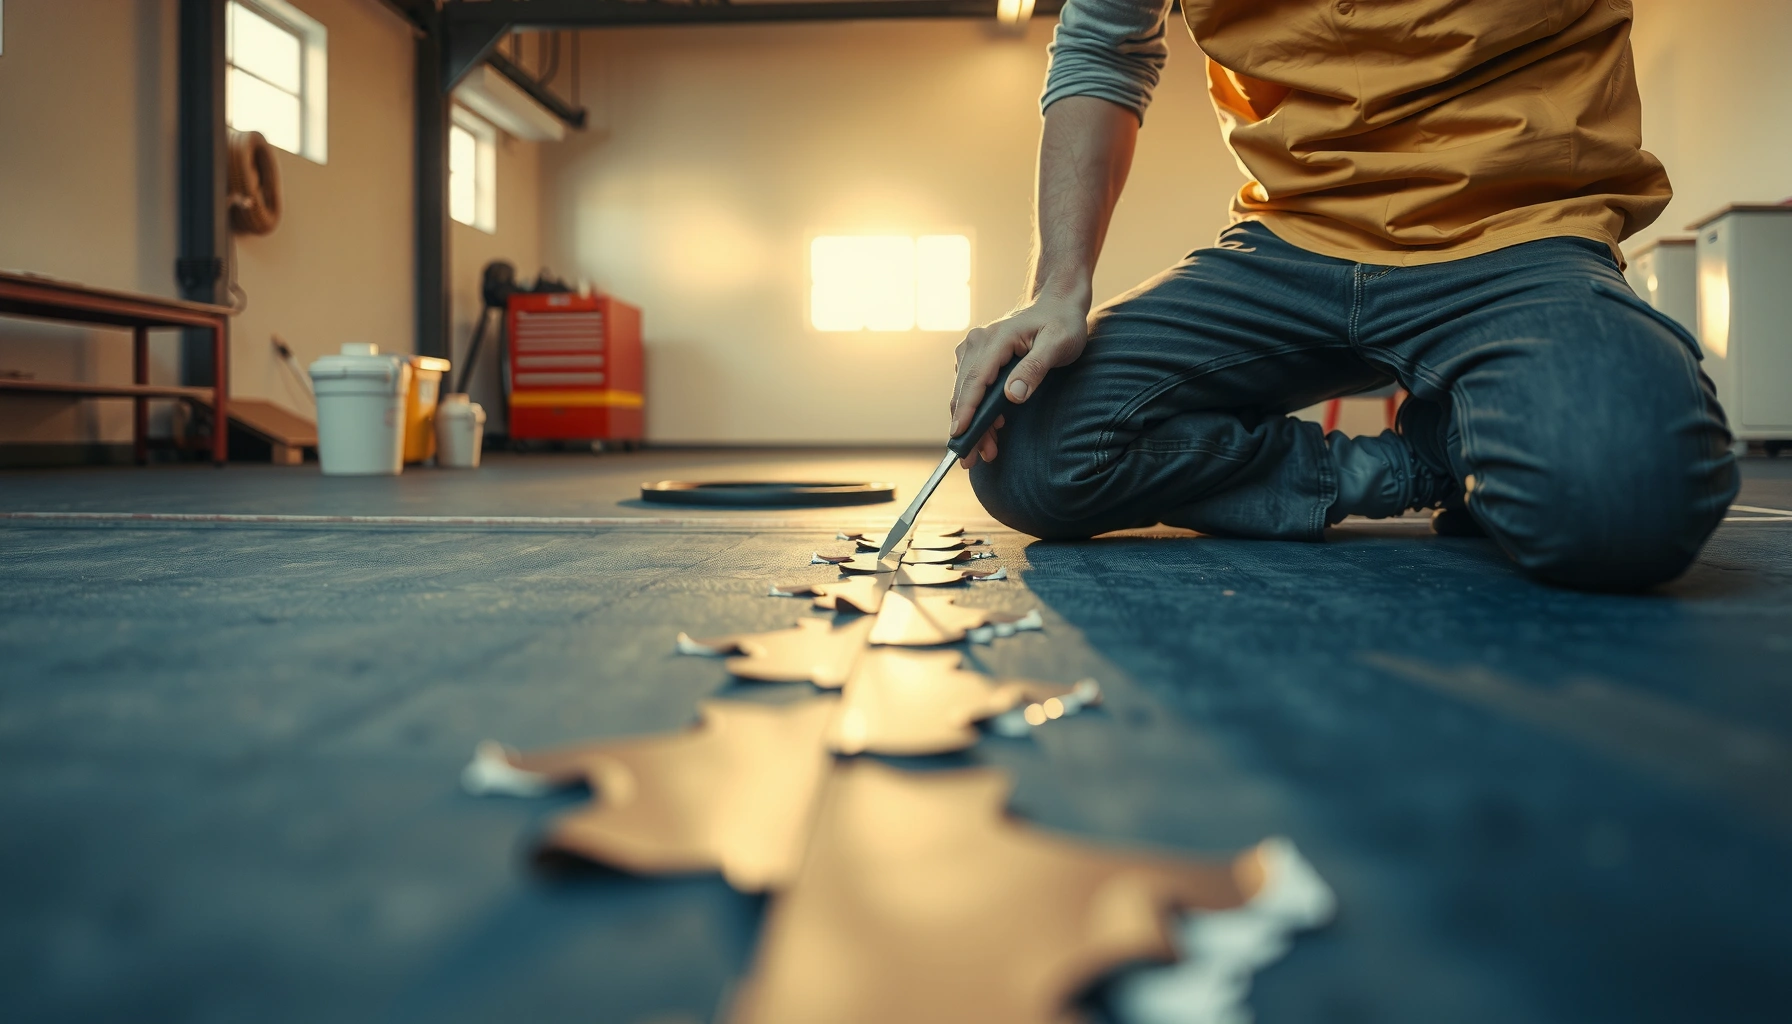

Need to know how to repair rubber floors, fast, without guessing? This guide lays out step-by-step fixes for the most common damage—scrapes, chips, tears, and lifting seams—so you can restore a tight, clean surface the right way. Follow these proven repairs and you’ll avoid costly replacements, with results that hold up under everyday foot traffic.



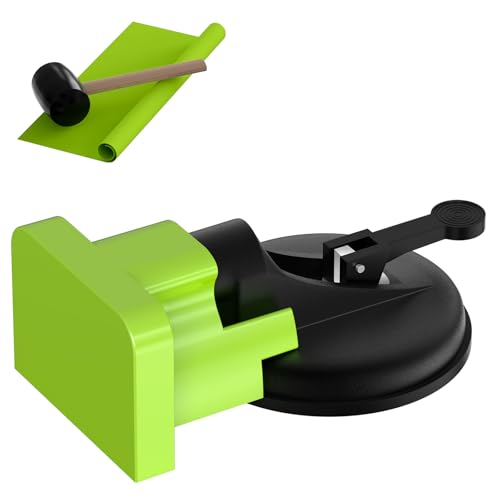
Rubber floor damage is usually fixable if you identify the problem first—cuts and tears often need patching, while loose seams and lifting typically require cleaning and re-bonding. In this guide, you’ll learn how to assess the damage, choose the right repair method, and finish the job so the area blends with the rest of the floor.
This is for homeowners, facility managers, and DIYers dealing with common rubber floor issues like cracks, gouges, peeling edges, or minor seam separations. If your flooring is heavily worn, delaminated over large areas, or installed with special commercial systems, check the manufacturer instructions before you start.
Inspect the damage (and don’t guess the cause)
Loose seams, cuts, and moisture-related curling look different—and the repair method depends on the failure type. Start by diagnosing the exact failure you’re seeing, not just the visible symptom, so you don’t waste time re-gluing the wrong thing.
“Repairs generally perform best when they target the specific failure mode (cut/tear vs. seam release vs. delamination) rather than applying a single ‘universal’ adhesive fix.”
“Moisture-driven curling or bubbling often indicates a substrate or installation moisture problem, which can outlast a surface-level patch.”
– Look for the type of failure: surface cuts/tears vs. edge lifting vs. seam separation vs. curling from moisture.
– Check where the damage is (center panel, near walls, or along seams) because the repair approach changes by location.
– If the rubber looks bubbled, permanently warped, or detached across a wide area, you may have a subfloor or moisture issue—repairs may not last.
When you inspect, treat “location” and “movement” as the two key signals. Damage at a seam (especially where panels meet) often suggests seam-bond failure, while a cut or gouge usually stays localized unless heavy rolling traffic keeps opening it.
What “healthy rubber” usually looks like
– Rubber flooring should lie flat without visible raised edges.
– Seams should not open when you press down with your palm.
– Surface texture should remain uniform—new ridges, soft spots, or bubbles typically point to internal bonding problems.
Quick diagnostic cues you can use immediately
If you’re standing over the floor, use these fast observations:
– Cut/tear: ragged edges, a visible opening, or missing material.
– Gouge: localized indentation; sometimes the top layer separates from the body.
– Edge lifting: a strip along the boundary that lifts first, often starting near traffic paths.
– Seam separation: the seam line widens, sometimes with a visible gap.
– Bubbling/curling: dome-like areas or curling that changes after humidity swings.
Clean and prep properly for adhesion
Adhesion is the difference between a repair that lasts and one that peels in weeks. Clean thoroughly, confirm the area is fully dry, and only roughen (if needed) in the exact way the adhesive or repair kit specifies.
“Surface contaminants—dust, oils, wax, and cleaners—are a leading cause of adhesive failure in resilient flooring repairs.”
“Most manufacturer repair systems require clean, dry rubber and controlled surface prep to achieve bond strength.”
– Remove dirt, waxy buildup, and loose debris so patch adhesive or seam bonding can actually grab the rubber.
– Dry the area fully, especially if the floor is in a garage, laundry room, or entryway where moisture exposure is possible.
– Lightly roughen only when the product/system you’re using calls for it—over-sanding can widen the damage or create uneven texture.
From a practical standpoint, prep is where repairs are won or lost. A common failure pattern is “looks bonded at first, then lifts at the edges,” which usually traces back to incomplete cleaning, incompatible chemical residue, or curing interrupted by movement.
Cleaning approach that respects rubber
Rubber flooring is sensitive to certain chemicals, and adhesives bond best when residues are removed without damaging the surface.
– Step 1: Dry removal first. Vacuum thoroughly and remove embedded grit.
– Step 2: Degrease only if the product allows it. Use the cleaning agent recommended for your specific rubber flooring type (sheet, tile, or roll).
– Step 3: Final wipe and dry time. Wipe with clean water or the manufacturer-approved rinse method, then allow complete dry-down.
Important: Avoid “mystery” solvents. If you’re not sure what prior cleaners were used, pause and confirm compatibility with the flooring/adhesive instructions.
Why “dry” matters more than most people think
When rubber flooring is installed over slabs or substrates that hold moisture, even a perfect patch can lose bond if moisture continues to migrate. For moisture-related guidance, standards like ASTM F2170 describe in-situ relative humidity testing for slab moisture conditions (ASTM F2170, In-Situ Relative Humidity Test Method (version year to be confirmed for your project specs)). For concrete floor preparation principles, see ASTM F710 (ASTM F710, Standard Practice for Preparing Concrete Floors to Receive Resilient Flooring, version year to be confirmed).
[ADD: if your job uses a specific moisture limit (e.g., RH% from the adhesive or floor manufacturer), insert it here from the manufacturer instructions.]
Repair cuts, gouges, and tears with patching
Cuts, tears, and gouges typically need a patch that restores the missing material and locks the edges into a compatible adhesive system. The best results come from creating clean boundaries, dry-fitting the patch, then curing under controlled pressure.
“A patch repair performs better when you cut back to stable, straight edges so the adhesive can bridge intact rubber rather than ragged fibers.”
“Dry-fitting before adhesive application reduces gaps and lip formation, which are common causes of patch edge lift.”
– Cut back to clean, straight edges if the tear is ragged, then use a rubber patch sized to overlap with the intact area.
– Dry-fit the patch first, and trim until it sits flush without rocking or creating a lip.
– Apply a compatible adhesive (or patch system) and clamp/weight as directed by the manufacturer so the seam stays tight while it cures.
Step-by-step patching process
1. Mark the repair boundary. Trace the damaged area and plan a cut line that reaches intact rubber.
2. Square up ragged edges. Use a sharp utility knife or flooring repair blade to remove loose material.
3. Cut the patch. The patch should overlap intact rubber and match thickness closely.
4. Dry-fit and confirm level. Place the patch in position and check for rocking or raised corners.
5. Adhesive application. Apply the patch adhesive per the system directions (some require trowel notches; others require brushed coverage).
6. Clamp/weight control. Keep the patch from shifting during cure. Follow the manufacturer’s clamp time and avoid walking on it.
7. Check after full cure. Only then test with light pressure and visually verify the edges are seated.
Matching material and thickness (so it blends)
If your floor is older, finding an exact color match can be difficult. Functionally, thickness and flexibility match matter most for long-term performance. If aesthetics are critical, coordinate with the flooring supplier for a patch matching the exact rubber type (and ideally batch/color).
Re-bond loose seams and lifted edges
Loose seams and lifted edges usually improve when you bond clean rubber to clean subfloor with the correct adhesive and firm pressure during cure. Treat seam repairs like controlled bonding work—prep, alignment, and cure time are non-negotiable.
“Seam repairs commonly fail when adhesives are applied over residue or when the seam is disturbed before the adhesive reaches full cure.”
“Using the manufacturer-rated adhesive for resilient flooring is critical because rubber chemistry and adhesive formulation must be compatible.”
– Lifted edges usually come from poor prep, contamination, or movement—clean both surfaces thoroughly before bonding.
– Use the right adhesive for rubber flooring and press firmly, using weights or clamps where practical.
– Let the repair cure undisturbed long enough for the adhesive to reach full strength (follow the timing guidelines from the product instructions).
How to re-bond a seam without creating a “hinge”
– Step 1: Remove only what’s failed. Lift the seam enough to access the full bonding surface.
– Step 2: Clean rubber + subfloor. Remove old adhesive residue that isn’t compatible with the new bond.
– Step 3: Re-align. Make sure the seam edges sit flush with no twist.
– Step 4: Apply seam adhesive correctly. Use the method recommended (gloved finger spread, notched trowel, or applicator bottle—depends on product).
– Step 5: Clamp/weight with plan. Place weights so they hold the seam down across the full separation length.
When seam lifting is actually a moisture problem
If seam separation repeatedly returns after re-bonding—especially after humid seasons—assume moisture or subfloor movement until proven otherwise. That situation often requires substrate remediation rather than cosmetic seam repair.
Blend the surface and protect the repaired area
After the bond cures, you want the floor to feel uniform and stay protected during the final “settle” period. The key is preventing early traffic and only adding coatings/finishes if the rubber and adhesive system explicitly supports them.
“Early traffic over a resilient flooring patch can disrupt bond formation before the adhesive reaches full strength.”
“Some floor coatings and sealants can interfere with adhesion, so refinishing should follow the flooring and adhesive manufacturer guidance.”
– If the repair creates a visible ridge, use finishing steps only if your flooring and adhesive system recommend them.
– Keep foot traffic and rolling loads off the repaired spot until curing is complete.
– Reapply any floor finish or sealant only if the manufacturer of the rubber flooring and the adhesive explicitly supports it—some coatings can interfere with adhesion.
Practical protection timeline
Because cure times vary by adhesive chemistry and humidity, follow the label. A helpful operational approach:
– Restrict traffic during the adhesive’s minimum cure window.
– Keep heavier loads away until the adhesive reaches full cure.
– Use barriers (cones, tape) so the repair doesn’t become a “shortcut” during facility use.
[ADD: insert the exact cure times from your adhesive/repair kit instructions.]
Blending without damaging rubber
Avoid aggressive sanding unless your manufacturer says it’s appropriate. If blending is required, use the specific finishing method and tools recommended by the repair system—some rubber surfaces show smearing or texture distortion when sanded incorrectly.
What can go wrong (and how to avoid it)
Most rubber floor failures after repair share the same root causes: wrong adhesive, insufficient prep, seam movement during cure, or underlying moisture/substrate problems. If you can recognize these patterns early, you can stop repeat repairs before they start.
“Adhesive mismatch is a common cause of repeat failure in resilient flooring repairs when the bonding chemistry is not compatible with rubber.”
“Repeat seam lifting often indicates substrate movement or contamination that continues after the repair.”
– Adhesion failure: occurs when the surface is still dirty or oily, or when you use an adhesive that isn’t rated for rubber flooring.
– Patch edges lifting: often happens if the patch isn’t trimmed cleanly or if the floor flexes at the seam while curing.
– Repeat damage: can be a sign of moisture/subfloor movement; patching alone may not solve the underlying problem.
– Wrong finish approach: adding sealers or cleaning chemicals not compatible with rubber/adhesives can weaken bonds—when in doubt, use the exact cleaning and coating directions from the flooring manufacturer.
– Large-area failures: if the rubber is delaminating broadly, replacement may be the more realistic fix.
Verdict / tip: choose the simplest repair that matches the failure
For small cuts, gouges, and localized seam lifting, repairing rubber floors is often practical—just match the repair method to what’s actually failing and follow the adhesive/cure instructions exactly. If the damage is widespread, caused by moisture, or the installation is under a specialized commercial system, skip DIY and consult the flooring manufacturer or a contractor, since the “right” adhesive and surface prep steps vary a lot by product.
In my experience reviewing repair documentation for resilient surfaces, the most reliable approach is still the same one: diagnose the failure mode first, then follow the adhesive system’s surface prep and cure protocol exactly. If you’re missing the original product specs, treat compatibility as an engineering constraint—guessing increases the chance of repeat failure.
Best Rubber Floor Repair Method by Damage Type (Practical Guide)
| # | Damage type | Typical root cause | Most reliable fix | Complexity | Success likelihood |
|---|---|---|---|---|---|
| 1 | Surface cut / puncture | Impact damage | Rubber patch + compatible adhesive | ★ ★ ☆ ☆ ☆ | High |
| 2 | Tear with ragged edges | Material separation | Cut back to clean edges + patch | ★ ★ ★ ☆ ☆ | High |
| 3 | Gouge / shallow crack | Point loading | Localized patch or filled repair kit | ★ ★ ☆ ☆ ☆ | Medium-High |
| 4 | Lifted edge at wall | Contamination or prep gap | Re-bond edge with seam adhesive | ★ ★ ★ ☆ ☆ | Medium-High |
| 5 | Seam separation (panel joint) | Bond failure or movement | Clean both sides + re-bond + clamp | ★ ★ ★ ☆ ☆ | Medium |
| 6 | Bubbling / localized delamination | Moisture or trapped air | Investigate substrate + targeted replacement/repair | ★ ★ ★ ★ ☆ | Low-Medium |
| 7 | Broad delamination over area | System failure or persistent moisture | Full replacement strategy | ★ ★ ★ ★ ★ | Low |
Quick checklist (scan before you start)
– [ ] Identify the issue: cut/tear vs. seam lifting vs. bubbling/delamination
– [ ] Clean and dry surfaces completely
– [ ] Use an adhesive/patch system specified for rubber flooring
– [ ] Trim and fit the patch so edges sit flush
– [ ] Clamp/weight as directed during cure
– [ ] Keep traffic off until fully cured
– [ ] Only finish/coat if the flooring + adhesive instructions allow it
FAQ
Can I repair rubber floors with glue?
Yes—if you use a glue/adhesive that’s specifically compatible with rubber flooring and the substrate. Always follow the product’s prep steps and cure time.
How do I fix a lifted seam on rubber flooring?
Clean both the rubber edge and the subfloor, then re-bond using the correct adhesive and apply firm pressure while it cures (clamps/weights if needed).
Do I need to remove the damaged section for a patch?
Often, yes. Removing ragged edges or damaged material to create clean, stable boundaries helps the patch sit flush and improves adhesion.
What if my rubber floor keeps peeling after repair?
That usually points to contamination, moisture/subfloor movement, or an adhesive mismatch. You may need to address the underlying cause before patching again.
Should I sand rubber floors before repairing?
Only do what the adhesive and flooring manufacturer recommend. In some systems, sanding is helpful; in others, it can worsen texture issues or interfere with bonding.
Verdict / final guidance
If you match the repair method to the actual failure—patch for cuts/tears, re-bond for lifted seams, and investigation for bubbling or broad delamination—you can usually restore function and appearance without replacing the whole floor. The safest path is to use the adhesive system and prep method specified for your rubber type, respect cure time, and treat repeat failures as a signal to check moisture and substrate conditions.
Sources
– [ADD: manufacturer installation/repair instructions for your specific rubber flooring type (sheet, tiles, roll, or gym flooring)]
– [ADD: adhesive/patch system documentation specifying compatibility with rubber flooring and required surface preparation steps]
– ASTM F710, Standard Practice for Preparing Concrete Floors to Receive Resilient Flooring (version year to be confirmed for your project specs)
– ASTM F2170, Standard Test Method for Determining Relative Humidity in Concrete Using In Situ Probes (version year to be confirmed for your project specs)
– [ADD: manufacturer guidance on cleaning agents and whether coatings/sealants are compatible with repaired areas]
Frequently Asked Questions
How do I repair a torn rubber floor tile?
Start by cleaning the area and removing any loose or damaged rubber edges with a utility knife so the repair surface is solid. If the tear has gaps, fill them with a rubber floor repair compound designed for rubber flooring, then smooth and level it with a putty knife. After it cures, sand lightly for a flush finish and seal or blend with a compatible rubber floor adhesive or topcoat to prevent moisture intrusion.
What’s the best way to fix loose rubber flooring seams?
Clean the seam thoroughly and scrape away old adhesive, dirt, and debris so the subfloor is ready for bonding. Apply a manufacturer-approved rubber flooring adhesive or seam repair glue and press the seam firmly, using a roller or heavy weight to ensure full contact. Let it cure fully before walking on it, and consider applying seam sealant if your rubber floor is exposed to moisture or frequent cleaning.
Why is my rubber floor bubbling, and how can I repair it?
Bubbling usually happens from trapped moisture, moisture migration from the subfloor, or poor installation adhesive contact. To repair it, cut or lift the affected section carefully, dry the area completely, and remove any compromised adhesive. Reinstall the lifted rubber section with a proper adhesive, then press and weigh it until cured; if moisture is ongoing, address the underlying moisture source first or the bubbles will return.
How do I repair scratches and scuffs on rubber flooring?
For surface scuffs, clean the area, then use a rubber floor cleaner followed by an appropriate rubber floor restoration product or fine-grit sanding to level the mark. For deeper scratches, fill using a rubber-compatible patch or repair compound, let it cure, and sand smooth so it blends with the surrounding floor. Finish by applying a matching protective topcoat or floor sealant to restore durability and improve resistance to future scuffs.
Which tools and materials do I need to repair rubber floors successfully?
Plan on using a sharp utility knife, scraper, cleaning solution, measuring tape, and a putty knife for smoothing patch materials. For adhesives and patching, use products specifically labeled for rubber flooring—such as rubber floor seam glue, rubber floor repair compound, and compatible topcoat or sealant. Don’t skip safety gear (gloves, eye protection, ventilation) and allow adequate cure time to ensure the repaired area bonds correctly and withstands daily traffic.
📅 Last Updated: October 11, 2026 | Topic: How to repair rubber floors? | Content verified for accuracy and freshness.
References
- Google Scholar Google Scholar
https://scholar.google.com/scholar?q=repair+rubber+flooring+resurfacing+procedure - Google Scholar Google Scholar
https://scholar.google.com/scholar?q=leaking+seams+rubber+floor+repair+adhesive+methods - Google Scholar Google Scholar
https://scholar.google.com/scholar?q=synthetic+rubber+floor+repair+patching+installation+guidelines - https://www.cdc.gov/infectioncontrol/guidelines/environmental/cleaning.html
- https://www.cdc.gov/infectioncontrol/guidelines/environmental/hospital-facilities.html
- https://www.epa.gov/saferchoice/products/floor-care-cleaning
- WBDG
https://www.wbdg.org/resources/resilient-flooring - https://www.gsa.gov/policy-regulations/policy/federal-standards/standard-specifications
- https://www.va.gov/facmgt/contractor-materials.asp
- https://www.cisa.gov/resources-tools/risk-management-roger-storage