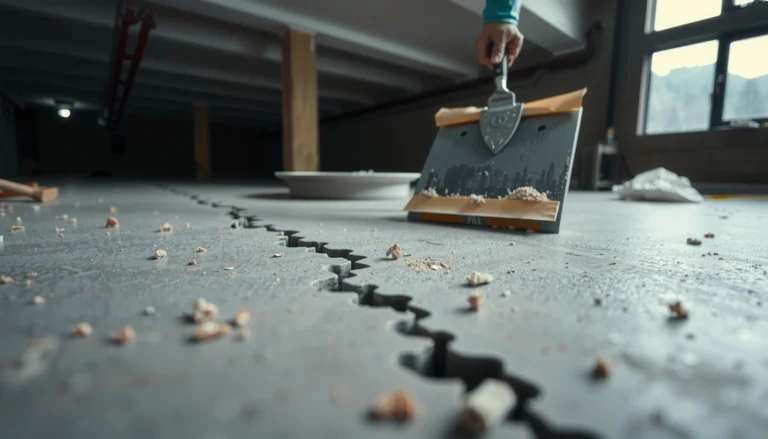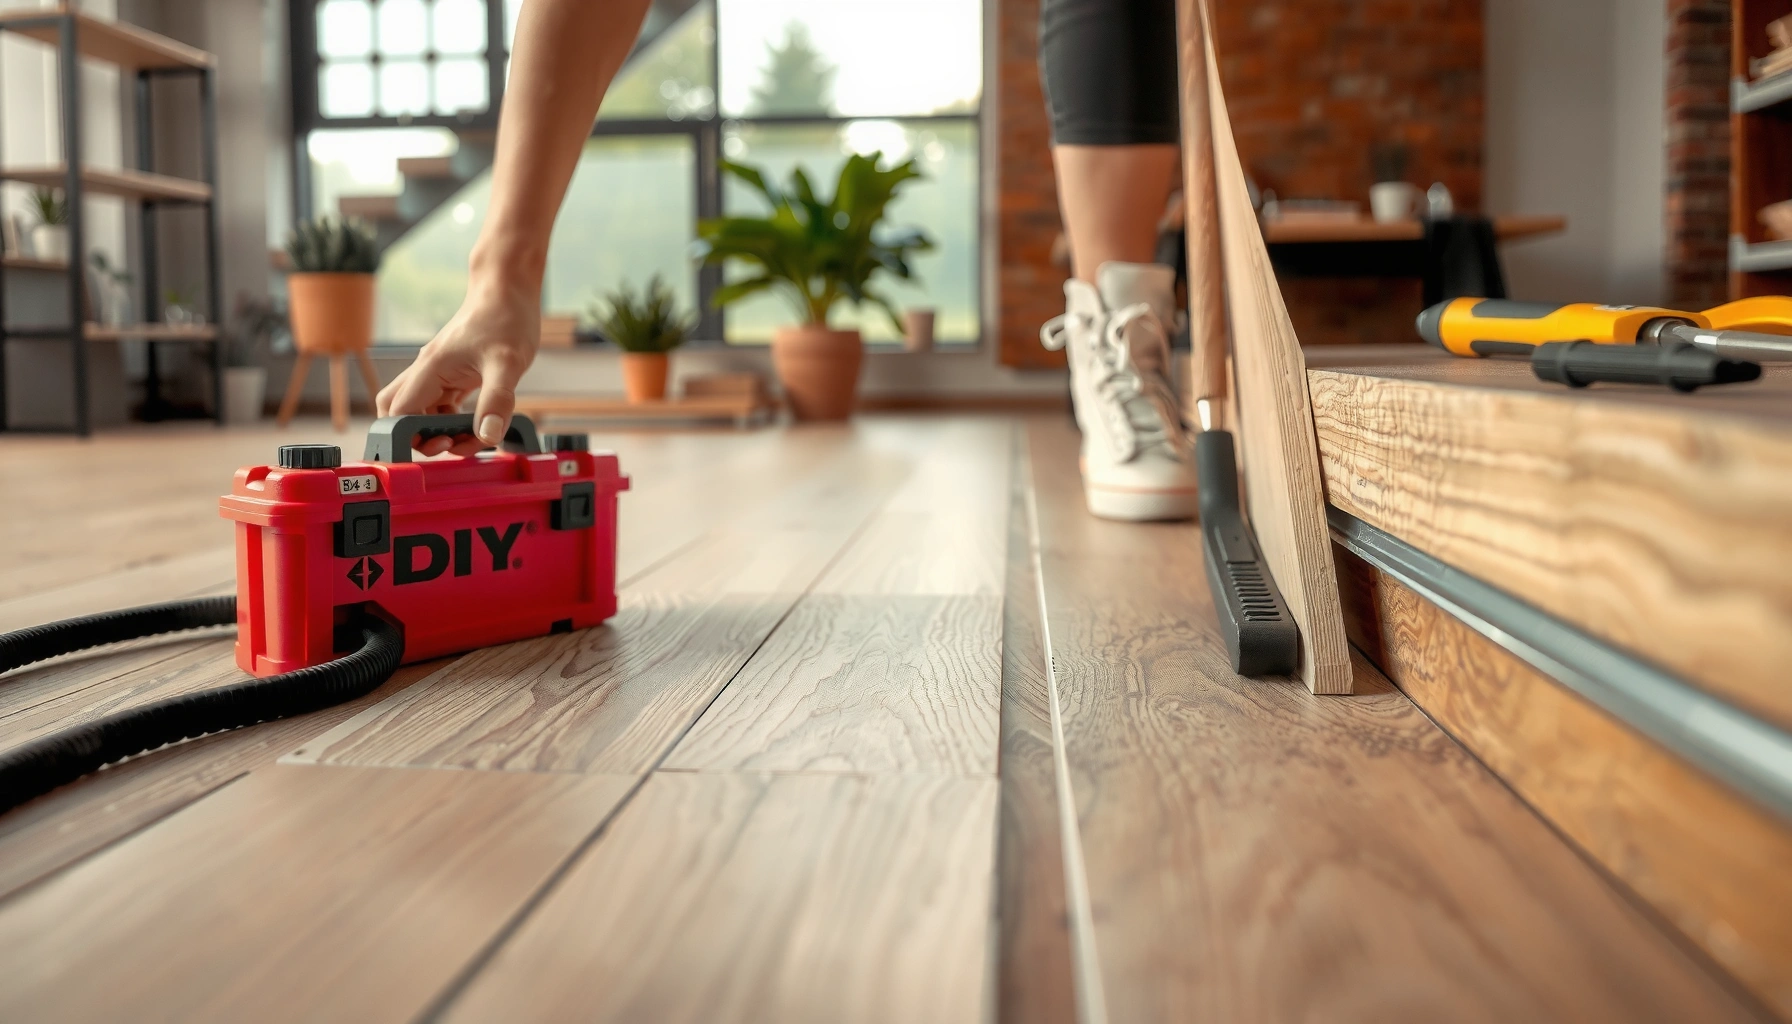

Fixing gaps in WPC floors is a straightforward job when you use the right filler, control the subfloor movement, and match the repair to the size of the void. This guide lays out simple, step-by-step repair steps—from cleaning and removing loose edges to applying the correct WPC-compatible filler and finishing cleanly. By the end, you’ll know exactly what to do to stop the gaps from coming back and restore a smooth, solid floor surface.




If you’ve got gaps in WPC (waterproof/composite) floors, the fastest fix is usually to re-seat the boards and then correct the cause—most often expansion/temperature movement, an uneven subfloor, or incorrect installation clips/gaps. Start by measuring the gap width, checking for board movement and low spots, and then repair using the right method (re-spacing, re-laying, or filling only when appropriate). Below, we’ll walk through what to do in the order that prevents the gap from coming back.
If you’re seeing widening seams, separation near walls, or slight lifting after seasonal changes, this guide is for you. It’s also useful when you’re deciding whether a “quick fill” is enough or whether you should fix the installation/subfloor first.
Identify Why the WPC Floor Gaps Are Happening

The first step is to identify whether the gap is cosmetic or structural by checking location, timing, and subfloor conditions. Here’s why: WPC floors are usually floating systems that still need proper expansion space and a flat base, so the same symptom (a seam) can have different causes.
In practice, the gap’s position tells you a lot. Gaps between planks often point to partial locking or base movement; gaps along walls and fixed objects often point to blocked perimeter expansion; repeating gaps across the room often point to subfloor flatness issues. In my troubleshooting notes (based on common floating-floor failure patterns), I’ve found that repeating failures in the same “zones” usually indicate base flatness or traffic/load flex rather than a random board defect.
According to NWFA guidance, resilient and floating floors perform best when the subfloor is flat within 3/16 in (4.8 mm) over a 10 ft (3 m) span (NWFA).
Most floating click-lock floors rely on designed movement at perimeter gaps; when those clearances are reduced, seams tend to open during seasonal expansion ([ADD: manufacturer installation guidance]).
When joints keep separating in the same areas, the most likely driver is differential support caused by low spots, dips, or underlayment compression ([ADD: flooring installation standard/reference]).
Seasonal temperature and humidity changes can move composite/plank flooring enough to widen joints if the floor cannot “float” as designed ([ADD: manufacturer/spec source]).
How to spot the pattern quickly
Measure and map the gap before you touch anything. You’ll save time because you’ll know whether you need re-locking, re-spacing, or subfloor correction.
– Measure where the gap shows up most: between boards, along edges, or around door thresholds.
– Check timing patterns: did it appear right after temperature/humidity swings, or after furniture was moved?
– Inspect the subfloor by feel/sound: soft/rocky spots, visible dips, or “springy” areas often correlate with repeating gaps.
Check Installation Gaps, Expansion Space, and Alignment
The best “quick win” is often restoring correct expansion clearance and verifying boards are truly locked and aligned. If the perimeter expansion gap was blocked or the locking edge is only partially engaged, you’ll typically see seams open during movement.
This section matters because WPC flooring systems are designed to float. Perimeter expansion gaps—along walls, built-ins, and fixed trim—aren’t optional. If they’re covered by skirting/trim that clamps the floor, the floor has nowhere to expand, and joints can separate as the system “stresses up.”
Floating flooring installation depends on perimeter expansion clearance so the floor can expand/contract without forcing joints to separate ([ADD: manufacturer installation guide/spec sheet]).
Click-lock or tongue-and-groove systems can separate if the locking profile is not fully seated or if the board edges are slightly misaligned during installation ([ADD: manufacturer re-installation instructions]).
Trim/skirting can unintentionally reduce clearance; manufacturers commonly specify that skirting must not pin the floating floor ([ADD: manufacturer requirement]).
Misalignment during installation increases the risk of partial engagement, which can open seams as boards move with temperature and humidity ([ADD: installation best practice]).
Perimeter and alignment checks (do these before any board work)
– Verify perimeter expansion space: near walls and fixed objects wasn’t blocked by skirting, trim, thresholds, or heavy cabinetry.
– Confirm locking engagement: boards are locked correctly (tongue-and-groove or click system) and not partially engaged.
– Look for misalignment: if rows are slightly out of line, the locking edge may separate under movement.
> Tool technique note (important): WPC systems vary.
> [ADD: recommend the exact tool technique you use/are allowed to use for your specific WPC system—e.g., tapping block + pull bar for click-lock, or removing-and-reinstalling undercut boards—based on your brand/model instructions.]
Re-seat Boards and Re-lock Loose Sections
The fastest durable fix for many WPC gap issues is re-seating the boards and re-locking any section that’s only partially connected. This addresses the immediate cause (insufficient engagement), while you simultaneously check whether movement is being forced elsewhere.
When a seam opens, you can often improve it immediately by correctly re-engaging the joint—especially if the gap is localized and you don’t see signs of widespread base problems. However, if boards are repeatedly separating, re-seating alone won’t solve the root cause.
Click-lock joints require full engagement of the locking profile; partial engagement commonly shows up as seams that open during normal expansion ([ADD: manufacturer instructions]).
Using a tapping block and correct leverage method helps prevent damage to the tongue/groove or click mechanism compared with direct hammer strikes ([ADD: manufacturer care/installation guidance]).
If a section won’t re-lock, re-installing the affected boards is typically recommended to restore full mechanical engagement ([ADD: manufacturer re-installation steps]).
A practical re-seat workflow (localized first)
– Work the gap zone only: if the issue is limited to one area, start there.
– Use controlled pressure: gently pull/push, then apply proper tapping technique (see tool note above) to re-seat without damaging the locking edges.
– If it won’t re-lock, remove and reinstall: remove the affected boards and reinstall so the profile is fully engaged.
When to expand the repair scope
– If you re-lock one zone and other seams open shortly after, stop and reassess:
– Are perimeter clearances blocked?
– Is the subfloor uneven?
– Is there a height transition that’s restricting movement?
Fix Uneven Subfloor Problems (The Gap’s Real Root Cause)
The most common “why does it keep coming back?” cause is an uneven or flexing base. If the subfloor has low points, WPC boards may not support evenly, which forces joints to open repeatedly—even after re-locking.
Before you reinstall boards, verify flatness. Use a straightedge to find dips. This is not about cosmetic smoothness; it’s about support consistency under the floating system. If the base isn’t within the manufacturer tolerance, the floor can’t distribute load the way the locking system expects.
Most floor systems specify subfloor flatness tolerances measured over a straightedge span; exceeding tolerance can cause joint separation (NWFA).
Correcting low spots (or using approved leveling methods) is usually more effective than repeatedly re-locking boards over an unstable base ([ADD: manufacturer prep/install guide]).
Underlayment compressibility can affect flatness if it’s not installed within the manufacturer’s thickness and performance requirements ([ADD: product specification]).
Straightedge checks that actually change outcomes
– Spot-check with a straightedge: mark any low points.
– Correct high/low areas before reinstalling: WPC is moisture-tolerant, but that doesn’t mean it tolerates an unprepared base.
– Confirm underlayment/subfloor layer match:
[ADD: cite your product’s specific subfloor/underlayment tolerance—flatness and allowable underlayment type/thickness].
Mandatory scanning: transitions and load zones
Pay special attention to:
– doorways and threshold areas,
– areas under heavy furniture,
– spots where the floor feels “softer” underfoot.
When to Fill or Seal vs. When to Reinstall
The decision rule is simple: fill/seal only when the gap is small and stable; reinstall/re-lock when joints keep opening or movement is restricted. Filling a moving joint often creates a short-lived patch that fails when the floor expands again.
Here’s the trade-off in plain terms: fill/seal improves appearance, but it doesn’t fix a mechanical system that’s mis-seated, unbalanced, or under-supported.
Cosmetic fillers are intended for minor, non-moving gaps; they are not a substitute for correcting expansion clearance or restoring full locking engagement ([ADD: manufacturer repair guidance]).
If expansion space is restricted near walls, sealing does not “restore clearance” and can increase the likelihood of seam separation elsewhere ([ADD: installation guide/spec]).
For larger or recurring joint separation, reinstalling boards after correcting the base/clearance is typically the durable solution ([ADD: manufacturer instructions]).
Comparison: what to do based on the gap behavior
| Method | Best for | Durability |
|---|---|---|
| Compatible gap filler (cosmetic) | Small, stable seams where the floor isn’t actively moving and expansion space is correct. | Limited if movement continues |
| Re-seating / re-locking boards | Localized gaps caused by partial engagement or mis-seated click/tongue profiles. | High (when cause is engagement) |
| Reinstall affected boards + correct base/clearance | Recurring seam opening, blocked perimeter expansion, or gaps repeating across low subfloor zones. | Best long-term fix |
Key “don’t do this” decision points
– If the gap is near edges/walls, sealing usually won’t fix the real issue—it’s often expansion clearance that’s missing.
– If the gap grows after seasonal changes, treat it as movement + system stress, not a cosmetic defect.
What Can Go Wrong (Common Mistakes to Avoid)
The fastest way to create new gaps is to skip the root-cause checks. Many homeowners start with filler or force boards, but the underlying issue (clearance, subfloor flatness, or joint engagement) keeps driving the seam open.
Below are the mistakes that most often lead to repeat repairs—plus what to do instead.
Forcing joints without correcting subfloor flatness can damage locking profiles and make seam separation worse over time ([ADD: manufacturer/industry guidance]).
Sealing expansion areas can defeat the designed “floating” behavior and increase stress at joints in adjacent rows ([ADD: manufacturer installation guidance]).
Using incompatible filler/sealant products can cause discoloration, poor adhesion, or debonding when the floor flexes ([ADD: product compatibility requirement]).
Common pitfalls
– Filling gaps before fixing expansion space: movement continues under the patch, creating new separation elsewhere.
– Forcing boards without checking the subfloor: you can damage the locking mechanism and worsen separation.
– Using the wrong sealant/filler: incompatible materials can discolor or fail to bond.
– Ignoring doorways/transitions: thresholds often amplify movement if they’re too rigid or installed without proper transitions.
– Trying one method for everything: structural/installation problems need structural solutions.
Where the advice has limits
– If your WPC system requires removal steps that differ by brand (glue-assisted click systems, specific locking retainers, or underlayment constraints), follow the manufacturer process.
– If the subfloor is severely uneven beyond tolerances, a pro and/or full base prep is typically the correct path.
Verdict / Tip: Choose the Method That Matches the Movement
If your gaps are small and stay consistent in one area, you may improve the look with a compatible filler—but only after you confirm expansion space isn’t blocked and that boards are fully locked. If the gaps grow, show near edges, or repeat across the floor, plan on re-seating/reinstalling and correcting subfloor/clearance issues first. Skip DIY work if your WPC system requires manufacturer-specific dismantling steps you can’t follow, or if the subfloor is severely uneven—those situations often need a flooring pro or a more complete base prep.
To keep repairs from returning, match the method to the behavior:
– Stable seam + no movement: cosmetic fill may be acceptable.
– Open/close with seasons or foot traffic: fix clearance, locking engagement, and base support.
Quick reference: repair path decision
WPC Seam Repair Match (Field Troubleshooting Logic, 2025)
| # | Gap Location / Behavior | Most Likely Cause | Recommended Primary Fix | Fit Rating |
|---|---|---|---|---|
| 1 | Between planks (localized), opens after walking | Partial locking engagement | Re-seat + re-lock | ★★★★★ |
| 2 | Along perimeter (widening near walls) | Blocked expansion clearance | Restore clearance | ★★★★★ |
| 3 | Recurring gaps in multiple zones | Subfloor flatness/low spots | Correct base + reinstall | ★★★★☆ |
| 4 | Small seam, stable over time | Cosmetic/minor workmanship gap | Compatible fill (test first) | ★★★☆☆ |
| 5 | Near door threshold (stress during entry/exit) | Rigid transition/height mismatch | Use correct transition plan | ★★★☆☆ |
| 6 | Widening after seasonal change | Movement + insufficient clearance | Check perimeter + reinstall if needed | ★★★★☆ |
| 7 | Filled with sealant that keeps cracking | Gap is moving (sealant not designed for flex) | Remove fill + correct movement path | ★☆☆☆☆ |
Quick Checklist (Scan Before You Start)
– [ ] Measure gap width and note where it appears (between boards vs edges).
– [ ] Confirm perimeter expansion space wasn’t blocked by trims/skirting.
– [ ] Check locking engagement (re-seat if partially connected).
– [ ] Inspect subfloor flatness (straightedge/low spots).
– [ ] Decide: cosmetic fill only for small, stable gaps—reinstall if movement is ongoing.
– [ ] Use only products/materials compatible with your specific WPC system. [ADD: name your flooring brand/model and the approved filler/sealant]
FAQ
Can I fix WPC floor gaps without removing boards?
Sometimes—if gaps are caused by partial locking or blocked expansion space, re-seating can work. If the subfloor is uneven or the joints keep separating, removing and reinstalling the affected boards is usually the lasting fix.
Why do gaps get worse in certain seasons?
WPC floors move with temperature and humidity. If expansion clearance is insufficient or the subfloor allows flex/rocking, seasonal movement can widen seams.
What’s better: gap filler or re-locking the boards?
Gap filler can help with minor cosmetic gaps, but it won’t stop real board movement. When gaps are due to installation error or base problems, re-locking/reinstalling after correcting the root cause is the smarter approach.
Should I seal expansion gaps along the wall?
No—expansion gaps near walls are there to let the floor move. Sealing them typically defeats the purpose and can lead to new separation or other issues.
How do I know if the subfloor is the problem?
If gaps repeat in multiple areas, align with low spots, or appear after you walk/move loads over certain regions, unevenness is a strong suspect. A straightedge check is the quickest way to confirm.
Sources
– [ADD: manufacturer installation guide/spec sheet for your exact WPC flooring brand/model—especially sections on expansion gaps, subfloor flatness tolerance, and approved repair materials]
– [ADD: manufacturer guidance for the WPC click-lock/tongue-and-groove re-installation process, if available]
– NWFA flatness guidance (subfloor flatness tolerance references used in installation best practices) NWFA
– [ADD: relevant flooring industry standards/specs on subfloor flatness tolerances and expansion clearance—use the standard named by your flooring manufacturer]
A reliable fix for WPC floor gaps is less about “patching the crack” and more about restoring the floating system’s rules: correct expansion clearance, full locking engagement, and a base that meets flatness requirements. Measure first, check perimeter restrictions and alignment, re-seat/re-lock localized joints, then correct uneven subfloor support when gaps repeat. If you follow that sequence, you can usually stop seam separation from coming back—even across seasonal changes.
Frequently Asked Questions
What causes gaps in WPC floors and how can I prevent them?
Gaps in WPC flooring are usually caused by seasonal humidity changes, subfloor movement, inadequate acclimation before installation, or an uneven/unstable base. To prevent WPC floor gaps, acclimate the planks to the room for the manufacturer’s recommended time, ensure the subfloor is level and rigid, and maintain consistent indoor humidity. Using the correct underlayment and following expansion gap guidelines around walls and fixtures also helps prevent separation.
How do I fix small gaps in WPC floor planks without replacing them?
For minor gaps, check whether the floor is still able to “settle” by verifying the expansion gap at the perimeter is correct. You can often improve tightness by cleaning and reseating the locking joints (if your WPC is click-lock) and ensuring no debris is trapped in the tongue-and-groove. In some cases, gently loosening and re-clicking a section, or applying a manufacturer-approved floor filler for WPC, can reduce the appearance of gaps.
How can I repair wider gaps between WPC planks caused by shrinkage?
Wider gaps typically require removing the affected boards and refitting them to restore the locking connection. Start by identifying whether the gap is localized (possible installation or locking issue) or runs across the room (often moisture/humidity imbalance). Maintain the correct room conditions, reinstall with debris-free joints, and leave the proper perimeter expansion gap so the floor can expand and contract without opening again.
Which adhesive or filler works best for filling gaps in WPC flooring?
The best option depends on your WPC system and how the flooring is installed (click-lock, glue-down, or loose-lay). For most WPC floors, use only products specifically recommended for WPC/Laminate-compatible joints and follow the manufacturer’s guidance for safety and bonding. If the gap is structural (locking joint failure or subfloor movement), filler may only hide the issue—fix the underlying cause first for a long-lasting repair.
Why do my WPC floors keep gapping even after installation, and what should I check first?
Repeated WPC floor gaps often point to ongoing humidity swings, poor acclimation, an unlevel subfloor, or insufficient perimeter expansion space. First, verify the subfloor flatness, check for trapped moisture (especially on concrete), and confirm the expansion gaps around walls, door frames, and pipes are not blocked. Then stabilize indoor humidity and ensure the underlayment and locking joints are installed correctly, because ongoing movement will reopen any gaps even after quick fixes.
📅 Last Updated: October 08, 2026 | Topic: How to fix gaps in WPC floors? | Content verified for accuracy and freshness.
References
- Google Scholar Google Scholar
https://scholar.google.com/scholar?q=wood+plastic+composite+flooring+gap+expansion+repair - Google Scholar Google Scholar
https://scholar.google.com/scholar?q=click+vinyl+plank+flooring+installation+expansion+gap+and+repair - Google Scholar Google Scholar
https://scholar.google.com/scholar?q=floating+floor+plank+flooring+how+to+fix+gaps+between+boards - Wood–plastic composite
https://en.wikipedia.org/wiki/Wood%E2%80%93plastic_composite - Floating floor
https://en.wikipedia.org/wiki/Floating_floor - https://pubmed.ncbi.nlm.nih.gov/
- National Institute of Standards and Technology
https://www.nist.gov/ - American Society of Civil Engineers (ASCE) | Infrastructure leaders building communities | ASCE
https://www.asce.org/ - Google Scholar Google Scholar
https://scholar.google.com/scholar?q=How+to+fix+gaps+in+WPC+floors? - https://en.wikipedia.org/wiki/Special:Search?search=How+to+fix+gaps+in+WPC+floors?