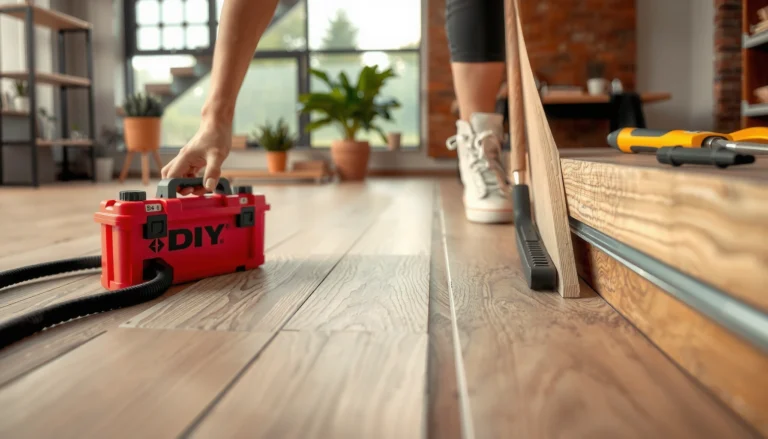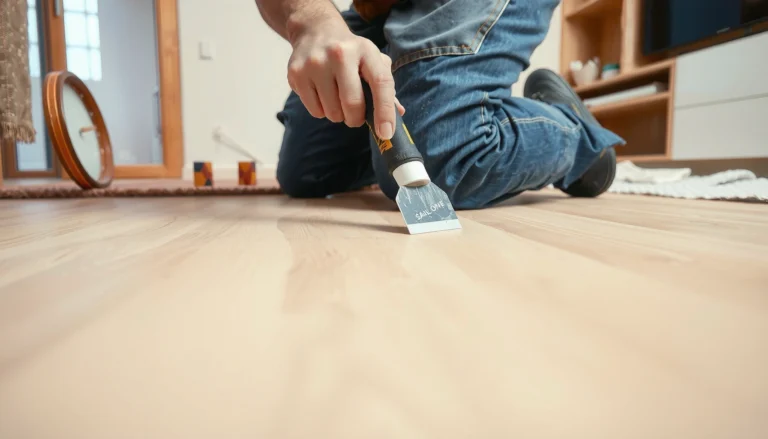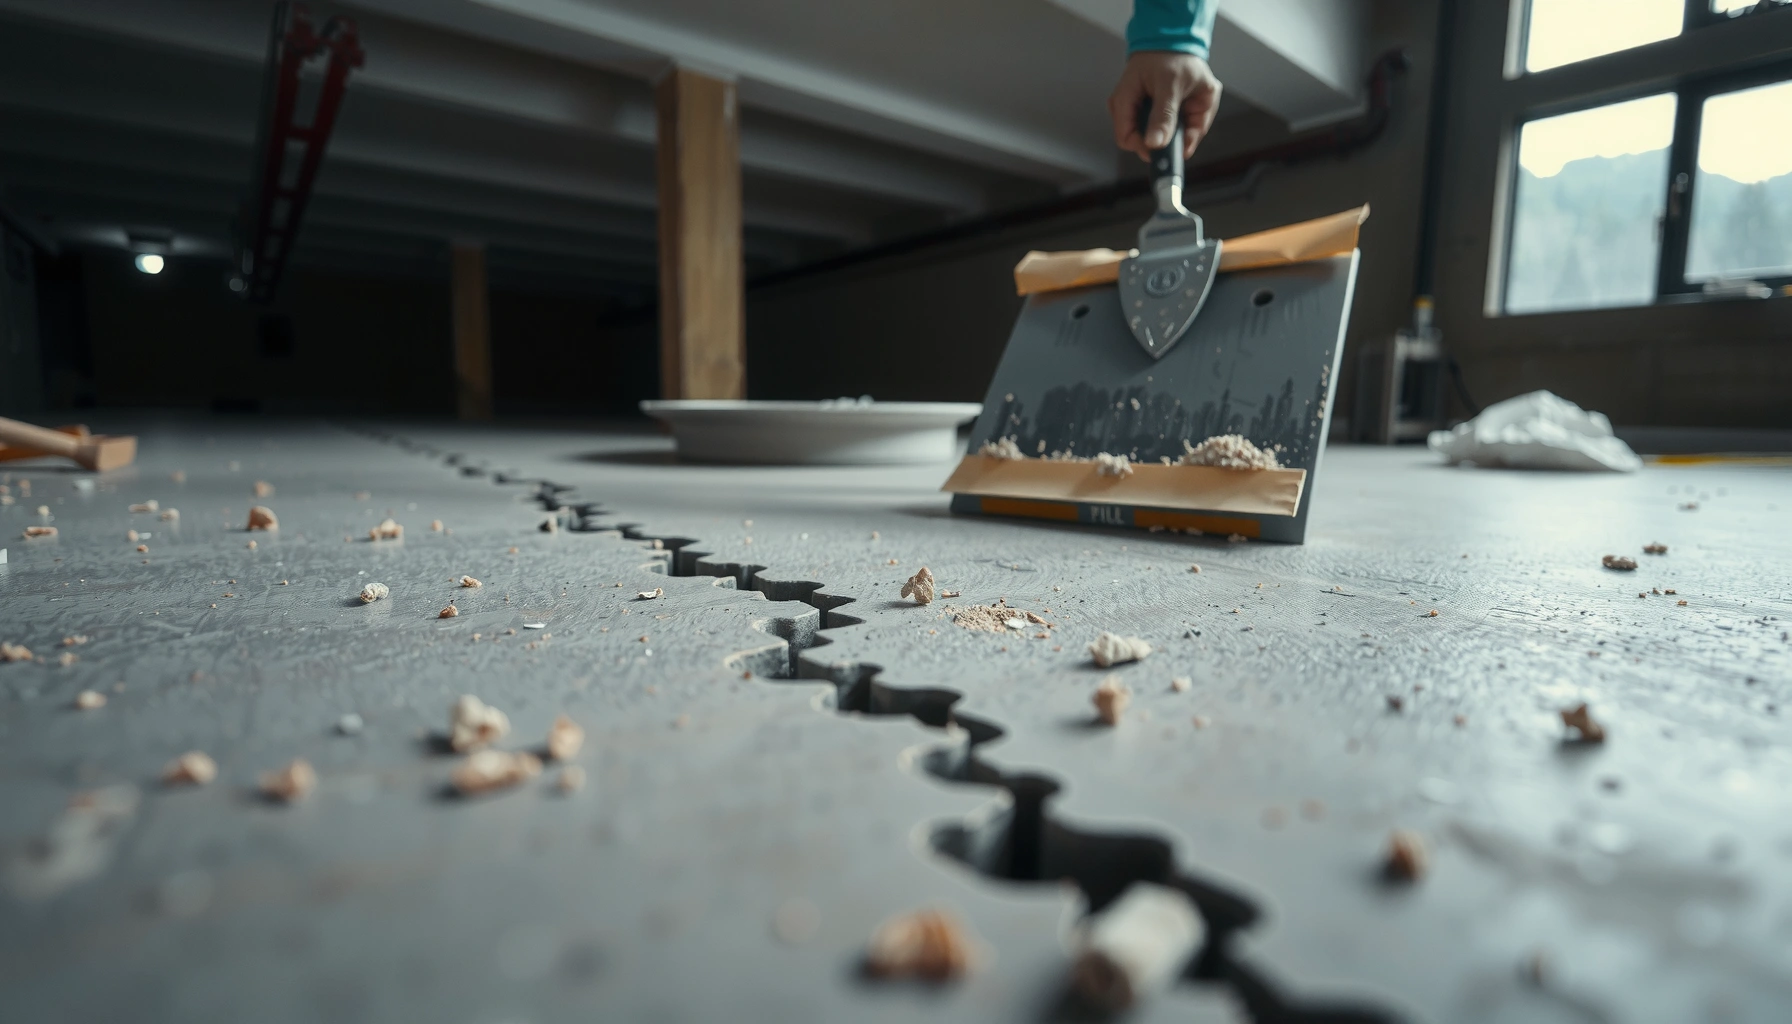

Basement floors don’t just look bad—cracks, spalling, and uneven surfaces can signal water and structural problems you’ll want fixed fast. This guide tells you exactly how to repair basement floors, with the right approach for each defect instead of guesswork. You’ll learn what to inspect first, how to prep the surface, and which repair method restores a level, durable finish.




Repairing a basement floor starts with the cause—moisture, settling, or surface damage—because the “right patch” depends on what’s driving the failure. Once you stop water intrusion (or confirm it’s truly only surface deterioration), you can fix hairline cracks, rebuild spalled concrete, and level dips with concrete-compatible repair materials and a careful prep-and-cure process.
If your basement floor is cracked, uneven, or flaking, the right repair comes down to diagnosing the cause (moisture, settling, or surface damage) before you patch. Start by checking for water intrusion and determining whether the problem is mainly in the concrete surface or deeper in the slab, then choose the matching filler/coating and follow a proper prep process. In this guide, you’ll learn how to assess common issues and repair basement floors step-by-step with durable materials and realistic expectations.
Who this is for / when it applies: This is for homeowners dealing with typical basement floor problems like hairline cracks, peeling/spalling concrete, small dips, or surface wear—especially when you want a DIY plan. If you suspect structural movement, active leaks, or dampness that keeps returning, you’ll also see when to stop and call in a pro.
Identify the damage: crack, spall, or moisture problem
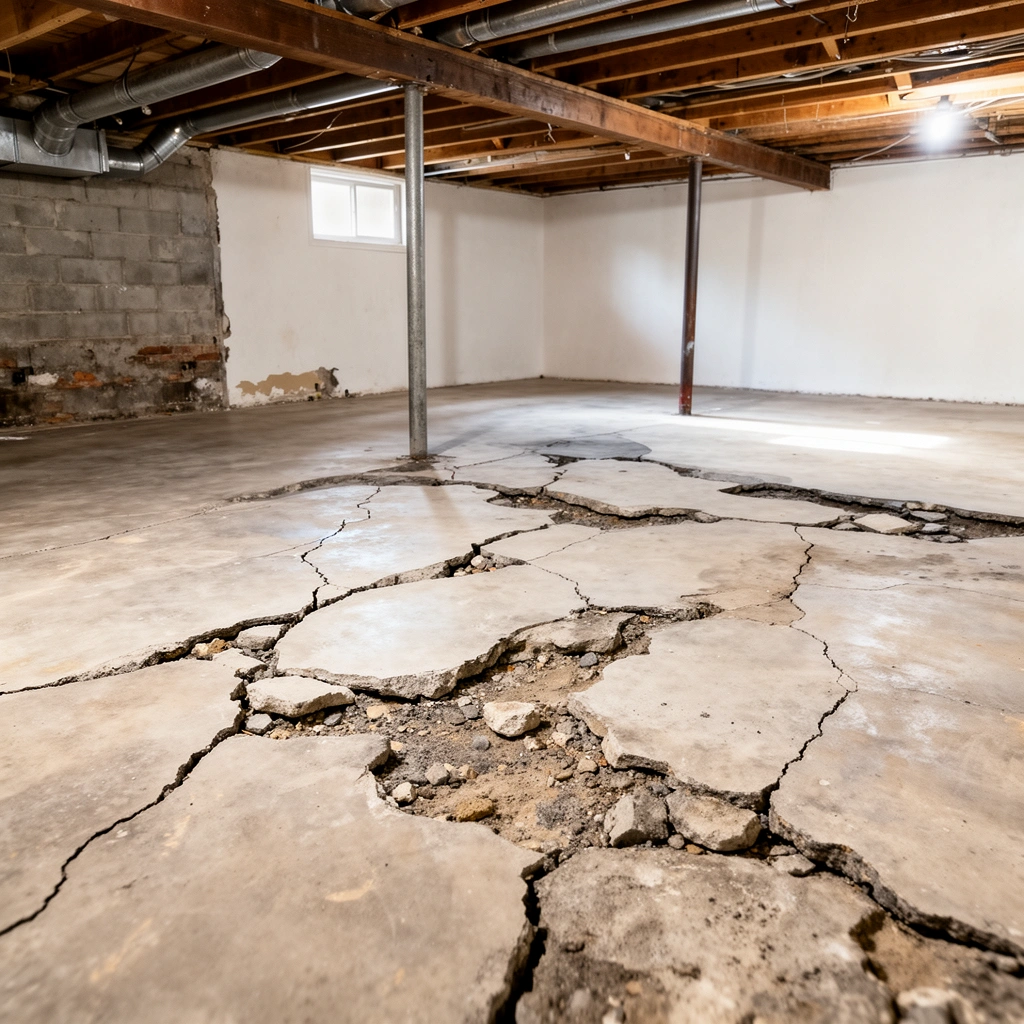
The fastest way to repair basement floors is to identify whether you’re dealing with a surface defect (crack/spall) or a moisture-driven problem. If water is still migrating through or under the slab, most patches—including “good-looking” ones—won’t last.
Basement floor repairs should start with a moisture inspection because moisture transport undermines concrete bonding and accelerates re-cracking.
Hairline cracks are often surface-level, while wider or moving cracks can indicate ongoing slab movement that needs a different repair strategy.
Efflorescence (white, powdery deposits) is a strong indicator of moisture movement through or near the concrete.
Step 1: Look for evidence of water (and map it)
Before you repair basement floors, spend 10–20 minutes doing a “dry run” inspection: look for white powder (efflorescence), damp areas, darker concrete, rust staining around embedded items, and a musty odor. Then note where each sign occurs—near the perimeter walls, around sumps, under plumbing, or along one diagonal path.
A few moisture indicators that matter:
– Efflorescence: often shows moisture traveled through the slab and evaporated at the surface.
– Dampness after rain/humid weeks: points to ongoing water intrusion rather than one-time damage.
– Condensation on walls or pipes near the floor: can correlate with humidity-related moisture cycles.
Step 2: Distinguish crack types that affect repair basement floors
When you assess cracks in a basement floor, classify them by width and behavior:
– Hairline cracks: small, mostly stable lines—often repairable with surface-appropriate crack fillers if moisture is controlled.
– Wider cracks: may require more involved repair details, especially if edges are deteriorated.
– “Moving” cracks: if crack width changes seasonally, the repair material must tolerate movement (and sometimes requires a different system than simple patching).
Practical tip: take clear photos (same angle, same lighting) and measure the crack width at a few points using a small ruler or calipers. If you can, recheck after heavy rain or during a different season.
Step 3: Identify spalling vs. surface flaking
Spalling is not just cosmetic. It usually means concrete at the surface has lost bond and is breaking away. Check:
– Are chunks missing (true spall)?
– Does the area sound hollow when tapped with a knuckle or small hammer (indicating delamination)?
– Is there exposed aggregate (suggesting deeper surface failure)?
If you’re unsure whether spalling is shallow or deep enough to extend beyond your planned repair area, assume deeper—better to remove more weak concrete than leave it behind.
Control moisture before you repair
Moisture control is the prerequisite that makes repair basement floors actually last. If you skip this step, cracks often reappear and patches can debond even when the application looks correct.
Patching over active moisture migration commonly leads to debonding because water disrupts chemical adhesion and can create pressure under the repair material.
Improving basement humidity helps reduce condensation-driven moisture cycles that can feed ongoing concrete surface deterioration.
If you see recurring wetness or active seepage, treat moisture as the primary defect before you touch the concrete surface.
Fix drainage and leaks first
Repair basement floors should start “outside-in” when possible:
– Ensure downspouts and grading direct water away from foundation walls.
– Check gutters, window wells, and any nearby landscaping that could funnel water.
– If you have visible seepage (drops, wet spots that reappear quickly), patching the floor is usually not the main fix—address the leak path.
If the moisture source is not obvious, use observation patterns:
– Does wetness increase after rain?
– Does it concentrate along a perimeter wall seam?
– Does it correlate with a specific plumbing penetration or sump operation?
Reduce indoor humidity (as a supporting step)
Humidity control supports basement floor repairs by reducing condensation cycles. For concrete, this matters because repeated wet/dry cycles can worsen surface cracking and scaling.
Concrete, actionable humidity guidance includes:
– According to the U.S. Environmental Protection Agency (EPA), indoor relative humidity should generally be kept around 30%–50% to help limit mold and dampness risks (US EPA, guidance updated across multiple public resources).
– According to the Centers for Disease Control and Prevention (CDC), mold growth can occur when moisture and humidity levels are sufficient—commonly discussed as sustained indoor humidity above ~60% RH (CDC).
– According to ASHRAE guidance on moisture control, maintaining appropriate indoor humidity is a key strategy to prevent condensation and mold conditions (ASHRAE).
(Exact targets and measurements can vary by climate and construction details; use hygrostat/dehumidifier controls and monitor.)
Know when to stop DIY
If the issue is:
– active seepage (water shows up during storms and persists),
– recurring dampness that never stabilizes,
– or you see signs suggesting the slab is still moving,
…then repair basement floors needs diagnosis beyond “patch and resurface.” Stopping the water and assessing settlement/structural movement are separate projects.
Prep the concrete (the part most DIY repairs get wrong)
Prep determines whether your basement floor repair holds. Even the best repair compound fails if the surface is contaminated with dust, paint/sealers, laitance, or weak, unsound concrete.
Concrete repair materials rely on bond to sound substrate; removing unsound concrete and contaminants is a standard requirement across cementitious repair products.
Cleaning to remove dust and surface contamination immediately before patching improves adhesion and reduces early debonding.
Cracks and damaged areas should be prepared to the profile required by the specific repair system to provide mechanical hold.
Remove weak concrete and incompatible coatings
For repair basement floors:
– Remove loose concrete (spall edges, delaminated patches).
– Strip paint/sealers if present. Many sealers prevent bonding; most repair manufacturers require exposed, porous concrete.
– Remove contaminants: drywall mud, adhesive residue, oil stains, and anything that creates a bond break.
Clean thoroughly—right up to application
A clean substrate is not optional. For repair basement floors:
– Use methods appropriate for concrete (e.g., grinding/scarifying for weak surfaces, vacuum extraction for dust).
– Avoid leaving a dusty film that feels “clean enough” but blocks adhesion.
– Do not apply the repair compound onto a surface that’s contaminated right before placement (for example, by sweeping with a dirty broom).
Profile cracks and damaged areas for hold
Many repair systems require a specific preparation:
– Widen/shape certain cracks to allow the filler to mechanically lock (not just float into a narrow groove).
– Square up spalled areas down to sound concrete so the edges don’t crumble under load.
The key is to match the preparation to the product’s technical data sheet (TDS). If you prepare the crack one way and use a compound that expects another profile, you’ll create a weak bond line.
Repair cracks and spalling with the right products
The correct approach for repair basement floors is product-matched to the defect: minor surface cracks use one strategy, spalling requires removal and rebuild, and moving cracks may require specialized systems. In other words, don’t “use the same compound for everything.”
Spalling repair typically requires removing all unsound material and rebuilding with a cementitious concrete repair product designed for structural/bonded floor applications.
Crack filler selection depends on whether cracks are static or subject to movement; many products are not intended for active, widening cracks.
Following manufacturer mixing, application thickness limits, and cure time is essential to achieve the advertised performance.
Choose repair methods by severity (and behavior)
For repair basement floors, this quick decision framework helps:
| Defect | Best-matched repair approach | Why it fits |
|---|---|---|
| Hairline crack (stable, surface) | Concrete-oriented crack filler/caulk system rated for concrete cracks | Designed for surface profile and bonding to sound edges |
| Crack with weakened edges | Remove loose edge material, then rebuild with cementitious repair | Prevents patching onto failing substrate |
| Spalling / flaking | Demo to sound concrete, then cementitious concrete repair (trowel/surface rebuild) | Replaces missing concrete with a compatible matrix |
| Moving cracks / ongoing change | Assess movement and choose a movement-tolerant system (often pro-led) | Some fillers are not designed for structural movement |
How to handle spalling in repair basement floors
For spalling/flaking:
1. Remove all loose/unsound concrete until you reach sound substrate.
2. Clean the cavity thoroughly (dust-free, oil-free).
3. Rebuild with a cementitious repair material intended for concrete floors (not generic patch spackle).
4. Cure properly—keep traffic off until the manufacturer’s cure/traffic guidance is met.
Avoid mixing errors and rushed cures
Even when you pick the right repair compound, failures often come from:
– incorrect water-to-powder ratio,
– exceeding max lift/thickness per pass,
– early foot traffic.
If you’re working on repair basement floors in colder basements or varying humidity, follow the TDS for temperature and cure conditions—or results can diverge from expectations.
Basement Floor Repair Material Performance Drivers (Common Concrete Practice)
| # | Repair step | Typical impact on durability | Risk if skipped | Confidence |
|---|---|---|---|---|
| 1 | Moisture source control (leaks, drainage, humidity) | High | High (debonding / re-cracking) | ★★★★★ |
| 2 | Remove all unsound concrete for spalls | High | High (hollow patches) | ★★★★☆ |
| 3 | Surface cleaning (dust/contaminants removal) | Medium-High | Medium (weak bond) | ★★★★☆ |
| 4 | Match repair product to defect type (crack vs spall) | Medium-High | Medium (premature failure) | ★★★★☆ |
| 5 | Correct crack/spall profile preparation | Medium | Medium (low mechanical hold) | ★★★☆☆ |
| 6 | Mixing ratio accuracy (water/powder) | Medium | Medium (strength/cure issues) | ★★★☆☆ |
| 7 | Curing and traffic timing control | Medium | Lower (if moisture is controlled) | ★★★☆☆ |
Level and resurface uneven basement floors
Unevenness in repair basement floors is usually addressed in two ways: spot leveling for small dips, or resurfacing/coating systems for broad surface-wide wear. Which approach you choose depends on how much of the slab surface is out of plane.
Small low spots can often be leveled using a concrete floor leveling compound rated for interior/basement use.
For widespread unevenness, a resurfacing system can provide uniform finish thickness, but it still depends on moisture control and substrate prep.
Plan transitions (doors, stairs, and flooring) because leveling increases the floor height and can create clearance issues.
Small dips: patch/leveling compounds
If the unevenness is localized:
– Prepare the area (clean, remove loose material, remove coatings that block bonding).
– Use a leveling/patch compound that is explicitly designed for concrete floors.
– Apply within the product’s thickness limits (often in controlled lifts for better cure).
Broad unevenness: resurfacing systems
If the whole basement floor surface is worn or broadly uneven:
– A resurfacing system can be more consistent than many spot repairs.
– Confirm compatibility with your slab condition (especially moisture and any existing coatings).
Plan the “finishing geometry”
Before you commit to repair basement floors, check:
– Door clearances and thresholds
– Stair tread height changes
– Thickness of floor coverings planned after leveling (carpet, LVP, tile)
What can go wrong (and how to avoid it)
Repair basement floors can fail for predictable reasons. Most problems come from moisture being left unaddressed, poor surface prep, or using a product outside its intended crack/spall/movement conditions.
Moisture-driven failures often make crack repairs look successful at first, then re-open as water cycles through the slab.
Inadequate prep (paint/sealer left behind, dust not removed, weak concrete not removed) is the most common DIY cause of premature debonding.
Using a filler designed for static cracks on an actively moving crack can lead to rapid separation at the bond line.
Common mistakes
– Repairing first, fixing water later: patches crack again or pop loose if moisture remains.
– Skipping surface prep: dust, paint, sealers, or weak concrete reduce adhesion.
– Using the wrong material for the problem: some fillers are for surface defects only; spalling demands a cementitious rebuild approach.
– Underestimating structural movement: if the slab keeps shifting or cracks change width over time, DIY patching can be temporary.
When you should call a pro
Consider professional help if:– cracks keep widening or you see new crack paths,
– dampness keeps returning even after improving humidity and addressing visible drainage,
– there’s evidence of settlement affecting usability (doors sticking, noticeable slope changes),
– or you’re planning an epoxy/polymer coating and need moisture vapor testing.
Verdict / tip
If the issue is mostly surface damage (small cracks, minor spalling, localized dips) and you can control moisture, you can often repair basement floors successfully with careful prep and the correct concrete repair/resurfacing products. Skip DIY and call a professional if you have recurring wetness you can’t stop, signs of significant settling, or cracks that keep changing—those need diagnosis beyond a patch job.
One more practical tip: if you’re unsure which type of defect you have, take extra time to inspect and match the repair method to the cause rather than the symptom. Repair basement floors is a system problem—moisture behavior plus substrate condition plus product selection.
Quick checklist: basement floor repair readiness
– [ ] Confirm the problem type: crack / spall / unevenness / moisture
– [ ] Check for water intrusion and address it first
– [ ] Remove loose material and clean the slab properly
– [ ] Use a repair product rated for concrete floors and your defect type
– [ ] Apply per label instructions (mixing, application thickness, cure time)
– [ ] Protect the repair while curing; plan foot-traffic timing
FAQ
Can I repair basement floor cracks without fixing moisture?
Often it won’t last. Even small repairs can fail if moisture continues to migrate through or around the slab—so it’s usually best to address moisture first.
What’s the difference between patching a crack and fixing spalling?
Patching a crack mainly fills the defect and relies on good bonding to the surrounding concrete, while spalling repair requires removing all loose/weak material and rebuilding the missing surface.
How long should I wait before walking on repaired concrete?
Wait according to the product’s label/technical instructions for cure and traffic readiness. If you’re using a resurfacing or leveling compound, thicker applications typically require longer cure time.
Should I resurface the entire basement floor or just spot-fix?
Spot repairs make sense for limited areas of damage. If the slab is broadly uneven or surface wear is widespread, a resurfacing approach may be more consistent—but only if moisture issues are controlled.
When do I need a professional for basement floor repairs?
Get help if you suspect active leaks you can’t stop, significant settling, or cracks that keep widening/moving over time, because a cosmetic repair can mask a bigger underlying problem.
Sources
– US EPA — indoor humidity and moisture guidance (target ranges and mold/dampness risk discussions; consult the agency’s most current homeowner guidance).
– CDC — mold and moisture conditions overview (humidity/moisture factors; consult the latest CDC mold resources).
– ASHRAE — moisture control and indoor humidity guidance used by building professionals.
– [ADD: manufacturer instructions/technical data sheets for the specific crack filler, concrete patch, or floor leveling/resurfacing products you plan to use]
– [ADD: primary guidance for moisture management and concrete repair methods from a recognized concrete repair organization or standards body]
– [ADD: source for any specific cure/traffic-time claims you include—use the product’s label or technical manual rather than estimating]
Frequently Asked Questions
How do I repair a cracked basement concrete floor?
Start by cleaning the crack thoroughly, removing dust, paint, and loose concrete so the repair compound can bond properly. For hairline cracks, use a concrete crack filler or epoxy that penetrates and seals, while wider or shifting cracks may require a crack-injection epoxy system to restore stability. After curing, consider applying a basement floor sealer to reduce water entry and help prevent future cracking.
What’s the best way to fix a sinking or uneven basement floor?
Uneven basement slabs often come from soil settlement, poor drainage, or moisture-related deterioration, so you should identify the cause before patching. Small dips can sometimes be leveled with a self-leveling concrete underlayment, but significant settlement may require professional evaluation and potentially additional structural repair. Also improve basement drainage and address any moisture issues so the repaired surface doesn’t crack again.
Why does my basement floor keep getting damp after repairs?
Dampness usually indicates ongoing moisture intrusion through the slab, hydrostatic pressure, or condensation from high humidity. Even the best basement floor patch won’t last if water keeps moving through the concrete, so test for moisture sources and consider remedies like improving gutters/downspouts, sealing visible cracks, using a moisture-mitigating slab coating, or fixing exterior grading and drainage. If the area is chronically wet, consulting a foundation or waterproofing specialist can prevent repeated repairs.
Which basement floor repair product should I use for spalling or crumbling concrete?
Spalling and crumbling require removing all weak, deteriorated concrete back to solid, well-bonded material before applying a repair mortar or patch designed for vertical or horizontal surfaces. Use a bonding agent compatible with your repair product, then trowel the patch in layers if needed for thickness and strength. For long-term performance, finish with a suitable concrete sealer or coating to protect the repaired area from moisture and freeze-thaw damage.
How can I repair basement floor stains and efflorescence without damaging the slab?
For common stains like rust, grease, or water marks, use a cleaner matched to the contaminant and rinse thoroughly so you don’t seal in the cause. Efflorescence (white powder from moisture migrating through concrete) typically means there’s water moving under or through the slab, so scrubbing alone may return it unless you address the moisture source. After cleaning, allow the concrete to dry completely and then apply a breathable masonry sealer or waterproofing system designed for damp concrete.
📅 Last Updated: October 11, 2026 | Topic: How to repair basement floors? | Content verified for accuracy and freshness.
References
- https://www.epa.gov/mold/mold-basements-and-attics
- https://extension.umn.edu/mold-fungi-and-other-diseases/mold-basement
- https://www.cdc.gov/mold/default.htm
- https://www.canada.ca/en/health-canada/services/air-quality/indoor-air-quality/mould.html
- https://www.britannica.com/technology/foundation
- https://www.mayoclinic.org/healthy-lifestyle/adult-health/expert-answers/mold/faq-20057953
- Google Scholar Google Scholar
https://scholar.google.com/scholar?q=basement+floor+crack+repair+concrete - Google Scholar Google Scholar
https://scholar.google.com/scholar?q=concrete+slab+moisture+vapor+barrier+basement - Google Scholar Google Scholar
https://scholar.google.com/scholar?q=radon+mitigation+basement+floor+cracks+sealing - https://pubmed.ncbi.nlm.nih.gov/?term=basement+waterproofing+concrete+slab+repair+moisture+mold