
To measure engineered wood floors for a laundry room accurately, you need the room’s true usable dimensions—not just the widest points. This guide shows the exact measurement method for accounting for door clearances, wall irregularities, and spacing around the perimeter so you order the right square footage with minimal waste. By the end, you’ll know precisely how to calculate layout coverage for your engineered flooring plan.



Measure your engineered wood floor by calculating the room’s total square footage (length × width, split into rectangles if needed), then convert that number into how many plank boxes you need. The key is to use your flooring’s labeled “square feet per box” coverage and add waste/expansion allowance based on your product’s installation instructions. If your laundry room has doorways, a sink/cabinet run, a vent pipe, or an odd layout, you’ll also want to plan the plank direction and mark where cuts and transitions happen before you buy. This guide shows the exact measuring process so you can order the right quantity and avoid sizing surprises.
If you’re installing engineered wood flooring (floating, glue-down, or nail/staple depending on the product) in a laundry room, measuring precisely matters because laundry spaces usually include fixed obstacles—thresholds, plumbing penetrations, and cabinetry—along with moisture exposure. The fastest path to a correct order is to (1) define the true “install area,” (2) compute area in rectangles, and (3) convert to boxes using the carton’s coverage while applying the waste and expansion rules that your engineered wood manufacturer specifies.
What you’ll need before you measure
Before you measure engineered wood floors, gather the documentation and measurements that will drive both your square footage and your box count. In practice, the biggest measurement failures come from using the wrong carton “square feet per box” or ignoring the expansion gap rules—both are avoidable if you have the right inputs first.
A carton label’s “square feet per box” value is the source of truth for converting calculated area into boxes.
Engineered wood installation instructions specify how much perimeter expansion gap to leave, and that guidance should control your plan.
If your laundry room has fixed obstacles (vents, toe-kicks, cabinet legs), your “install area” is not always the same as the room’s total wall-to-wall area.
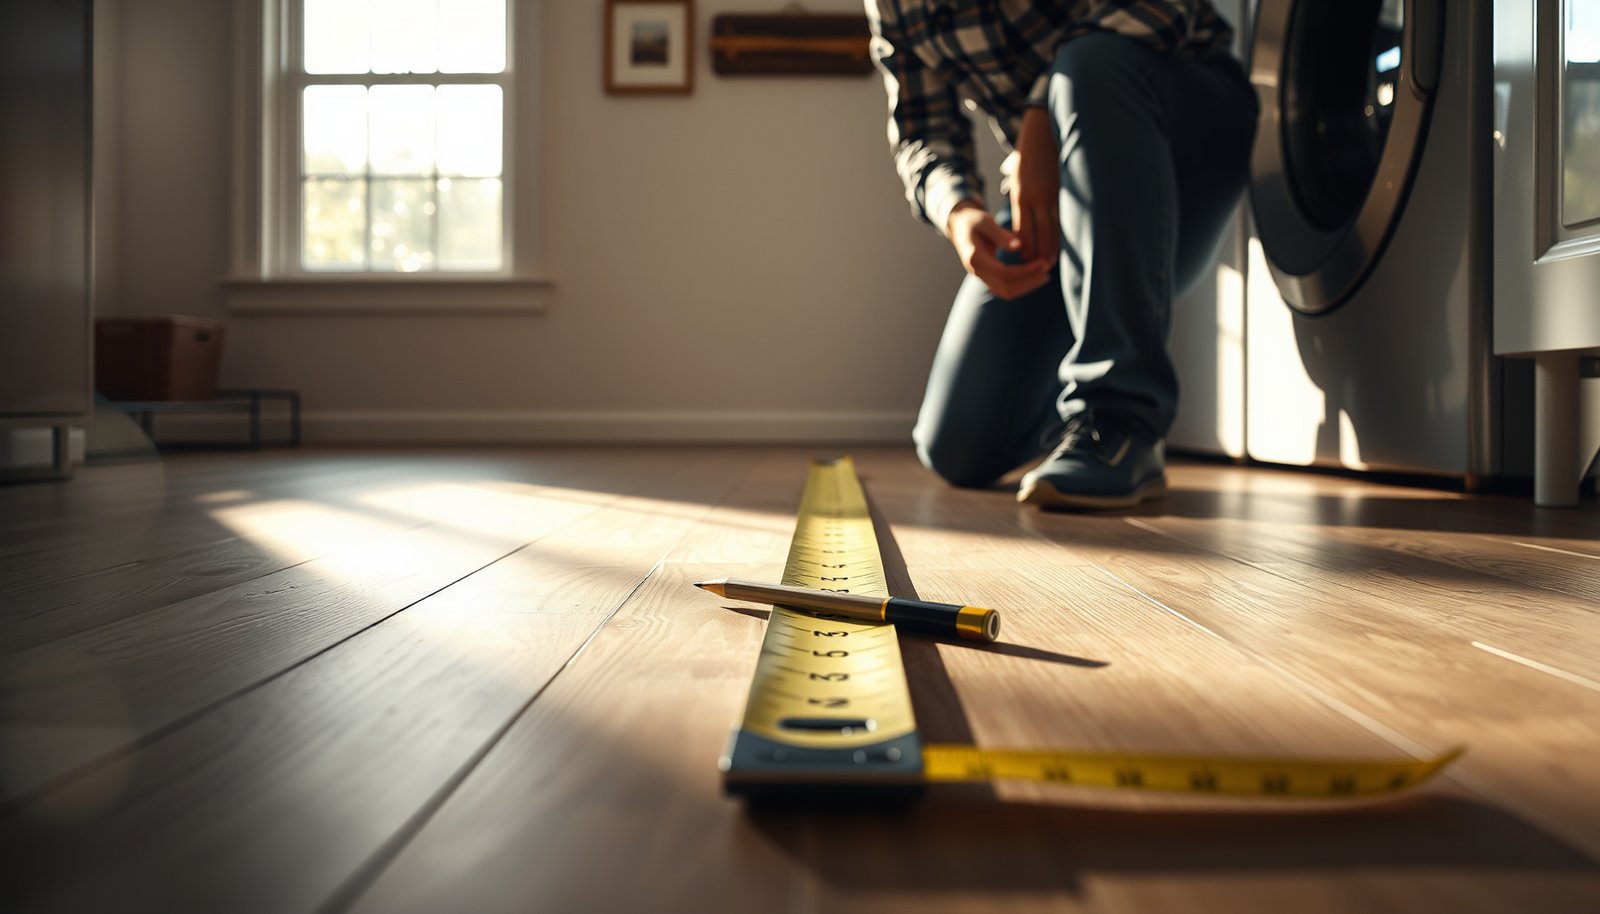
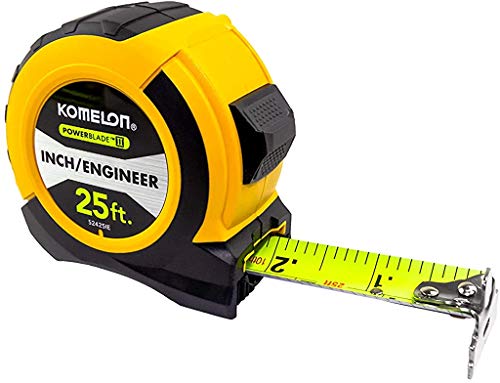
– Tape measure (and a pencil), plus a simple sketch of the laundry room (walls, doors, and fixed features).
– Your engineered wood details: plank dimensions, square feet per box, and any required expansion gap info from the manufacturer.
– A calculator or notes app to total square footage and translate it into “boxes needed.”
Quick planning note for engineered wood floors
Laundry rooms often have at least one “not-a-rectangle” element—an L-shape, an alcove closet, or an offset by a vent chase. If you’re mapping engineered wood floors, sketch first, then measure in rectangles; it prevents rework when you realize an obstacle forces you to change plank direction.
Measure the laundry room footprint accurately
To measure engineered wood floors correctly, start by calculating the wall-to-wall floor footprint in consistent units, then refine it to the actual install area. You’re not just measuring a room—you’re measuring the area where planks will physically sit.
For rectangular areas, square footage is calculated as length × width using the dimensions in feet.
For irregular rooms, breaking the space into multiple rectangles makes the engineered wood square-foot calculation repeatable and auditable.
– Measure length and width wall-to-wall. For irregular shapes (bump-outs, closets, or angled corners), break the room into rectangles and measure each section.
– Decide what you’re covering: include areas you’ll floor (like under a laundry hamper zone), and if you’ll stop at built-ins, confirm with the manufacturer whether you should subtract those footprints.
– Record measurements in consistent units (feet/inches converted to feet).
Conversions that keep engineered wood measurements consistent
Laundry room measurements often mix inches and feet, especially around baseboards and thresholds. Converting everything into feet once (and sticking to it) is how you avoid “off by one box” errors when you later divide by the carton’s square feet per box.
According to NIST, 1 inch equals exactly 25.4 millimeters (2019). NIST Guide to the SI (2019)
According to NIST, 1 foot equals exactly 0.3048 meters (2019). NIST Guide to the SI (2019)
According to NIST, 1 square foot equals 144 square inches (2019). NIST Guide to the SI (2019)
Define the engineered wood “install area,” not just the room
For engineered wood floors, the install area should reflect where planks will be installed—not automatically where you can stand. For example, you may choose to stop flooring at cabinet bases, run under a hamper platform, or land transitions at door thresholds. When in doubt, follow the engineered wood manufacturer’s instructions for subtracting (or not subtracting) fixed features.
From my work preparing job layouts, the most common “wrong footprint” issue is subtracting too much—then discovering later that transitions land in the wrong place and the box count is short. If you’re unsure how to treat built-ins, it’s safer to keep your install area inclusive at first, then verify subtraction rules with the manufacturer’s guide.
Calculate square feet and add the right waste
To convert engineered wood measurements into an orderable quantity, you calculate total install area, add waste per your installation method/pattern, and then divide by square feet per box from the carton. This turns your room’s geometry into a practical “how many boxes” decision.
Total install area comes from the sum of (rectangle length × rectangle width) across the whole engineered wood layout area.
Waste is not optional in real installations—cuts around doorways and obstacles increase offcuts, so your engineered wood manufacturer’s waste guidance should control your buffer.
– Compute total area: sum of (rectangle length × rectangle width) for the whole install area.
– Add waste using the allowance recommended for your installation method/pattern in your specific product guide (example placeholder: ).
– Convert area to boxes: (total square feet including waste) ÷ (square feet per box), then round up to the next whole box using the coverage listed on the carton.
Use waste rules engineered wood actually requires
Laundry rooms create predictable waste drivers:
– Door thresholds and transitions create cut ends.
– Plumbing penetrations create irregular cutouts.
– Narrow sections (like between a vent chase and a wall) can force extra trimming.
If your engineered wood uses a specific plank layout pattern (for example, a “random” look with minimum stagger constraints), waste usually rises because you must respect joint placement rules rather than simply repeating plank lengths.
Worked Examples: Laundry Room Size → Boxes Needed (Using 25 sq ft/box and 10% Waste)
| # | Room size (ft) | Install area (sq ft) | +10% waste (sq ft) | Boxes @ 25 sq ft/box | Waste buffer |
|---|---|---|---|---|---|
| 1 | 6 × 8 | 48.0 | 52.8 | 3 | 10% |
| 2 | 7 × 9 | 63.0 | 69.3 | 3 | 10% |
| 3 | 8 × 10 | 80.0 | 88.0 | 4 | 10% |
| 4 | 5 × 12 | 60.0 | 66.0 | 3 | 10% |
| 5 | 9 × 12 | 108.0 | 118.8 | 5 | 10% |
| 6 | 10 × 12 | 120.0 | 132.0 | 6 | 10% |
| 7 | 12 × 12 | 144.0 | 158.4 | 7 | 10% |
*Note:* These box counts are *worked examples* using 25 sq ft/box and 10% waste to demonstrate the math. For your engineered wood floors, use your carton’s square feet per box and your product’s specified waste allowance.
Layout for cuts and obstacles (so your numbers stay true)
To keep your engineered wood square footage from turning into a shortage, you must plan plank direction and obstacle cuts before you finalize your box count. Cutting layout affects how many full planks you can use, which directly impacts how closely your order will match reality.
Dry-planning plank direction helps you confirm first/last row widths at doorways and narrow runs, which prevents ending with unusable strips.
Minimum end-joint staggering rules are part of the installation design and can change how much waste your engineered wood floor produces.
– Dry-plan board direction before finalizing your count: measure how the first and last rows will land, especially at doorways and narrow sections.
– Mark obstacles and measure their positions (pipes, closet door swings, cabinet legs, toe-kicks). You’ll want to know where joints can land so you don’t end up with unusable slivers.
– Plan end-joint spacing/stagger requirements from the manufacturer (placeholder: ).
Mark obstacles like an engineer (not like a guess)
Laundry room obstacles tend to be “non-negotiable” cut zones:
– A vent pipe usually forces a repeatable cut pattern, but it also consumes plank length.
– Sink and cabinet toe-kicks often require transitions or stoppage points.
– Door swings change where you can safely land transitions and how you can space rows.
From a practical layout standpoint, I recommend marking these on your sketch with measured distances from a consistent reference line (for example, the longest exterior wall). If you later change plank direction, you’ll understand exactly why the engineered wood box count needs adjusting.
Plan for transitions between engineered wood floors and fixed areas
If you’re landing transitions at doorways, decide where those transitions “start” relative to your first full plank row. A common mistake is doing the math on wall-to-wall area, then planning transitions without re-checking how the first/last row width changes.
What can go wrong (common measurement mistakes)
The fastest way to avoid engineered wood flooring surprises is to catch the common calculation and layout failures before you order. In most laundry room installs, these issues come from expansion gaps, carton mismatch, and obstacle-driven waste that the “open room” math doesn’t capture.
Skipping the required expansion gap can cause engineered wood floors to buckle seasonally when temperature and humidity change.
Using the wrong carton “square feet per box” value can shift your order by a whole box or more, especially in mid-sized laundry rooms.
– Skipping expansion gaps: if you leave no room where required, the floor can buckle seasonally (gap rules should come from your installation instructions: ).
– Using the wrong “square feet per box” value: check the carton label for your specific batch/product, not a previous order.
– Underestimating waste from laundry-room realities: door thresholds, plumbing penetrations, and angled corners often increase cuts more than a simple open room.
Common failure modes and how to prevent them
Below is a practical comparison of the most common measurement mistakes for engineered wood floors in laundry rooms.
| Mistake | What you’ll notice | Prevention step |
|---|---|---|
| No expansion gap verification | Edges feel tight or show movement over time | Confirm the required gap in the engineered wood installation guide before finalizing the install area |
| Wrong “sq ft per box” reference | You run short mid-install and can’t match the same lot | Use the carton’s label for your exact product and batch, not an old invoice |
| Obstacle cuts not included in waste | End up with too many offcuts and a last-row mismatch | Increase waste based on manufacturer guidance for the pattern/obstacle density in 2026 laundry-room layouts |
Expansion gap clarity for engineered wood floors
Laundry rooms can experience humidity swings (wash cycles and drying). If your engineered wood installation calls for a specific perimeter gap size, use it. The placeholder below is where you plug in the exact value from your product guide: .
Verdict / tip
If you want a reliable order quantity, measure in rectangles, calculate area, then base “how many boxes” on your flooring carton coverage—not guesswork. The downside: if your room is highly irregular or you’re unsure how your specific manufacturer wants expansion gaps and obstacle cutouts handled, you may need a second pass (or the manufacturer’s checklist) before buying.
If your engineered wood is being installed in 2026 (or you’re matching an existing lot), don’t rely on memory from past flooring projects. Box coverage and waste rules can differ by product line, thickness, and click vs. glue installation method.
Who should skip DIY measuring: if your laundry room has complex built-ins you’re unsure about removing/subtracting, or you don’t have the installation guide for your exact engineered wood product.
Quick checklist (scan before you buy)
| Step | What to do | Notes |
|---|---|---|
| 1 | Sketch room + note doors/obstacles | Include thresholds and fixed cabinets |
| 2 | Measure in rectangles | Split irregular shapes |
| 3 | Total square footage | Sum rectangle areas |
| 4 | Add waste | Use **manufacturer recommendation** |
| 5 | Convert to boxes | Use **square feet per box** from carton |
| 6 | Plan layout | Confirm first/last row fit + joint pattern |
| 7 | Check expansion gap needs | Use **gap size from your product guide** |
Frequently Asked Questions
What tools do I need to measure engineered wood floors for a laundry room?
To measure accurately, you’ll need a tape measure (25–35 ft), a pencil, a notepad or smartphone notes, and a straightedge or chalk line for marking layout lines. If your laundry room has doorways or fixtures, also keep a measuring wheel or ruler for tighter spaces. For engineered wood flooring, having a piece of flooring and the manufacturer’s recommended expansion gap thickness helps you plan the layout while measuring.
How do I measure the square footage of engineered wood flooring for a laundry room?
Measure the length and width of the room in inches (or feet) and multiply them to get the total square footage. Then subtract permanent obstacles like built-in cabinets, base units, or areas you won’t cover, as long as they’re not intended for flooring. If your laundry room has an irregular shape, break the space into rectangles, calculate each area, and add the totals.
Why should I measure for expansion gaps when installing engineered wood floors in a laundry room?
Engineered wood flooring needs an expansion gap around the perimeter to allow for seasonal movement, especially in rooms with temperature and humidity changes like laundry areas. When measuring, plan for the manufacturer’s required gap (often around 1/4 inch) at walls, door frames, and where flooring meets flooring transitions. Not accounting for expansion during measurement can cause buckling, gapping, or difficulty fitting your engineered wood planks.
Which measurements should I take for doorways, closets, and transitions in a laundry room?
Measure the width of door openings and the distance to nearby walls so you can plan plank direction and cuts at thresholds. For closets or partial walls, take measurements from the start wall to the closet interior edge, and confirm how far the flooring will run before transitioning to tile or another surface. Use a consistent reference line (like the longest straight wall) to keep plank rows aligned and to avoid narrow “sliver” cuts at doorways.
What’s the best way to calculate how many boxes of engineered wood flooring I need for a laundry room?
After you calculate the room’s square footage, add extra for cuts, waste, and irregularities—commonly 5–10% for straight layouts and 10–15% for more complex layouts. Check your engineered wood flooring box coverage (square feet per box) printed on the packaging, then divide your adjusted total square footage by that number. For laundry rooms with lots of obstacles or frequent transitions, round up to the next whole box to ensure you don’t run short mid-install.
📅 Last Updated: October 19, 2026 | Topic: How to measure a engineered wood floors for laundry room? | Content verified for accuracy and freshness.
References
- Square foot
- Floor plan
- Area
- https://www.cdc.gov/mold/default.htm
- https://www.epa.gov/mold/mold-cleanup-your-home
- F2170 Standard Test Method for Determining Relative Humidity in Concrete Floor Slabs Using in sit…
- F1869 Standard Test Method for Measuring Moisture Vapor Emission Rate of Concrete Subfloor Using …
- https://scholar.google.com/scholar?q=measure+square+footage+engineered+wood+flooring+installation Google Scholar
- https://scholar.google.com/scholar?q=engineered+wood+flooring+moisture+testing+ASTM+F2170+F1869 Google Scholar
- https://scholar.google.com/scholar?q=laundry+room+flooring+humidity+moisture+engineered+wood Google Scholar