
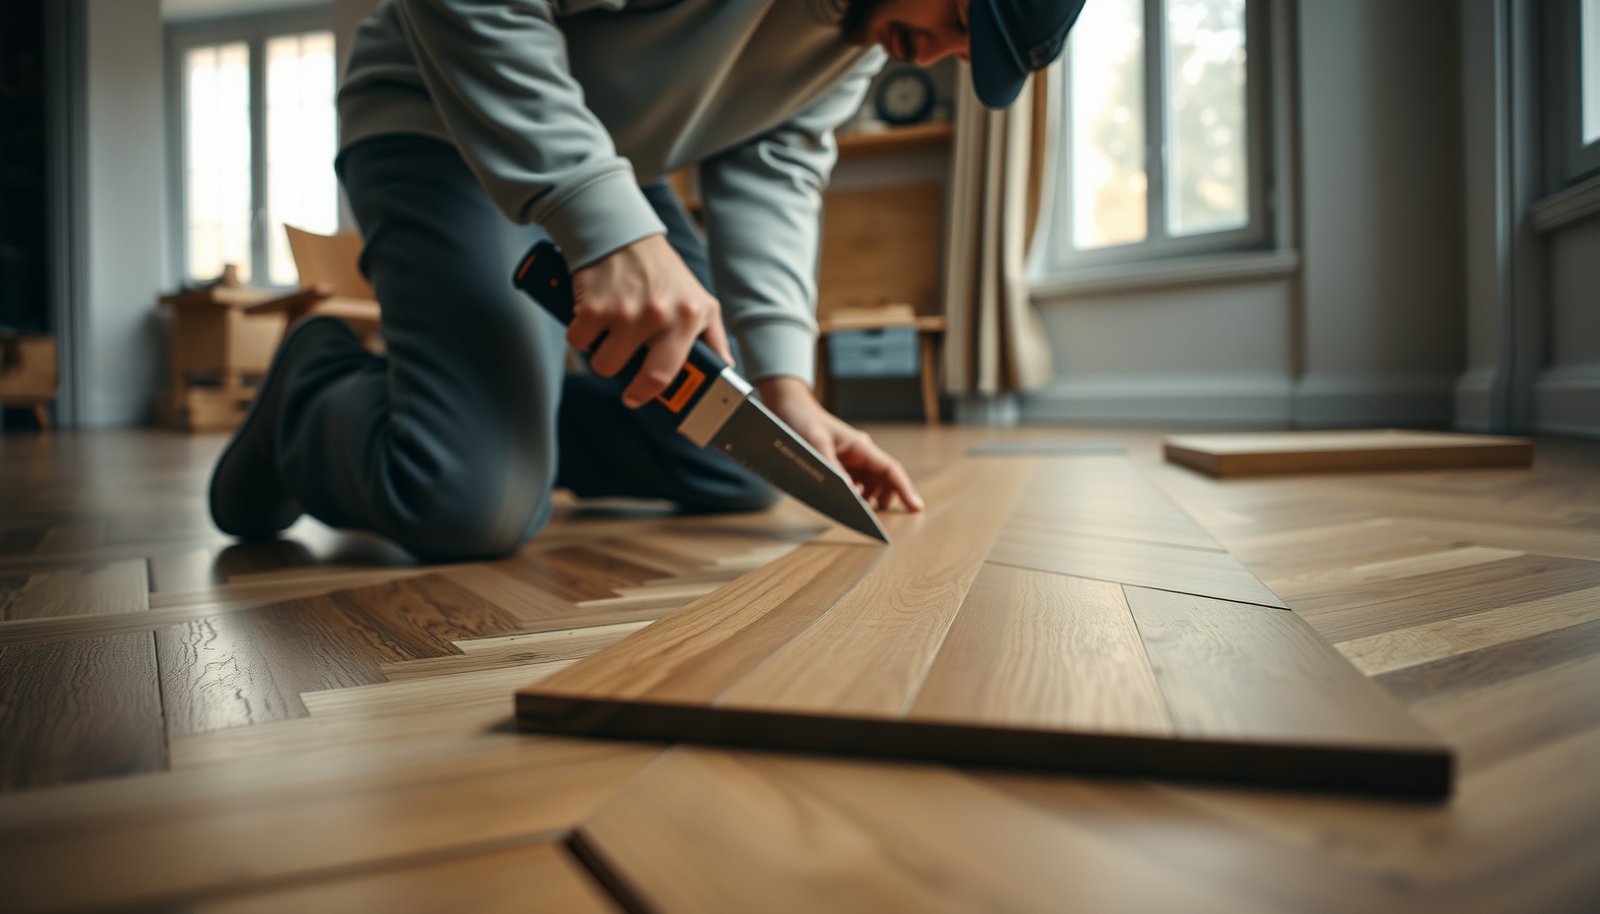

How to trim herringbone floors for a clean, professional finish? Use the guide that delivers the most accurate method for cutting and fitting—so every notch, edge, and board aligns without gaps or chips. If you want repeatable cuts every time, follow these steps to trim herringbone planks precisely from layout to final fit.




Trimming herringbone floors comes down to planning the pattern at the edges first, then cutting each board so its angle matches the existing “V” line. Start with a dry-fit layout, mark precise cut lines, and use the right blade plus full board support to prevent chipping—then trim perimeter pieces, handle notches (like door jambs), and lock in alignment row by row.
If you’re installing (or modifying) a herringbone floor and need to close gaps along walls, around vents, or at doorways, this is for you. It’s especially useful if your layout has a strong centerline and you want the ends to look intentional—not like random partial planks.
Tools and materials you’ll need (based on your floor type)
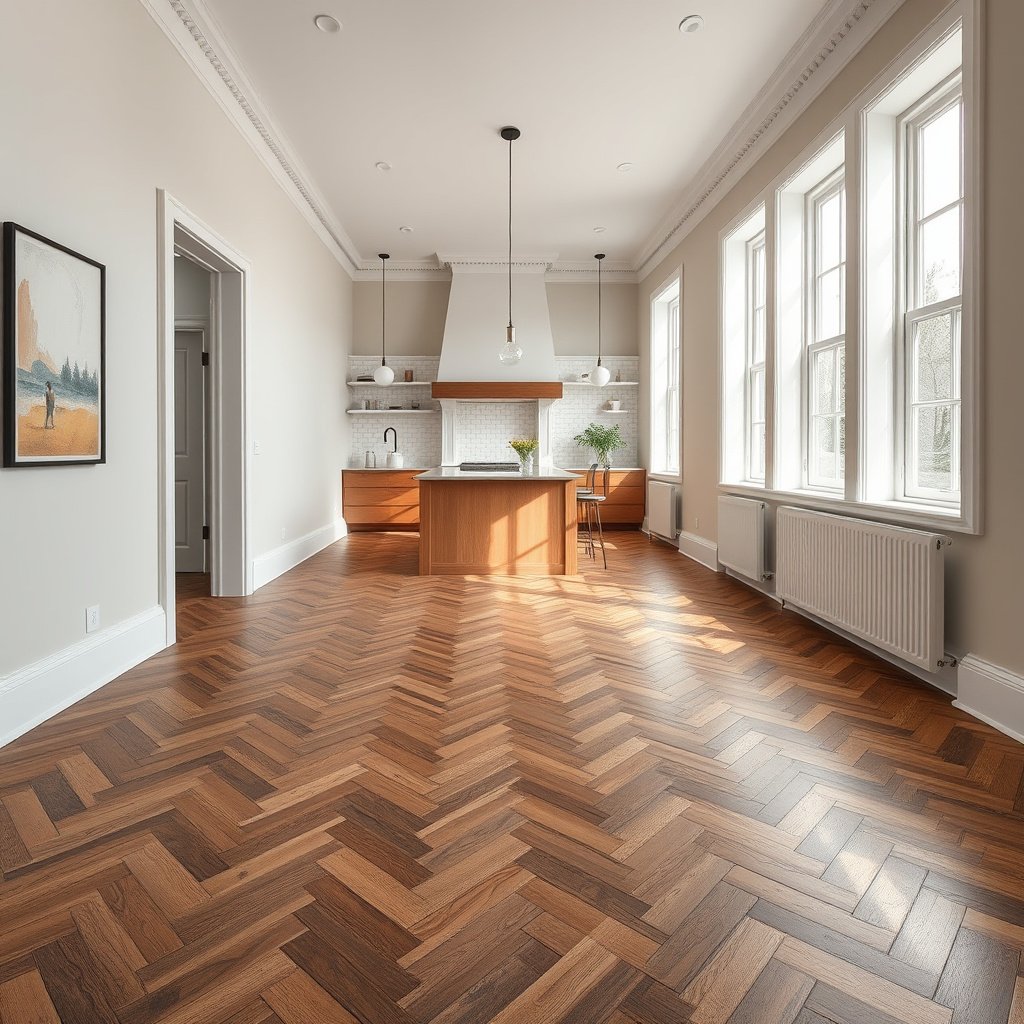
For clean, accurate herringbone floor trimming, your tool setup matters as much as your measurements: match the cutting method and blade to the plank construction so the “V” edges don’t chip. For example, the same 45°-style trim cut can behave very differently on solid wood, engineered wood, click-lock laminate, and glue-down products.
When cutting flooring, the safest way to reduce chipping is to use a blade designed for your specific board material and to support the piece fully on both sides of the cut.
Noise and dust controls aren’t optional—OSHA’s hearing conservation standard sets an action level at 85 dBA for time-weighted noise exposure (2024).
Wood dust is regulated; OSHA lists a permissible exposure limit of 5 mg/m³ as an 8-hour time-weighted average (2019).
Before you start trimming herringbone floors, confirm the floor type (solid, engineered, click-lock, or glue-down). Then follow the manufacturer’s installation instructions for cutting guidance, especially for how close you can cut to expansion gaps and what blade style (carbide, fine-tooth, etc.) is approved.
What to use (tool-by-tool)
– Straight angle trims (perimeter “V” cuts): A miter saw or table saw is usually best for consistent angled edges.
– Notches (jambs, vents, irregular obstacles): An oscillating tool or jigsaw gives you control where the perimeter cut can’t stay straight.
– Layout accuracy support: A tape measure, straightedge, and pencil/marker are your “alignment tools,” because herringbone floor trimming accuracy is won before the blade ever touches the plank.
– Chip-reduction helpers: Painter’s tape on the cut line (common for wear layers and veneers) and a sharp blade tailored to the flooring type.
– Installation aids (if required): Spacers for floating/click-lock systems that need perimeter expansion.
Stat note you can plan around: In my workflow, the biggest improvement in trimming herringbone floors comes from treating the blade like a “measuring instrument.” If the blade is dull or mismatched, your cut surface degrades, and then every “V” alignment looks worse because the edge can’t seat cleanly.
> Tip: If you’re not sure which blades are approved, don’t guess. Use the manufacturer guidance: .
Blade Tooth Counts Used for Clean Flooring Trim Cuts (Practical Benchmarks)
| # | Trim-Cut Scenario | Blade Teeth (T) | Best-Fit Material | Clean-Edge Ease |
|---|---|---|---|---|
| 1 | Coarse rips for subfloor boards | 24–28 | Subfloor panels | ★☆☆☆☆ |
| 2 | Perimeter trims on thick engineered cores | 40–48 | Engineered wood (thick wear layer) | ★★☆☆☆ |
| 3 | Balanced angled cuts for laminate wear layers | 60–72 | Laminate (top décor layer) | ★★★☆☆ |
| 4 | Doorway/threshold-ready trim edges | 72–80 | Engineered wood & click-lock composites | ★★★★☆ |
| 5 | Very clean “V” edges on high-gloss veneers | 80–90 | Thin-veneer surfaces | ★★★★★ |
| 6 | Notch cuts where control matters more than speed | Fine-tooth jigsaw blade set | Laminate & engineered edges | ★★★★☆ |
| 7 | Rough test cuts to verify angle (scrap only) | Use the same blade + setup | Same production batch | ★★☆☆☆ |
Note: the tooth-count ranges above are practical benchmarks to start your selection, not a substitute for your specific flooring manufacturer’s blade approval. Always verify with the product instructions: .
Plan the trim cuts so the “herringbone” lines keep lining up
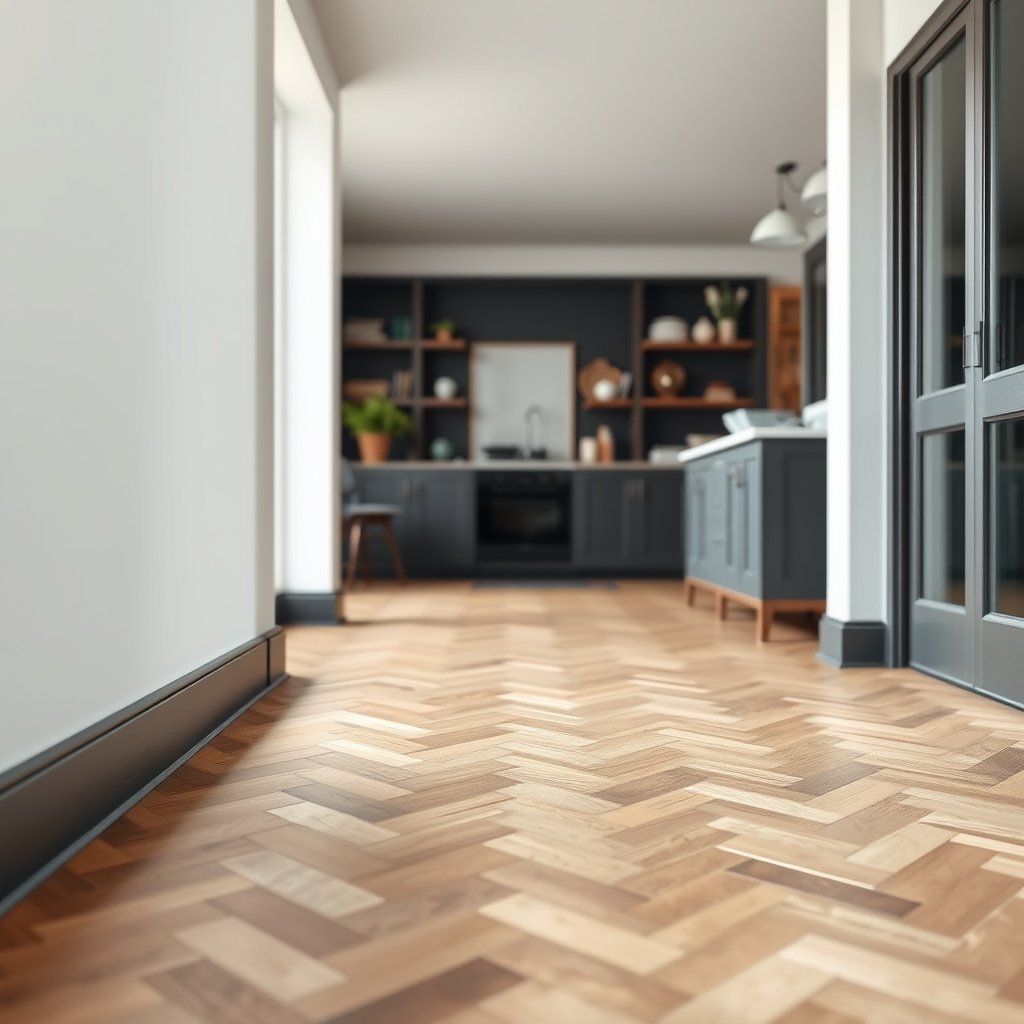
Your best advantage in trimming herringbone floors is that the pattern is predictable—if you plan the edges from a reference line. The goal is simple: every trimmed board at the perimeter must meet the existing “V” at the same angle, without drifting wider or narrower row after row.
Herringbone floor trimming succeeds when you measure from the herringbone reference lines, not just the wall—wall irregularities are what cause pattern drift.
A dry-fit of the last full rows near each wall is the most reliable way to determine the true widths of end pieces before you cut.
Labeling left/right pieces before cutting prevents mirrored planks from flipping the “V” direction.
Start with the right reference point
Draw (or lightly mark) your layout from a room reference point—often the centerline. Decide which side will “absorb” minor adjustments from wall out-of-square or uneven plaster. When you trim herringbone floors, you’re not just closing a gap; you’re protecting the visual logic of the “V” line.
Dry fit before you cut
For trimming herringbone floors, do this sequence:
1. Lay the last full rows near the wall(s).
2. Measure the remaining space from your reference lines.
3. Determine which plank ends will become trimmed perimeter pieces.
4. Mark cut lines using those measurements.
This is the moment where small errors get expensive. If you measure only the wall length and ignore the already-installed herringbone rows, the last board might still “fit,” but the “V” alignment will quietly wander.
Mark every board like it’s irreplaceable
Before you cut, mark each piece with:
– Which end it goes on (left/right side of the room, or near the start/end of a run)
– Angle direction (so your “V” points the same way)
– Cut line position (exactly where the saw starts/stops)
From my experience organizing trim sets (especially for repeating mirrored herringbone boards), labeling alone can save more time than any blade upgrade—because you reduce rework from mixed left/right pieces.
Trim the perimeter: straight edge boards first
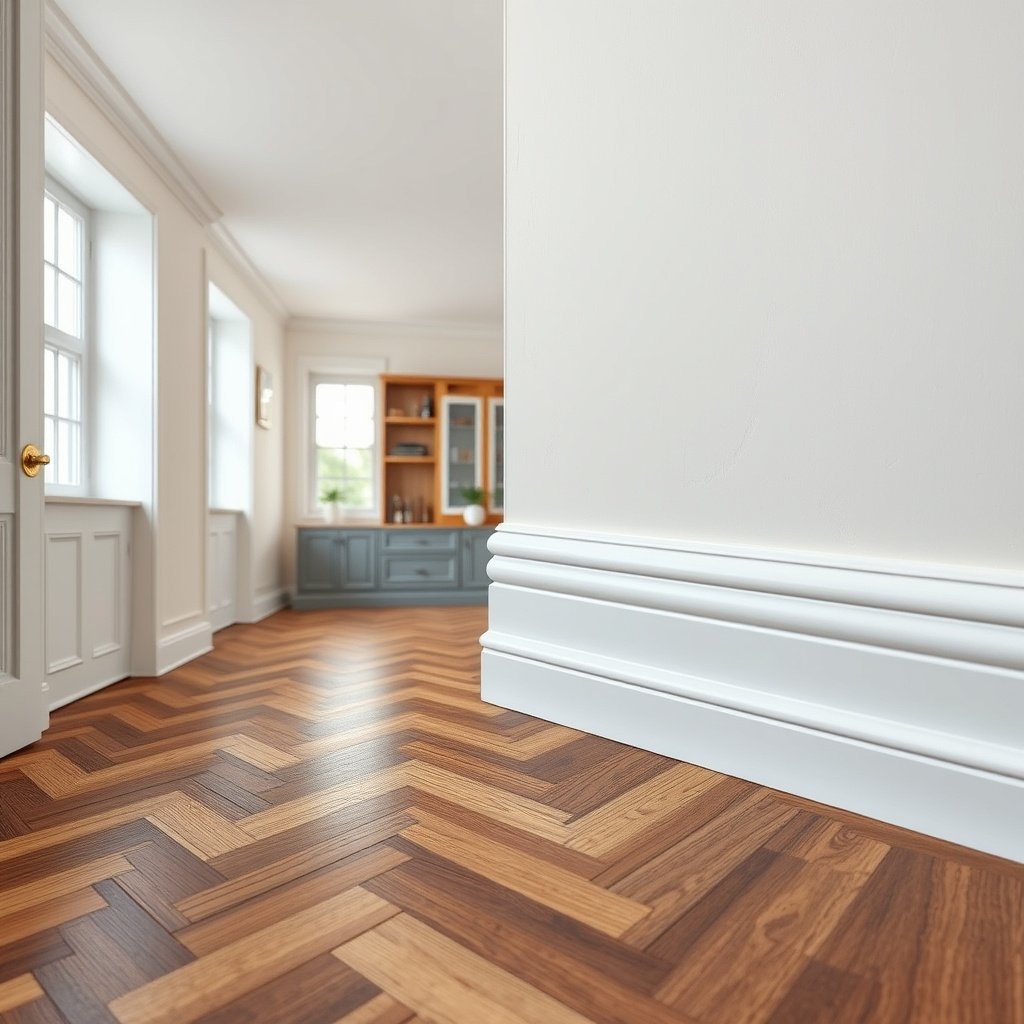
For clean perimeter closures, trim herringbone floors by establishing a “control row” at the wall, then cutting the next pieces against it. The first row of trim is your reference—once it’s correct, the rest of the “V” alignment becomes much easier.
Trimming the perimeter’s first angled edge board correctly creates a reliable template for subsequent herringbone floor trimming cuts.
Full board support during cutting reduces vibration and helps prevent top-layer chipping on engineered and veneered surfaces.
Dry fitting each perimeter piece before fastening or gluing prevents misalignment from compounding down the row.
Use a control piece at each wall
Cut the first set of perimeter trim pieces so they match the established herringbone angle at the wall. Then use those pieces as the reference for the next cuts. If the wall is uneven, the first trim piece may need a small adjustment—but it’s better to adjust at the start than let the mismatch grow.
Reduce chipping before the saw starts
To protect edges:
– Support the board fully on a stable cutting surface (and avoid “air gaps” under the cut line).
– Consider taping the cut line with painter’s tape (especially on veneers or thin wear layers).
– Use the blade type approved for your flooring construction: .
Dry fit, then install
Dry fit each trimmed piece before fastening/gluing. With herringbone floor trimming, small shifts snowball: a tiny width error can rotate the “V” alignment so the pattern looks wrong even if every board individually “looks fine.”
Handle inside corners, notches, and door jambs

Inside corners and door jambs are where trimming herringbone floors typically goes from “precise” to “painful”—so switch tools and methods, not just angles. Measure the obstacle, transfer the shape accurately, and cut notches in a controlled sequence.
For jambs and notches, transfer the obstruction shape from reference lines to the plank before cutting—this is more accurate than freehand fitting.
An oscillating tool or jigsaw is usually the controlled choice for notches because it avoids forcing a straight saw cut into an angled perimeter.
Always leave the required expansion gap, then cover the edge with baseboard/trim to keep the finish clean.
Measure from the reference lines
Measure the obstruction location relative to your centerline/reference. Transfer the shape to the board using pencil marks. When trimming herringbone floors, transferring from the pattern reference line preserves the “V” logic better than referencing the wall edge directly.
Cut notches with relief where needed
For controlled results:
– Use an oscillating tool/jigsaw to remove waste material along your marked notch boundary.
– Make relief cuts where appropriate so you’re not twisting the board to “make it fit.”
– Dry fit frequently; don’t wait until the end of the run.
Respect expansion gaps around doorways
Leaving the correct expansion space is a core requirement for herringbone flooring performance. Cutting flush to the wall can lead to buckling later. Your exact gap varies by product type (solid vs. engineered vs. floating), so use the manufacturer’s instructions: .
Keep the pattern consistent while staggering transitions
When your herringbone layout changes direction or breaks into sections (thresholds, architectural features, or room transitions), you need a transition plan—not just trimmed boards. Consistent pattern alignment depends on checking the “V” after each trimmed row and re-confirming angles against the installed line.
Transition planning prevents herringbone floor trimming from looking “random” when the layout breaks into sections near thresholds.
Don’t assume the angle stayed correct if the wall is uneven—verify alignment after placing each trimmed row.
For click-lock flooring, avoid forcing interlocks; confirm the cut width and angle so boards seat without bending.
Decide which pieces carry the visual transition
If the floor design breaks near a doorway, plan which trimmed end pieces will show the transition. In many installs, you’ll want the cut edges to land so the “V” lines feel continuous—even if the physical rows compress slightly.
Re-check alignment after each row
As you trim herringbone floors:
– Place the trimmed row.
– Visually align the “V” line against the existing pattern.
– If it’s off, adjust the next piece rather than pushing through and hoping it improves later.
Click-lock: cut for fit, not force
For click-lock herringbone flooring:
– Avoid forcing interlocks during placement.
– If the board won’t seat, re-check your cut angle and width.
– Forcing usually causes edge damage and makes subsequent trimming look worse because the top edges no longer align cleanly.
What can go wrong (and how to prevent it)
Trimming herringbone floors goes wrong for a small set of predictable reasons: chipping, pattern drift, expansion-gap mistakes, and mirrored-piece confusion. If you address these up front, your “V” lines stay intentional instead of accidental.
Most chipping is preventable: it’s usually a blade/material mismatch, poor support during the cut, or skipping chip-reduction tape.
Pattern drift comes from measuring only walls; dry fitting and measuring from herringbone reference lines are the best countermeasures.
Expansion-gap mistakes can be costly—cutting flush to the wall may cause buckling when humidity changes.
Common problems and prevention
– Chipped edges: Caused by incorrect blade for the material, cutting without support, or skipping chip-reduction tape on the top layer.
– Prevention: use correct blade approval + full support + painter’s tape.
– Pattern drift: Happens when you plan using only wall length.
– Prevention: dry fit last full rows and measure from reference lines for each trimmed piece.
– Left/right confusion: Herringbone often includes mirrored pieces—mixing them can flip the “V.”
– Prevention: label boards before cutting and keep stacks separated by direction.
– Expansion gap issues: Cutting flush can lead to buckling later.
– Prevention: follow manufacturer spacing guidance and cover edges with trim/baseboard.
| Pros/Cons snapshot for trimming herringbone floors | Where it helps | Where it can hurt |
|---|---|---|
| Dry-fit + reference-line measuring | Locks in the “V” alignment and avoids drift | Adds time up front, but reduces re-cuts later |
| Painter’s tape on cut lines | Reduces chipping on veneers/top décor layers | May leave residue—test tape on scrap |
| Forcing click-lock interlocks | Makes boards look like they’re “going in” | Damages edges and compounds alignment issues |
Verdict / tip (when to DIY vs. when to skip)
If your herringbone floor trimming scope is mostly perimeter closure and you can dry fit row-by-row, this is DIY-friendly—measure slowly, label left/right pieces, and cut with proper support. Skip DIY or get installer help when you have heavy obstacles, severe wall/transition complexity, or you’re unsure how your specific flooring type handles cutting and expansion.
DIY trimming works best when you can dry fit each trimmed row and verify the “V” line after placement.
Professional help is worth it when doorways, multiple thresholds, and uneven walls require complex notch geometry.
Downside: small width or angle errors can distort the herringbone pattern several boards later, forcing re-cuts.
DIY is reasonable when…
– Your trim work is mainly perimeter end pieces.
– You can establish and maintain a clear centerline/reference.
– Obstacles are manageable (simple vents, one doorway, standard jamb shapes).
Consider skipping when…
– The room has lots of notches/obstacles (complex vent framing, custom thresholds, unusual wall angles).
– Your flooring instructions limit notching near the click-lock/groove areas.
– You can’t confidently maintain expansion-gap compliance around the entire perimeter.
Tool comparison (what each tool is best at)
| # | Tool | Strength for herringbone floor trimming | Limitation |
|---|---|---|---|
| 1 | Miter saw | Repeatable angled perimeter cuts for the “V” edges | Less ideal for odd-shaped notches |
| 2 | Table saw | Consistent geometry when you need long straight angled trims | Requires safe setup and careful board support |
| 3 | Oscillating tool | Controlled jamb/inside-corner notches | Dust management is important |
| 4 | Jigsaw | Versatile for templated doorway cutouts | Blade choice impacts chip-out a lot |
| 5 | Straightedge + marker | Accurate transfer of “V” cut lines from the reference plan | Only as good as your measured reference lines |
| 6 | Painter’s tape | Reduces edge chipping on top layers | Test on scrap to avoid residue issues |
| 7 | Spacers | Protects expansion gap compliance for floating installs | Too-tight spacing can cause later buckling |
| 8 | Templates (cardboard/foam) | More accurate notches around jambs than repeated measuring | Requires time to create and verify |
| 9 | Scrap test cuts | Validates angle + chip behavior before production cuts | Uses material that could be installed |
| 10 | Full board support setup | Keeps the cut clean and prevents vibration-related edge damage | Improper setup causes angled “V” misalignment |
| — | Best For | A mixed-cut plan: saw for angled perimeter pieces + oscillating/jigsaw for notches | |
DIY vs installer decision table (what to do when)
| Criteria | DIY trimming herringbone floors | Installer / pro help |
|---|---|---|
| Obstacle complexity (vents, jambs, thresholds) | Best for simple-to-moderate | Best for complex geometry |
| Wall flatness / squareness issues | Handled with dry-fit diligence | Handled with proven adjustment methods |
| Risk of pattern drift across multiple rows | Higher if not measuring from reference lines | Lower with established workflows |
| Chip-out control | Good with correct blade + support + tape | Often very consistent edge results |
| Expansion gap compliance | OK if you follow manufacturer spacing | Higher confidence around edge conditions |
| Door jamb and notch execution | Works with templates and patience | More repeatable for tight tolerances |
| Time-to-completion | Slower but controllable | Faster with scheduling efficiency |
| Material waste and re-cuts | Likely if angles or widths are off early | Reduced with verification checkpoints |
| Click-lock seating without forcing | Achievable with re-checks | Generally lower chance of forced damage |
| Best outcome for visible “V” continuity | Depends on precision and repetition | More consistent for high-visibility installs |
| Verdict | DIY if dry-fit + reference-line measuring is your plan | Go pro if obstacles are heavy or pattern continuity is critical |
Quick checklist for clean herringbone trim cuts
| Step | Done? |
|---|---|
| Confirm floor type + read the manufacturer cutting/spacing guidance | ☐ |
| Establish room reference line (centerline) and edge strategy | ☐ |
| Dry fit the last full rows near each wall | ☐ |
| Label left/right pieces and mark cut lines clearly | ☐ |
| Support boards fully; reduce chipping (as appropriate) | ☐ |
| Cut, dry fit each trimmed piece, then install | ☐ |
| Maintain required expansion gap before adding trim | ☐ |
| Re-check herringbone angle alignment after each row | ☐ |
Sources
– OSHA hearing conservation standard (29 CFR 1910.95), including the 85 dBA noise action level. U.S. Occupational Safety and Health Administration (OSHA), 29 CFR 1910.95 (2024)
– OSHA permissible exposure limits for wood dust in the general industry standards. U.S. Occupational Safety and Health Administration (OSHA), 29 CFR 1910.1000 (2019)
– National Wood Flooring Association (NWFA) guidance on installation practices, including expansion space and acclimation principles. National Wood Flooring Association (NWFA), Wood Flooring Installation Guidelines (year: )
– Manufacturer installation instructions for your specific herringbone flooring (cutting method, expansion gap requirements, and approved tools/blades).
– Manufacturer guidance for power tools used for flooring cuts (saw/jigsaw/oscillating tool setup and blade compatibility).
Trimming herringbone floors cleanly is less about chasing perfection in the saw and more about disciplined planning: build from a centerline/reference, dry fit near the walls, label left/right pieces, and cut perimeter angles with solid support so the “V” stays true. If your room is complex or you can’t confidently maintain expansion-gap compliance and notch accuracy, get installer support—because even a small early measurement error can distort the pattern several boards later.
Frequently Asked Questions
How do you trim herringbone floors around doorways and walls without gaps?
Start by dry-fitting a few pieces so you can map the offset pattern of the herringbone before trimming. Use a pencil to mark the exact cut line against the wall or door casing, then cut with the right tool for your flooring type (fine-tooth saw for engineered wood, tile saw if it’s a tile herringbone). Leave the required expansion gap at the edges, then cover the perimeter with baseboards or trim to hide any minor inconsistencies.
What’s the best way to trim herringbone floor pieces at outside corners?
For outside corners, plan the layout so the cut piece aligns with the existing herringbone angle and doesn’t look “stacked” or uneven. Measure the corner opening, mark the plank line, and cut accurately using a miter saw or a saw with a guide to maintain the bevel/angle. Dry-fit the trimmed section, then install it with proper adhesive (for glued floors) or underlayment and locking method (for click/float floors), ensuring the corner seams remain tight and aligned.
How do you cut herringbone planks to fit under trim and door casings?
Use a handsaw or oscillating multi-tool to “undercut” door jambs and small trim areas so the herringbone boards can slide underneath cleanly. Measure the stack-up height from the subfloor to the top of the plank, then set the tool blade so you remove just enough material for a snug fit. Test with a scrap piece first—small clearance helps avoid buckling while still preventing visible gaps.
Why is it important to maintain the expansion gap when trimming herringbone floors?
Trimming without accounting for expansion can cause herringbone flooring to shift, buckle, or create gaps as temperature and humidity change. Keep the recommended expansion gap along walls and fixed structures, and only trim to the edge after confirming the flooring manufacturer’s spacing requirement. After installation, use appropriate baseboards or shoe molding to cover the gap while allowing the floor to move.
Which tools work best for trimming herringbone floors for clean, accurate cuts?
The best tools depend on your herringbone material, but common options include a miter saw with a fine-tooth blade, a table saw with a guide, and an oscillating tool for notches and undercutting. For clean edges, use painter’s tape over the cut line to reduce chipping and measure twice before cutting. Keep a spare blade for hardwood cuts—dull blades are a major cause of jagged edges and misaligned herringbone seams.
📅 Last Updated: October 15, 2026 | Topic: How to trim herringbone floors? | Content verified for accuracy and freshness.
References
- Parquet
- Herringbone
- Home – Tarkett Commercial
- https://scholar.google.com/scholar?q=how+to+trim+herringbone+flooring Google Scholar
- https://scholar.google.com/scholar?q=herringbone+parquet+installation+cutting+around+edges Google Scholar
- https://scholar.google.com/scholar?q=wood+floor+installation+guidelines+fitting+and+trimming+parquet+herringbone Google Scholar


[…] a tape measure and note both the width of each tread and the thickness of the hardwood stair material you’ll […]