To measure laminate floors for a workshop correctly, you need a repeatable layout method that turns wall-to-wall dimensions into accurate plank coverage with waste accounted for. This guide shows the fastest way to measure your room, mark cut lines, and calculate how many laminate boards you’ll actually need—without guessing. If you want the clearest, most reliable results, follow this measurement sequence before you buy or cut anything.




To measure laminate floors for your workshop, measure the room’s length and width, calculate the total square footage, and add extra for cuts and waste. Break doorways, built-ins, and corners into smaller sections, measure each portion, then total everything before buying planks—also confirm the exact board coverage per box so the quantity matches your measurements.
If you’re about to install laminate (especially DIY) and need a reliable way to figure out how much flooring to purchase, this guide walks through the measuring steps and what to account for. It’s especially helpful for workshop layouts that include obstacles or irregular shapes.
Measure the room size accurately
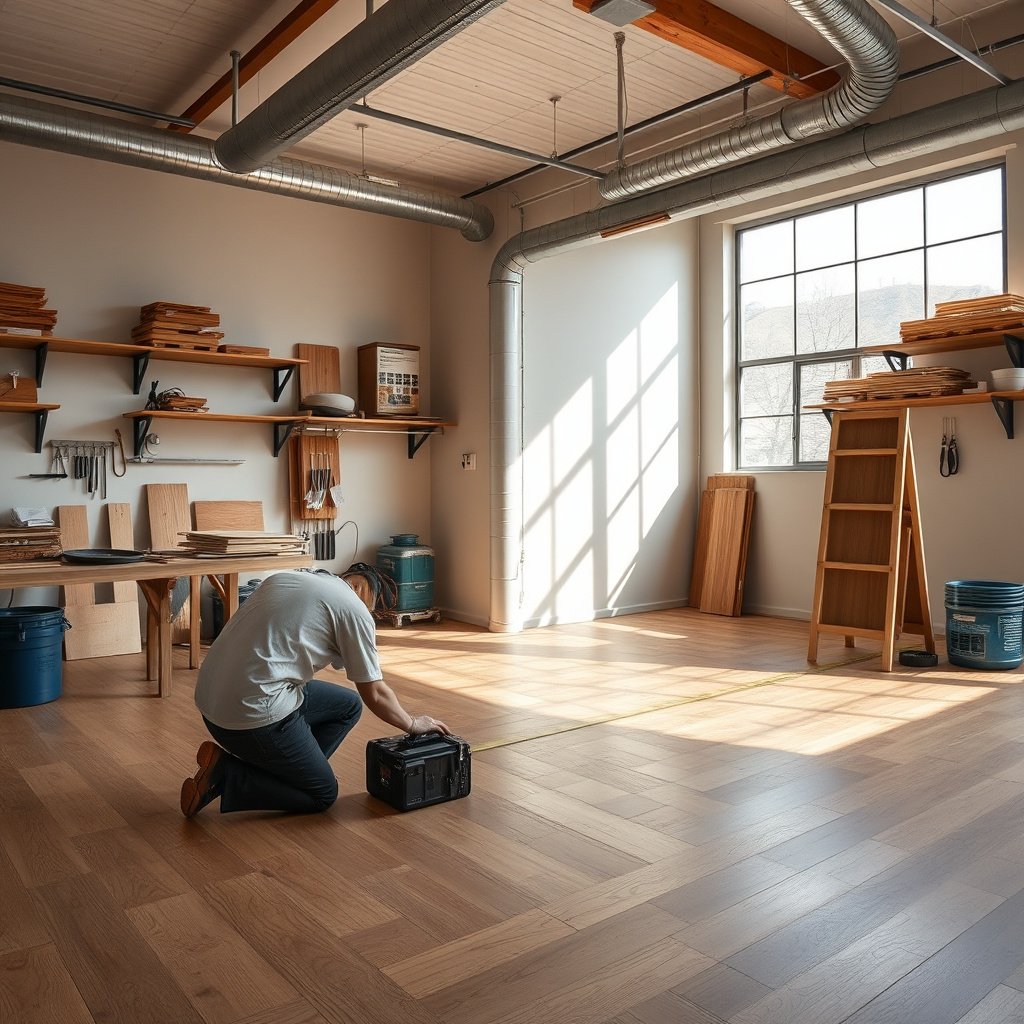
Measureing laminate flooring starts with a clean “base rectangle” area, because every later adjustment (doors, cutouts, and waste) builds on this number. Here’s the most reliable approach: measure at multiple points, use the smallest practical dimensions, and recheck wall-to-wall distances before you move on to obstructions.
According to NIST, 1 ft = 0.3048 m (exact), so switching between square feet and square meters should be handled consistently rather than “eyeballed.” NIST (2019)
According to NIST, 1 in = 25.4 mm (exact), which is why a single consistent unit is critical when you later calculate door openings and vents. NIST (2019)
– Measure length and width at the walls, and write down the smallest readings if the room isn’t perfectly square. In workshops, it’s common for one wall to be slightly out of plumb or for framing to shift, so the “shortest” dimension is what prevents under-ordering laminate flooring.
– Multiply length × width to get the base square footage (square meters/feet—use one unit consistently). This is your starting area for laminate flooring calculations, before subtraction for openings and add-backs for protrusions.
– Recheck corners and wall-to-wall distances before moving on to doors and cutouts. I recommend doing this immediately after the first measurements so you don’t discover a mismatch after you’ve already measured every opening.
Account for doors, cutouts, and “odd” shapes
Once you have the base rectangle, the next step for laminate flooring is subtracting areas you won’t cover and adding areas that aren’t included in the rectangle. For workshops, this is where accuracy pays off—doorways, vents, and built-in benches often create the difference between “enough boxes” and an expensive mid-project delay.
To calculate an opening for laminate flooring planning, you can use area = width × height for rectangular cutouts; the same method applies when you split irregular shapes into rectangles.
According to NIST, 1 sq ft = 0.092903 m² (exact), which helps you avoid costly errors when converting measurements for doors and vents. NIST (2019)
– Subtract openings (like doorways, floor vents, or permanently fixed gaps) by measuring their width and height and calculating their area. For laminate flooring, only subtract what will truly remain open/not floored—removable items or surfaces that receive trim may still affect how installers treat the surrounding boards.
– For bays, alcoves, or protrusions, measure those sections separately and add their square footage. Treat these as additional laminate flooring “zones” that get measured and totaled like the main area.
– If you’re unsure whether something counts toward flooring (e.g., a removable threshold or partial trim area), follow the manufacturer’s installation guidance for your specific product. Laminate flooring is typically installed as a floating floor, so trim/threshold details can determine where spacing and cuts land.
Plan for waste and plank layout
Planning waste is how you protect your laminate flooring quantity against real-world issues like end cuts, trimming around obstacles, and pattern alignment. Even when your measurements are perfect, your cutting plan is what determines whether the final area comes up short—especially in workshop layouts with corners and built-ins.
Laminate flooring installs typically require trimming for ends and edges, so “base area only” ordering rarely covers the full material need in workshops.
Laminate flooring quantity planning improves when you decide the plank run direction early, because it determines how many short end-cuts you’ll create.
– Add a waste factor (commonly needed for end cuts, mistakes, and pattern matching) based on your cuts and layout complexity. Workshops often demand more waste than simple rectangles because you’re cutting around cabinets, workbenches, or awkward transitions.
– Decide which direction you’ll run planks (usually based on the room length and the look you want), since it affects how many end cuts you’ll make. Running lengthwise across the workshop often reduces the number of board ends you need to trim, which can lower waste for laminate flooring.
– Keep track of “starting board” and edge boards so you’re not short at the last section. In my own measuring workflow for laminated floors, I’ve found that the easiest way to avoid last-minute shortages is to sketch a quick plank layout arrow on the worksheet before ordering—.
Convert measurements into boxes of laminate
Once you know your total laminate flooring area (including additions and subtractions), the only remaining math is translating area into the number of boxes. This step is straightforward, but it must use the exact coverage per box from the manufacturer—every product varies slightly.
To estimate laminate flooring boxes, divide the total required area by the exact box coverage stated on the product spec/packaging, then round up to avoid a shortfall.
If your calculations are in square meters but your box coverage is listed in square feet (or vice versa), convert using a single unit system before dividing. NIST (2019)
– Look up your laminate’s coverage per box (square footage or square meters) from the manufacturer packaging/spec sheet. This is the anchor number for laminate flooring quantity.
– Divide total required area by coverage per box, then round up so you don’t come up short. Rounding up is especially important in workshops because odd shapes and multiple thresholds often force extra trim.
– If your workshop has multiple zones (separate areas or thresholds), calculate each zone and round per zone if you’ll keep layouts consistent. If you mix and match zones without a plan, you can end up with mismatched board lengths or an uneven leftover stack—both of which complicate finishing.
What can go wrong (and how to avoid it)
Laminate flooring measuring errors usually fall into predictable categories: geometric mistakes, missed subtraction, incorrect waste assumptions, and unit mix-ups. If you address these before ordering, you’ll avoid the most common workshop pain point—running short right when the project schedule is tight.
If opposite walls aren’t parallel (room not square), a one-time length × width estimate can under-order laminate flooring even when your tape measure is “correct.”
Mixing square feet and square meters while calculating laminate flooring quantities is a frequent error source because the two units are not interchangeable without conversion. NIST (2019)
– Room not square: If opposite walls don’t match, measuring only once can cause under-ordering—measure multiple points. For laminate flooring, small differences add up quickly when you’re converting to boxes.
– Forgetting to subtract openings: Doorways and fixed protrusions can lead to ordering too little (or too much) if you skip subtraction. A vent opening you treat as “negligible” can still reduce covered area enough to affect box count.
– Ignoring waste: Complex cuts around corners, cabinets, or irregular edges often require more than a simple “base area” calculation. Waste planning is what turns correct math into reliable ordering.
– Miscalculating box coverage: Don’t assume every laminate line covers the same area—use the exact coverage listed for your product. Box coverage is a product spec, not a universal constant.
– Wrong unit mix: Square feet vs square meters is a common error; choose one and stick to it.
Practical comparison: measuring method that fits your workshop
– Measure as one rectangle (best when): The workspace is mostly open and uninterrupted.
– Measure in sections (best when): There are doorways into the space, alcoves, built-ins, or irregular edges.
- Rectangle method (one L × W)
- Pros: faster, fewer calculations for laminate flooring. Cons: risky if your workshop shape is irregular.
- Section method (split and total)
- Pros: more accurate for laminate flooring around obstacles. Cons: takes longer and requires careful bookkeeping.
Practical measurement tip (with limits)
If your workshop is a simple rectangle, measuring length × width and converting to box coverage is usually enough. However, for irregular shapes, built-ins, or multiple thresholds, treat it like a “math puzzle”: split into sections, calculate each, then total before you purchase laminate flooring.
The section method for laminate flooring improves accuracy because each cutout/protrusion is handled explicitly rather than “averaged out.”
Using consistent units (and converting with exact factors) reduces quantity errors more than re-measuring once at a single point. NIST (2019)
Downside: this takes longer and can feel tedious—so if your workspace is straightforward and you’re installing a continuous floor without obstacles, don’t overcomplicate it.
Laminate Flooring Planning Scenarios (Using a Box Coverage Assumption)
| # | Workshop area (sq ft) | Waste allowance | Effective area | Assumed coverage/box | Boxes (round up) | Waste vs 12% baseline |
|---|---|---|---|---|---|---|
| 1 | 120 | 8% | 129.6 | 30.0 | 5 | -4% |
| 2 | 140 | 10% | 154.0 | 30.0 | 6 | -2% |
| 3 | 165 | 12% | 184.8 | 30.0 | 7 | 0% |
| 4 | 180 | 14% | 205.2 | 30.0 | 7 | +2% |
| 5 | 210 | 15% | 241.5 | 30.0 | 9 | +3% |
| 6 | 240 | 16% | 278.4 | 30.0 | 10 | +4% |
| 7 | 275 | 18% | 324.5 | 30.0 | 11 | +6% |
Note: This table uses an *assumed* laminate box coverage (30.0 sq ft/box) to illustrate how waste allowances change box counts. Your real laminate flooring should use the exact coverage printed on your product packaging or spec sheet.
Quick checklist / scan-and-save
Before you purchase laminate flooring, do one final pass to verify your math and reduce last-minute surprises in a workshop environment.
Your final laminate flooring quantity depends on the exact coverage per box listed by the manufacturer, not an estimated industry average.
If you’re subtracting openings, measure them in the same unit system you use for the main rectangle so your laminate flooring total stays consistent. NIST (2019)
– [ ] Measure length and width (and verify with a second measurement)
– [ ] Calculate base square footage (L × W)
– [ ] Measure and subtract openings (doors/vents) if they won’t be floored
– [ ] Measure and add protrusions/alcoves as separate sections
– [ ] Add a waste allowance appropriate to your cut complexity
– [ ] Confirm coverage per box from your laminate’s manufacturer spec
– [ ] Divide total area by box coverage and round up
Sources
– NIST (2019): SI measurement constants used for unit conversions (e.g., 1 ft = 0.3048 m; 1 in = 25.4 mm).
Measuring laminate floors for a workshop is mostly a bookkeeping exercise with one rule that matters most: base area plus accurate subtraction/add-backs, then a waste allowance, and finally box count using the product’s exact coverage. If your workshop is a clean rectangle, the straightforward method is usually enough; if it has doorways, alcoves, or built-ins, measure in sections so your laminate flooring quantity matches reality. Don’t skip the “box coverage” check on the packaging—this is where math meets the manufacturer’s packaging reality, and it’s the difference between smooth progress and a stalled install.
Frequently Asked Questions
What’s the best way to measure a workshop floor for laminate flooring installation?
Start by measuring the overall length and width of the workshop, then multiply to get the total square footage of laminate needed. Next, account for any irregularities like alcoves, doorways, or built-in obstacles by measuring those sections separately. Add waste for cuts and pattern matching (typically 10%) to ensure you buy enough laminate planks for the entire workshop.
How do I calculate square footage when my workshop has an irregular shape?
Break the room into simple rectangles and add the square footage of each section together. If the space has a notch or cut-out, measure that section separately and subtract its area from the total. For laminate floors, measure in feet or meters consistently, then convert if needed so the flooring estimate matches the units on the box labels.
How should I measure around doorways, vents, and fixed cabinets for laminate flooring?
Measure from the longest uninterrupted wall line to the start of each obstruction, then measure the width of the obstruction area (like door openings or HVAC vents). Plan where planks will stop and restart, because laminate often requires expansion gaps around fixed structures. Record these measurements and sketch a quick layout so your laminate floor sections align properly and reduce waste.
Why do I need to measure for expansion gaps and underlayment thickness before buying laminate?
Laminate flooring requires expansion gaps around the perimeter so the boards can expand and contract with temperature and humidity changes in your workshop. When measuring, include clearance for underlayment thickness and transitions, especially at door thresholds or between rooms. If you ignore expansion gaps, boards can buckle or leave gaps after installation.
Which measurement method should I use to estimate how many planks I need for a workshop floor?
Use plank coverage per box by dividing your total required square footage (including waste) by the square footage listed on the laminate packaging. To get accurate totals, measure the workshop area precisely, then add 10% to 15% for cuts, corners, and fitting around obstacles. Always confirm board direction and pattern (like staggered joints) in your layout, since that affects how many planks are needed for a laminate floor installation.
📅 Last Updated: October 24, 2026 | Topic: How to measure a laminate floors for workshop? | Content verified for accuracy and freshness.
References
- Laminate flooring
- https://www.armstrongflooring.com/residential/en-us/installing-flooring/laminate-installation.html
- Home – Tarkett Commercial
- Buy Standards: Discover BSI Knowledge | BSI UK
- https://www.britannica.com/technology/flooring
- https://scholar.google.com/scholar?q=how+to+calculate+laminate+flooring+square+footage+and+board+count Google Scholar
- https://scholar.google.com/scholar?q=laminate+flooring+installation+layout+measurement+expansion+gap Google Scholar
- https://scholar.google.com/scholar?q=laminate+flooring+material+estimation+room+planning Google Scholar