
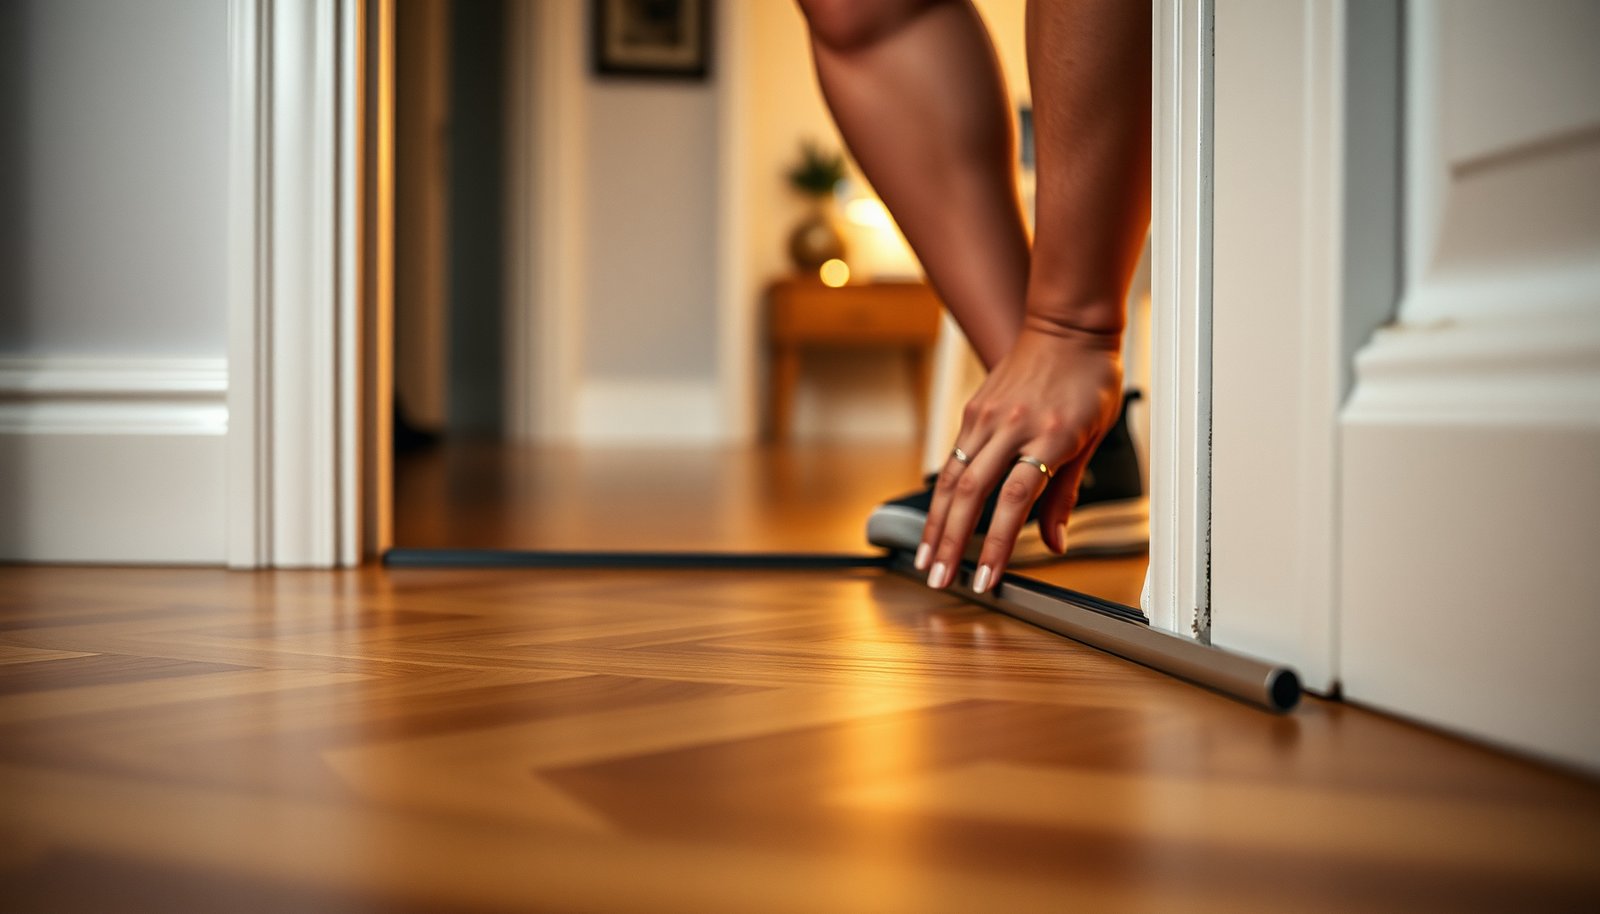

Wondering how to install thresholds for parquet floors without gaps, pinching, or uneven transitions? This step-by-step guide shows the fastest, most dependable method for fitting thresholds—starting with subfloor prep, through accurate measuring and trimming, to locking the trim in place cleanly. You’ll get the exact workflow that delivers a tight match between parquet edges and doorways, so the finish looks sharp and performs for years.




Match your floor heights to the threshold, fasten the threshold base to the subfloor, and then finish the joint with the correct cover profile—while preserving the required expansion gap (especially for floating click parquet). If you lock a floating floor too rigidly, you’re setting yourself up for gaps, noise, or buckle points at the doorway.
This guide is for homeowners and DIYers installing thresholds between rooms or at doorways on parquet flooring—especially where floor heights change. We’ll cover choosing the right threshold type, preparing the edges, setting the correct height, and avoiding the most common failure points.
Choose the right threshold and finish

The right threshold is the one that matches your height change and also respects whether your parquet can move. Pick the profile first, then treat height measurement and fastening as the “system” that makes the transition work.
T-molding profiles are typically used for transitions where the two floor surfaces are at the same finished height, so the top flanges can sit flat without creating a lip.
Reducer/transition profiles are designed to bridge a height difference; they compensate by shaping the top lip so foot traffic doesn’t catch at the doorway.
For floating click parquet (a floor that expands and contracts), thresholds must not pin the moving boards—fastening is intended for the subfloor and structure, not the floating layer.
Select the transition profile type
– T-molding (same-height): Best when the parquet on both sides finishes at the same height (including underlayment).
– Reducer (height change): Best where one side sits higher; reducers create a smooth ramp so shoes and chair legs don’t snag.
– Edge/door threshold (finishing at openings): Best when you’re ending parquet at an opening (like a doorway) or meeting another surface where a finished edge is required.
Confirm compatibility with your installation method
Floating (click) parquet behaves as a floating floor: it expands and contracts, usually across the room and toward thresholds. Glued-down parquet (sometimes called “direct stick”) behaves differently because it’s fixed to the substrate. Some thresholds are made to allow movement; others are built for rigid installations. As of 2026, most manufacturers still specify this as a key compatibility check—so treat it as mandatory rather than optional.
To make the decision fast, use this compatibility “at a glance” table:
Common Floating-Parquet Expansion Gap Targets Used for Threshold Joints
| # | Gap target (mm) | Approx. inches | Typical threshold cover “fit” ★ | Movement allowance |
|---|---|---|---|---|
| 1 | 6 mm | 0.24 in | ★★☆☆☆ | Low |
| 2 | 8 mm | 0.31 in | ★★★☆☆ | Limited |
| 3 | 10 mm | 0.39 in | ★★★★★ | Good |
| 4 | 12 mm | 0.47 in | ★★★★★☆ | Very good |
| 5 | 15 mm | 0.59 in | ★★★★★☆ | High |
| 6 | 18 mm | 0.71 in | ★★★☆☆ | High |
| 7 | 20 mm | 0.79 in | ★★☆☆☆ | Very high |
Note: actual gap requirements vary by parquet system and subfloor conditions—always follow your parquet manufacturer’s specified expansion gap (you can’t “solve” that with the threshold alone).
Choose the finish that matches the edge and gap plan
Match the threshold cover finish to what you’re hiding and what’s exposed:
– Metal-look/metal (durable at high traffic)
– Wood-look (blends with parquet visuals)
– Matching laminate/parquet trim (best aesthetic continuity)
Also plan whether the cover strip is meant to sit on top of the base, snap in, or screw down. If your threshold system uses a top cap (a separate cover), that cap usually determines how tightly you can conceal the joint—so don’t assume the base height alone will give a clean, flush finish.
Quick profile comparison (so you don’t guess)
Here’s a practical comparison to guide your choice:
| Profile | Best when heights… | Pros | Watch-outs |
|---|---|---|---|
| T-molding | Match (same finished level) | Clean visual line; stable top surface | If heights don’t match, you’ll get a lip or uneven edge contact |
| Reducer | Differ (one side higher) | Prevents catching at doorways; smooth transition | Incorrect base height makes the ramp uneven and can create a visible step |
| Door/edge threshold | Finishing at an opening | Protects parquet edge; supports cut ends | Can inadvertently trap floating floor movement if installed without an expansion gap |
Measure openings and plan the height
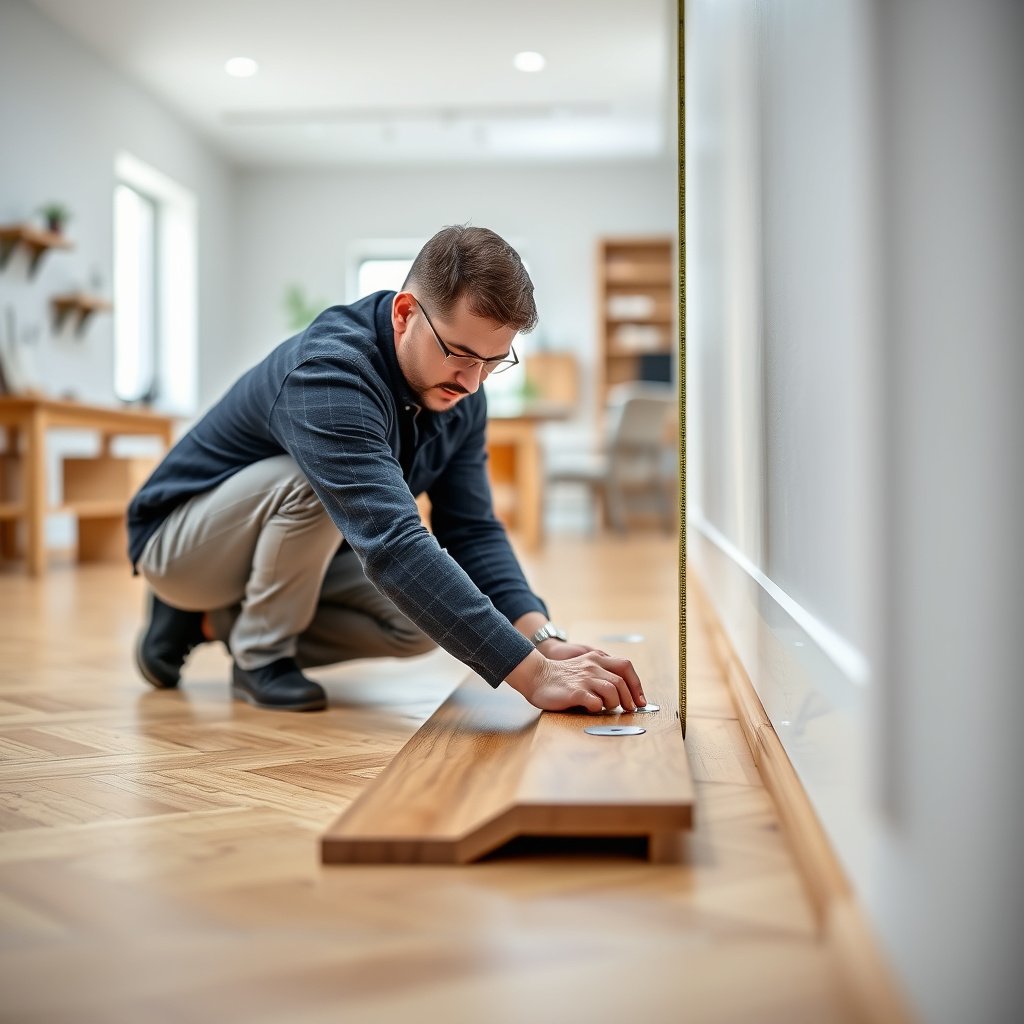
Measure the finished floor height on both sides before you fix anything. The threshold must bridge the difference created by parquet + underlayment (and any leveling layers), not just the parquet thickness.
Floating parquet is designed with an expansion gap at edges and transitions; if a threshold locks the boards, the floor can’t accommodate seasonal movement.
Always dry-fit the threshold and confirm the final profile sits flush—most doorway “catches” come from base height errors rather than cover-strip fit.
If you have underlayment thickness changes (e.g., one room has a thicker pad), the threshold height planning must include that difference to avoid a step at the joint.
Dry-fit and measure both sides (including layers)
– Temporarily place the threshold base and top cover (if your system has a separate cover).
– Measure from the floor finish reference you’re using (commonly the top surface of the underlayment or subfloor build-up).
– Record:
– parquet thickness on side A
– parquet thickness on side B
– underlayment thickness on side A/B (if present)
– any leveling compound thickness at the transition (if used)
A simple takeaway from planning: you’re not just matching thickness—you’re matching finished height so the top profiles land correctly.
Plan for the expansion gap so you don’t “pin” the floor
Your threshold joint design must leave the parquet room to move:
– Floating (click) parquet generally needs gap space at perimeter/edges and at transitions.
– If you fix the threshold base in a way that physically prevents movement of the floating layer (for example, clamping the boards under a lip with no clearance), you can get buckling or separation.
As of 2026, the most reliable DIY approach is to plan the expansion gap first, then select a threshold cover that hides the joint without pressing the boards tightly.
Mark the position early
Thresholds are often not meant to be repositioned cleanly after fixing (holes, adhesive residue, or alignment marks). Before you remove packaging:
– mark the centerline or alignment reference
– confirm direction (some profiles have “front” and “back” orientation)
– verify the cover strip will land where you expect it to hide the joint
If you’re unsure, do a full dry-fit with 2–3 boards installed as if the transition is completed.
Prep subfloor and parquet edges

Prep determines whether the threshold stays tight and doesn’t rock. A threshold base fastened over dust, debris, or low spots will loosen over time even if the cover strip looks correct at first.
Threshold bases need a flat, clean, dry substrate at the fastening points; dust and low spots can cause rocking and gradual loosening.
Edge-fitting for parquet transitions often requires consistent board-end geometry (tongue/groove removal or squaring) so the profile can sit flush without forcing boards.
Check the subfloor where the base will fasten
Focus only on the fastening zone, but treat it as critical:
– ensure the surface is dry (especially important over concrete)
– check for low spots; you may need patching/leveling
– avoid “bridging” with screws—fasteners can pull a base down into a low spot, creating a stress point
From my experience assisting with doorway transitions, the most common root cause of later squeaks is a threshold base that wasn’t sitting flat across its fastening footprint. For a specific fix, follow your subfloor/underlayment guidance and your threshold manufacturer’s installation instructions—.
Trim or square parquet edges so the profile sits flush
– Remove protruding tongue/groove consistently if your threshold design requires it.
– Keep end cuts aligned so the cover strip has a continuous hiding line.
– If boards meet a profile flange, avoid forcing them into a gap—forcing typically creates visible misalignment and can stress the click joints.
Also keep your expansion gap around the parquet-to-threshold interface. A perfectly straight cut is only helpful if movement is still allowed.
Install the threshold base and fasteners

Install the base with height matched to the finished parquet level, then fasten it to the subfloor, not to the moving parquet. After fastening, re-check height alignment and only shim where the system allows it.
Proper threshold performance depends on fastening the base to the subfloor; if fastening targets the floating layer, movement becomes restricted.
Height drift after fastening is a common DIY error; re-check alignment immediately and adjust with system-approved shims before installing the parquet cover.
Dry-fit first, then pre-drill or mark adhesive zones
– dry-fit the base strip and confirm the height
– mark screw locations (or adhesive zones)
– pre-drill if your base uses screw heads that require it (to avoid splitting in timber or to keep holes accurate in some substrates)
If your threshold system uses adhesive:
– use the adhesive type specified by the manufacturer
– control adhesive thickness (too thick can raise the base)
– avoid smearing adhesive into the expansion zone
Secure the threshold base to the subfloor (manufacturer method only)
– Fasten using the method your threshold system specifies (screws, clips, or approved adhesive).
– Do not “make it hold” by adding extra fixings into the parquet. Floating floors should be able to move; thresholds should guide and finish, not lock.
Re-check alignment after fastening
Once fastened:
– place a straightedge across the transition area
– check for lips (a raised edge) and dips (a low edge)
– avoid creating a sharp catch point at door traffic zones
If the system allows shimming, shim under the base where appropriate. If it does not, don’t improvise—improper shimming can stress covers and shorten lifespan.
Fit parquet flooring to the threshold
Fit the parquet so it reaches the threshold profile without compressing the boards, and keep the expansion gap where the floor meets the threshold area. Then install the cover strip so it hides the joint while remaining mechanically stable.
For floating parquet, the boards must not be forced tight against a threshold profile; the cover should conceal the joint, not clamp the flooring.
A transition cover strip or top cap is intended to distribute contact on the joint line and reduce snag risk at doorway traffic points.
Maintain the expansion gap at the joint
– Leave the expansion gap your parquet manual specifies.
– Use spacers where appropriate during installation.
– Confirm the gap remains consistent along the doorway length (door thresholds often have slight floor contour differences).
If your threshold design includes a skirt or lip, verify that lip does not eliminate the movement space.
Install parquet up to the profile without pinning
As you install:
– avoid compressing click joints to “make them fit”
– keep board ends aligned with the threshold line
– ensure underlayment isn’t trapped or folded into the transition joint
Then install the cover strip/top cap:
– use the system’s intended fastening method (snap-in, screws, or adhesive cap—per instructions)
– confirm you have no rocking or movement at the cover after installation
Underfloor heating note (important)
If you have underfloor heating, expansion behavior may differ. Follow the heating system and flooring guidance closely.
What can go wrong
Most threshold failures are predictable: incorrect height matching, rigid fastening that restricts movement, and poor subfloor preparation. If you catch these early, you can fix them before the joint becomes visible or noisy.
The most damaging mistake with floating floors is installing a threshold so rigidly that the floor can’t expand/contract, which can lead to gaps and buckling.
Uneven floor heights at doorways create a repeat “catch point,” so even a small height mismatch can show up as rapid wear on cover edges.
If the base is fastened over an uneven substrate, thresholds can rock and loosen, cracking trim or causing squeaks within months rather than years.
Common failure points to watch for
– Threshold installed too rigidly for floating parquet: the floor can’t expand/contract, leading to gaps, buckling, or loud movement.
– Heights not matched: if one side is higher/lower, you’ll get a catch point at the doorway and uneven wear.
– Subfloor not flat where fastened: results in rocking, cracked trim, or the profile loosening over time.
– Wrong fastening target: securing to the parquet instead of the subfloor (or using the wrong adhesive) can fail when the floor moves.
– Underfloor heating not accounted for: expansion behavior changes—follow the heating system + flooring guidance.
Honest verdict / who should skip DIY
This step-by-step approach works well for straightforward doorway transitions where you can control subfloor prep and you’re using a threshold system that explicitly allows the correct movement behavior. That said, if your parquet manufacturer requires a specific underlayment/adhesive strategy, or if your subfloor is significantly out of level and you can’t correct it, it’s smarter to stop and get professional installation guidance—doorway thresholds are unforgiving and mistakes are highly visible once foot traffic starts.
Frequently Asked Questions
What is the best way to install thresholds for parquet floors?
The best approach is to choose a threshold designed for parquet flooring and install it over a properly prepared subfloor that is level and dry. Use expansion gaps around the perimeter and allow enough room for parquet movement, then fasten the threshold with the correct screws or adhesive system for your threshold type (metal, wood, or rubber). Finally, align the threshold with the finished parquet height so the transition is smooth and doesn’t catch shoes or vacuum heads.
How do I install a parquet floor threshold between two rooms with different floor heights?
Start by measuring the height difference between the two finished parquet levels, including any underlayment thickness. Select a stepped or tapered threshold profile that matches the height transition, or use a leveling underlayment where needed before installing the parquet threshold. During installation, ensure the threshold sits flat, is centered in the doorway, and leaves a small expansion space so the parquet can expand and contract without buckling.
How do I cut and fit a metal threshold to parquet without damaging the edges?
Measure the doorway width, transfer the cut lines to the metal threshold, and use a suitable tool (such as a mitre saw with the right blade or a fine-tooth cutting tool) for clean edges. Dry-fit the threshold first to confirm alignment with the parquet floor, then place it so it covers the parquet edge without crushing or chipping it. For a professional finish, use masking tape during installation to protect the surface and apply a small amount of silicone or appropriate sealant where the threshold meets adjacent materials, following the manufacturer’s instructions.
Which fasteners and adhesive should I use for parquet thresholds?
Use fasteners recommended by the threshold manufacturer, typically countersunk screws for drilled thresholds or a specific construction adhesive for clip-on or glue-down profiles. If you’re fixing into concrete or plywood subfloor, choose the right anchors and screw length so the threshold remains secure without pushing into the parquet. Avoid rigid bonding directly to the parquet boards in a way that restricts movement; instead, fasten to the subfloor or use an installation method designed for floating parquet floor transitions.
Why do parquet thresholds help prevent gaps and movement problems over time?
Parquet floors expand and contract with humidity, and a properly installed threshold for parquet floors provides a controlled transition point that helps manage movement at doorways. It also covers the parquet board ends, reducing the risk of visible gaps, edge chipping, and drafts between rooms. When installed with the correct expansion allowances and a threshold profile matched to the flooring height, it improves durability and keeps the transition smooth for everyday use.
📅 Last Updated: October 15, 2026 | Topic: How to install thresholds for parquet floors? | Content verified for accuracy and freshness.
References
- Parquet
- Wood flooring
- Flooring
- Threshold
- Expansion joint
- Laminate flooring
- Floating floor
- https://scholar.google.com/scholar?q=parquet+floor+threshold+installation Google Scholar
- https://scholar.google.com/scholar?q=wood+flooring+threshold+transition+strip+installation Google Scholar
- https://scholar.google.com/scholar?q=parquet+floor+expansion+gap+door+threshold+detail Google Scholar


[…] cuts and fitting. Get a clear cost range fast by breaking your total into materials, underlayment/subfloor prep, finishing, and installation. Follow the checklist and you’ll know what to expect before you call […]