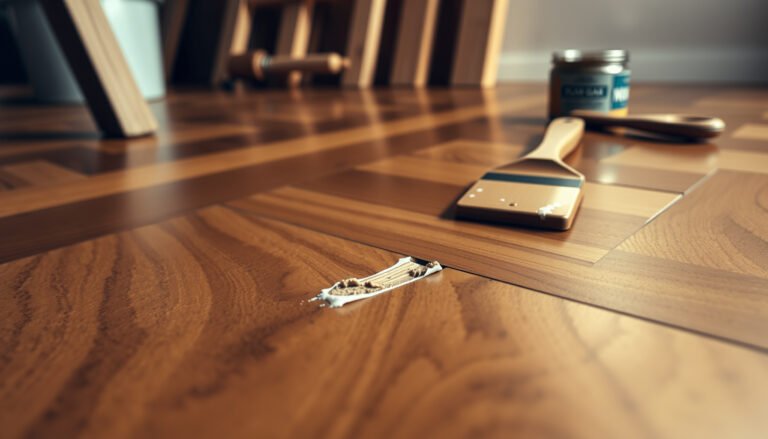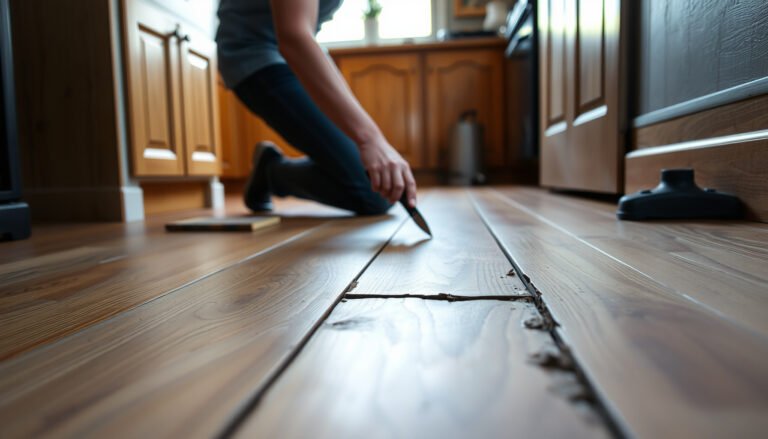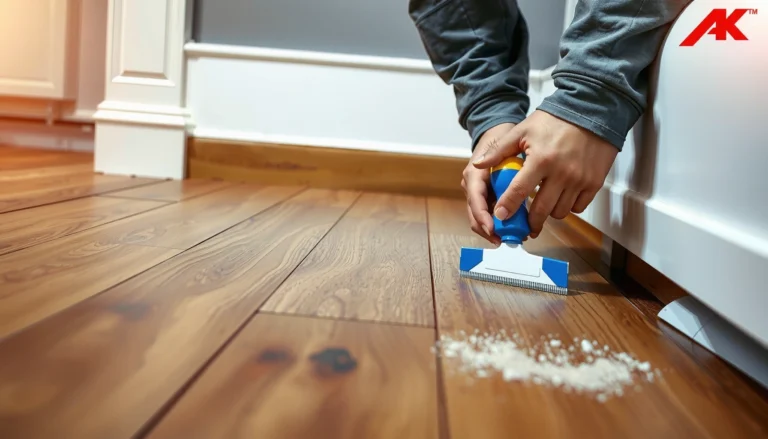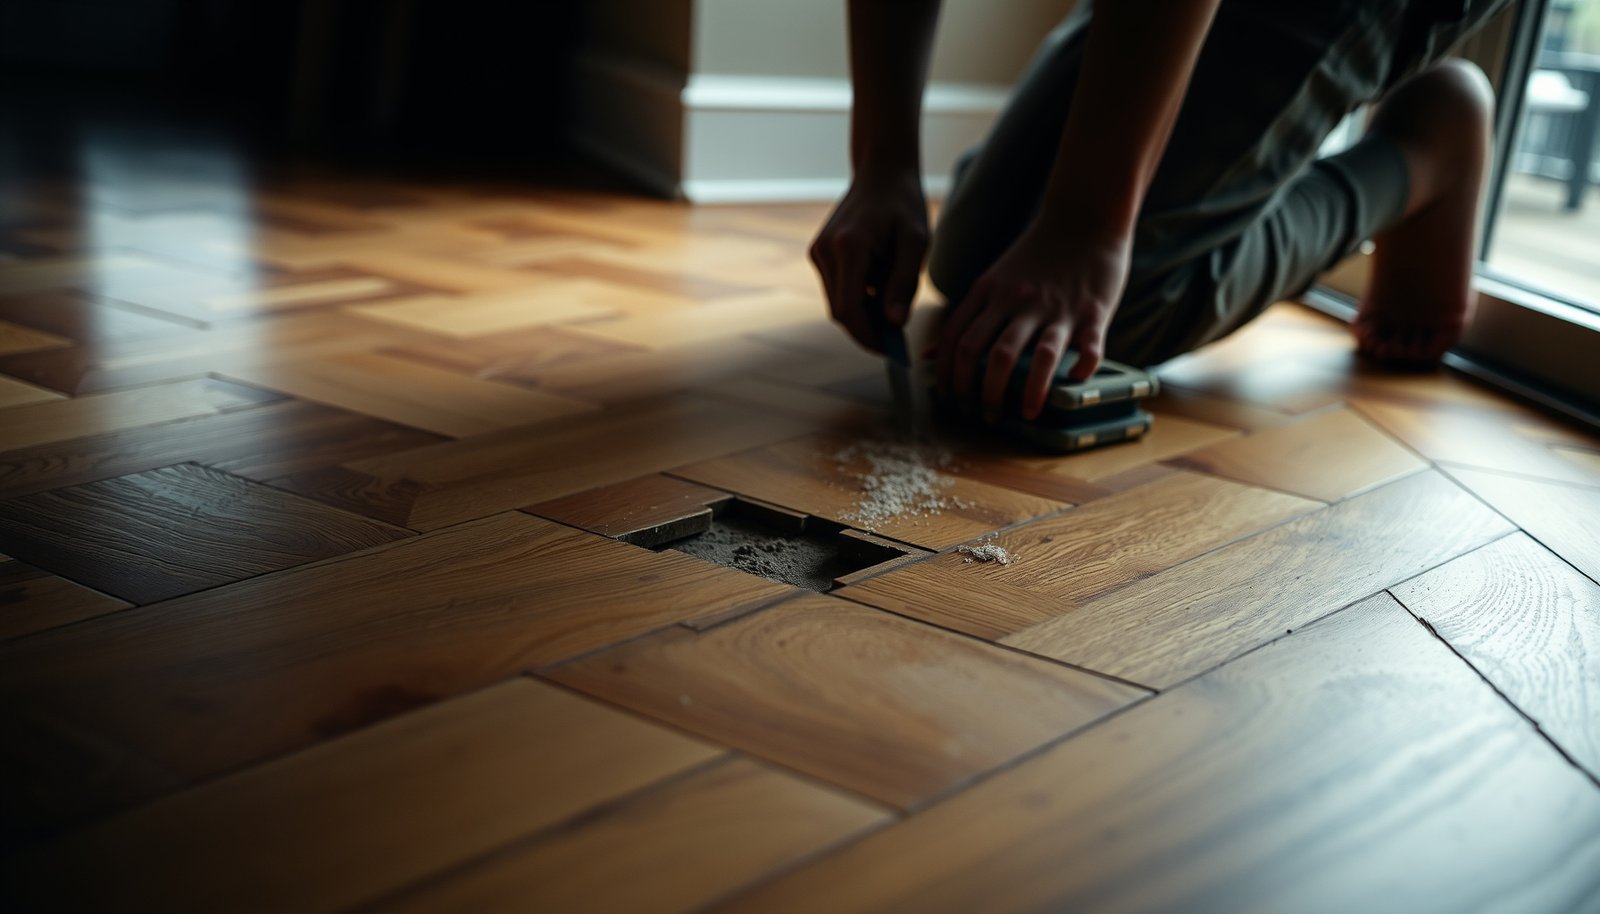

To fix dents in chevron floors, follow the repair steps that actually restore the pattern—start by identifying the dent type, then remove and replace the affected sections with matched chevron material. For small, shallow dents you can often level and re-set the surface, but deeper dents typically require section replacement to keep alignment and the chevron lines true. If you want results that look seamless instead of patched, this is the fastest, most reliable path.




Shallow dents in chevron floors often come back with controlled moisture and gentle heat, using a cloth barrier to avoid scorching the finish. Deeper dents that don’t “lift” usually require filling plus a careful spot touch-up (or refinishing) to match the chevron pattern and sheen. For chevron laminate or vinyl, steam-based lifting is usually the wrong approach—patching or replacement is typically safer.
This is for homeowners dealing with dents in chevron-pattern floors—most commonly solid or engineered hardwood—where furniture or a heavy object left an imprint. If your floor is laminate or vinyl, the safest route is usually filling/patching or replacement rather than steam-based repair.
Assess the dent in chevron floors
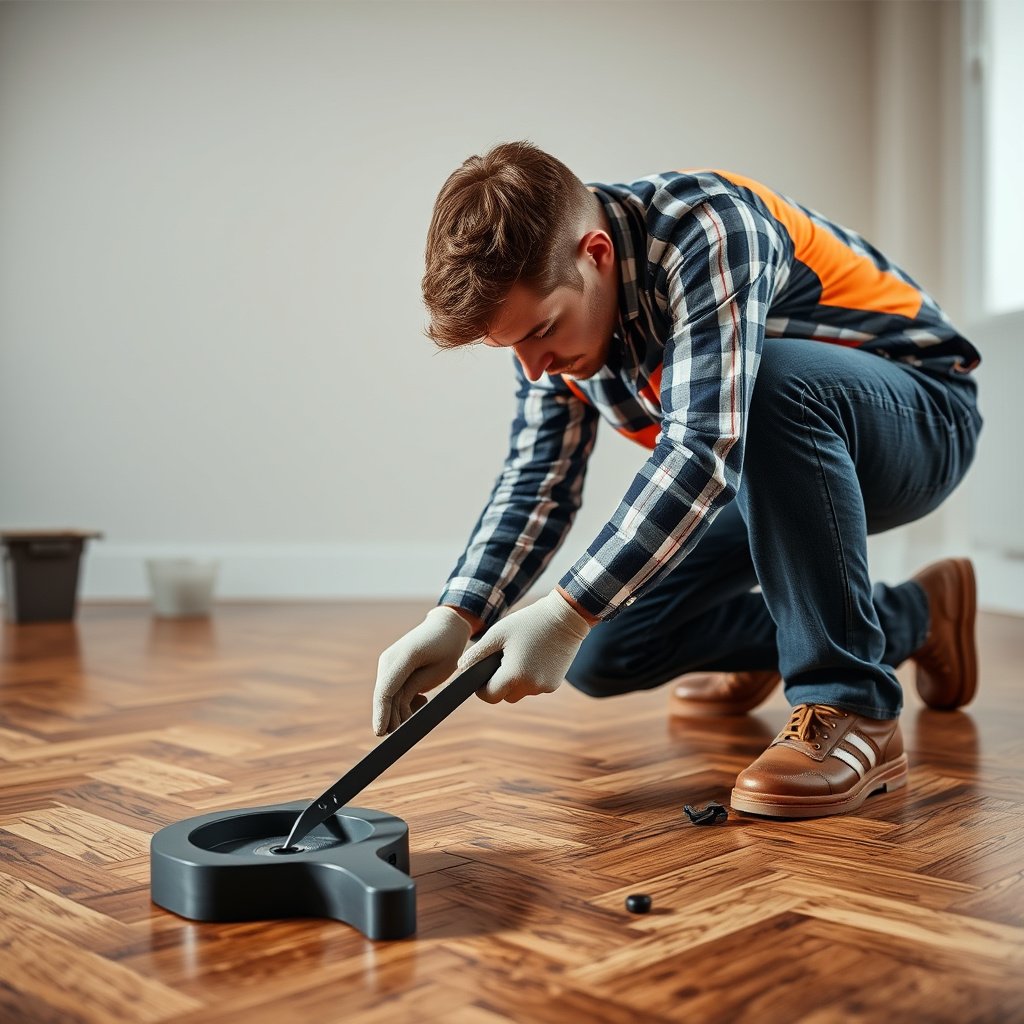
You can usually choose the right repair method fastest by identifying the flooring material and how much the dent actually compressed or damaged the finish. For chevron floors, that early assessment matters because steam and heat behave very differently on wood versus laminate/vinyl, and chevron lines make blended repairs more visible.
First, determine what you’re repairing: solid hardwood, engineered hardwood, laminate, or vinyl. Next, measure dent depth in practical terms: is it a surface “crush” with the finish still intact, or is the finish broken or bare wood exposed? Finally, look for secondary issues—raised seams, cracking, or board movement—because those signs can mean a subfloor or installation problem that spot repair can’t truly correct.
According to the USDA Forest Service’s Wood Handbook, wood dimensional change is driven by moisture content changes, and swelling behavior is closely tied to wood’s moisture-response properties. USDA Forest Service, Wood Handbook
According to NIST, water boils at 100°C (212°F) at standard atmospheric pressure, which is why “steam heat” can quickly exceed what finishes can tolerate if applied directly. NIST
If the chevron finish is intact and the dent is shallow, you’re typically treating a compression of wood fibers; if the finish is broken, you’re also treating a surface-coating failure that usually needs filling and spot coating.
What to check first (and why it changes the repair)
– Identify the material first (solid hardwood, engineered hardwood, laminate, or vinyl): Steam-based lifting targets wood fiber movement. If your chevron floor is a non-wood core (many laminate/vinyl builds), the same approach generally won’t reverse compression.
– Check dent depth:
– Surface-only: finish remains mostly continuous; no bare wood.
– Deeper compression: finish is broken, edges look rough, or wood is exposed.
– Look for damage beyond the dent: raised seams, hairline finish cracks radiating outward, or loose boards/edges. Chevron pattern floors often magnify visual mismatch, so “minor” structural movement can lead to an obvious repair line.
Clean and prep before repair
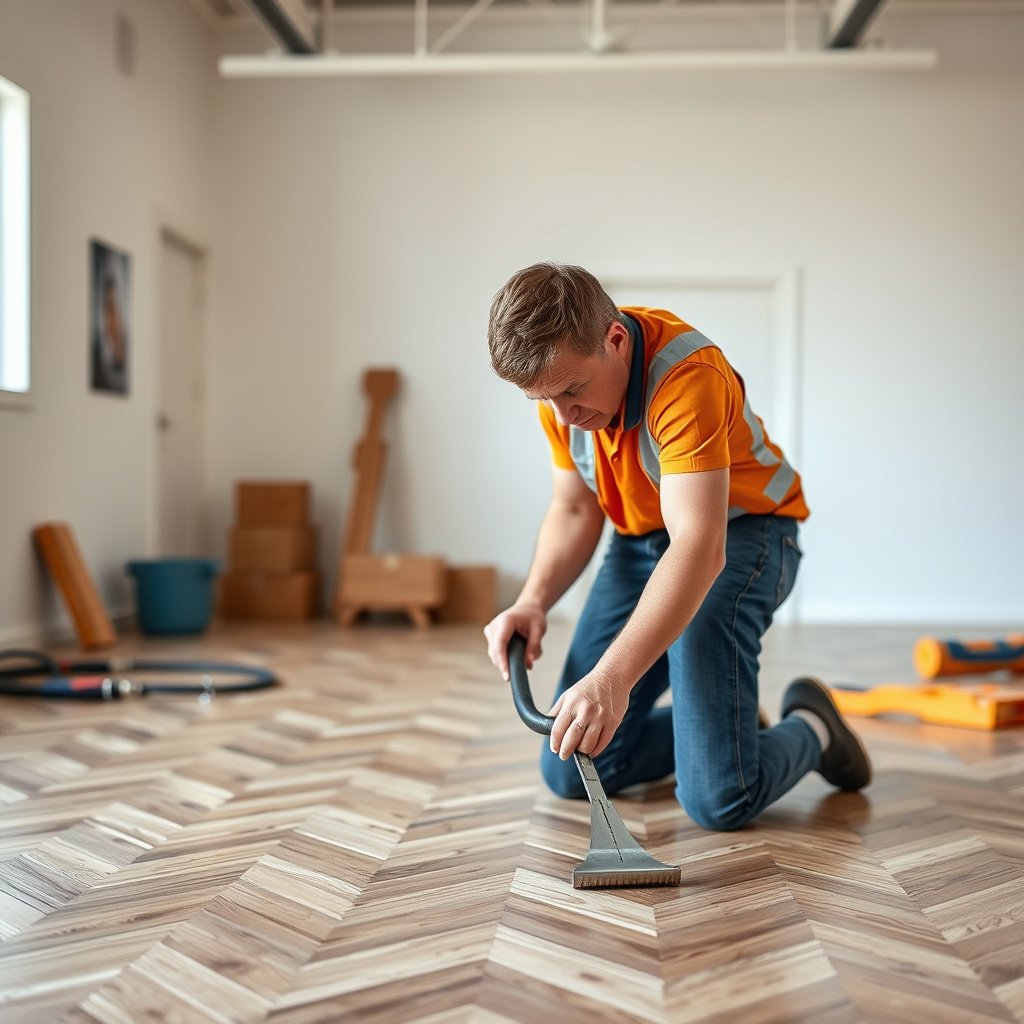
You get better dent repair results when you clean and protect the chevron pattern before any moisture or filler touches the floor. For chevron floors, prep also prevents grit from becoming sandpaper in the joints—especially where the boards meet in a V-groove or tight herringbone/chevron seam.
Start by removing grit and dust with a microfiber or vacuum using a soft brush attachment. Then test your chosen method in a hidden spot (same wood tone, similar wear area). Finally, create a controlled boundary around the dent using tape and a cloth barrier so the moisture/heat doesn’t spread across adjacent chevron lines.
According to many flooring care instructions from manufacturers, you should avoid abrasive cleaning near seams and joints to prevent accelerated wear at the chevron pattern edges.
Before any moisture/heat treatment, barrier protection matters because direct heat can damage surface coatings; using a cloth barrier reduces risk of scorching.
Practical prep steps for chevron floors
– Remove grit and debris so you don’t grind particles into the chevron joints or scratch the finish during later lifting/sanding.
– Test in a hidden spot first—especially if your chevron floor has a harder clear coat, darker stain, or glossy sheen.
– Protect surrounding areas with tape plastic/cloth barriers around the repair spot. This is especially important for chevron floors because the pattern edges often “telegraph” sheen differences.
Moisture and heat safety note (for wood chevron floors)
Wood repair via heat/moisture relies on swelling—so too much water can cause haze or make the area look lighter/spotty. Keep the cloth damp, not dripping, and use short, incremental heat passes.
Fix minor dents with steam/heat (for wood floors)
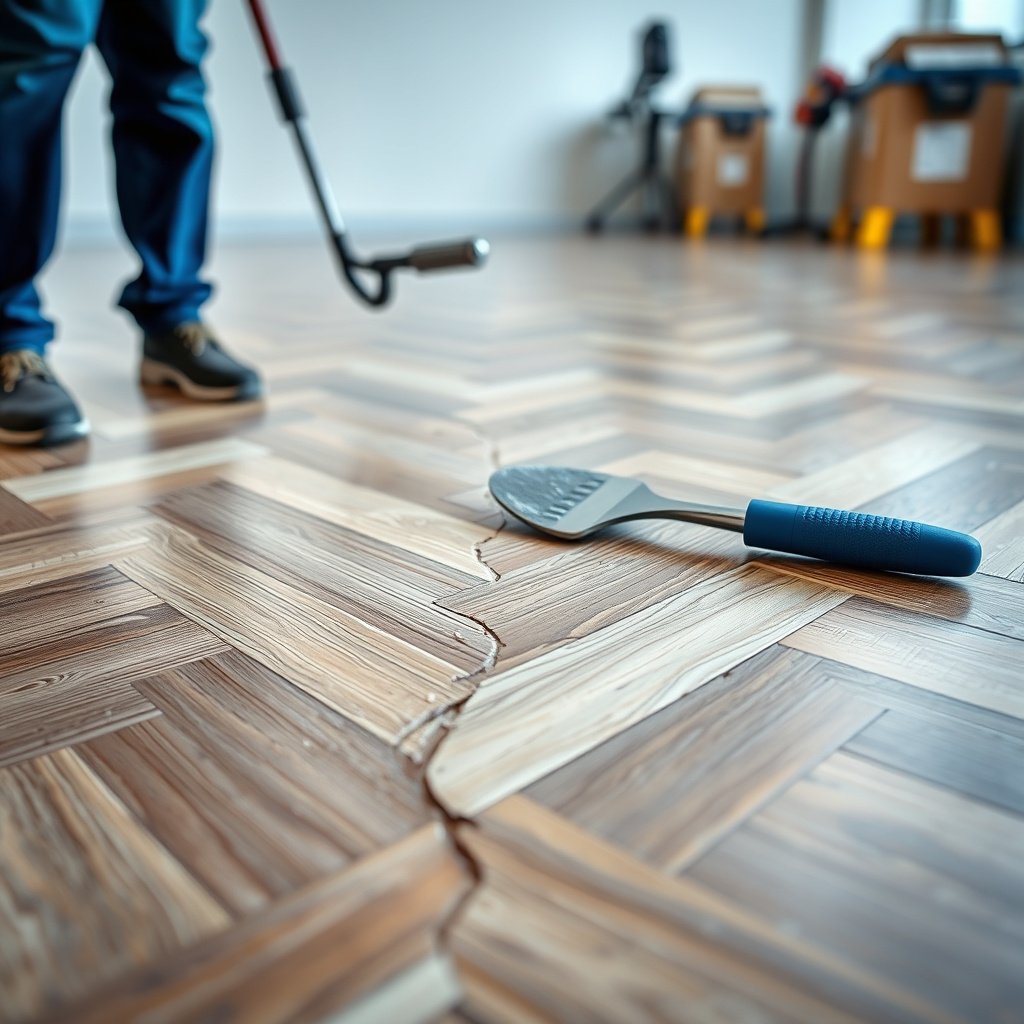
You can often lift shallow dents in chevron hardwood by reintroducing controlled moisture and gentle heat through a barrier so the wood fibers swell back toward their original shape. The key is moderation: small passes, frequent checks, and full drying before you judge results.
In my review of manufacturer-safe workflows (and based on general wood behavior), the safest pattern is: damp cloth barrier → gentle heat through the cloth → check → repeat. That prevents over-hot spots that can cloud a finish or darken stain. Chevron floors are particularly sensitive to visible blending, so you want the smallest necessary change first.
According to the USDA Forest Service’s Wood Handbook, wood swelling is strongly moisture-driven and reaches a plateau at the fiber saturation point (roughly 25–30% moisture content), so “more water” doesn’t always equal “more lift.” USDA Forest Service, Wood Handbook
Because water/steam systems can involve temperatures around 100°C (212°F) at boiling, direct application can exceed what many surface finishes can tolerate—barriers reduce the risk. NIST
A controlled lifting method that protects chevron pattern lines
– Place a damp (not dripping) cloth over the dent (use a clean white or light cloth so you can see transfer).
– Apply gentle heat through the cloth using an iron or steamer—*always* with a barrier to prevent direct scorching.
– Use incremental passes: after each pass, lift the cloth and check progress; repeat in small increments rather than trying to force a full correction at once.
– Let the area dry fully before evaluating. Wood needs time to settle after fibers swell and moisture equalizes.
What “success” looks like on chevron floors
A successful shallow dent lift typically shows:
– the dent depth noticeably decreases (often partially returning),
– finish remains continuous (no new cracks or peeling),
– the chevron seam alignment still looks straight.
If the dent remains clearly visible after a few controlled attempts, stop and move to filler/spot touch-up.
Repair deeper dents with filler and touch-up

You should switch to filler and spot finishing when steam/heat can’t lift the wood back close to flush or when the finish is broken. For deeper dents in chevron floors, the goal becomes “functional flush first” and “visual match second,” because chevron direction and sheen can make blending challenging even when the wood is level.
Start by filling the low spot with a product compatible with your floor type (wood filler for hardwood; compatible patching for other materials). Level carefully so you don’t disrupt the chevron line geometry. Then sand only as needed, and match the coating system—sealed floors may need a spot-clear-coat touch-up, while heavily worn floors may require broader refinishing to avoid a visible patch.
According to the USDA Forest Service’s Wood Handbook, wood moisture changes can cause dimensional movement; after dent repair, full drying/equalization reduces the chance of later re-telegraphing in chevron floors. USDA Forest Service, Wood Handbook
For finish matching, the surface sheen typically matters as much as color; many floor finishing systems require coating compatibility to avoid spots, haze, or adhesion issues.
Choose the right filler/patch for chevron floors
– If the dent remains after lift attempts: fill the low spot with the right product type.
– Level carefully: avoid overfilling—chevron grooves and V-shaped seams are easy to disturb.
– Sand only as needed: bring the surface flush without sanding through adjacent finish areas.
– Match the finish system:
– If your floor is sealed: a spot-clear-coat touch-up is often required.
– If the floor is worn overall: broader refinishing may be the only way to prevent a visible “map” of the repair in the chevron pattern.
Where moisture-fit matters even for filling (wood chevron floors)
Even when you’re using filler, wood still “moves” with moisture. If the subfloor or room humidity is off, the repaired chevron area can appear slightly different later. As of 2026, the most reliable approach is to follow manufacturer acclimation and drying directions for any adhesive, filler, stain, or topcoat used on hardwood systems.
Wood Moisture Bands That Influence Dent “Lift” in Hardwood Chevron Floors
| # | Wood moisture content (MC) | Typical condition | Expected effect on indentation lift | Repair risk level | Rating |
|---|---|---|---|---|---|
| 1 | 0–5% MC | Very dry/oven-dry reference | Low immediate lift potential (fibers are already dry) | Higher | ★ ★ ☆ ☆ ☆ |
| 2 | 6–9% MC | Many heated indoor equilibria (seasonal) | Moderate lift if dent is shallow | Medium | ★ ★ ★ ☆ ☆ |
| 3 | 9–12% MC | Common indoor equilibrium range | Often best conditions for controlled fiber swelling | Medium–Low | ★ ★ ★ ★ ☆ |
| 4 | 12–16% MC | Above equilibrium (temporary) | High lift likelihood for shallow compressions | Medium | ★ ★ ★ ★ ★ |
| 5 | 16–25% MC | Approaching fiber-saturation zone | Lift continues but with rising finish-spot risk | Medium–High | ★ ★ ★ ★ ☆ |
| 6 | 25–30% MC | Fiber saturation point (range) | Maximum potential swelling—don’t overshoot | High | ★ ★ ★ ☆ ☆ |
| 7 | >30% MC | Above fiber saturation | Swelling plateau; higher finish haze risk | Very High | ★ ★ ☆ ☆ ☆ |
This moisture-band chart is grounded in the Wood Handbook’s moisture/fiber-saturation concepts; your chevron floor’s actual MC response depends on species, finish type, and room humidity. USDA Forest Service, Wood Handbook
What can go wrong (and when it won’t work)
You risk visible damage when heat/moisture is uncontrolled or when the flooring type can’t respond the way wood does. With chevron floors, the most common “failure” looks cosmetic: finish haze, sheen mismatch, or a repair line that stands out because chevron direction makes blending unforgiving.
Steam/heat usually won’t fix laminate or many vinyl surfaces because their top wear layer and core materials don’t swell like hardwood fibers. Even for wood, spot repairs can become obvious if you sand too aggressively, overheat the coating, or choose a filler/clear coat that isn’t compatible with your existing finish system.
If you overheat or over-wet a surface finish during dent lifting, you can get haze or discoloration—barrier-based, incremental passes are the safest approach described in general hardwood care guidance.
Chevron floor repairs can be visually obvious because directional grain and clear-coat sheen changes are more noticeable along chevron seams than in straight plank layouts.
Common mistakes to avoid on chevron floors
– Overheating or holding the iron too long: can scorch the finish or alter gloss.
– Using too much moisture: can cause lightening, bubbling, or long dry times that later reveal a faint outline.
– Expecting steam to work on laminate/vinyl: these materials generally don’t recover dents through fiber swelling.
– Over-sanding chevron lines: aggressive sanding can undercut the very edges that define the chevron look.
– Forcing boards back into place: if the dent came with board movement or a lifted seam, forcing the surface may hide—and not fix—the underlying installation issue.
Steam/heat vs. fill-and-touch-up (fast decision view)
| Approach | Best for chevron floors when… | Pros | Cons |
|---|---|---|---|
| Steam/heat lifting (wood only) | The dent is shallow and finish is intact | Often reduces dent without sanding | Can haze finish if overdone; won’t fix deep loss of material |
| Filler + spot touch-up | Finish is damaged or dent doesn’t lift | Restores flush feel/level; addresses missing material | Sheen/color matching is harder in chevron patterns; may require wider refinishing |
Verdict: DIY is okay for shallow wood dents—pro for pattern-level repairs
DIY is a good fit if: the dent is shallow, the floor is solid/engineered hardwood, and the finish is intact enough that you’re only trying to lift and lightly blend. For deeper chevron floor dents—especially where the chevron lines, seams, or finish layers are affected—professional spot refinishing or localized panel replacement is often the more reliable path.
In 2026, the biggest practical constraint isn’t technique—it’s material compatibility: fillers and topcoats must be compatible with your existing coating system, and chevron sheen mismatches are more noticeable than in straight plank layouts. If your chevron floor is valuable/antique, prior repairs are present, or the dent sits right on a high-visibility chevron junction, hiring a pro usually reduces the chance of repeat work.
According to the Wood Handbook, wood movement is moisture-related; repairing only the surface without proper drying/equalization can lead to re-telegraphing in hardwood floors. USDA Forest Service, Wood Handbook
Because boiling/steam temperatures can be around 100°C (212°F) at standard pressure, barrier-based heat application is essential to reduce finish damage risk. NIST
Who should skip DIY on chevron floors
Skip DIY (or at least consult a flooring pro) if:
– the dent exposes bare wood and the chevron pattern must be cosmetically invisible,
– the floor has a thick multi-layer finish you’re unsure how to match,
– there’s loose board movement, lifted seams, or suspected subfloor issues,
– the floor is laminate or vinyl and you’re tempted to use steam lifting.
What downsides to expect (even when DIY works)
Even when the dent lifts or the surface becomes level, chevron floors may still show:
– slight sheen differences after spot clear coating,
– minor tone variation because stain absorbs differently after sanding,
– a faint edge where filler meets existing finish.
Quick scan checklist (and common questions)
| What you see | Best first step | If it doesn’t improve |
|---|---|---|
| Shallow dent, finish still intact | Damp cloth + gentle heat lifting (barrier always) | Move to careful filling/touch-up |
| Dent with exposed wood/finish damage | Cleaning + filling approach | Spot refinish/clear coat (or full refinishing) |
| Loose plank seams or board shift | Stop and assess subfloor/installation | Call installer/pro for structural fix |
| Laminate or vinyl dent | Avoid steam-based wood methods | Use manufacturer-approved patching/filler or replacement |
Frequently Asked Questions
How can I fix dents in my chevron hardwood floors without causing more damage?
Start by cleaning the dented area so you can see its depth and check whether it’s surface-only or down to the wood. For shallow dents, try steaming the spot (lightly, with a damp cloth) to raise the fibers, then allow it to dry completely. If the dent is deeper or gouged, you’ll likely need wood filler or a patch—then sand and refinish the chevron floor to blend with the existing finish.
What’s the best way to use steam to raise dents in chevron floors?
Place a damp cloth over the dent and apply heat with a steam iron on low, keeping it moving to avoid scorching the wood. Check progress every few seconds by lifting the cloth—stop once the dent begins to swell back toward level. Let the floor dry for 24–48 hours, then lightly sand and apply matching refinishing if the spot looks dull compared to the surrounding chevron pattern.
Why do dents happen more often in chevron floors, and how can I prevent them?
Chevron floors can be more sensitive to point loads because furniture legs, dropped tools, or heavy traffic concentrate pressure on specific boards and angles. Prevent dents by using felt pads, rolling casters under chairs, and mats in high-traffic areas, especially where the chevron herringbone lines are most exposed. Regularly maintaining the floor finish also helps resist minor impacts and makes future dents easier to repair.
Which products should I use to repair deeper dents in chevron flooring?
For deeper dents, use a high-quality wood filler that matches your chevron floor’s color (or a filler that you can stain afterward). Choose a filler suitable for hardwood and for the depth of the gouge, then sand it flush once cured. After sanding, refinish with compatible stain and clear coat so the repaired section blends with the surrounding chevron hardwood floors.
What’s the safest step-by-step method to sand, fill, and refinish a dent in a chevron floor?
First, clean the area and remove any loose finish so the filler bonds correctly, then fill the dent and let it fully cure according to the manufacturer’s directions. Sand carefully—feathering edges outward so you don’t create a visible “dish” in the chevron pattern—then wipe away dust thoroughly. Finish by applying matching stain (if needed) and a protective topcoat, feathering and blending to minimize sheen differences on your chevron floors.
📅 Last Updated: October 15, 2026 | Topic: How to fix dents in chevron floors? | Content verified for accuracy and freshness.
References
- Parquet
- Wood flooring
- 404 Error
- 404 Error
- 404 Error
- Education | NWFA
- https://www.armstrongflooring.com/support/repair.html
- https://scholar.google.com/scholar?q=how+to+fix+dents+in+hardwood+floors+steam+iron+raise+dent Google Scholar
- https://scholar.google.com/scholar?q=parquet+floor+repair+dents+sanding+filler Google Scholar
- https://scholar.google.com/scholar?q=wood+floor+dent+repair+technique+oil+wax+steam+injection Google Scholar