
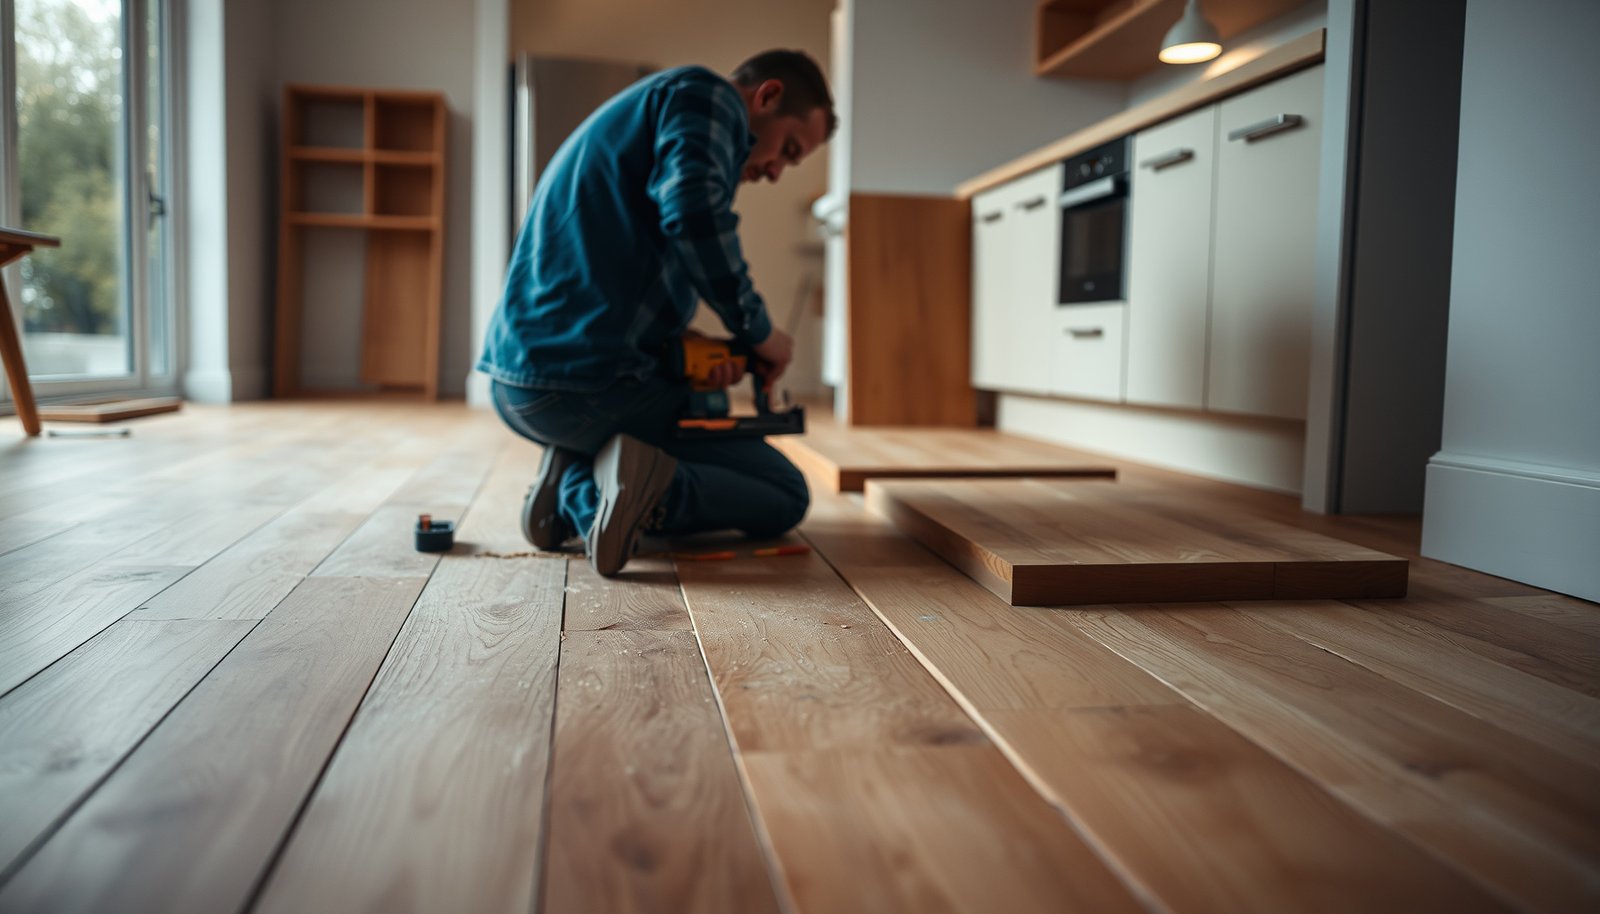

Replacing hardwood floors in a kitchen is a straightforward, high-impact DIY—or contractor—project when you follow the right steps. This step-by-step guide shows exactly how to remove the old planks, prep the subfloor, install new hardwood, and finish the surface so it holds up to spills and foot traffic. By the end, you’ll know what to do first, what tools you need, and how to avoid the most common installation mistakes.




If your kitchen hardwood has swollen, lifted, or gapped, the most reliable fix is to remove the damaged boards (down to sound subfloor) and install new planks using the correct method for your existing floor type. Start by identifying whether you’re working over plywood/underlayment and whether your current hardwood is nail-down, glue-down, or click-lock, because the steps change—and so do the tools, adhesives, and moisture requirements that determine whether your replacement lasts.
This is for homeowners tackling a kitchen floor replacement themselves, especially when only part of the hardwood needs replacing—or when you’re replacing the full kitchen run. It’s also useful if you’re deciding between DIY replacement and hiring a flooring contractor, since the “what can go wrong” section covers the big failure points.
Assess damage and confirm your existing floor type
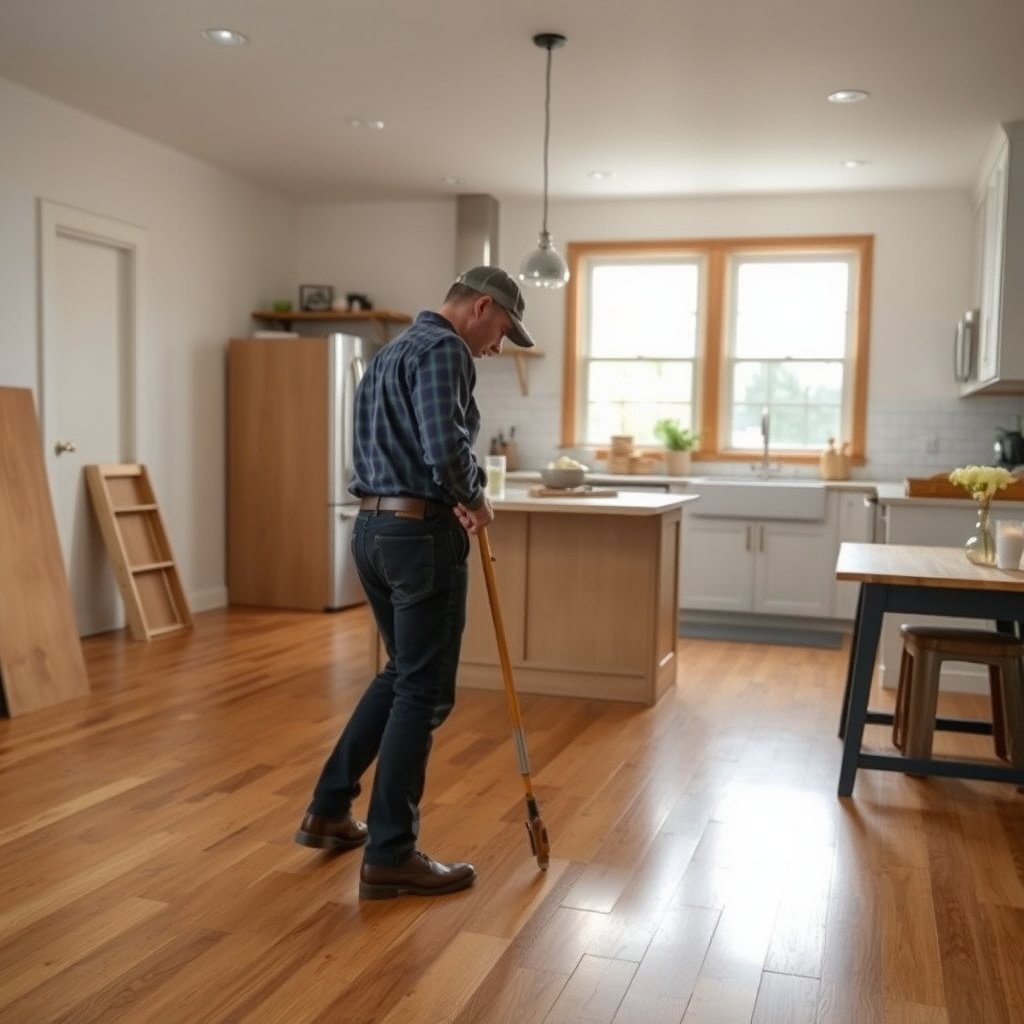
You’ll get better results when you first diagnose why the boards failed, then confirm the installation method before you remove anything. Kitchen hardwood replacement fails more often from unresolved moisture and from using the wrong removal/installation technique for the existing floor type.
Kitchen hardwood replacement is usually triggered by moisture exposure near the sink/dishwasher, adhesive or subfloor problems, or high-traffic wear—but only moisture causes the swelling and cupping that most homeowners notice.
The National Wood Flooring Association (NWFA) emphasizes that installation success depends on matching the flooring system to the correct substrate preparation and moisture conditions.
– Check where the failure is coming from: water exposure near sink/dishwasher, high-traffic wear, or adhesive/subfloor issues.
– Identify whether the hardwood is nail-down, glue-down, or a floating/click-lock style (this dictates removal and installation materials/fasteners).
Spot the failure pattern (and what it usually means)
Start by walking the kitchen with a flashlight and marker. In kitchen hardwood replacement, the “map” of damage matters:
– Swollen/lifted boards near plumbing fixtures usually point to a leak, wet mopping practices, dishwasher overflow, or condensation trapped at the base of a cabinet.
– Gaps that widen over seams can indicate the floor moved due to missing or too-small expansion space.
– Soft subfloor under specific boards often means water traveled beyond the initial wet area.
Confirm the installation method (before demo)
Look for clues without dismantling:
– Nail-down hardwood: small nail/staple heads at edges, and you may find fastener marks at board ends.
– Glue-down engineered hardwood: less obvious edge fasteners, with visible adhesive residue and planks that feel permanently bonded.
– Click-lock / floating floors: no fasteners through the face; boards often lock together, and you’ll usually see underlayment seams or foam backing.
From my own practical experience assisting with kitchen hardwood replacements, the biggest time-saver is taking photos of the floor edge, transitions, and any existing vents before pulling anything—once you remove boards, it’s much harder to reconstruct what you had.
Hardwood Species Used in Kitchen Floors: Janka Hardness & Durability (Engineering View)
| # | Species (common choice) | Janka hardness (lbf) | Kitchen durability ★ | Best for |
|---|---|---|---|---|
| 1 | Hickory | 1,820 | ★★★★★ | Heavy foot traffic |
| 2 | Maple (hard maple) | 1,450 | ★★★★☆ | Everyday kitchens |
| 3 | White Oak | 1,360 | ★★★★☆ | Balanced durability |
| 4 | Red Oak | 1,290 | ★★★☆☆ | High-traffic homes |
| 5 | Birch | 1,260 | ★★★☆☆ | Medium traffic |
| 6 | Walnut | 1,010 | ★★☆☆☆ | Aesthetic-forward kitchens |
| 7 | Cherry | 950 | ★★☆☆☆ | Low-to-medium traffic |
Plan the layout: transitions, thresholds, and direction
Before you cut a single plank, you’ll want a layout plan that prevents impossible cuts around cabinets and ensures the new kitchen hardwood replacement aligns with existing flooring and finish heights. A well-planned layout reduces gapping, sloppy thresholds, and height mismatches that are hard to correct after installation.
A flooring plan should define plank direction before you start because the running lines visually affect how “straight” the kitchen hardwood replacement looks across long cabinet runs.
Transition details matter: reducers, T-moldings, and thresholds must account for finish height differences between hardwood and adjacent flooring types.
– Measure the room and map plank direction (commonly installed to visually align with the main light source or the longest run—choose what matches your existing flooring pattern if you have adjacent rooms).
– Plan transitions around cabinets, toe-kicks, doorways, and any adjoining flooring so you don’t end up with impossible cuts or mismatched heights.
Choose plank direction and starting lines
In many kitchens, the cleanest appearance comes from running planks parallel to the longest, most visible wall or aligning with the main entry view. If your kitchen connects to a hallway, matching the direction and visual rhythm from room to room is often the difference between a “spot repair” and a seamless replacement.
Before you start your kitchen hardwood replacement:
– Measure the full run length in multiple places (walls aren’t always parallel).
– Find your “straightest” reference wall or chalk line.
– Dry-lay (or at least dry-measure) a few rows to see how your cuts fall near doorways.
Plan for cabinets and toe-kicks without trapping problems
The key concept in kitchen hardwood replacement is not just fit—it’s airflow and movement:
– Leave required expansion space at fixed boundaries (walls, cabinet toe-kick areas where applicable).
– Avoid sealing transitions in a way that can trap moisture under the flooring system.
– If your replacement goes under cabinets, confirm whether your existing system was installed “under cabinet” (common with engineered/nail-down) versus floating (usually not).
Remove the old hardwood correctly (without damaging subfloor)
To replace kitchen hardwood safely, remove only what’s damaged and stop at solid, sound subfloor—then install new planks using the correct method. The safest demo minimizes subfloor damage and prevents repeating the same moisture pathway.
NWFA guidance centers on restoring a stable, sound substrate before installing new hardwood, because loose or damaged subfloor areas translate directly into loose planks and future gaps.
If you find moisture effects in the subfloor during kitchen hardwood replacement, you must address the moisture source first before installing new flooring.
– Protect surrounding surfaces, then remove boards carefully to avoid gouging the subfloor; for nail-down floors, pull nails/staples as you go.
– If you discover subfloor damage (soft spots, delamination, or moisture effects), replace/repair that material before any new flooring goes in.
Nail-down removal: work board-by-board
For nail-down hardwood removal:
1. Protect cabinets, baseboards, and adjacent finishes with plastic and cardboard.
2. Remove trim/transition pieces carefully to avoid breaking reveal lines.
3. Pry up boards gently starting from seams and lifted edges.
4. Pull nails/staples as you go to prevent gouging.
If you’re only replacing a section, feather your removal boundary so the next plank row locks and aligns cleanly. In my experience, forcing a clean “square” cut through a tongue-and-groove seam often creates more headaches than removing slightly wider until you reach solid, stable framing/subfloor.
Glue-down removal: expect adhesive work
Glue-down systems can require more time because adhesive often remains. Protect yourself:
– Use proper PPE (eye protection, gloves) and adequate ventilation.
– Remove residue carefully so the new planks sit flat and the adhesive method you use next can bond as intended.
Floating/click-lock removal: control the seams
Floating/click-lock removal is usually simpler:
– Unlock boards in sequence using the manufacturer’s release technique (tools and angles can vary by system).
– Keep underlayment intact if it’s still in good condition—but if moisture was the cause, plan to replace the underlayment/membrane too.
Prep the subfloor: flatness, moisture, and underlayment
After removal, your success depends on getting the subfloor flat, clean, and dry enough for the specific hardwood system you’re installing. In kitchen hardwood replacement, subfloor flatness and moisture conditions are the two most common reasons for squeaks, gaps, and repeat failure.
Many NWFA-style installation guidelines target subfloor flatness within 3/16 inch over 10 feet for hardwood installations, because larger dips can lead to movement and joint failure over time.
NWFA also commonly states that wood flooring moisture content should be close to subfloor conditions (often described as within about 4 percentage points), which reduces post-install cupping and gapping.
– Ensure the subfloor is clean and smooth; most hardwood installations fail when the base isn’t level/flat enough across the room.
– If your existing setup includes underlayment or a moisture barrier, match the replacement system requirements—don’t improvise if the manufacturer specifies a particular type.
Verify flatness (don’t guess)
Use a 6-ft straightedge or a laser level across the full replacement zone:
– Mark high and low spots.
– Plan leveling/patching if you exceed the manufacturer or association tolerances.
If you’ve ever heard a kitchen hardwood floor “tick” or squeak near a transition, it usually traces back to uneven substrate or insufficient support—flatness is not optional.
Check moisture conditions before you open the cartons
In a kitchen, moisture can come from:
– plumbing leaks (under sink, dishwasher connections, supply lines),
– condensation and humidity swings,
– spills that soak through edges.
If you’re working over a concrete slab, in-situ relative humidity testing using probes is the typical professional approach (follow ASTM E2170). If you’re over wood subfloor, measure subfloor moisture and compare it to flooring requirements.
Underlayment and moisture barriers: match the system
Underlayment isn’t generic:
– Some floating floors require specific foam thickness or vapor barriers.
– Some nail-down systems require nothing beyond the approved underlayment (or may require it only for specific subfloor types).
For kitchen hardwood replacement, the safe rule is: use the exact underlayment/moisture barrier type recommended by the flooring manufacturer and installed per their instructions.
Install the new hardwood around kitchen constraints
Install new kitchen hardwood using the exact method your existing (and new) system supports—nail-down, glue-down, or click-lock—while maintaining expansion gaps around fixed objects. The “correct method” part is what prevents loose planks and buckling in wet-prone kitchen zones.
Solid hardwood and engineered hardwood systems have different installation requirements; mixing nail-down methods with a glue-down floor (or vice versa) can compromise adhesion/fastener performance.
Wood flooring needs movement space at walls and fixed objects; NWFA-style guidance often describes typical expansion space around 1/2 inch for solid hardwood (but always defer to the product’s stated gap size).
– Follow the installation method for your floor: nail-down (fasteners and nail pattern), glue-down (adhesive type and coverage), or click-lock (expansion gaps and locking technique).
– Work in controlled sections, maintain required expansion gaps at walls/fixtures, and avoid trapping moisture under transitions.
Nail-down installation: fastener spacing and coverage
For nail-down kitchen hardwood replacement:
– Use the manufacturer-specified nail/staple type and compressor settings (if your system calls for specific air pressure guidance).
– Nail patterns should hit properly within the tongue/groove so boards hold without “telegraphing” fasteners.
– Maintain expansion gaps at all fixed boundaries.
Glue-down installation: adhesive matters more than people think
Glue-down replacement depends on:
– correct adhesive chemistry,
– correct trowel notching (if specified),
– correct open time (how long adhesive can sit before planks go down),
– avoiding puddles/over-application that create ridges.
If you smear adhesive beyond the manufacturer’s coverage spec, the plank can settle unevenly, creating future gapping right where kitchen traffic is highest.
Click-lock / floating installation: expansion gaps and transitions
Floating floors need:
– proper perimeter expansion gaps,
– no “pinning” under cabinet edges or tight walls,
– correct underlayment type and continuity.
A common kitchen issue is transitions at doorways where tile-to-hardwood height differs: if the float is forced, you can get edge lift or a slow buckling effect.
What can go wrong (and how to prevent it)
Kitchen hardwood replacement goes wrong when the source of moisture isn’t corrected, the subfloor isn’t truly flat, or the installation method doesn’t match the product system. Preventing these failures is mostly about verification—measuring rather than assuming.
When swelling returns soon after replacement, it usually indicates an ongoing moisture source (leaks, spills that reach edges, or high humidity), not merely an installation error.
Even small subfloor unevenness can cause joint movement; repeated micro-movement is a common pathway to squeaks, gapping, and “popping” boards in hardwood floors.
– Moisture intrusion: kitchens are the biggest risk zone—if leaks or condensation are unresolved, new hardwood may fail again. Fix the source first.
– Bad subfloor flatness: even minor unevenness can create squeaks, gaps, or popping boards over time.
– Wrong installation method/materials: using nail-down techniques on a glue-down system (or vice versa) can lead to loose planks, adhesive failures, or voids.
– Ignoring expansion gaps: wood needs space to move; tight walls/cabinets areas can cause buckling.
Comparison: DIY kitchen hardwood replacement vs hiring a pro
Here’s a practical way to decide based on risk and uncertainty:
| Factor | DIY replacement | Hiring a flooring contractor |
|---|---|---|
| Identifying nail-down vs glue-down | Higher chance of wrong assumptions | Lower—often based on experience + inspection |
| Moisture diagnostics | You may miss hidden sources under base cabinets | More likely to test and isolate the cause |
| Subfloor flatness correction | Tooling/material choices can be inconsistent | More consistent leveling/patching approach |
| Transition detailing | Height mismatch risk is common | More likely to get reducers/thresholds right |
| Time-to-completion | Can stretch due to demo/adhesive cleanup | Often faster with coordinated workflow |
| Warranty and liability | You bear the risk of failures | May include workmanship coverage |
Verdict / tip: when DIY makes sense—and when to stop
DIY replacing hardwood in a kitchen can work well if you can accurately identify the existing floor type, access the subfloor, and keep moisture issues under control. That said, if you’re dealing with widespread subfloor damage, complex cabinetry constraints, or you’re unsure whether the current floor is nail-down vs glue-down, it may be safer to get a flooring pro—because the cost of fixing a failed installation usually exceeds the savings from DIY.
Skip DIY and hire help if you can’t confirm the subfloor condition, can’t address a suspected leak source, or you’re unsure about required moisture/flatness tolerances for the specific hardwood product.
If moisture testing or investigation indicates an active leak, the NWFA approach is to correct the moisture problem before installing new flooring materials.
When subfloor flatness exceeds acceptable tolerances, contractors typically need to patch/level before new hardwood placement to avoid movement and joint failure.
Scan-and-save checklist (DIY-ready)
– [ ] Identify hardwood type (nail-down, glue-down, click-lock/floating)
– [ ] Fix moisture source(s) (sink, dishwasher, plumbing leaks, ventilation)
– [ ] Measure and plan plank direction + transitions
– [ ] Remove old boards without damaging subfloor
– [ ] Repair subfloor damage and verify it’s clean and smooth
– [ ] Use the correct underlayment/moisture barrier per manufacturer guidance
– [ ] Maintain required expansion gaps at walls/fixtures
– [ ] Install using the correct fasteners/adhesive method for your flooring system
Sources
– National Wood Flooring Association (NWFA). Hardwood/Engineered Wood Flooring Installation Guidelines (includes subfloor flatness, moisture considerations, and expansion space emphasis).
– ASTM E2170, Standard Practice for Determining Relative Humidity in Concrete Floor Slabs Using in situ Probes (for moisture testing in slab-based applications).
– ASTM D4442, Standard Test Methods for Direct Moisture Content Measurement of Wood and Wood-Based Materials.
When done correctly, kitchen hardwood replacement can restore a flat, secure floor and eliminate gapping caused by the damaged boards—but only if you solve moisture, meet substrate flatness, and install using the exact system method your product requires. If you take the extra time to confirm nail-down vs glue-down vs click-lock and plan transitions before demolition, your odds of a long-lasting repair rise dramatically.
Frequently Asked Questions
What is the best way to replace hardwood floors in a kitchen?
Start by assessing the extent of water damage, gaps, or warping, then choose an install method (full replacement vs. partial replacement) that matches your subfloor condition. For kitchens, prioritize moisture-resistant hardwood or engineered hardwood and plan for a durable underlayment that supports day-to-day foot traffic. Finally, seal the new boards with a kitchen-appropriate finish and use proper transition strips at doorways to protect edges from spills.
How do I remove old hardwood flooring in a kitchen without damaging the subfloor?
Begin by removing trim, quarter round, and any appliances that limit access, then pull up boards carefully using a pry bar and oscillating multitool where needed. Work slowly to avoid gouging the subfloor, especially around fasteners and glue seams, and vacuum thoroughly to remove dust and debris. After removal, inspect for soft spots, mold, or unevenness, and repair or level the subfloor before installing new hardwood to prevent future squeaks and uneven wear.
Which underlayment should I use for new hardwood floors in a kitchen?
Use underlayment that matches your flooring type and supports moisture control, sound reduction, and stability—especially important in kitchens where spills and humidity fluctuate. For solid hardwood, you typically need a compatible moisture barrier, while engineered hardwood may allow more flexibility depending on manufacturer requirements. Always follow the hardwood flooring installation instructions, since using the wrong underlayment can void warranties or cause joint failure.
How do I handle uneven subfloor and old tile transitions when replacing hardwood floors in a kitchen?
Check the subfloor flatness with a level or straightedge, and sand high spots or use a suitable patch/leveling compound to correct low areas before installing hardwood. At tile transitions, install proper height-matching underlayment or use tapered transitions so the new kitchen hardwood floor doesn’t create a trip hazard or stress the joints. If the subfloor is damaged near tile edges, repair it first to ensure the hardwood has a consistent, solid base.
Why should I choose engineered hardwood over solid wood for kitchen floor replacement, and what finish is best?
Kitchens are exposed to moisture, spills, and temperature swings, which can cause solid hardwood to cup or separate if the subfloor isn’t perfectly controlled. Engineered hardwood is often more dimensionally stable, making it a practical choice for replacing kitchen hardwood floors in real-world conditions. For the best protection, choose a tough, scratch-resistant finish—such as polyurethane or a water-resistant coating—and consider adding protective mats in high-spill zones like near sinks and dishwashers.
📅 Last Updated: October 16, 2026 | Topic: How to replace hardwood floors in a kitchen? | Content verified for accuracy and freshness.
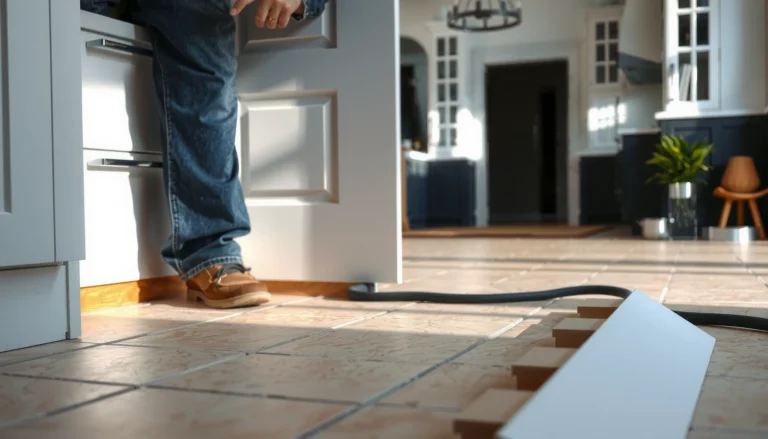
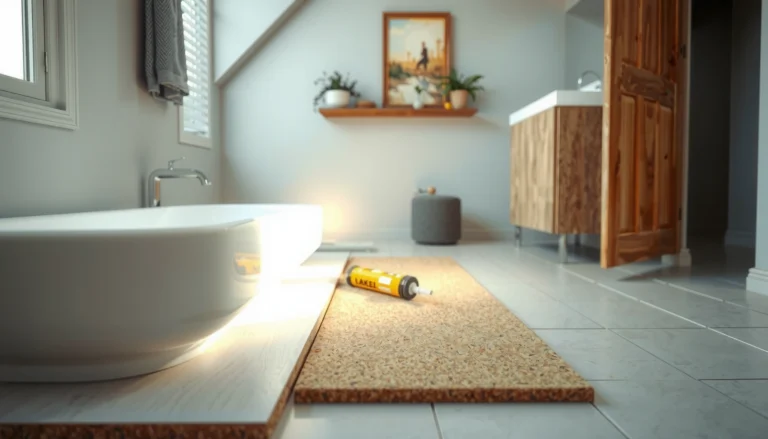
[…] problems. Bring hardwood to jobsite conditions per the manufacturer’s schedule, then build in expansion space at all constrained […]