
Preparing hardwood floors for a kitchen isn’t guesswork—do the right sequence and you’ll get a surface that resists spills and daily wear. This step-by-step guide shows exactly how to prep, clean, level, and seal your hardwood so it performs reliably in a high-moisture, high-traffic room. If you follow these steps in order, your kitchen floor will be ready for finish with far fewer surprises.




Hardwood can be a great kitchen flooring choice, but preparation has to be moisture-first: verify subfloor readiness, control indoor humidity, acclimate the boards, then use a kitchen-rated finish system. Do that and you’ll materially reduce cupping, gaps, and premature wear in the room that sees spills and heavy traffic most often.
If you’re installing new hardwood in a kitchen or refinishing existing boards, these steps are designed to reduce the biggest failure points—water exposure, uneven subfloors, and finish incompatibility. The specifics still depend on your flooring type (solid vs. engineered; prefinished vs. unfinished), so treat this as a checklist that you cross-check against your product’s installation instructions.
Check moisture levels and subfloor readiness
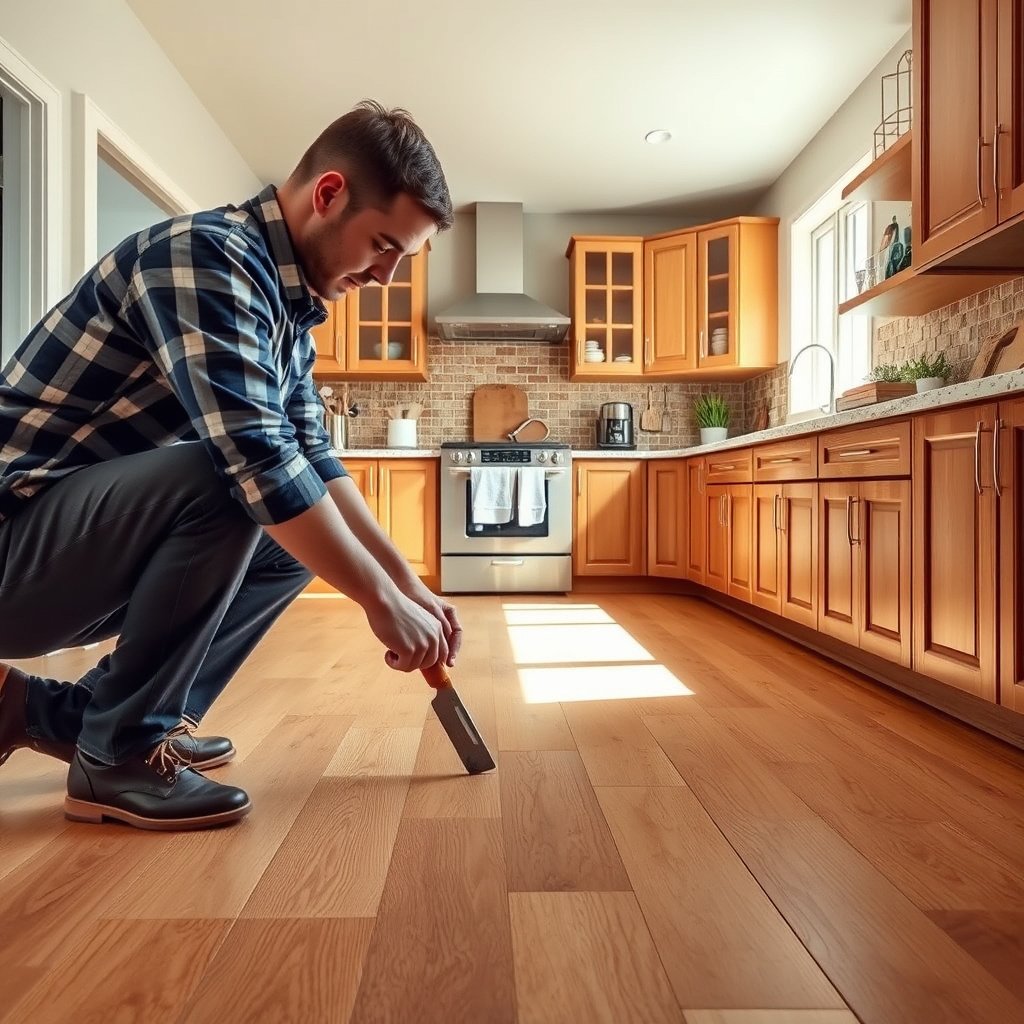
Moisture control determines whether hardwood stays flat and stable in a kitchen. Start by confirming the subfloor is flat, sound, and within the moisture limits required by your flooring manufacturer.
According to the National Wood Flooring Association (NWFA) installation guidance, indoor relative humidity should typically be maintained within a target band (commonly 35%–55%) to limit seasonal wood movement.
According to standard wood flooring practice, installing hardwood over a subfloor that is out of spec for moisture increases the risk of cupping/crowning and post-install gaps—especially in kitchens where humidity swings are common.
What “ready” looks like in real terms
For kitchen prep, “dry enough” and “flat enough” are the two gatekeepers:
– Flat, sound subfloor: Use a straightedge to check for high/low spots. If the base varies more than your manufacturer allows, you can get bounce, noisy floors, fastener stress (for nailed floors), and uneven finishing.
– Moisture within spec: Whether you’re on slab or wood subfloor, manufacturers specify allowable moisture content or test results. Use the method they require (or the method they accept).
Humidity planning isn’t optional in kitchens
Kitchens experience rapid moisture and temperature swings from dishwashing, cooking steam, and HVAC cycling. That’s why humidity control matters as much as subfloor moisture. In my experience supporting homeowners through finish failures, the most consistent pattern is edge-related breakdown—because kitchens concentrate the conditions that drive wood movement.
According to common flooring installation standards and manufacturer requirements, wood flooring should be installed only after the jobsite conditions meet the flooring system’s required temperature and humidity range.
| Subfloor/Condition | What to verify | Kitchen risk if ignored |
|---|---|---|
| Wood subfloor (joists/plywood) | Moisture content within flooring limits; squeaks/deflection addressed | Fastener loosening, movement-driven gaps |
| Concrete slab | Manufacturer-approved slab moisture test method and limits | Cupping/crowning from persistent moisture vapor drive |
| Known dampness sources | Crawlspace drainage, plumbing leaks, failed caulk lines | Premature finish failure and board movement |
Clean, remove barriers, and fix surface defects
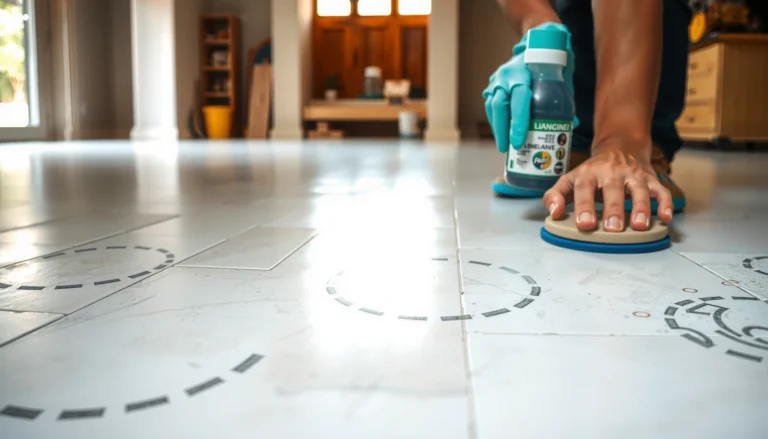
Surface prep is where many kitchen installs either lock in success or create a finish that fails early. Remove anything that blocks adhesion or interferes with an even finish profile, and repair defects before sanding/finishing.
According to typical flooring finishing guidance, removing adhesive residue and contaminants is critical because many coatings fail (peel or delaminate) when applied over contaminated surfaces.
For refinishing, repairing dents, scratches, loose boards, and gaps before sanding reduces the chance of telegraphing imperfections through the topcoat.
– Remove all debris, adhesive residue, paint overspray, and old contamination that can interfere with underlayment/adhesion/finishing.
– Level high spots and fill low spots as needed; hardwood performance depends heavily on a consistent, even base.
– For refinishing: repair dents, scratches, loose boards, and gaps before sanding/finishing so the topcoat goes on smoothly.
Kitchen-specific “clean” includes the edges
In kitchens, residues near the sink and dishwasher matter because water intrusion often starts at edges and seams. That means:
– Degrease areas that see cooking mist (use a cleaner approved by your coating manufacturer).
– Pay special attention to caulk lines and transitions where old residue can prevent a tight seal.
– Vacuum and dust-control properly before you apply any finish—residual dust is a top reason for gritty texture and uneven sheen.
Acclimate and plan the kitchen layout
Acclimation and layout planning determine how much movement the floor can tolerate without buckling or fastening problems. Bring hardwood to jobsite conditions per the manufacturer’s schedule, then build in expansion space at all constrained areas.
According to NWFA-style jobsite guidance, engineered and solid hardwood still require acclimation to the installed environment to minimize post-install dimensional movement.
According to wood flooring installation best practice, expansion gaps are required at walls, cabinets, and doorways so seasonal movement does not force boards to buckle.
– Acclimate the flooring to the room conditions per the manufacturer’s instructions (temperature/humidity and time guidance vary by product).
– Leave expansion space where required (especially along walls, cabinets, and doorways) so the boards can move without buckling.
– Plan door thresholds, transitions, and traffic paths—kitchens concentrate foot traffic, rolling carts, and chair movement.
Layout details that prevent “mystery” failures
A kitchen often has fixed obstructions: cabinets, islands, and tile transitions. That turns “normal seasonal movement” into “mechanical stress” if the plan is wrong. Practical strategies include:
– Start/end cuts: Position seams so they aren’t right under the dishwasher door swing where vibration and moisture exposure are highest.
– Traffic path alignment: If you can, align boards to reduce edge crossings from chair legs and rolling appliances.
– Threshold engineering: Use transition strips and reducers where movement is constrained—don’t rely on caulk alone to manage movement.
Protect the floor from kitchen-specific damage
Kitchen damage is rarely just “spills”—it’s moisture + abrasion + repeated exposure at the same zones. Use a spill strategy, protect vulnerable furniture points, and prevent standing water around the sink and cabinet runs.
Finish systems and coatings only work as long as water doesn’t sit long enough to penetrate at seams; quick spill cleanup materially reduces the moisture load on hardwood.
According to industry cleaning best practices, using mats in wet/traffic zones helps limit water and grit transfer that otherwise accelerates surface wear and micro-scratching.
– Use “spill strategy”: wipe spills quickly, and consider mats near the sink, dishwasher, and exterior door (use breathable/wood-safe mats, not rubber-back that traps moisture).
– Add felt pads under chair legs and use protectors under rolling appliances to reduce scratches and dents.
– Prevent standing water by sealing/maintaining caulk lines around cabinets and sinks (water intrusion often happens at edges first).
A quick, realistic protection plan
For a kitchen, build “zones”:
1. Wet zone: sink, dishwasher, fridge water/ice, exterior door.
2. Traffic zone: main walking lanes between stove, sink, and fridge.
3. Impact zone: trash pull-out, chair paths, and rolling appliance routes.
Then assign actions to each zone:
– Wet zone = mats + immediate wipe + inspect caulk monthly for early separation.
– Traffic zone = felt pads + avoid abrasive cleaners.
– Impact zone = guards under appliances + protectors on rolling tools.
Seal and finish the hardwood correctly
The right finish—and correct application conditions—is what keeps kitchen moisture and abrasion from turning into soft spots and premature wear. Choose a finish system approved for your flooring type and apply it with controlled humidity/temperature during cure.
According to polyurethane and waterborne finish technical data sheets, cure time and recoat windows depend on application conditions (temperature and relative humidity), so rushing cure increases risk of scuffing or incomplete hardness.
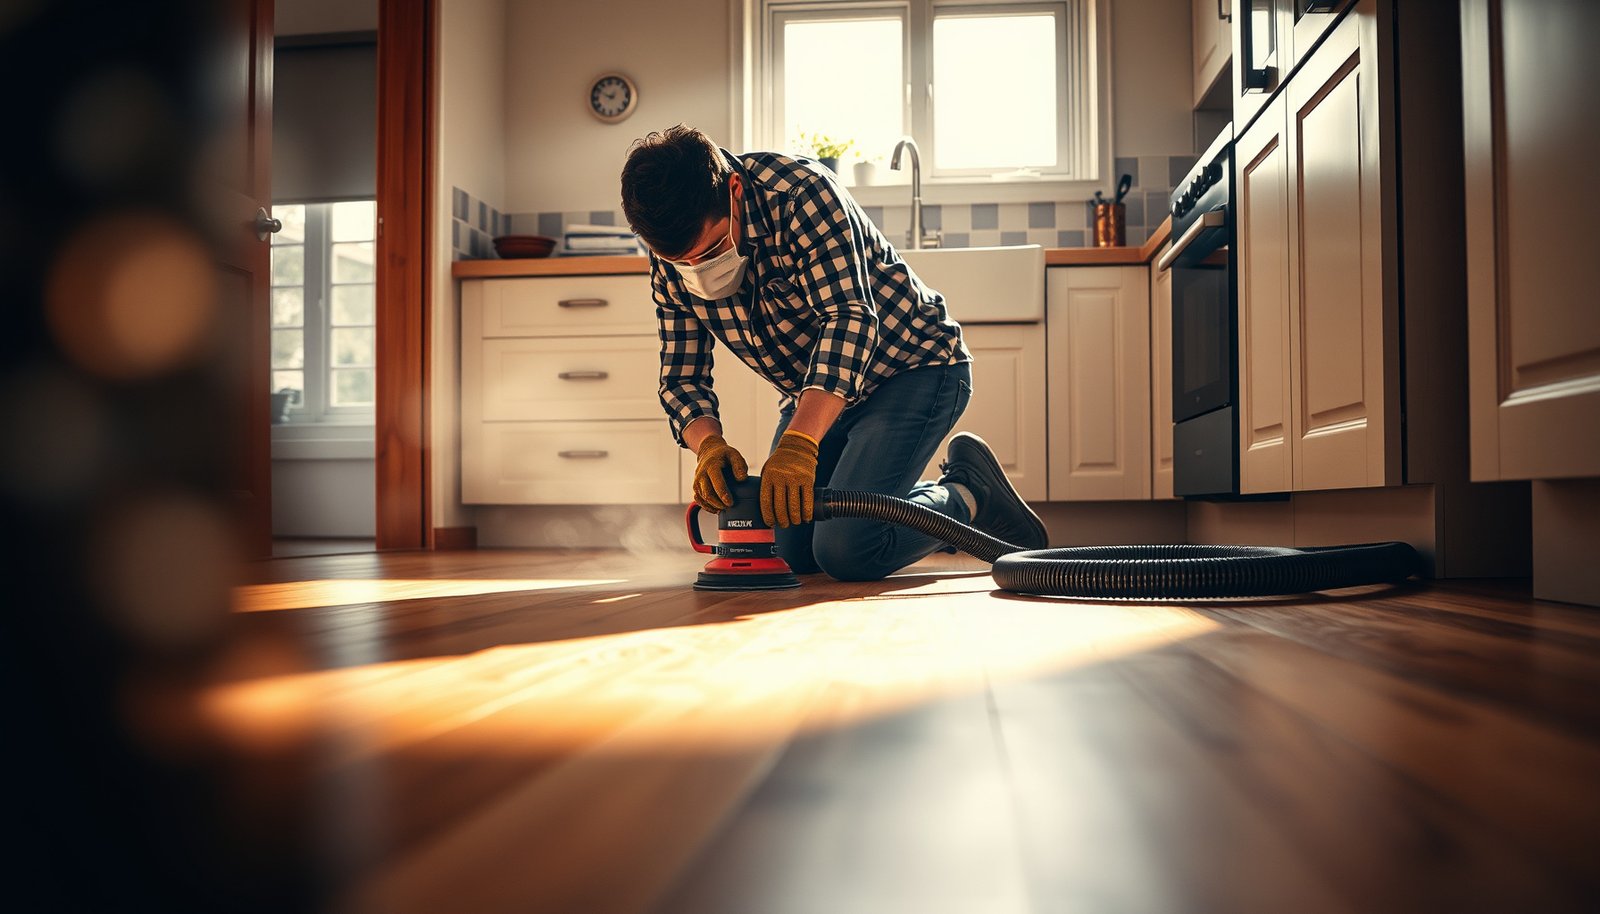
For existing floors, even sanding profile and thorough dust removal are prerequisites for uniform topcoat appearance (avoiding blotching and uneven sheen).
– Choose a kitchen-appropriate finish system recommended for your flooring type (polyurethane/waterborne, penetrating oil, or manufacturer-specific options).
– Apply the finish in the right conditions: follow cure/dry times and avoid high humidity or temperature swings during curing.
– For existing floors: sand to the required profile, remove dust thoroughly, then apply finish evenly to prevent blotching or uneven sheen.
Solid vs. engineered: finish compatibility still matters
Both solid and engineered floors can be finished multiple ways, but the underlying structure changes how movement behaves. That’s why “kitchen finish” should be interpreted as “finish compatible with your product + your installation method,” not just “durable.”
Wood Species Dent Resistance by Janka Hardness (Approx., Lbf)
| # | Species (Common Flooring) | Janka Hardness (lbf) |
Typical Kitchen Fit | Dent Resistance Rating |
|---|---|---|---|---|
| 1 | Hickory (Shagbark/Mockernut) | 1820 | High-traffic | ★★★★☆ |
| 2 | Maple (Hard Maple) | 1450 | Everyday kitchen use | ★★★★☆ |
| 3 | White Oak | 1360 | Good traffic tolerance | ★★★☆☆ |
| 4 | Red Oak | 1290 | Moderate dent resistance | ★★☆☆☆ |
| 5 | Walnut (Black Walnut) | 1010 | Needs extra floor protection | ★☆☆☆☆ |
| 6 | Cherry | 950 | Best with strict mat use | ★☆☆☆☆ |
| 7 | Brazilian Teak (W/ Cites for Hardness) | 3540 | Extreme dent resistance | ★★★★★ |
Note: This table uses Janka hardness as a proxy for dent resistance. Always verify your species’ expected performance and your finish’s water/chemical resistance separately.
What can go wrong (and how to avoid it)
Kitchen hardwood fails most often because moisture rules weren’t met or because the finish wasn’t applied in the correct conditions. If you see cupping, crowning, gaps, or peeling, treat it as a diagnostic problem—not just a cosmetic one.
Wood flooring movement issues (cupping/crowning/gaps) are commonly traced to out-of-spec subfloor moisture or indoor humidity outside the flooring system’s requirements.
Finish problems such as peeling or clouding frequently come from incompatible product pairing (wrong finish type over the wrong preparation) or incomplete surface prep.
– Moisture problems first: cupping, crowning, or gaps usually trace back to subfloor moisture or indoor humidity not being within spec.
– Wrong expectations about kitchens: kitchens are harsher than living rooms—waiting too long to clean spills or skipping mats near wet zones shortens finish life.
– Finish incompatibility: mixing finish types (or applying over the wrong surface preparation) can cause peeling, clouding, or soft spots.
– Underlayment/vapor barrier mistakes (if applicable): some installations require specific barriers; skipping them (or using the wrong one) can trap moisture.
– Insufficient acclimation: the floor may “move” after installation, creating gaps or fastening failures.
Pros/cons: solid vs. engineered in kitchens
If you’re deciding the flooring system, these trade-offs matter when kitchen humidity fluctuates.
| Option | Pros in a kitchen | Cons/Watch-outs |
|---|---|---|
| Engineered hardwood | Often more dimensionally stable than solid due to layered construction | Still needs moisture/humidity compliance; refinishing depth may be limited |
| Solid hardwood | Can be sanded/refinished multiple times depending on wear layer | Can be more sensitive to moisture swings if jobsite conditions aren’t controlled |
Verdict / tip: worth doing if you can control moisture
Hardwood in a kitchen is worth it when you can control indoor humidity, address subfloor moisture before installation, and follow your manufacturer’s acclimation + moisture requirements. The downside is real: hardwood needs disciplined care—quick spill cleanup, mats in wet/traffic zones, and regular inspection of edges—so it’s a poor fit if you expect frequent standing water or can’t keep conditions within spec.
According to NWFA-aligned guidance, maintaining indoor humidity near the flooring’s required range helps limit dimensional changes that create gaps and finish stress.
If the kitchen routinely experiences leaks or standing water, no finish can reliably prevent moisture-driven movement and damage to wood flooring systems.
You should strongly reconsider (or consult a pro) if:
– Your kitchen area routinely experiences leaks/standing water.
– You can’t keep indoor conditions near the manufacturer’s recommended range.
– You’re working with damaged subfloor conditions that can’t be corrected first.
Quick kitchen hardwood prep checklist (scan/save)
| Task | Done? |
|---|---|
| Confirm subfloor is flat, sound, and within your flooring’s moisture limits | ☐ |
| Plan for humidity control (per manufacturer/NWFA guidance) | ☐ |
| Acclimate hardwood to room conditions as instructed | ☐ |
| Leave required expansion gaps at walls/edges | ☐ |
| Clean thoroughly; remove barriers/residue | ☐ |
| Repair dents/gaps/loose boards before sanding/finishing | ☐ |
| Use mats in sink/dishwasher/entry “wet + traffic” zones | ☐ |
| Protect with felt pads + appliance/roller guards | ☐ |
| Apply the correct kitchen-rated finish; follow cure times | ☐ |
Sources
– NWFA (National Wood Flooring Association) guidance on installation moisture/humidity considerations:
– Finish manufacturer technical data sheets (TDS) for cure times, application conditions, and compatible preparation steps:
– ASTM standards commonly referenced for wood flooring/testing (as applicable to moisture/measurement methods):
Hardwood floors can work beautifully in kitchens, but the preparation has to be moisture-first: confirm subfloor dryness and indoor humidity, acclimate the wood, prep the surface properly, and apply the right finish with correct cure time. Use mats in the wet/traffic zones and protect against scratches and standing water to keep your finish lasting longer. If you want, tell me whether you’re installing solid or engineered hardwood (and prefinished vs. unfinished), and I’ll tailor the prep steps to your exact setup and product type.
Frequently Asked Questions
How do I prepare hardwood floors for a kitchen renovation or remodel?
Start by clearing the space completely and removing existing flooring, tack strips, or baseboards that could interfere with installation. Inspect the hardwood subfloor and wood planks for damage, gaps, or squeaks, and repair them before proceeding. Then clean thoroughly to remove dust and debris, because even small particles can affect adhesive, underlayment, or finish adhesion in a kitchen. Finally, acclimate the hardwood to indoor humidity and temperature conditions for the recommended period to prevent expansion or contraction after installation.
What’s the best way to clean and prep hardwood floors before installing new kitchen flooring?
Sweep and vacuum using a brush attachment to avoid scratching, then use a pH-neutral hardwood cleaner or a manufacturer-approved prep solution. Remove any grease or cooking residue with a gentle degreaser designed for wood, and rinse or wipe clean so no residue remains. Sand lightly only where necessary to smooth rough spots, and wipe off sanding dust completely. If you’re applying a new finish or refinishing, ensure the surface is fully dry and free of contaminants before coating.
Which underlayment and moisture barrier should I use under hardwood floors in a kitchen?
In kitchens, moisture control is critical, so choose an underlayment system rated for hardwood flooring and compatible with your subfloor type. For concrete slabs, use a proper moisture barrier (often a polyethylene vapor barrier) to reduce moisture migration and protect the wood. Make sure the underlayment supports sound reduction if desired, but follow the flooring manufacturer’s thickness and installation guidelines to prevent warranty issues. If your home is prone to spills or high humidity, consider extra moisture mitigation steps like sealing the subfloor or addressing drainage issues.
Why do hardwood floors need to acclimate before kitchen installation, and how long should I wait?
Hardwood is sensitive to changes in temperature and humidity, and acclimation helps the boards reach equilibrium conditions so they move less after installation. Most manufacturers recommend acclimating the planks in the room where they’ll be installed for several days, but the exact duration depends on the product and environment. Keep HVAC running, maintain stable indoor humidity, and do not store boards in areas with moisture exposure like basements or near exterior doors during prep. Proper acclimation reduces problems like gapping, buckling, and finish failures in kitchen traffic and cooking zones.
How do I protect hardwood floors from kitchen moisture and spills during preparation and after installation?
Before installation, seal and repair any subfloor issues, and address leaks or persistent moisture sources under sinks, dishwashers, or near exterior walls. During installation, use recommended spacers for expansion gaps and avoid trapping moisture with incorrect materials. Afterward, place felt pads under appliances and chair legs, use mats near the sink and dishwasher, and clean spills promptly without saturating the wood. For long-term durability, apply a kitchen-appropriate hardwood finish (urethane or manufacturer-recommended coating) and follow recoat schedules to maintain water and stain resistance.
📅 Last Updated: October 16, 2026 | Topic: How to prepare a hardwood floors for kitchen? | Content verified for accuracy and freshness.