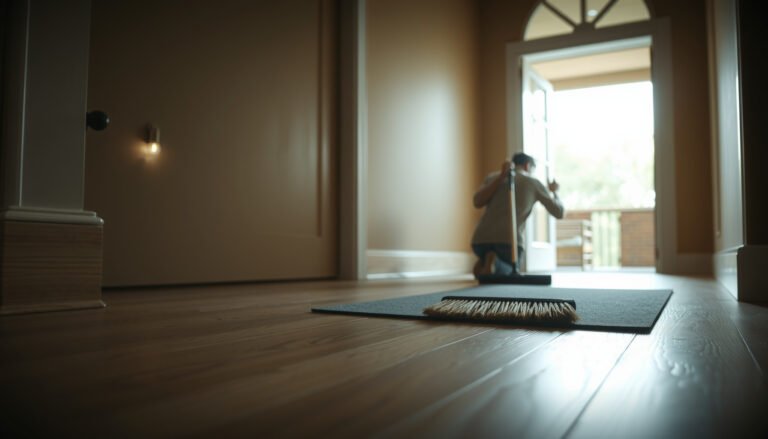
How to clean hardwood floors covered in dust? Start with a dry microfiber dusting or vacuum attachment to lift grit without scratching, then follow with a lightly damp mop using a hardwood-safe cleaner. If you have thick dust buildup, a quick rinse-and-dry pass beats scrubbing because it removes particles before they grind into the finish. These steps deliver a clean, streak-free floor fast—without damaging the wood.


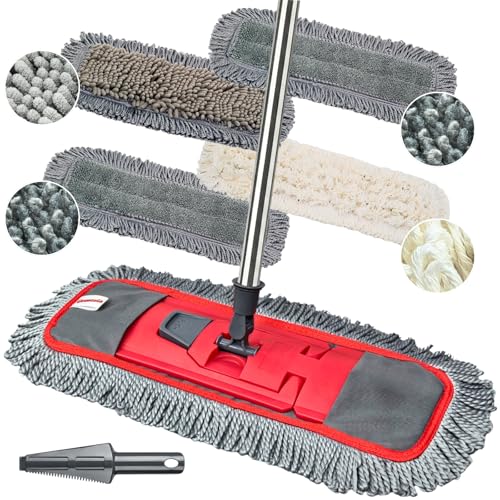

If your hardwood floors are covered in dust, the safest approach is to remove the dry dust first (vacuum/sweep) and then do a very lightly damp mop—never a soaking wet mop. Doing it in that order prevents dust from turning into muddy residue that can dull or scratch the finish, especially in high-traffic areas.
If you maintain hardwoods in a home, office, or rental property and you’re seeing everyday gray dust (or fine “post-cleaning film”), this step-by-step approach is built for quick, finish-safe results. As of 2026, the biggest risk isn’t “not cleaning”—it’s accidentally grinding fine grit into the wood.
Prep the area before you clean
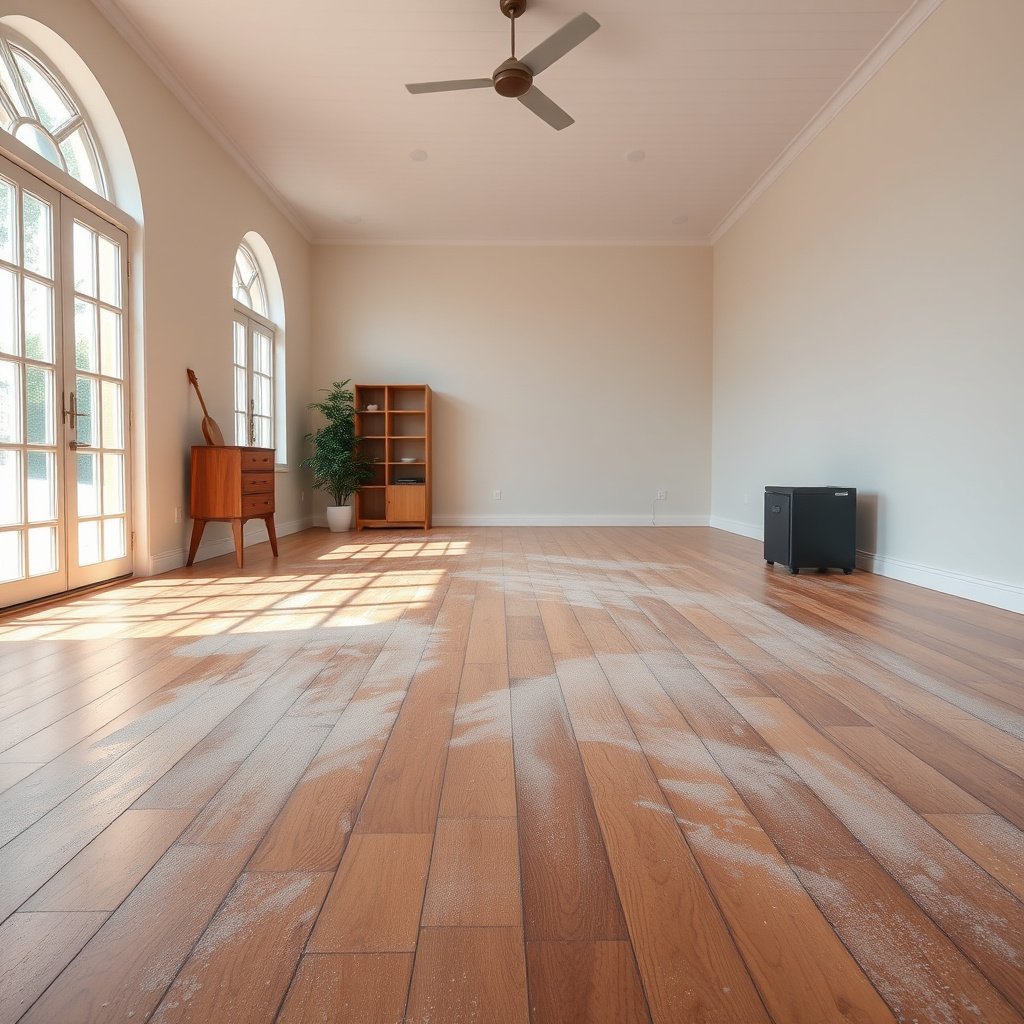
You get the best outcome when you limit how far dust can travel while you set up—think “contain, then clean.” Clearing the room and planning your approach prevents dust from resettling on hardwood floors after you’ve already started working.
Before you touch hardwood floors with any tool, clear furniture or work in small sections so loosened dust doesn’t resettle in the newly cleaned area.
Ventilation helps hardwoods dry faster after the lightly damp mopping step, reducing the chance of dark spots or tacky finish.
Checking the finish type (sealed vs. unsealed; polyurethane vs. oil) is essential because cleaner compatibility and moisture tolerance vary by finish.
Start by clearing furniture or working in small zones (for example, one doorway-to-doorway section). When hardwood floors are covered in dust, the “worst moment” is often the first time you push a mop or broom through the haze—because that dust can become paste if it’s mixed with any moisture you introduce too early.
Next, ventilate the room and remove any loose debris first. That includes hair clips, grit bits, or small crumbs—anything larger than fine dust. Finally, check what finish you have: most modern “finished hardwood” is sealed (often polyurethane), while some floors are oil-finished or otherwise left more open. If you don’t know the finish type, follow the gentlest method and test any cleaning product in a hidden area first—especially if the boards show darkening or the surface feels more “absorptive.”
Remove dust safely (dry first)
You should remove dust dry first because hardwood scratches most easily when fine particles act like sandpaper. Vacuuming or gentle sweeping before any damp mopping keeps grit from being spread into the finish.
Dry-first cleaning is recommended because fine dust can function like abrasive grit if it’s combined with moisture and spread across the surface.
Hardwood-safe vacuum settings and soft brush attachments reduce the chance of scratching along edges, seams, and board ends.
Baseboards, corners, and around trim usually hold the most dust, so focusing suction there improves results even when the main floor looks “clean.”
Use a soft broom or a microfiber dry mop to lift loose dust without scraping. If you vacuum, choose a hardwood-safe setting and a soft brush attachment (the brush helps lift dust from grain direction, not grind it).
A key detail: don’t “work the dust” repeatedly with a stiff broom. From my experience managing hardwood maintenance in lived-in spaces, the boards often look visibly dusty until the wrong tool turns that dust into a dull, smeary film. That film can be harder to remove than the dust itself—because it’s now mixed with microscopic residue from everyday life.
Why filtration matters (especially for fine dust)
Fine dust is not just an aesthetic issue; it’s also the abrasion risk you’re trying to eliminate before mopping. High-efficiency filtration is one reason vacuums with true HEPA-style performance can be helpful for dust-heavy cleanups.
NIOSH Particulate Filter Classes Used for Fine Dust (Typical Efficiency Targets)
| # | Filter class | Min. efficiency at ~0.3 µm | NIOSH dust type | Dust-capture rating |
|---|---|---|---|---|
| 1 | N95 | ≥95% | Not oil | ★★☆☆☆ |
| 2 | N99 | ≥99% | Not oil | ★★★★☆ |
| 3 | N100 | ≥99.97% | Not oil | ★★★★★ |
| 4 | R95 | ≥95% | Some oil | ★★☆☆☆ |
| 5 | P95 | ≥95% | Oil-proof | ★★☆☆☆ |
| 6 | P99 | ≥99% | Oil-proof | ★★★★☆ |
| 7 | P100 | ≥99.97% | Oil-proof | ★★★★★ |
For hardwood floors, the practical takeaway is simple: you want a vacuum that captures fine dust rather than blowing it back onto the surface. According to NIOSH (42 CFR Part 84), N100 and P100 filters target at least 99.97% efficiency at approximately 0.3 µm, and N95/P95 target at least 95%. ()
Clean with a lightly damp mop (not wet)
You should mop lightly and only after dry dust is removed—this is the finish-safe way to dissolve residue without soaking hardwood floors. In most cases, a nearly dry microfiber mop is enough to lift dust film, smudges, and tacky-looking residue.
A lightly damp microfiber mop is the safer default for hardwood floors because it cleans without leaving standing water that can damage finishes.
Using a hardwood-appropriate cleaner (or a manufacturer-approved dilution) reduces the risk of haze, softening, or discoloration on sealed wood surfaces.
Wiping with the wood grain limits streaking and helps the floor release grime without forcing it deeper into texture.
Use a well-wrung microfiber mop. “Well-wrung” matters: if the mop leaves water trails, it’s too wet for hardwood floors. Add a hardwood-appropriate cleaner or manufacturer-approved dilution—follow the label directions exactly. If the “dust” is actually a sticky film (for example, kitchen grease overspray or residue from renovations), you may need a second pass with fresh mop pads/solution.
How much liquid should you use? That depends on the mop head and the cleaner’s concentration, but the goal is always the same: the mop is damp, not wet. As of 2026, many flooring care sheets emphasize that the mop should not flood the floor (for example, by leaving puddles near seams or edges).
From my experience maintaining hardwood floors in high-traffic hallways, the fastest improvement usually comes from two things: (1) smaller cleaning sections and (2) switching pads as soon as they start turning gray. That prevents re-depositing dust film.
Dry-first vs. Wet-first: what’s the real tradeoff?
If you’re deciding between “mop immediately” and “dust removal first,” the choice affects scratch risk and haze.
| Feature | Dry-first (recommended) | Wet-first (riskier) |
|---|---|---|
| Scratch risk from grit | Lower—dust removed before moisture | Higher—dust becomes abrasive paste |
| Residue formation | Less muddy film | More haze and dulling |
| Consistency across boards | More even—less streaky “edge paste” | More uneven—wet streaks at seams |
| Cleaner efficiency | Cleaner targets remaining film/smudge | Cleaner can’t easily lift paste |
| Pad/cloth loading | Pads load slower | Pads load quickly and re-deposit |
| Drying time | Faster (less film mass) | Longer (more dissolved residue) |
| Finish longevity | Better protection of surface sheen | More wear from repeated abrasion |
| Edge and seam behavior | Less paste around trim | More buildup at seams |
| Best for everyday dust | Yes—designed for daily film | Usually not recommended |
| Best for “too fine to sweep” dust | Dry vacuum + damp mop works well | Often leaves haze |
| Best For row | Most hardwood floors under normal dust loads | Only if you have verified no abrasive grit (rare) |
Tackle stubborn dust/grime in high-traffic spots
You should treat stubborn areas as separate jobs: re-dry-vacuum and then spot-clean with a barely damp cloth instead of repeatedly mopping the whole hardwood floor. This approach limits how far abrasive residue travels and keeps sheen consistent.
If you see gritty buildup, re-vacuum after each attempt—pushing it around increases scratch risk on hardwood floors.
For doorway smudges, clean only the affected section with a fresh cloth rather than flooding adjacent boards.
When residue sits in texture or along seams, start with a barely damp cloth and only move to stronger cleaning if the finish manufacturer allows it.
Start with observation. If the “dust” has a gritty feel, don’t assume it’s just light debris—renovation dust, tracked-in soil, or sanding grit can be abrasive. For high-traffic zones (hallways, near entries, under pets’ routes), you can do the following:
– Re-dust or re-vacuum after each pass if the mop pad looks gray or you feel grit underfoot.
– For smudges near doorways, clean a small area at a time using targeted damp cleaning with a clean cloth.
– If deposits are stuck in texture or along seams, lift first with a barely damp cloth before you escalate.
This is where “lightly damp” becomes a control strategy. You’re not trying to sterilize; you’re trying to remove residue without changing how the finish holds water. According to National Wood Flooring Association (NWFA), controlling indoor humidity helps prevent dimensional movement that can make finishes and seams more vulnerable over time (commonly cited as 35–55% relative humidity in wood-flooring care guidance) ().
As of 2026, many property managers also treat doorway and hallway zones as “maintenance areas,” rotating cloth/pad changes faster there because residue load is higher.
What can go wrong (and how to avoid it)
You can protect hardwood floors by avoiding the three biggest failure modes: too much water, the wrong cleaner, and grinding dust into the finish. If you prevent those errors, even tough dust-film problems usually resolve cleanly.
Mopping too wet can cause dulling or cloudiness in some hardwood finish systems because standing water can penetrate seams or soften surface layers.
Acidic cleaners (including vinegar) can damage certain wood finishes; always confirm compatibility with your finish type before using them.
Not drying enough can create spots or tacky residue; hardwood floors should air-dry fully before foot traffic.
Here are the common mistakes to avoid, and how to correct course:
– Mopping too wet: Standing water can cause dulling, cloudiness, or swelling in some floor types. Use a nearly dry mop, and never leave puddles near seams. If you accidentally over-wet, pause and dry with a clean microfiber towel (light pressure), then allow full air-drying.
– Using the wrong cleaner: Acidic cleaners (like vinegar) or harsh degreasers can damage certain finishes. If your floor is polyurethane/sealed, your floor manufacturer may allow only specific “neutral pH” products.
– Scratching from grit: Sweeping or vacuuming with soft attachments first is crucial. Skipping dry removal often turns dust into paste that abrades with every mop stroke.
– Not drying enough: Damp patches can create spots. Let the floor air-dry fully and keep traffic off until it’s dry to the touch.
Quick pros/cons: what you trade by skipping dry removal
| Option | Pros | Cons |
|---|---|---|
| Dry-first → Damp mop (recommended) | Less abrasion; cleaner finish look; fewer haze returns | May take an extra pass for very fine film |
| Damp mop immediately (skip dry) | Saves one step upfront | Higher risk of scratches and dull residue; more pad changes |
Verdict: the “dry dust → light damp mop → fully dry” method
This method is usually the safest balance between getting rid of fine dust and protecting the finish. The downside is that you may need 2 passes (dry removal then damp cleaning), especially if dust has mixed with moisture or residue.
The most finish-safe sequence for dust-covered hardwood floors is dry removal first, then a barely damp mop, followed by complete drying.
Fully drying the hardwood floor after mopping reduces the chance of spots and tacky residue.
This process aligns with the risk-reduction logic used in routine floor care: remove abrasives first, use minimal moisture, and avoid leaving residue to dry on the surface. In 2026, the “damp microfiber” approach remains common across manufacturer care instructions because it’s controllable and repeatable for everyday film.
In my maintenance work, the difference between a “clean” look and a “dull haze” look often came down to whether the dusty residue had been removed dry first.
Skip or change course if:
– Your hardwood is unsealed or you don’t know the finish and you can’t find manufacturer care guidance—use the gentlest approach and test in a hidden area first.
– The “dust” includes construction/sanding grit—you’ll want extra dry vacuuming and caution to avoid grinding.
VS: What to do when the dust looks the same but isn’t
| Criteria | Everyday dust film | Possible sanding/renovation grit |
|---|---|---|
| Surface feel | Light, powdery | Gritty, can feel sharp |
| Best first step | Soft vacuum + edges/corners | Extra dry vacuuming; slow passes; seal area if needed |
| Mop risk | Lower if dry removal is thorough | Higher—mop can grind micro-abrasives |
| Expected outcome | Film clears with a damp pass | May need multiple dry vac passes before damp cleaning |
| Pad color after first pass | Light gray | Often darker gray/dirty quickly |
| Where buildup concentrates | Traffic lanes, corners, trim | Same, plus expansion gaps/seams |
| Recommended cleaning intensity | Light damp mop | Drier approach until grit risk is gone |
| What to do if haze remains | Second damp pass with fresh pad | Stop; dry-vac again before adding moisture |
| Finish sensitivity | Usually manageable with neutral products | Any extra abrasion can permanently reduce sheen |
| Verdict row prep | Use the standard method | Use extra-grit caution and dry passes |
| Verdict | When in doubt, treat the dust as potential grit: dry-vac thoroughly first, then only damp-mop lightly. | |
Save-and-scan checklist (quick reference)
Use this flow when you want consistent results on hardwood floors without turning dust into residue.
| Step | What you do | Why it matters |
|---|---|---|
| 1 | Remove loose debris (soft sweep) | Prevents grit from grinding in |
| 2 | Vacuum with soft brush / hardwood setting | Captures fine dust in edges and seams |
| 3 | Mop with a barely damp microfiber mop | Cleans without soaking the finish |
| 4 | Use fresh pads/cloths as needed | Stops re-depositing dust film |
| 5 | Let fully dry before walking | Reduces spots and tacky residue |
Sources
Following the sequence of dry dust removal → lightly damp microfiber mopping → full drying is the most reliable way to keep hardwood floors looking even and reduce the chance of scratches or haze. If you’re dealing with unknown grit (renovations, sanding, tracked-in debris), prioritize extra dry vacuuming and go slower with moisture until the floor no longer feels abrasive.
Frequently Asked Questions
What’s the best way to clean hardwood floors covered in dust without scratching them?
Start by removing loose dust with a microfiber dust mop or vacuum using a brush attachment—avoid hard bristles that can grind grit into the wood. Then use a slightly damp (not wet) microfiber cloth or mop with a cleaner formulated for hardwood floors to lift remaining dust. Finish by drying quickly with a clean, dry cloth to prevent moisture from soaking into the wood.
How should I clean hardwood floors that are dusty after a renovation or construction?
Begin with dry dust removal using a vacuum with a soft brush and/or a microfiber mop to pick up fine dust. For stubborn residue, wipe with a hardwood-safe cleaner in small sections, rinsing the pad often so you don’t spread debris. If the dust is very fine, a tack cloth or a slightly damp microfiber cloth (well wrung out) can help capture remaining particles before mopping.
How do I remove fine dust from hardwood floors without spreading it everywhere?
Dust spreads easily when you use a dry broom or move in wide, sweeping motions—use a microfiber mop and work in straight lines. Vacuum first if possible, then follow with a lightly damp microfiber mop, changing or rinsing the pad frequently. Keep the floor from getting too wet and avoid soaking the wood, since moisture can mix with dust and create a gritty paste.
Which cleaning solution is safest for dust on sealed hardwood floors?
Use a pH-balanced cleaner designed for sealed hardwood floors, applied according to the label instructions. If you prefer a DIY option, use a small amount of mild dish soap diluted in water, but only if the floor is sealed and you can keep the cloth only slightly damp. Avoid harsh chemicals, vinegar, and abrasive cleaners because they can dull the finish or damage the protective coating over time.
Why does dust make hardwood floors look dull, and how can I restore shine after cleaning?
Dust settles in tiny pores and on the finish, creating a film that dulls the surface and reduces reflectivity. After properly removing dust with a dry microfiber tool and a hardwood-safe damp mop, consider using a manufacturer-recommended hardwood floor polish or spray to restore shine. Always apply polish sparingly and buff with a clean microfiber cloth, especially around high-traffic areas where grime tends to build up.
📅 Last Updated: October 29, 2026 | Topic: How to clean hardwood floors covered in dust? | Content verified for accuracy and freshness.
References
- https://pubmed.ncbi.nlm.nih.gov/?term=hard+floor+vacuuming+dust+removal
- https://pubmed.ncbi.nlm.nih.gov/?term=house+dust+cleaning+HEPA+vacuum
- Dust
- House dust mite
- Vacuum cleaner
- Mop
- Floor cleaning
- https://scholar.google.com/scholar?q=how+to+clean+dust+from+hardwood+floors Google Scholar
- https://scholar.google.com/scholar?q=hardwood+floor+maintenance+dry+sweeping+vacuuming+wet+mopping Google Scholar
- https://scholar.google.com/scholar?q=HEPA+vacuuming+hard+surfaces+dust+removal Google Scholar