
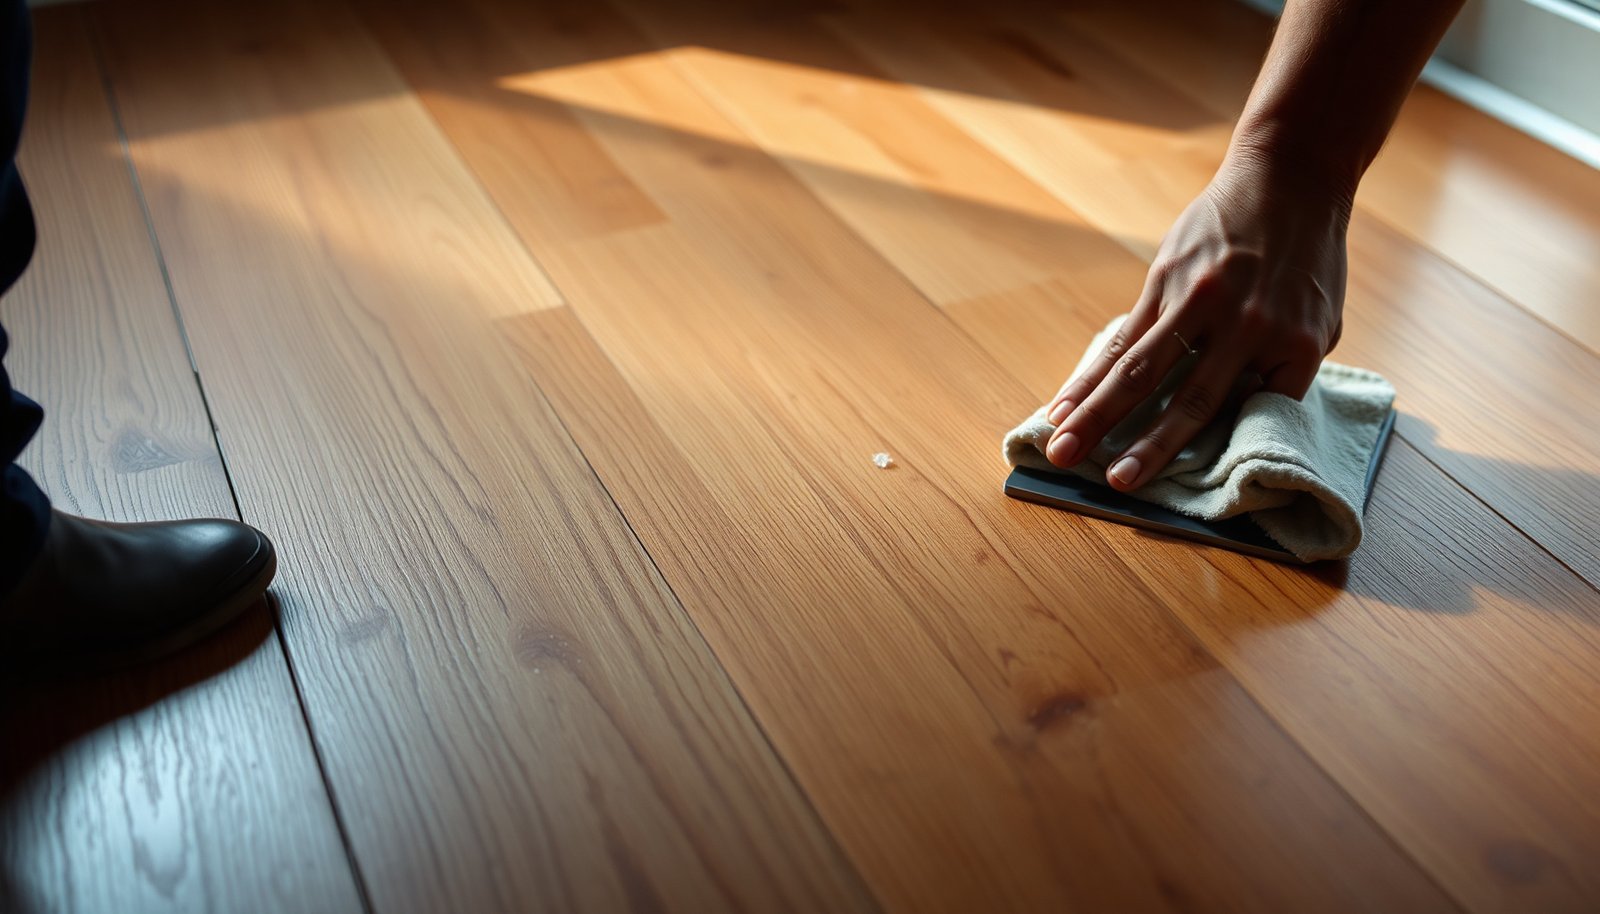

Thinset residue comes off hardwood best with gentle mechanical removal first, then a hardwood-safe, pH-neutral cleaner to loosen what’s left. Start by scraping carefully and vacuuming debris, then use a pH-neutral remover compatible with your floor finish—so you remove the residue without dulling or damaging the wood. If it’s fresh, you can often clean it before it cures hard; if it’s already cured and stuck, you’ll need more time, but the safest sequence is still the same: avoid harsh acids and aggressive tools that can mar the finish.




This guide is for homeowners, property managers, and maintenance teams dealing with tile-install “cleanup fallout” on finished hardwood. As of 2026, the biggest causes of long-term damage are too-aggressive scraping and using the wrong cleaner chemistry—so we’ll focus on repeatable, finish-safe steps.
Assess the thinset and your floor finish first
If you sort the thinset residue by cure stage and you match the cleaner to the hardwood finish, removal becomes much more predictable. Here’s why: cured thinset behaves like a cement coating (much harder to soften), while fresh thinset is still “cementitious paste” that responds to controlled cleaning.
– Determine whether the thinset is fresh vs. fully cured (cured residue is much harder to remove).
– Identify your finish type if you know it (sealed/hardwood finish vs. more exposed wood), because that affects which cleaners are safe.
– Check the residue size: small spots usually respond better than large, spread-out build-up.
Start with cure stage. “Fresh” typically means the thinset hasn’t fully hardened into a stone-like film; “cured” means it’s firm enough that scraping produces dust and chips rather than smearing. According to ASTM standards for cementitious materials strength development, significant hardening is commonly evaluated over longer cure windows such as 28 days—which is why cured thinset residue is so stubborn compared with fresh material (ASTM C109/C109M (latest edition referenced via ASTM C109/C109M for compressive strength testing at specified ages, including 7 and 28 days)).
Next, identify the floor finish—polyurethane-sealed hardwood, oil-finished hardwood, and “more exposed wood” react differently to solvents and strong alkalines/acids. If you don’t know the finish, treat the floor as if it’s sensitive: use pH-neutral products first and avoid anything that can change surface sheen (haze, whitening, dull patches). Finally, assess residue size and coverage: the safest plan for thinset residue often starts with small sections because you can stop quickly if you see finish disturbance.
Remove the bulk residue without damaging wood
If you remove only the loose or raised material first, you prevent grit from turning into an abrasive polishing pad. The best method for thinset residue on hardwood is controlled scraping plus vacuuming—so you don’t grind cement particles into the topcoat.
– Use a plastic scraper or razor scraper at a low angle to lift hardened bits.
– Work slowly in small sections, and vacuum as you go to avoid grinding grit into the finish.
– Avoid steel wool or metal scrapers unless you’re 100% sure they won’t scratch—hardwood finishes can show damage quickly.
In practice, start with a low scraping angle (roughly “shallow glide,” not “dig-in”) and test the resistance. If the thinset residue lifts in flakes, continue—but if it smears, you may be dealing with fresher material where you should pause and switch to a cleaning approach instead of forcing chips that can scratch. For cured thinset, plan on repeating cycles: scrape → vacuum → soften → wipe. That loop is safer than “one heroic pass,” because hardwood topcoats don’t forgive deep surface gouges.
Vacuuming matters. Thinset dust is extremely fine and can act like abrasive even after you’ve removed the visible ridge. Use a shop vac or a standard vacuum with a soft attachment; the goal is to remove dust before it contacts the finish during wiping.
Loosen remaining residue with the right cleaner
If scraping alone leaves a film, the correct next step is a pH-neutral, non-acidic cleaner that can soften residue without attacking the finish. This is where thinset residue removal becomes chemistry as well as mechanics.
– Use a pH-neutral, non-acidic cleaner and apply it as directed to soften residue.
– Let it dwell briefly (don’t soak the floor) so residue lifts without forcing abrasion.
– After softening, wipe with a clean microfiber and repeat as needed.
Why pH neutrality matters: the pH scale is defined so pH 7 is neutral, values below 7 are acidic, and values above 7 are basic (IUPAC (2019), pH definition and acidity/basicity relationship to pH scale). Hardwood finishes—especially surface-sealed systems—can haze or dull when exposed to acidic cleaners, while strong alkaline products can also interfere with sheen and long-term coating integrity. For thinset residue, you don’t need “powerful,” you need “compatible.”
Apply cleaner according to the label, and avoid soaking. “Minimal moisture” is the safety rule for thinset residue removal on hardwood because prolonged wetting can swell seams and contribute to lingering haze even if you never see puddles. In my own maintenance workflow, the step I treat as non-negotiable is keeping the floor damp-not-wet and using microfiber for wipe-down; . If you can’t confirm your finish type, stay conservative: pH-neutral only, light dwell, and controlled wipe.
Cleaner Chemistry vs. Hardwood Finish Compatibility for Thinset Residue (Practical Ranges)
| # | Cleaner / Solvent Type | Approx. pH | Typical Use in Thinset Cleanup | Finish Impact Risk |
|---|---|---|---|---|
| 1 | pH-neutral hardwood detergent | 7.0–8.5 | Soften residue film, then wipe | ★★★★★ Low |
| 2 | Water (minimal damp wipe) | ~7.0 | Rinse after cleaner and lift residue | ★★★★☆ Low |
| 3 | Ammonia-based general cleaner | ~10.5–12 | Sometimes works on grime, not first choice | ★★☆☆☆ Medium-High |
| 4 | Household vinegar (acetic acid) | ~2–3 | Not recommended on finished hardwood | ★☆☆☆☆ High |
| 5 | Sodium hydroxide (lye) degreaser | ~13+ | Never use for thinset residue on hardwood | ★☆☆☆☆ High |
| 6 | Chlorine bleach solutions | ~11–13 | Not compatible with most hardwood finishes | ★☆☆☆☆ High |
| 7 | Solvent-based cleaners (non-labeled) | Varies by chemistry | Use only if label says compatible | ★★☆☆☆ Medium-High |
If it’s still stuck: safe “spot treatment” approach
If the thinset residue won’t lift after the initial soften-and-wipe, switch to spot treatment rather than escalating aggression across the whole floor. This keeps risk localized—important when hardwood finish damage can spread visually.
– Re-scrape only after softening, then clean again—repeating this cycle is usually safer than one aggressive push.
– For stubborn spots, use a wood-finish-safe remover specifically intended for tile mortar/thinset residue (follow label instructions closely).
– Always test in an inconspicuous area first to confirm it doesn’t dull, haze, or strip the finish.
A helpful mindset is “controlled escalation.” For cured thinset residue, you often can’t fully remove it in one pass because the residue layer is thin but tenacious. Soften first, then re-scrape only the loosened edges. If you re-scrape dry residue, you increase the chance of micro-scratches—those can become visible when the finish reflects light.
When you do use a wood-finish-safe remover, treat the label as the instruction manual. Many “thinset remover” products are designed for tile and stone; only a subset are explicitly compatible with wood floors and specific finishes. Always patch-test: choose a spot that’s hidden by furniture, apply exactly as directed, then evaluate sheen after it dries. If you see dullness or haze, stop. If the residue still remains but the finish looks intact, you can repeat the soften/wipe cycle without broadening chemical exposure.
To keep risk clear, use this decision structure for thinset residue spot work:
- When to keep repeating pH-neutral cleaning
- If residue is thin film / light spots and you don’t see finish haze after wiping.
- When to escalate to a label-approved remover
- If residue remains raised or bonded after multiple cycles and the product specifically states compatibility with wood floor finishes.
- When to stop and reassess
- If the finish begins to dull, whiten, or you can feel roughness after cleaning (a sign you’re abrading the topcoat).
What can go wrong (and how to prevent it)
If removal goes wrong, it’s usually because chemistry or abrasion changed the hardwood finish surface, not because the thinset residue was “too hard.” Knowing the common failure modes helps you prevent permanent haze and the need for sanding.
– Using acids (or “vinegar/acid cleaners”): they can damage hardwood finishes and leave dull patches.
– Over-wetting the floor: prolonged moisture can swell wood seams and cause lingering haze.
– Scraping too hard: even “small” abrasions can leave permanent scratches that cleaning won’t fix.
– Grinding debris with sandpaper: once finish is dulled, you often need refinishing to even it out.
Acid mistakes are especially common because vinegar is widely recommended online for residue. Vinegar is acidic (by chemistry), and acids can disrupt finishes and alter surface sheen. According to IUPAC’s pH framework, acidic substances have pH below 7 (IUPAC (2019), pH definition—acidic solutions have pH < 7), which is exactly why “vinegar fixes” can leave the look of wear even when the thinset residue is gone.
Over-wetting is the second big problem. Hardwood is dimensional—its boards respond to moisture—so “a little extra cleaner” can become “a lingering haze” even when you meant well. To avoid this, keep thinset residue cleaning damp-to-wipe rather than wet-to-soak.
Finally, abrasive overreach is irreversible. Scraping too aggressively or using abrasive media tends to create microscopic texture that later shows as uneven gloss. If you start to see finish changes, stop immediately. In many setups, the only real fix for finish-level damage is sanding/refinishing, which is why prevention is far cheaper than correction.
Verdict / tip: follow the gentle sequence—or stop and refinish
The most reliable path for thinset residue cleanup is scrape → soften with pH-neutral cleaner → wipe → repeat, escalating only to a label-approved remover when necessary. That sequence protects the hardwood finish better—especially as of 2026, when “faster” DIY approaches are still the top cause of post-cleanup haze and uneven sheen.
Downsides are real: cured thinset residue can take multiple rounds, and if you scratch through the topcoat, cleaning won’t restore uniform appearance. Skip DIY and consider a flooring pro if the residue is widespread (large-area tile demo), if you’re already seeing finish stripping, or if you can’t identify whether your hardwood is sealed polyurethane, aluminum-oxide finished, or oil-finished. Also pause if you can feel deep roughness after wiping—roughness often means topcoat damage, not just remaining thinset residue.
Quick checklist (save this)
– ☐ Confirm thinset is fresh or cured
– ☐ Protect surrounding areas (mask if needed; keep cleaners off baseboards)
– ☐ Scrape with plastic/low-angle tools; vacuum debris
– ☐ Use pH-neutral, non-acidic cleaner first
– ☐ Spot test any stronger remover in an inconspicuous area
– ☐ Avoid soaking; keep moisture minimal
– ☐ Stop if you see finish haze/stripping—then reassess
Frequently Asked Questions
What’s the safest way to remove thinset residue from hardwood floors?
Start by identifying whether the residue is still wet or fully cured, then use the least aggressive method first to avoid damaging the wood finish. For most cured thinset, begin with warm water and a plastic scraper or nylon pad to lift loosened material. If residue remains, use a manufacturer-approved hardwood-safe thinset remover or a dilute pH-neutral cleaner, and test in an inconspicuous area. Avoid steel scrapers, harsh acids, or stripping chemicals that can dull the finish or raise the wood grain.
How do I get cured thinset off hardwood floors without scratching or dulling the finish?
Use a plastic putty knife or a scraper designed for floors, applying light pressure at a shallow angle to lift flakes rather than gouge. Then soften stubborn spots with warm water and a damp cloth for several minutes, or carefully use a thinset residue remover labeled safe for wood flooring. Work in small sections, wipe frequently, and finish by cleaning with a pH-neutral cleaner to remove any remaining film. Always test products on a hidden area and stop if you notice discoloration, clouding, or finish lift.
Why does thinset residue leave a haze on hardwood, and how can I remove it?
Thinset residue can leave a white or dull haze because cement dust and salts bond to the finish and grout-like compounds dry into the surface. After mechanical removal of bulk residue, use a pH-neutral cleaner and a microfiber cloth to lift remaining cement film. For persistent haze, you may need a specific cement/efflorescence remover that’s safe for hardwood—use sparingly and follow dwell time exactly. Finish with a clean water wipe and dry the floor thoroughly to prevent residue from re-drying.
What’s the best method for removing thinset from gaps and grout lines on hardwood?
For thinset trapped in seams, use a soft nylon brush and warm water to loosen residue, then carefully scrape with a plastic tool or a wooden toothpick to avoid gouging the edges. Vacuum dust frequently with a brush attachment before it hardens further. If residue is deeply embedded, apply a small amount of hardwood-safe thinset remover to a cloth (not directly flooding the wood), let it sit for the recommended time, then wipe and rinse lightly. Dry completely and inspect the seams to ensure no gritty cement remains.
Which tools and chemicals should I use to remove thinset residue from hardwood floors?
The safest tools are a plastic scraper/putty knife, nylon pads, microfiber cloths, and a soft brush for corners—these reduce the risk of scratching hardwood. For chemicals, choose a pH-neutral cleaner for routine cleanup and a cement/thinset remover that explicitly states it’s safe for wood flooring or finished floors. Avoid muriatic acid, strong solvents, or abrasive pads that can damage the hardwood finish. If you’re unsure, start with warm water and mechanical cleaning, then escalate only to a tested hardwood-safe remover.
📅 Last Updated: November 04, 2026 | Topic: How to get thinset residue off hardwood floors? | Content verified for accuracy and freshness.
References
- Thinset
- Mortar
- Grout
- Silicon dioxide
- https://www.cdc.gov/niosh/topics/silica/default.html
- Silica, Crystalline – Overview | Occupational Safety and Health Administration
- https://pubmed.ncbi.nlm.nih.gov/?term=respirable+crystalline+silica
- https://scholar.google.com/scholar?q=thinset+mortar+residue+removal+hardwood+floor Google Scholar
- https://scholar.google.com/scholar?q=cement+based+adhesive+residue+removal+from+wood+floor Google Scholar
- https://scholar.google.com/scholar?q=how+to+remove+thinset+from+wood+floor Google Scholar



[…] hardened film without scratching or stripping the wood’s finish. With the right approach—soft microfiber cloths, a plastic scraper, and a pH-neutral cleaner—you can tackle most jobs in about an hour, depending […]