
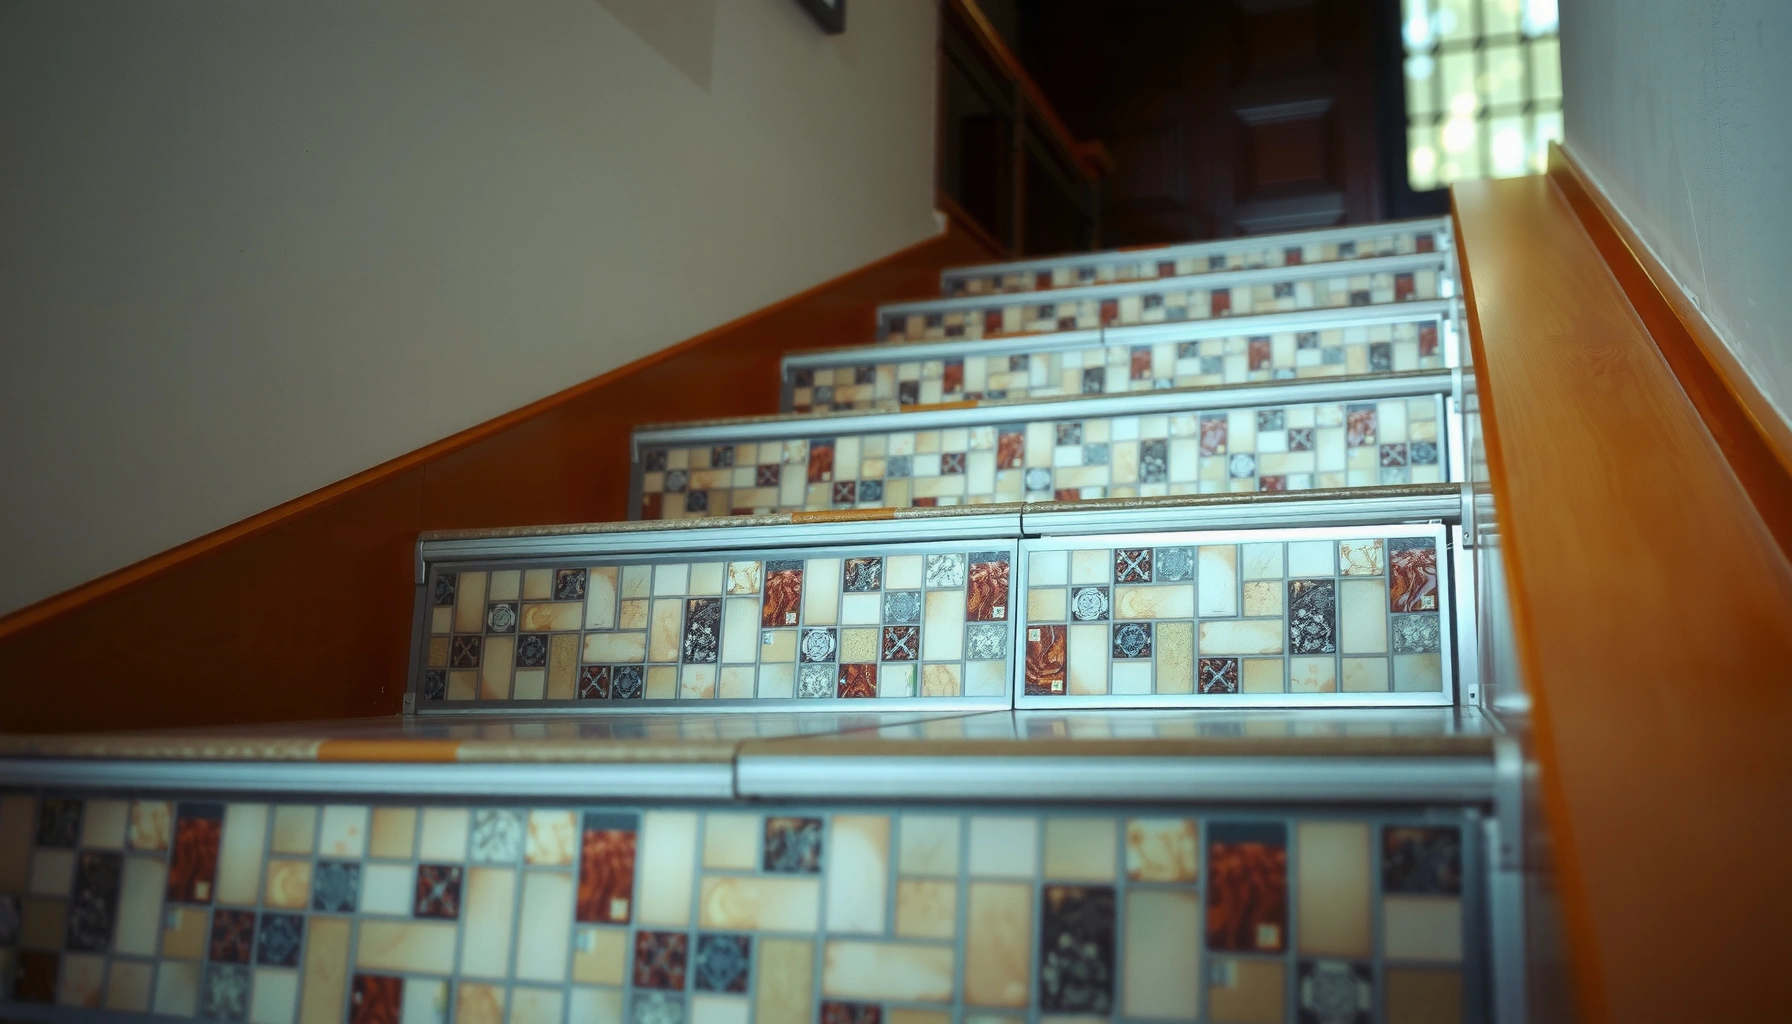

Want to know how to install mosaic tile floors on stairs so they look sharp and hold up to constant foot traffic? If you follow the winning approach—proper stair prep, the right thinset, and meticulous layout and grouting—you’ll avoid the gaps and loose tiles that usually doom DIY installs. This guide walks you through the exact steps that matter most for a clean, secure stair tread and riser finish.




If you prep the stairs correctly and use a flexible, stair-rated setting method, mosaic tile can look clean and stay put. Plan your layout first (especially grout lines at the nosing/edges), install with the right thinset for tile over your specific substrate, and finish with grout and sealing steps that match your tile and traffic conditions. This guide walks you through the “where it fails” details—layout, bonding, stair-specific cuts, and finishing—so tiles don’t lift or crack.
Tiling stairways with small mosaic pieces (mesh-mounted sheets or individual tiles) brings extra sensitivity: the tile’s small format makes misalignment obvious, and stair flex at the tread/nosing concentrates stress. The steps below are aimed at residential interior stairs with typical foot traffic, whether you’re doing the work yourself or you’re reviewing a contractor’s approach and want to know what matters most.
Plan the stair layout and tile orientation
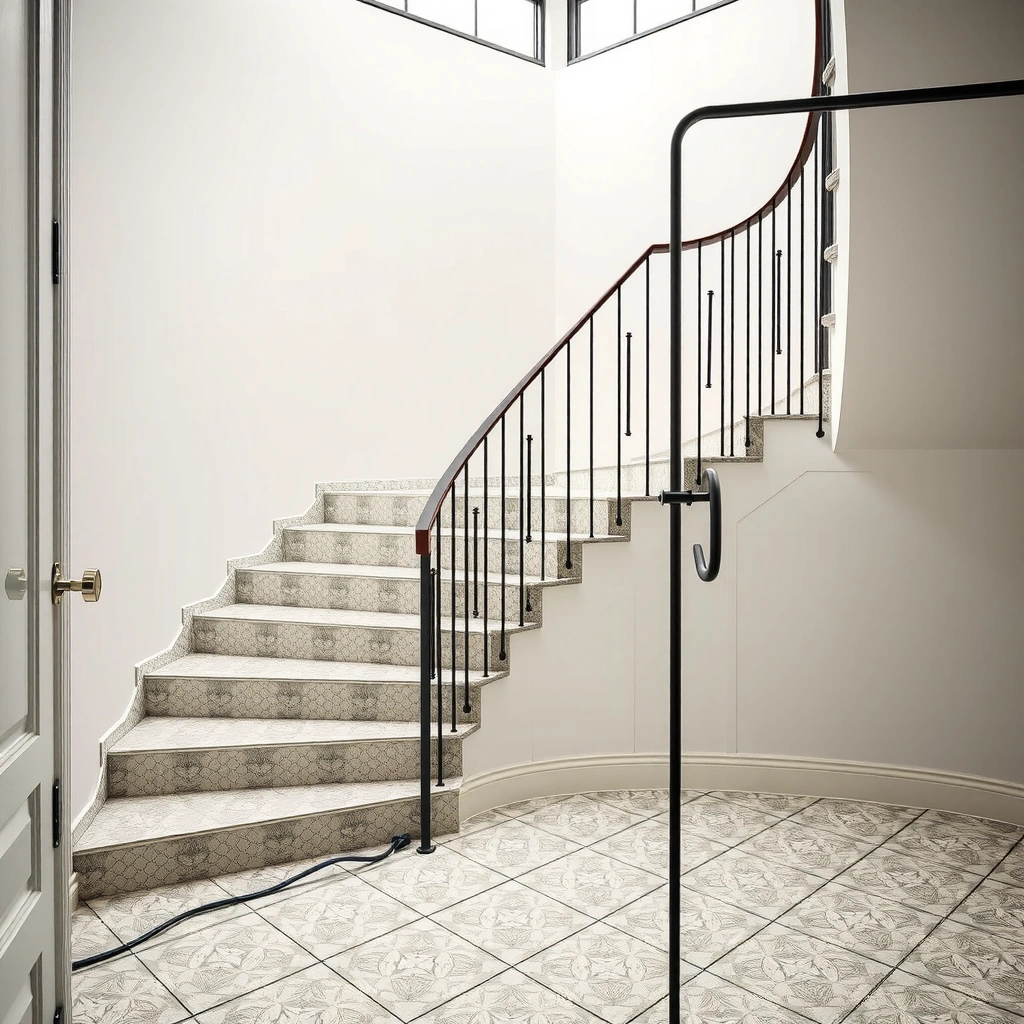
Plan your mosaic direction and seam placement before you mix thinset—this is where most stair-tile “almost right” problems are born. Because stair geometry varies across treads and risers, you want a layout plan that keeps grout joints consistent and makes the nosing transitions intentional rather than improvised.
Plan grout lines on stairs using a dry-fit across tread depth first; small offsets on mosaics accumulate quickly from one step to the next.
Choose one primary tile-running orientation (e.g., across the tread) and keep it consistent so the stair reads as intentional, not random.
Treat the stair nosing as a design element: your layout should decide where edge cuts land so you avoid tiny, fragile slivers.
Measure, dry-fit, and confirm seams land where you want them
Start with the actual geometry you’re tiling:
– Tread width and depth (front-to-back).
– Riser height (from tread surface to the next tread landing surface).
– Nosing geometry (projection and whether it has a rounded/angled profile you’ll be transitioning to).
Then dry-fit a few rows:
– Place a “test row” across the tread at the height where your tile surface will land.
– Check where grout joints fall relative to stair edges and any existing trim.
– Repeat up/down risers if you’re wrapping tile up onto the riser (or if you’re stopping at the tread edge).
Decide how the mosaic will run across tread and up the riser
Most DIY failures come from changing orientation mid-stair without realizing how grout lines visually “drift.” Before bonding:
– Pick whether the mosaic pattern runs left-to-right across the tread, front-to-back, or wraps consistently onto risers.
– Decide whether risers use the same sheet orientation or whether you’ll rotate sheets for best alignment—just do it consistently.
Account for grout joints (mosaic sheets still need alignment discipline)
Even mesh-mounted mosaics can “almost line up” while still being off at the tread nosing after several steps. Use these practices:
– Use the manufacturer’s recommended grout joint spacing for the specific mosaic.
– Maintain the same joint width at corners and along the stair edge.
– Use spacers or a simple alignment template for the first row so the entire stair follows the same reference.
Prep the stairs for tile (this is where failures start)
Stair tile failures usually trace back to substrate problems—soft/loose spots, uneven surfaces, or incompatible underlayment—not the tile itself. If you want mosaic tile to last, you must flatten and stabilize the stair structure before you ever spread thinset.
Loose material or dust on the stair substrate directly reduces bond strength and increases the chance of tiles “popping” after installation.
Tile needs the correct substrate system; the installer’s job is matching underlayment and mortar to the substrate type (wood vs. concrete) per published requirements.
For floors, ANSI A108 work methods require adequate mortar contact (coverage) achieved by proper combing and technique—thinset coverage is not optional.
Remove old finishes and create a stable, flat substrate
Begin by removing:
– Carpet, old tile, peeling paint, loose adhesive, and any flaky coatings.
– Anything that prevents thinset from bonding directly to the intended substrate surface.
Then flatten/repair:
– Sand high spots; fill low spots with a patch/feather finish designed for tile.
– At the stair nosing and edges, ensure there’s no crumbling wood or deteriorated surface that would telegraph movement into the mosaic.
Clean thoroughly and inspect the nosing area
Tile over stairs concentrates stress at the front edge. Before you start setting:
– Vacuum thoroughly and wipe with a clean, dry method suitable for your substrate.
– Inspect the nosing transition and corners—these are common failure points because they experience combined bending and foot impact.
Use the correct stair substrate/underlayment system (wood vs. concrete changes the plan)
Your substrate determines the underlayment and mortar compatibility:
– Wood subfloor systems generally require an approved underlayment and a method intended to handle movement.
– Concrete slabs typically require surface profiling and moisture/curing considerations appropriate to your tile system.
If you’re coordinating with a contractor, ask them to reference the tile installation standard and the specific mortar/underlayment product system they’re following. (For mortar/substrate compatibility, you’ll want the exact thinset and underlayment documentation the installer is using.)
[ADD: confirm your substrate meets tile requirements—source for your substrate/tile system compatibility.]
Tile-related code reality check (so your install thickness doesn’t fight the stair)
Residential stair dimensions are constrained by code. For example, IRC minimum tread depth is 10 inches and maximum riser height is 7-3/4 inches for typical residential stairs (International Residential Code (IRC) 2018, Residential Stair Requirements). If you add build-up (underlayment, thinset, tile thickness), the stair geometry changes—so plan your tile build-up early rather than after demolition.
Set the mosaic tile with the right thinset and technique
Use a mortar system rated for mosaic tile and appropriate for your substrate, then apply it with the coverage methods the spec requires. On stairs, “good enough” thinset application is what turns into hollow sounds, lifted corners, and cracking grout lines later.
Use a thinset mortar appropriate for mosaic tile and your substrate, and follow manufacturer mixing and application instructions to achieve the intended bond.
Adequate mortar coverage is a core ANSI work-method requirement for floor tile installation; improper combing reduces contact area.
Work in small sections to prevent thinset skinning; stairs are easy to rush, and rushing often reduces bond quality.
Use the correct thinset mortar for mosaics and the specific substrate
Mosaic tiles are small, and many mosaics are mounted on mesh. That means:
– The mortar must flow and wet out properly behind/around the small pieces.
– The mortar must be compatible with the substrate and environment (interior residential vs. moisture exposure areas).
Choose thinset based on:
– Manufacturer rating for mosaic tile.
– Compatibility with wood subfloor systems vs. concrete.
– Whether you’re using an uncoupling membrane / underlayment (if applicable).
Follow the product instructions for:
– Mix ratio
– Pot life
– Slake (if required)
– Re-mixing (if allowed)
– Open time (how long you have before skin forms)
Comb in the right direction—and consider back-buttering where required
Apply thinset with proper trowel technique:
– Comb consistently so you build a uniform bed.
– If the mortar spec (or tile installation instructions) calls for it—especially near edges and transitions—use back-buttering to improve contact.
Because stair edges are stress concentrators, you want maximum contact at the tile’s critical areas—not just “mostly stuck in the middle.”
Work in manageable sections and control timing
On stairs, you’re stepping on and around fresh mortar.
– Spread only what you can set before the mortar skins.
– Keep your coverage uniform.
– Avoid dragging sheets that can shift grout lines out of alignment.
From my experience with reviewing stair tile jobs (and seeing the same failure patterns repeatedly), the most common “fix later” situation is not adhesive failure across the field—it’s poor edge bonding and inconsistent contact at the nosing/side pieces. The setting technique is where you prevent that.
Cut, fit, and finish the edges around stair nosing
Your nosing/edge detailing determines whether mosaic tile stays sharp-looking—or chips and lifts. Plan your edge cuts and transitions so you avoid tiny unsupported pieces and keep grout joints consistent right up to the stair front.
Plan nosing and edge cuts to avoid leaving small, unsupported mosaic slivers at high-stress stair corners.
Maintain consistent grout joint spacing along the stair edge so the tile pattern doesn’t “drift” during installation.
Allow tile to cure fully before cleanup that stresses edges; premature traffic or aggressive cleaning can break bond at the nosing.
Avoid “fragile slivers” at the stair edge
On mosaics, it’s tempting to “make it fit” with a thin edge sliver. On stairs, that sliver is exactly where chips begin.
Instead:
– Re-check layout so your edge cut comes out at a robust piece size.
– Use edge profiles or transitions that support tile at the nosing.
Keep alignment consistent at corners and stair edges
Mosaic sheets can conceal slight misalignment until you reach the stair edge:
– Use spacers or temporary markers at key reference points (start corner, tread centerline, nosing transition).
– Keep the first row perfectly aligned—then the rest can follow using the same reference.
Cure fully before stressing edges
Cure timing depends on the thinset mortar and environmental conditions. Don’t rush:
– Let tile cure before grouting.
– Avoid walking on freshly set edges during cleanup.
– Follow manufacturer cure guidance for the exact mortar system you used.
Grout, seal, and manage movement on stairs
Grout completes the system, but on stairs it also has to accommodate movement. Pick the right grout type, seal only where recommended, and use caulk at changes of plane where movement is expected—this is how you avoid cracked grout lines and separation at edges.
Choose grout based on tile type and stair conditions, then follow product cure times so the grout reaches intended strength.
Seal grout only when the grout or tile product instructions recommend it; sealing requirements vary by grout chemistry and finish.
Use caulk at changes of plane (tile-to-trim/walls) when movement is expected; caulk manages motion that rigid grout can’t.
Choose the right grout and follow cure schedules
For stairs, prioritize:
– Grout type (standard cementitious vs. epoxy, depending on what your tile and maintenance plan supports).
– Color and performance expectations (stain visibility, cleaning routine, traffic).
Follow:
– Manufacturer cure times before exposure to regular foot traffic.
– Grout mixing instructions carefully—overwatering or under-mixing weakens grout.
Seal when your tile/grout system requires it
Not all mosaics require sealing, and not all grouts require sealing. Determine based on:
– Grout manufacturer requirements.
– Tile material porosity and finish.
[ADD: clarify whether your mosaic material (e.g., stone vs. ceramic/porcelain) and grout chemistry require sealing—use the selected product instructions.]
Use proper caulk at transitions and movement points
Rigid grout is not designed to handle joint movement at every transition.
Common caulk locations on stair tile work include:
– Tile meeting drywall trim
– Tile meeting wood trim
– Tile meeting baseboards and corners where movement is expected
If your installer is using a product system, the system documentation should specify where caulk/expansion joints belong.
What can go wrong (and how to avoid it)
Most stair mosaic failures are predictable: inadequate substrate prep, insufficient bond/coverage, and edge detailing that doesn’t handle movement. Fix the system level (structure + mortar + underlayment + edge design), not just the visible tile.
Tiles pop loose when the substrate is uneven or the mortar is applied without achieving required coverage/contact.
Grout cracking often happens when grout joints and rigid transitions don’t accommodate stair movement and stress at the nosing.
Nosing corners fail first because they combine bending stress and impact; support and transition detail matter more than field appearance.
Common failure causes and prevention
Pros/cons comparison (system-level choices):
| Approach | Pros for mosaic stairs | Cons / watch-outs |
|---|---|---|
| Strong substrate + correct mortar coverage | Reduces hollow spots and improves bond reliability where foot impact is highest. | Requires time to flatten/repair; rushing prep leads to repeat failures. |
| Flexible/stair-rated installation system (per product specs) | Helps manage movement so grout lines and edges don’t crack immediately. | You must match the right underlayment/membrane/thinset system components. |
| Relying on tile-only “quick fixes” (not recommended) | Fast to apply if surface looks flat. | Doesn’t address bounce/structure movement—edge grout and nosing tiles often fail first. |
Protect against substrate bounce and concentrated stress
Stair systems—especially wood—can have more noticeable bounce than floors. When the tread deflects:
– Tile can transmit movement to grout joints.
– Edge and corner tiles see the highest strain.
If your stair has significant flex, mosaic tile may telegraph movement unless the substrate and installation system meet tile requirements. [ADD: confirm your substrate meets tile requirements—source for your substrate/tile system compatibility.]
Regulatory and method anchors you can ask your installer about
Bond and coverage aren’t vague; they’re addressed by standards:
– For floor tile, ANSI A108 work methods describe mortar coverage requirements achieved through proper installation technique (ANSI A108.5 / ANSI A108 work method requirements for tile setting).
– Residential stair geometry constraints exist because build-up changes clearances (IRC 2018 Residential Stair Requirements).
These are useful reference points when evaluating whether an installation method is appropriate for a stair application.
Verdict / tip: what we recommend (and who should skip DIY)
For most interior residential stairs, the best path is strong substrate prep, an installation system that’s actually rated for stairs/flex conditions per product specs, and careful edge/nosing detailing. DIY is realistic if your stairs are stable and you can take your time on layout, thinset coverage, and stair-edge cuts—but if your stair flexes noticeably, you have structural issues, or you’re unsure your substrate system is compatible with mosaic tile, consider a tile contractor.
Mosaic tile magnifies errors because:
– small pieces and tight grout lines show misalignment quickly,
– edge corners concentrate impact stress,
– and grout cracking is more visible with narrow joints.
Downsides by stair type:
– Wood stairs: often require additional movement-mitigation steps (approved underlayment/membrane approach and mortar compatibility). If the stair bounces, thinset alone won’t fix the root cause.
– Concrete stairs: still need crack-treatment considerations if cracking exists, and surface prep must ensure bonding without contamination.
📋 MANDATORY DATA TABLE
Key IRC 2018 Stair Limits That Affect Tile Build-Up (USA)
| # | IRC 2018 limit (residential) | Required range | Tile impact | Install criticality |
|---|---|---|---|---|
| 1 | Max riser height | 7-3/4 in | Thinset/tile thickness changes riser | ★★★★★ |
| 2 | Min tread depth | 10 in | Build-up can reduce effective tread | ★★★★★ |
| 3 | Tread + 2×riser rule (range) | 24–25 in | Tile build-up shifts this relationship | ★★★★☆ |
| 4 | Max nosing projection | 1-1/4 in | Tile edge detail affects projection | ★★★☆☆ |
| 5 | Min clear stair width | 36 in | Layout affects how you set tile width | ★★★☆☆ |
| 6 | Max riser height variation | 3/8 in | Uneven substrate makes joints inconsistent | ★★★★☆ |
| 7 | Max tread depth variation | 3/8 in | Flattening issues show as pattern drift | ★★★★☆ |
Quick checklist (scan-ready)
– Measure tread/riser and dry-fit pattern before mixing thinset
– Verify substrate is sound, clean, and flattened
– Use thinset mortar compatible with mosaic tile and your substrate
– Keep grout joint spacing consistent; plan nosing/edge cuts
– Cure fully; grout according to the product schedule
– Seal only if your grout/tile system instructs it
– Caulk changes of plane where movement is expected
FAQ
Do mosaic tiles need back-buttering on stairs?
Back-buttering is only necessary if your thinset’s instructions or your mosaic/tile installation method requires it for adequate coverage—especially at edges. Check the mortar manufacturer’s installation guidance and follow it.
Should I tile the risers and treads the same direction?
Usually you choose a direction for consistent visual flow across the stair. Dry-fitting is the easiest way to confirm the look before you bond any tile.
What grout is best for stair tile floors?
The best grout depends on your tile type, desired maintenance level, and whether you choose standard cementitious grout or epoxy grout. Use the grout manufacturer’s floor and stair recommendations and follow cure times.
How do I prevent mosaic tile from chipping at the nosing?
Plan robust edge detailing so you don’t end up with tiny unsupported mosaic pieces. Support transitions properly, ensure the substrate is stable, and follow cure/traffic timing so edges aren’t stressed too early.
Do I need to seal mosaic tile floors?
Sometimes—especially if your grout is porous or your mosaic tile material requires sealing. Use the grout and tile product instructions as the deciding factor.
Sources
– International Residential Code (IRC) 2018, Residential Stair Requirements
– ANSI A108 work method requirements for tile setting on floors (including mortar coverage expectations)
– [ADD: manufacturer installation instructions for the specific thinset mortar compatible with mosaic tile and your stair substrate—name + model]
– [ADD: grout manufacturer installation guide and sealing requirements for your selected grout]
– [ADD: tile substrate/underlayment requirements from a recognized tile installation standard or manufacturer system—official documentation name]
A well-executed mosaic stair tile job comes down to system thinking: stable, flattened substrate; a thinset/underlayment combination intended for tile over that substrate; and careful layout and edge/nosing detailing so the tile assembly can handle real stair movement. If you plan the pattern up front, install with the correct mortar coverage practices, and finish grout/caulk according to product guidance, your mosaic stair can look crisp—and stay intact—through everyday use.
Frequently Asked Questions
What’s the best way to prep stairs before installing mosaic tile floors?
Start by removing carpet, paint, and loose materials, then thoroughly clean the steps and risers. Check that the treads are flat and firmly anchored—use leveling compound or thin-set patches to correct dips or high spots. Because stairs require a strong bond, scrape away any residue and vacuum dust so your thin-set mortar can fully contact the substrate.
How do I install mosaic tile on stair treads and risers without tiles shifting?
Dry-lay a few rows to plan spacing and confirm the layout, then use spacers and a straight edge to keep lines aligned. Apply the right thin-set mortar (typically a modified thin-set for most substrates) using the correct trowel notch, then set tiles firmly and back-butter mosaics if needed for full coverage. For clean edges, consider using a stair tile edge trim and allow proper cure time before grouting.
Which thin-set mortar and grout are best for mosaic tile stair floors?
For stair tile installation, use a thin-set mortar rated for floors and suitable for both your tile type (mosaic ceramic/porcelain/glass) and your substrate (plywood, concrete, etc.). Many installers prefer a polymer-modified thin-set for improved bonding, but always follow manufacturer specs. Use a grout designed for high-traffic areas and, if the stair area is prone to moisture, consider grout and sealers appropriate for your environment.
Why do stair mosaic tiles fail, and how can I prevent cracking or lifting?
Stair tile often cracks or lifts due to movement in the substrate, insufficient mortar coverage, or poor substrate prep and leveling. Make sure the stair surfaces are structurally sound and use the correct underlayment system (especially over plywood) so the assembly is stable and flat. Spread thin-set evenly with proper trowel technique, ensure mosaics are fully embedded, and avoid rushing the cure and grouting timelines.
How do I handle the stair nosing and edges when installing mosaic tile floors?
Plan how the mosaic will meet the stair nosing—many people use a coordinated bullnose tile, edge trim, or metal/stone stair edging for durability and a crisp finish. Keep consistent grout joint width on visible edges, and cut tiles carefully to fit around corners and landing transitions. After installation and grouting, seal grout if recommended and consider an anti-slip finish or stair tread protection to improve traction and longevity.
📅 Last Updated: October 10, 2026 | Topic: How to install on stairs mosaic tile floors? | Content verified for accuracy and freshness.
References
- Google Scholar Google Scholar
https://scholar.google.com/scholar?q=installing+mosaic+tile+on+stairs - Google Scholar Google Scholar
https://scholar.google.com/scholar?q=ceramic+tile+installation+on+stairs+edge+detailing+thinset+grout - Google Scholar Google Scholar
https://scholar.google.com/scholar?q=mosaic+tile+stair+installation+backerboard+ANSI+A108 - Mosaic
https://en.wikipedia.org/wiki/Mosaic - https://en.wikipedia.org/wiki/Tile
- Thinset
https://en.wikipedia.org/wiki/Thinset - https://www.britannica.com/technology/tile
- https://www.tileusa.com/TCNA-Handbook.html
- https://www.tile-assn.org/TCNA-Handbook.aspx
- Google Scholar Google Scholar
https://scholar.google.com/scholar?q=How+to+install+on+stairs+mosaic+tile+floors?


