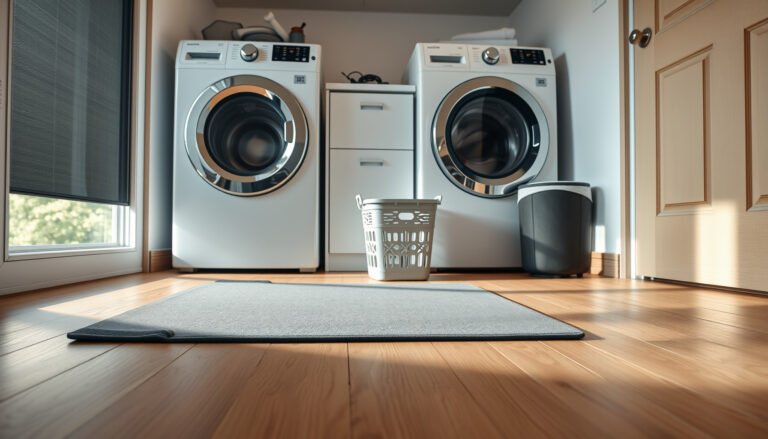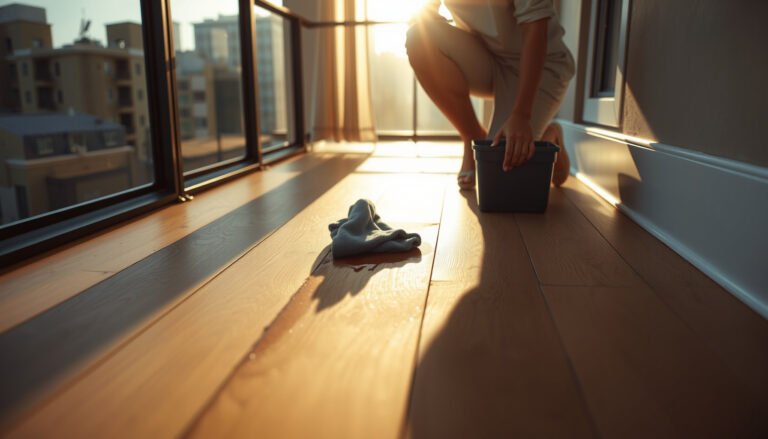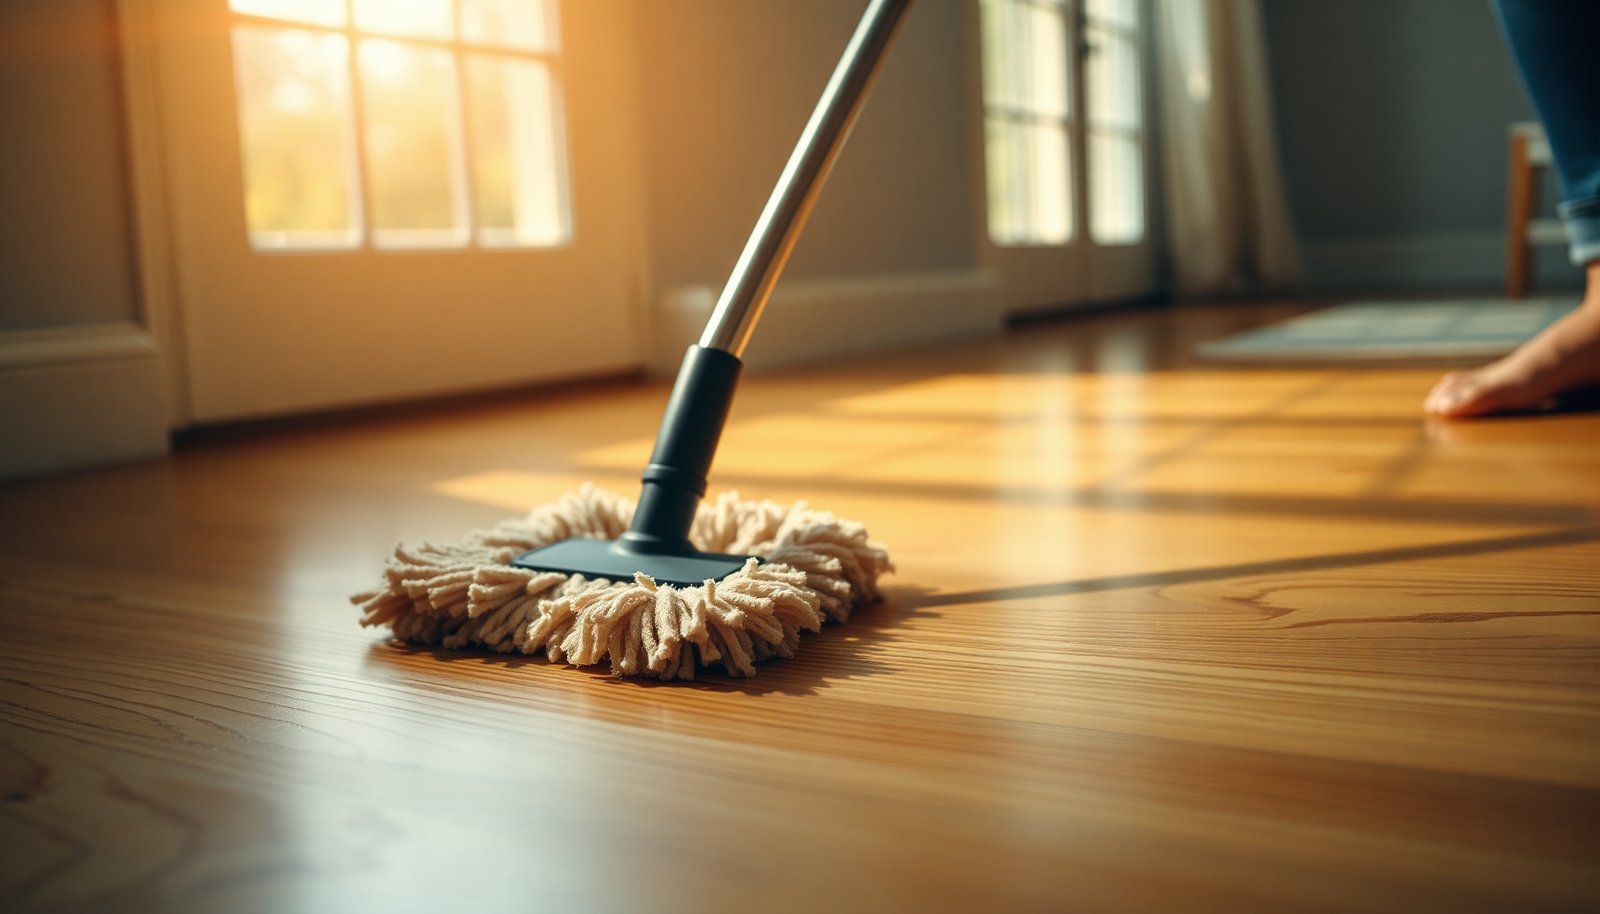

Deep cleaning hardwood floors to remove wax buildup means using the right wax remover and a controlled scrub-and-rinse routine to lift residue without damaging the finish. You can usually complete the process in about an afternoon for an average room, and it is manageable if you follow a simple order of operations. Plan on needing a pH-neutral cleaner, a soft microfiber pad or sponge, clean water for rinsing, and protective gloves so the surface stays clean and consistent as you work.




Deep clean hardwood floors with wax buildup by using a wood-finish-safe wax remover (or floor stripper) and then doing thorough wiping/rinsing followed by complete drying. If you skip rinsing or use the wrong chemistry, you can end up with hazy marks, sticky spots, or damage to a polyurethane or varnish finish—so confirming the residue is truly wax is the first critical step.
If your floors look cloudy, feel sticky, or attract dirt quickly—even after normal mopping—this guide applies to you. It’s especially relevant for polyurethane-finished hardwood where wax layers build up over time, but you should still check your floor’s finish instructions first.
Check your floor finish (and confirm it’s wax)
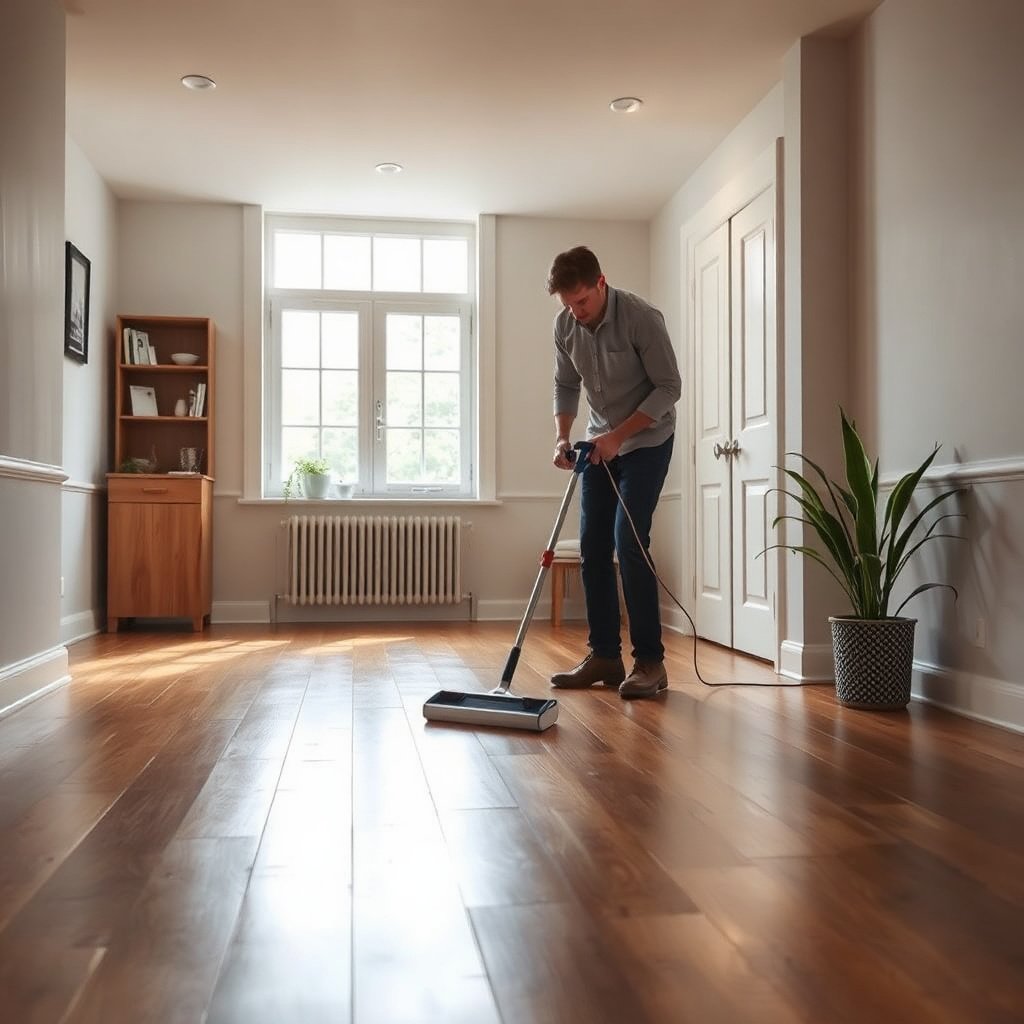
The fastest way to avoid haze and finish damage is to confirm you’re removing wax (not just dull grime) and then match the chemical to your finish type. When wax is present, even a “correct” daily cleaner can leave residue behind and your floor keeps looking cloudy or sticky.
Start with the visual and touch checks that indicate wax buildup:
– Sticky feel underfoot or where you commonly walk (wax resists water and leaves a tacky surface).
– White or gray haze that doesn’t fully disappear after standard mopping.
– Uneven shine—some boards look glossy while others look dull, especially along traffic lanes.
– “Swirly” transfer: gently rub an inconspicuous spot with a clean white microfiber cloth; wax often transfers as cloudy streaks or a film rather than lifting like normal dust.
Next, identify the finish type if you can:
– Polyurethane / varnish (sealed surfaces): commonly show wax buildup as a film that creates stickiness and grime-holding.
– Oil/wax finishes (unsealed or semi-sealed): can react very differently; stripping products may over-dry or lighten the surface.
Because many “hardwood floor” products are sold across different finish types, do a same-day test patch in a hidden area using the exact method you plan to use. Different finishes react differently to strippers, and the right approach is the one that removes wax without creating dulling or bonding issues.
Gather the right supplies (skip harsh “kitchen” fixes)
The best deep-clean results come from finish-safe wax-removal chemistry plus controlled wiping and rinsing. Harsh “kitchen” substitutes can either fail to dissolve wax properly or create a hazy residue that’s harder to correct later.
Here’s what to gather for wax buildup removal:
– A manufacturer-approved hardwood floor wax remover or floor stripper *suitable for your finish type*. Confirm compatibility on the label before you start.
– Microfiber cloths and/or mop pads dedicated to this task (keep them off the rest of the house while stripping).
– Clean water for rinsing (and a second bucket if you’re doing multi-pass rinsing).
– A plastic scraper or soft, non-metal pad for gently lifting dissolved residue that won’t wipe off cleanly.
– Personal protection and ventilation: chemical-resistant gloves, good airflow, and old towels for immediate blotting if product contacts areas it shouldn’t.
A practical control point: use damp pads instead of flooded surfaces. Hardwood can swell at seams and edges when exposed to excess water, and keeping the process controlled also helps prevent the “it looked fine before stripping” finish haze caused by over-wetting.
Deep-clean steps to remove wax buildup safely
Follow the label exactly for application and dwell time, then remove wax film by wiping until the residue stops transferring. The “safe” part of this process is not only the chemical—it’s the sequence: prep → dwell → gentle agitation → thorough wipe → rinse/neutralize → full dry.
– Prep the surface: Sweep or vacuum thoroughly, including along baseboards, corners, and seams. Removing grit first prevents you from grinding debris into the finish during stripping (which can produce permanent-looking scuffs).
– Open and apply the remover: Apply the wax remover as directed on the label, including any required dwell time (the time the product sits on the surface to dissolve wax). Use the exact dilution/wet time recommended for your product:
– Agitate without damaging the wood: Work in small sections. Use a microfiber pad (or the applicator method recommended by the label) and re-apply when needed rather than scrubbing aggressively. Aggressive scrubbing can wear or burnish the finish and make future buildup appear worse.
– Wipe up residue: Remove dissolved wax with clean cloths/pads until the cloth stops picking up a film. Note what you see so you know you’re actually lifting wax and not only spreading grime:
– Rinse/wipe again (critical): Follow the instructions for rinsing or “neutralizing.” If the label says to rinse, do it with clean water and wipe dry. Leaving dissolved wax or stripper salts behind is one of the most common causes of persistent cloudiness.
While working, keep a close eye on progress. If the surface still feels tacky after you’ve wiped and rinsed a section, re-treat that specific area per label instructions—don’t assume one pass is enough for thicker layers.
Typical Wax-Removal Chemistry vs. Finish Safety (Relative)
| # | Remover Chemistry Type | Typical Use Strength | Best Match on Wax Buildup | Finish-Safety Expectation |
|---|---|---|---|---|
| 1 | Neutral emulsifying wax remover | ~pH 7–9 | Light-to-moderate wax haze | ★★★★★ |
| 2 | Mild alkaline wax remover | ~pH 9–10 | Moderate residue that won’t wipe clean | ★★★★☆ |
| 3 | Ammoniated wax remover | ~pH 10–11 | Heavier oily film + wax blend | ★★★☆☆ |
| 4 | Strong alkaline floor stripper | ~pH 12–14 | Thick wax layers (when label permits) | ★★☆☆☆ |
| 5 | Solvent-based wax stripper (petroleum distillates) | Solvent chemistry (pH n/a) | Extreme tack + aged wax | ★☆☆☆☆ |
| 6 | Enzymatic spot/daily wax emulsifier | ~pH 6–8 | Targeted buildup in small zones | ★★★★☆ |
| 7 | Cleaner + periodic mechanical pad stripping (hybrid) | Label-based (varies) | Regular prevention (reduces thick layers) | ★★★★★ |
Note: finish-safety expectations are relative to chemical strength and the common guidance that sealed wood floors respond best to products labeled safe for that finish. Always follow the specific wax remover or floor stripper’s label compatibility statements.
Rinse, dry, and protect after the strip
Your wax buildup removal isn’t finished until the surface is fully dry and you’ve applied the correct post-clean maintenance routine. Rinsing and drying are what prevent the “why is it cloudy now?” phase that often happens after incomplete neutralization.
– Dry completely: Use dry microfiber and allow airflow to finish drying. Leaving moisture behind can dull the look of the finish or create temporary haze as water evaporates.
– Use the right post-clean product: After wax removal, use only the maintenance method recommended for your floor’s finish. Many sealed hardwood floors do best with a cleaner + appropriate maintenance spray rather than adding fresh wax immediately.
– Rebuild protection carefully: If your original care system involves wax, apply thin, even coats and remove/maintain on schedule. Over-applying is what leads to wax buildup again—especially in polyurethane-finished hardwood where layers stack over time.
Moisture control matters even when you’re careful. According to the U.S. Environmental Protection Agency, maintaining indoor relative humidity around **30%–50%** helps reduce biological growth risk and supports more stable indoor conditions (U.S. EPA guidance on indoor humidity, 2023). While this doesn’t replace product label directions, it reinforces why drying and consistent indoor conditions matter after stripping.What can go wrong (and how to avoid it)
The main failures are (1) wrong chemistry, (2) over-wetting, and (3) skipping the final rinse/neutralize. Each one can make wax buildup removal look like it “made things worse,” even when you used effort and elbow grease.
Here are the common mistakes and how to avoid them:
– Using the wrong chemical: General-purpose cleaners or strong solvents can soften or dull polyurethane/varnish. Always check the label for compatibility:
– Soaking the floor: Too much water can seep into seams and edges. Keep the process controlled—use damp pads and work in sections rather than flooding.
– Skipping the rinse/neutralize step: Residue left behind can create cloudiness that looks like permanent dullness.
– Over-scrubbing: Abrasive pads can scratch the finish and make future wax buildup look worse by creating more micro-texture to trap film.
– Finish mismatch: Oil-finished or hard-wax-oil floors often require different approaches than sealed hardwood—verify before stripping.
Stripper vs. wax-remover: which path reduces risk?
If you’re deciding between a “stripper” and a “wax remover” labeled for maintenance-level buildup, use this compatibility-first decision framework.
| Consideration | Wax Remover (labeled) | Floor Stripper (label-permitted) |
|---|---|---|
| Primary goal | Dissolve/remediate wax film | Remove heavier, layered buildup |
| Finish safety profile | Often higher (when label matches finish) | Often lower (requires strict instructions) |
| Rinse/neutralize risk of haze | Lower if label rinse is followed | Higher if dwell/rinse steps are rushed |
| Best for | Cloudy/sticky floors from routine wax maintenance | Aged layers, noticeable tack, repeated shine products |
| Mechanical effort | Typically less, more wipe-focused | Often requires re-application in sections |
| When to stop DIY | If buildup won’t lift after label-compliant steps | If finish instructions aren’t available or compatibility is unclear |
Verdict / tip (when to DIY vs when to stop)
This method is a strong DIY option if you can confirm the finish is sealed (or you’re using a wax remover labeled for that finish) and you’re willing to do the rinse and full dry steps correctly. The downside is that stripping wax can temporarily reduce gloss until you restore with the proper maintenance products—and the wrong remover can cause haze or finish damage.
Skip DIY and consider a pro if:
– You don’t know your finish type, or it’s antique/unfinished and hasn’t been documented.
– You see extensive discoloration, cupping, or peeling finish (that’s beyond wax buildup).
– You’re dealing with large areas and don’t have time to work in sections with correct dwell, wiping frequency, and full drying between steps.
Quick comparison: DIY stripping approach vs. “general cleaner”
| Criteria | DIY with finish-safe wax remover/stripper | Household “degreaser” / random solvent |
|---|---|---|
| Wax dissolution | High (label-based) | Unpredictable |
| Finish compatibility | Designed for wood finishes | Often incompatible |
| Haze risk from residue | Lower with rinse/neutralize | Higher (film often remains) |
| Over-wetting risk | Controlled, section-based | More likely to flood |
| Time to visibility | Often clear improvement in sections | May worsen dullness temporarily |
| Scratch risk | Non-metal tools + microfiber | Abrasive pads/brushes common |
| Repeatability | Consistent when label is followed | Hard to standardize results |
| Ventilation/PPE needs | Managed per product label | May be underestimated |
| Risk of finish softening | Minimized with compatible chemistry | More likely with strong solvents |
| Cleanup & final results | Residue controlled + dry finish | Sticky film may return quickly |
| Verdict | Preferred approach | Stop and switch to finish-safe products |
Quick scan checklist (save this)
| Step | What to do | Don’t do |
|---|---|---|
| Confirm buildup | Check for sticky/hazy residue | Assume it’s wax if it’s only dirt |
| Prep | Sweep/vacuum first | Mop over grit |
| Apply remover | Use finish-safe wax remover per label | Use random solvents/“degreasers” |
| Work in sections | Agitate gently, wipe often | Scrub hard or rush dwell time |
| Remove + rinse | Wipe up residue; rinse/neutralize if required | Skip the final wipe/dry |
| Dry + maintain | Dry fully; use finish-approved maintenance | Re-wax heavily right away |
Sources
– U.S. Environmental Protection Agency (EPA) indoor humidity guidance (e.g., 2023 guidance)
– OSHA 29 CFR 1910.1000 Table Z-1 (air contaminants) — chemical exposure limits (current CFR version)
When done correctly, deep cleaning hardwood to remove wax buildup restores a clearer look and reduces rapid dirt attraction—because you’re removing the film, not just spreading it. Confirm the residue is wax, use finish-safe chemistry with the exact dwell/rinse steps, and dry thoroughly; if you don’t know your finish or the haze persists, that’s the right time to stop and get professional guidance.
Frequently Asked Questions
How do I deep clean hardwood floors to remove wax buildup without damaging the finish?
Start by dry-dusting and vacuuming so grit doesn’t scratch the wood during cleaning. Use a hardwood floor wax remover (or a manufacturer-recommended stripping product) and follow the dwell time on the label, then wipe with clean water or a pH-neutral cleaner to remove loosened residue. Avoid soaking the floor; use damp (not wet) mopping and immediately dry with a microfiber cloth to protect the finish.
What’s the best way to remove thick wax buildup from hardwood floors?
For heavy buildup, a targeted wax stripping solution works better than regular floor cleaner because it dissolves bonded wax layers. Apply the stripper in small sections, agitate gently with a soft scrub pad or microfiber mop, and then wipe up residue thoroughly. Afterward, rinse or neutralize per product instructions, then dry completely before considering any new hardwood floor wax or sealant.
Why does wax buildup make my hardwood floors look cloudy or sticky, and how do I fix it?
Wax buildup can trap dirt and dull the gloss, creating a haze that makes hardwood floors look cloudy and feel tacky. Deep cleaning with a wax removal product breaks down the residue so it can be lifted and wiped away. Once the buildup is fully removed, clean with a pH-neutral hardwood floor cleaner and dry well to restore the finish’s clarity.
Which tools and cleaners work best for stripping wax from hardwood floors?
Use microfiber mops, clean white cloths, and soft scrub pads designed for finished floors to avoid scratches. Choose a wax remover/stripping product that’s compatible with your floor’s finish, and pair it with a pH-neutral cleaner for the final cleaning step. If your hardwood has polyurethane, shellac, or oil/wax finishes, always check compatibility first—using the wrong stripper can damage the topcoat.
How often should I deep clean and strip wax buildup from hardwood floors?
It depends on foot traffic and how often you re-wax, but many homeowners should assess buildup every 3–6 months. If you notice sticky spots, dulling, or haze that won’t come off with regular cleaning, it’s time for a deeper wax removal routine. Between deep cleans, maintain hardwood floors by using pH-neutral cleaners and avoiding residue-prone products that can build up over time.
📅 Last Updated: November 02, 2026 | Topic: How to deep clean hardwood floors to remove wax buildup? | Content verified for accuracy and freshness.
References
- https://en.wikipedia.org/wiki/Floor_wax
- https://en.wikipedia.org/wiki/Floor_polish
- Wood flooring
- Wood flooring
- Wood finishing
- https://en.wikipedia.org/wiki/Surface_cleaning
- Cleaning
- https://scholar.google.com/scholar?q=deep+clean+hardwood+floors+wax+buildup+removal Google Scholar
- https://scholar.google.com/scholar?q=remove+floor+wax+from+wood+floors+procedure+stripping Google Scholar
- https://scholar.google.com/scholar?q=hardwood+floor+finishes+wax+residue+removal+methods Google Scholar