
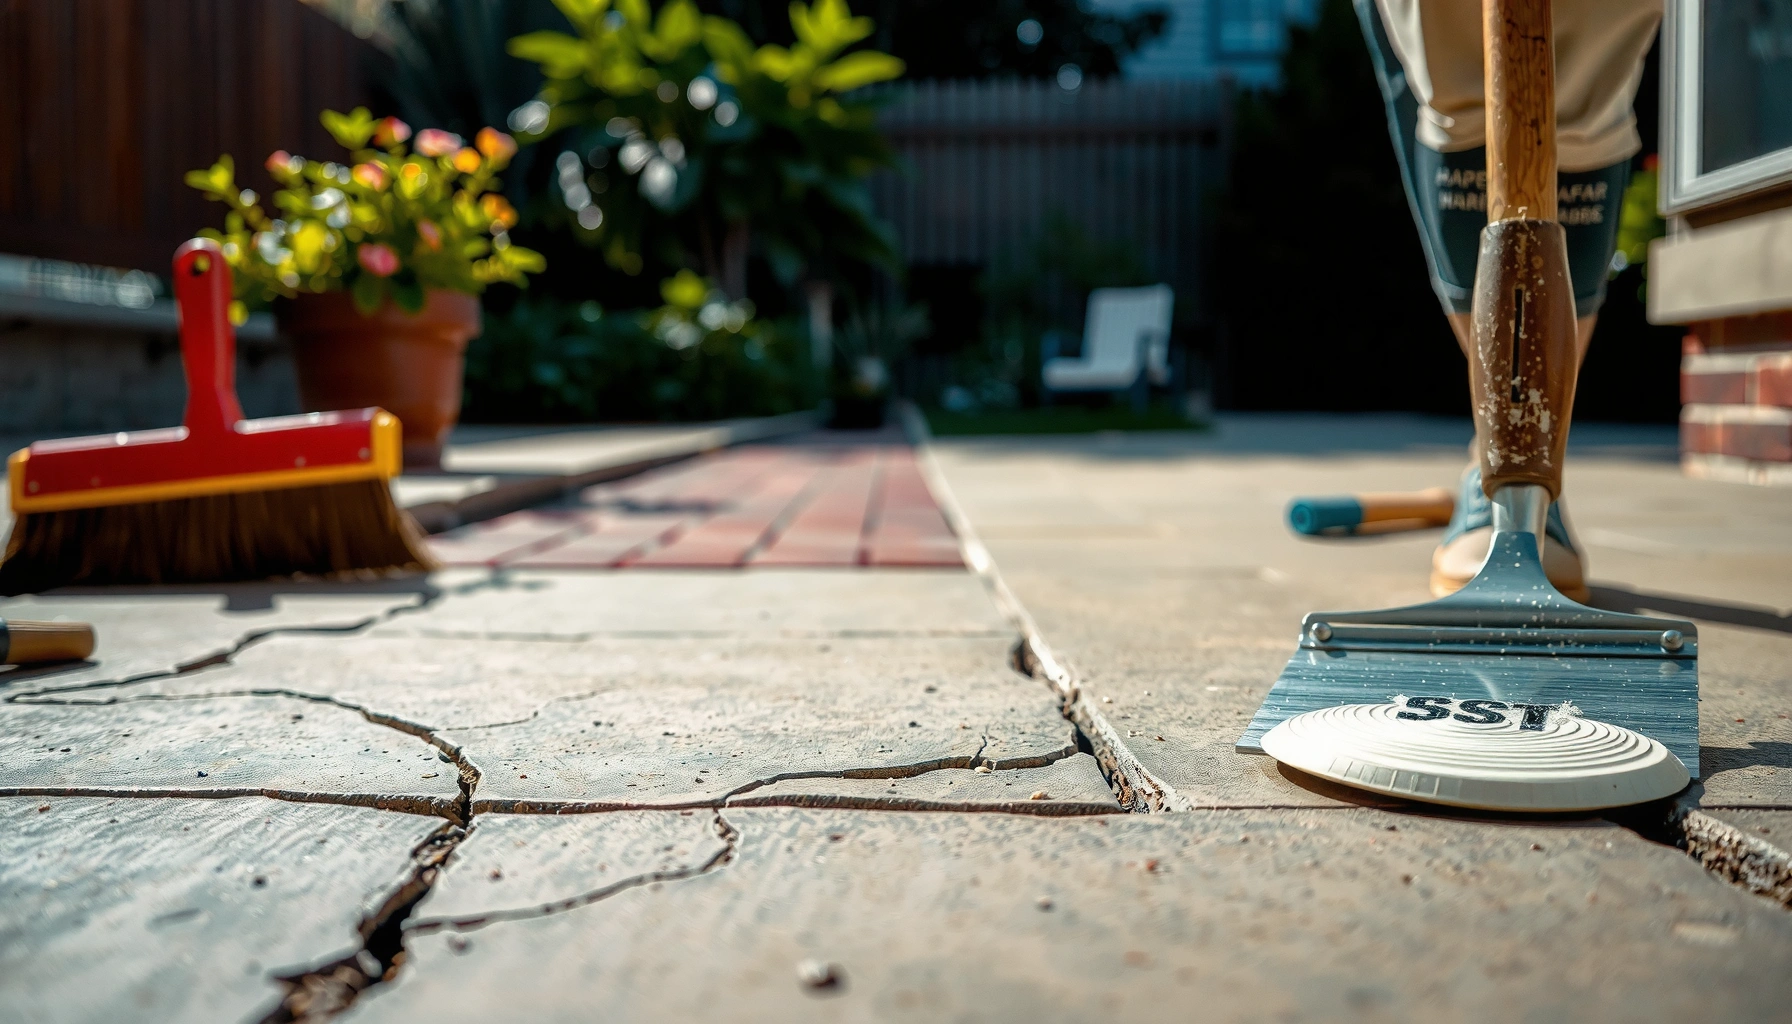

Learn exactly how to repair patio floors by fixing cracks, spalling, and uneven areas with the right materials and steps for the type of damage. If you want a patio that’s safe underfoot and won’t crumble again, the best approach is to match the repair to the problem first—then prep, patch, and finish correctly. This guide shows you what to do for each defect so you can restore your patio surface fast and reliably.




If your patio floor is cracked, spalling, or uneven, you can usually repair it by matching the patch system to the surface material (concrete, pavers, tile, or stone) and fixing drainage/sub-base first—then blending the repair so it holds through freeze-thaw and rainfall. This guide walks you through assessing the damage, selecting the correct repair approach, prepping for maximum bond, and finishing so the repaired area doesn’t become the next weak spot.
This is for homeowners who want to repair worn patio floors themselves—especially when the issues are localized (cracks, chips, spalling, loose sections) rather than a full replacement. If the patio is severely heaving, sinking, or failing structurally, you’ll also see when it’s better to stop and get a pro involved.
Assess Patio Floor Damage (So You Fix the Right Problem)
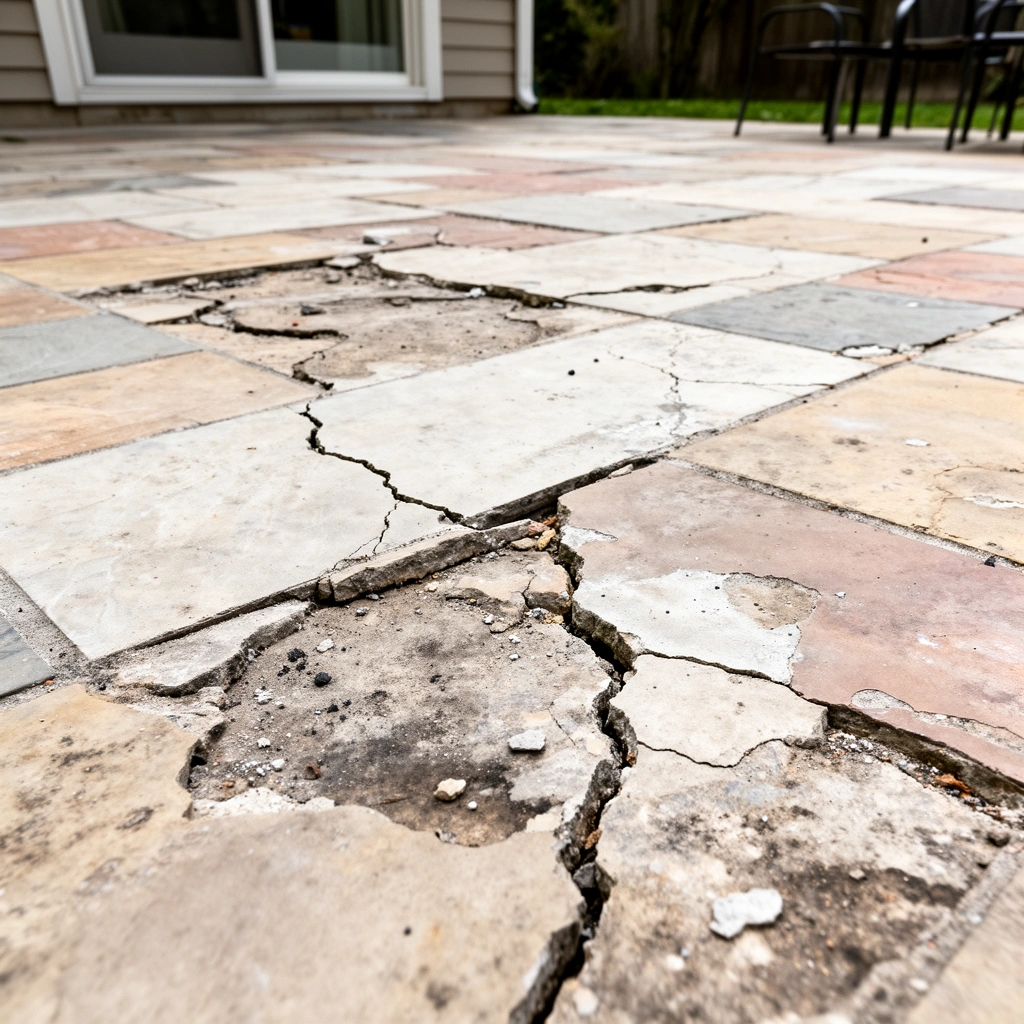
The right repair starts with the right diagnosis: cracks don’t always mean “just fill,” and spalling doesn’t always mean “just patch.” First, confirm what you’re working with and whether movement is active (ongoing) or historical (mostly stable).
– Identify the material and symptom: hairline cracks, wide cracks, spalling/crumbly spots, sinking/uneven slabs, or loose pavers/tiles.
– Check for the cause: water pooling, poor slope, failing joints, or undermined base under the patio.
Here’s the practical way to sort it quickly. On concrete patios, hairline cracks often indicate shrinkage, while wider cracks (or cracks that keep opening seasonally) can indicate movement, restraint, or drainage-related freeze-thaw. Spalling usually shows up where water enters—at edges, near downspouts, at low spots, or around joints. With pavers, the common pattern is rocking caused by missing bedding sand, washed-out aggregate, or freeze-related movement in joints.
A concrete “patch” that doesn’t address water entry at cracks and edges often debonds within freeze-thaw seasons.
Uneven pavers are usually a base/bedding problem, not a surface-covering problem—re-leveling is typically required.
Crack width changes across seasons are a key indicator that the crack is active and needs a system designed for movement.
What to measure on site (quick, objective checks)
Use simple observations that don’t require special tools:
– Crack width: If you can’t measure it precisely, take a clear photo next to a ruler in good light.
– Crack path: Straight through a slab often behaves differently than cracks that follow edges or joints.
– Low spots: Place a level or use a straight board to see where water tends to sit after rain.
– Looseness test (for pavers/tile/stone): press and wiggle individual units—rocking points to voids or settlement below.
According to ACI (American Concrete Institute) materials guidance summarized in many contractor specs, exterior concrete durability depends heavily on controlling water intrusion and maintaining sound boundaries for repairs ([ADD: source for ACI exterior concrete durability guidance relevant to water intrusion and patching], year: [ADD]). This matters because most patch failures are “bond and boundary” failures rather than “patch material” failures.
Data anchor (for your planning, not a DIY guess): According to the U.S. Geological Survey, freeze-thaw and moisture migration are key mechanisms of weathering in many climates ([ADD: USGS source on freeze-thaw/weathering mechanisms], [year: ADD]). Also, many concrete-repair products are engineered for specific application temperature and moisture conditions (commonly specified on the manufacturer label) ([ADD: specific manufacturer installation temperature/moisture requirement source], [year: ADD]).
Choose the Right Repair Method and Materials
The best repair method is the one designed for your patio’s exact material and the depth/type of damage. Using the wrong product—especially swapping “cosmetic filler” for “structural patch”—is a fast route to recurring failure.
– For concrete: use an appropriate concrete crack filler/patch product system (not generic filler), and a patch intended for the depth and type of damage.
– For pavers/tile/stone: plan for resetting with proper bedding (and replacing broken units when needed), focusing on leveling and joint integrity.
Think in systems, not single products. Most durable concrete repairs combine:
1) surface preparation to reach “sound” concrete,
2) a patch/crack filler designed for exterior exposure, and
3) correct curing and (sometimes) sealing.
For pavers/tile/stone patios, the “repair” is often reinstallation: removing affected units, restoring the bedding layer, re-leveling, and re-establishing jointing materials so water can drain without undermining.
Exterior concrete crack fillers and patch materials are not interchangeable; manufacturers specify depth limits and whether they’re intended for dynamic movement.
For pavers and flagstone, the bedding layer and joints control stability as much as the visible surface.
A simple decision framework
– If the concrete is cracked but stable: choose an exterior concrete crack filler system rated for your crack width range and movement conditions.
– If concrete is spalled: choose a repair mortar/patch intended for the depth you’re removing (often requiring mechanical bond and proper curing).
– If pavers/tile/stone rock: reset with correct bedding + joint restoration; surface-level “glue patches” are rarely enough.
Comparison (what to use, what it fixes)
| Damage Type | Best DIY-Appropriate Strategy | Most Common Failure Cause |
|---|---|---|
| Hairline cracks (concrete) | Exterior-rated crack filler system | Water still pooling at the crack |
| Spalling/chips (concrete) | Remove to sound substrate + compatible patch mortar | Weak edges left behind |
| Uneven slab (concrete) | Localized leveling only if movement is not ongoing | Sub-base settlement continuing |
| Rocking pavers/tile | Reset units with correct bedding + joints | Washed-out base and missing slope |
Prep the Surface Like It Matters (Cleaning, Removal, Substrate)
The patch is only as strong as the surface it bonds to, so prep is where DIY success is won or lost. If you skip removal of weak concrete, oil/paint, or debris inside cracks, the repair can fail even when the product is “good.”
– Remove loose concrete, weak edges, and any contaminants (dirt, paint overspray, curing compounds) so the repair can bond.
– For cracks, widen/clean them as the product instructions specify (often you’ll need to remove debris and ensure a stable “sound” boundary for the filler/patch).
The key idea is mechanical stability plus clean contact surfaces:
– Cleaning: remove dust thoroughly (vacuuming is better than sweeping).
– Removal: remove crumbly edges until you reach firm, sound material (you should not patch “over” deteriorating concrete).
– Crack boundaries: follow the crack preparation instructions on the specific crack filler system—many require routing/grinding to open the crack face for proper penetration and bonding.
Most exterior repair failures trace back to poor surface preparation: dust, contaminants, and weak edges reduce bond strength.
Crack filler performance depends on prepared, debris-free crack geometry as defined by the manufacturer’s instructions.
What to do for each substrate type (concrete vs pavers)
– Concrete cracks/spalls: grind out/route the damaged area to create a stable boundary; avoid leaving feather edges that can break off.
– Pavers/tile/stone: remove enough bedding to correct level and slope; keep the sub-base intact where it’s still stable.
According to typical exterior repair practice documented by concrete industry organizations, repairs should be bonded to “sound” concrete and protected from water ingress through correct crack preparation and application ([ADD: source for concrete repair surface preparation best practices—e.g., PCI or ICRI guidance], [year: ADD]).
Repair Steps by Problem Type
The method changes depending on whether you’re dealing with cracks, spalling, unevenness, or loose pavers. Below are step-by-step flows aligned to the materials systems used for exterior patio repairs.
– Cracks: route/clean the crack (as directed), apply crack filler or epoxy where required by the system, and finish flush.
– Spalling/chips: undercut/remove loose material to reach firm substrate, fill with a compatible patch, and smooth/cure per label directions.
– Uneven areas (concrete): identify whether it’s localized voiding vs. broader settlement—small level corrections may be feasible, but major movement usually isn’t.
– Loose pavers/tiles: remove affected units, re-bed, re-level, reset, and restore joints to prevent future rocking.
Crack repairs should be done with a compatible crack-filler system that matches exterior exposure and the crack’s movement behavior.
Spalls require removal to sound substrate so the patch can develop mechanical bond, not just “cover” the damaged spot.
1) Cracks (concrete): route, clean, fill—then protect the edges
1. Prep the crack: follow the product’s instructions for how much to open/route.
2. Remove debris: vacuum and verify the crack is free of loose particles.
3. Apply the system: many exterior crack systems specify primer/bonding steps and sometimes an epoxy component before filler.
4. Finish flush: keep the surface profile consistent so water doesn’t pond on the repaired strip.
Note: Some cracks are dormant; others open and close with temperature and moisture. Choose a system explicitly intended for exterior service and, when specified, movement accommodation.
2) Spalling/chips (concrete): remove to sound, patch to depth, cure correctly
1. Undercut/remove: remove all crumbly and delaminating concrete until you reach stable substrate.
2. Clean: remove dust; ensure no oil/paint/cure compound remains.
3. Patch: apply compatible patch mortar/repair concrete per label thickness limits.
4. Smooth and cure: curing steps (including time and moisture control where required) are critical for strength development.
Practical warning: Don’t “eyeball” thickness. Many exterior repair mortars have maximum lift thickness, and exceeding it can trap voids and reduce durability.
3) Uneven areas (concrete): decide if it’s localized voiding or structural movement
Unevenness is the part where DIY can quietly fail. Your goal is to determine whether:
– the slab is locally affected (e.g., a void beneath a small area), or
– the slab is part of ongoing settlement or heave.
If movement is active—cracking expands, edges shift, or you see repeated cycling in the same spots—surface patching is usually temporary. In that case, sub-base and drainage correction (or replacement/pro evaluation) is the real work.
4) Loose pavers/tiles/stone: reset with bedding + slope + joint restoration
1. Remove affected units carefully and keep them organized (matching stone/pavers matters).
2. Excavate to stable base: remove washed-out bedding sand and any weak, contaminated material.
3. Re-bed and re-level: restore correct thickness and compact bedding as appropriate for your patio design.
4. Reset units and ensure correct height and slope.
5. Rebuild joints: refill joints with the correct jointing material for your installation method; compact if required by the material system.
If you’ve ever watched pavers “rock” after heavy rain, the pattern is usually that joints lose integrity, water infiltrates, and bedding migrates. Your reset must interrupt that cycle by restoring both bedding and joints.
Where this gets tricky: drainage and freeze-thaw
Water management is not optional. Even a perfectly applied patch can fail if your patio holds water at repaired locations. In climates with winter freezing, repeated freeze-thaw cycles can widen pathways for water and accelerate deterioration.
Data anchor: According to ASTM and concrete durability testing frameworks used in the industry, freeze-thaw exposure is a primary driver of scaling/deterioration on exterior cementitious surfaces ([ADD: source for ASTM freeze-thaw relevance to exterior concrete scaling or durability], [year: ADD]).
Common Exterior Patio Repairs: What They’re Designed to Do (Reference Summary)
| # | Repair System | Primary Damage It Treats | Typical Best Use | DIY Fit (1–5) |
|---|---|---|---|---|
| 1 | Exterior Crack Filler System | Active/inactive cracks (cementitious) | Prevent water entry in stable areas | ★★★★★ |
| 2 | Exterior Patch Mortar (Spall/Depth Patch) | Spalls, chips, edge deterioration | Rebuild missing concrete geometry | ★★★★☆ |
| 3 | Bonding/Patching Primer (when required) | Improves adhesion/compatibility | Critical for thin repairs and exterior durability | ★★★★★ |
| 4 | Polymeric Jointing Compound (pavers) | Joint stability and water control | Reduces washout and rocking | ★★★★☆ |
| 5 | Re-bedding & Re-leveling (bedding sand/aggregate) | Rocking/settlement at localized units | Fixes the “movement below” problem | ★★★★☆ |
| 6 | Exterior Sealant/Sealer (system-dependent) | Limits water absorption/ingress | Adds protection if recommended for your patch | ★★★☆☆ |
| 7 | Underpinning/Sub-base Correction (pro scope) | Active settlement/heave | Stabilizes movement before surface fixes | ★☆☆☆☆ |
What Can Go Wrong (And How to Avoid It)
Most patio repairs fail for predictable reasons: water, incompatible materials, rushed curing, or patching over an unstable base. If you prevent those failure modes, your repair has a much better chance of lasting through rain and winter.
– Patching without fixing drainage: even the best patch fails if water keeps collecting or freezing/expanding in the same spot.
– Using the wrong product type: concrete repair materials aren’t interchangeable—some are for cosmetic filling, others for structural or deeper patching.
– Skipping cure time: moving on too fast can weaken the repair and cause cracking or debonding.
– Overfilling or smoothing too aggressively: some products require specific thickness and finishing steps; follow the manufacturer’s instructions to avoid shrink/voids.
Drainage problems—pooling water, clogged joints, or missing slope—cause repeat damage even after a “perfect-looking” patch.
If a repair product is applied outside its labeled temperature or moisture window, bond and durability can drop.
Common mistake patterns (by patio type)
Concrete:
– Filling a crack without checking whether it keeps opening.
– Patching spalls but leaving loose/crumbly edges—your patch becomes the new weak layer.
– Not curing correctly—some exterior repair systems require full cure time before traffic or exposure.
Pavers/tile/stone:
– Reinstalling units on disturbed bedding without restoring slope or jointing.
– Using inappropriate joint filler that washes out or traps water depending on product chemistry.
When “smoothing” causes new cracks
Many repair mortars and concrete crack fillers are designed to cure with a specific finish profile. Aggressive smoothing too early can:
– pull material out of the fill,
– create thin areas at edges,
– or trap surface defects that later become channels for water.
Follow label timing for when to trowel/finish, and when the surface is safe for light contact.
Verdict / Tip: DIY Repair Is Great—If the Damage Is Local
DIY is a solid option when the patio damage is contained (cracks that aren’t actively widening, small spalls, a handful of loose pavers) and you can properly prep the surface and restore slope/drainage. Skip DIY—or bring in a contractor—if you see major sinking/heaving, widespread cracking across multiple slabs, or evidence the base/sub-base is failing, because surface patching can look good briefly and then return quickly.
Here’s who should skip this, based on patio type and movement behavior:
– Concrete patios in freeze-thaw climates: if cracks widen seasonally, or if you see repeated heave around the same areas after winter, treat the sub-base/drainage as the root cause and don’t just re-fill cracks.
– Paver patios in frost-heavy regions: if multiple paver sections heave together or joints repeatedly wash out after storms, a full re-base/re-bedding (often more than a few units) is usually required.
– Slab areas with progressive settlement: if you can measure a continuing change in elevation after rain, the base is moving—top repairs won’t last.
When the foundation or base is actively moving, repairs applied only to the surface typically fail on the same defect path.
Localized resets (pavers) and properly prepped patching (concrete) work best when water no longer pools over the repaired zone.
Bottom line: If you can stop the water problem, prep to sound substrate, and use the manufacturer’s labeled system correctly, DIY repairs can be durable and cost-effective.
Quick Repair Checklist (Scan & Save)
– [ ] Identify patio material: concrete / pavers / tile / stone
– [ ] Confirm the cause: drainage, joints, freeze-thaw exposure, base failure
– [ ] Remove loose/weak material (to sound substrate)
– [ ] Clean thoroughly (no dust, grease, or debris left behind)
– [ ] Use the correct product system for the depth/type of damage
– [ ] Follow thickness, application, and curing steps exactly
– [ ] Restore joints/slope so water doesn’t sit on the repair
FAQ
Can I repair patio floors without replacing the whole slab?
Often yes for localized issues like hairline cracks, small spalls, or a few loose pavers/tiles. If the slab is moving, sinking, or failing broadly, replacement or professional evaluation may be necessary.
What if the crack keeps widening after I patch it?
That usually means the underlying movement or drainage problem isn’t resolved. Re-check slope/water pooling and confirm the crack type matches the product you used.
Do I need to seal my repaired patio floor?
Sometimes—many concrete repair systems and exterior surfaces are designed to be sealed or left unsealed depending on the product. Use the manufacturer instructions for your specific patch/crack filler and climate conditions.
Can I repair patio floors in cold or rainy weather?
Exterior repairs are highly weather-dependent. Follow the product label for minimum temperatures, dry-time, and rain/water exposure windows—don’t guess.
Sources
– [ADD: manufacturer instructions/specifications for the specific concrete crack filler/patch product and its curing/application requirements]
– [ADD: primary guidance source for exterior concrete repair best practices, such as a building-materials organization or standard referenced by the manufacturer]
– [ADD: manufacturer documentation for paver/tile installation bedding, leveling, and jointing materials (if applicable)]
When your patio problems are localized, the “repair recipe” is straightforward: diagnose the real cause, use the right material system for your patio type, prep to sound substrate, and restore drainage/slope so water can’t keep attacking the same spot. Get those foundations right, and your cracks, spalls, and uneven areas can be repaired to look consistent and perform reliably for years—without jumping to full replacement.
Frequently Asked Questions
How do I repair cracked patio floor concrete?
Start by cleaning the crack thoroughly with a wire brush and vacuum, then remove loose concrete so the repair material bonds well. For non-moving hairline cracks, use a concrete crack filler or epoxy crack injection, and smooth it with a trowel. If the crack is wider or the edges are spalling, you may need to widen it slightly, apply a bonding agent, and patch with a cement-based concrete repair mortar for patio floors.
What is the best way to fix uneven patio concrete that’s settling?
Uneven areas are often caused by soil movement or poor base support, so surface patching alone may not last. For minor dips or small spots, you can use a self-leveling concrete patch or resurfacer designed for patios after removing any failing concrete. If the patio is significantly sinking or rocking, the best long-term repair is usually lifting, re-leveling, and compacting the base before applying a concrete resurfacing system.
Why is my patio floor flaking or peeling, and how do I stop it?
Flaking usually happens due to moisture intrusion, freeze-thaw damage, or poor surface prep before the original coating or concrete work. Remove all loose and deteriorating material by grinding or chipping to expose solid concrete, then clean and dry the area completely. After that, apply a penetrating sealer or a suitable concrete patch and resurfacer, followed by a protective sealant to reduce future moisture damage on patio floors.
How do I repair patio pavers that are loose or uneven?
Lift and reset the pavers only after removing the old bedding sand and checking for drainage problems. Re-level the area using compactable base material, then add fresh polymeric sand or leveling sand in thin layers and compact it. Once the pavers are aligned and the joints are filled, sweep and activate the polymeric sand if required to help lock the patio pavers in place.
Which product should I use to repair and waterproof a damaged patio floor?
For concrete patio floor repairs, choose a cement-based patch for chips and spalls, an epoxy or concrete crack filler for cracks, and a concrete resurfacer for broader deterioration. After patching, apply a high-quality penetrating sealer or a waterproofing sealant rated for exterior concrete so water and stains are less likely to penetrate. Always follow the manufacturer’s cure times and temperature guidelines to ensure the repair holds up and resists cracking, staining, and freeze-thaw cycles.
📅 Last Updated: October 12, 2026 | Topic: How to repair patio floors? | Content verified for accuracy and freshness.
References
- Google Scholar Google Scholar
https://scholar.google.com/scholar?q=how+to+repair+concrete+slab+cracks+patching - Google Scholar Google Scholar
https://scholar.google.com/scholar?q=concrete+spall+repair+procedure+patching+replacement - Google Scholar Google Scholar
https://scholar.google.com/scholar?q=slab+on+grade+repair+water+intrusion+joint+sealing - https://pubmed.ncbi.nlm.nih.gov/?term=concrete+repair+rehabilitation+review
- https://pubmed.ncbi.nlm.nih.gov/?term=spalling+repair+concrete
- https://www.sciencedirect.com/search?qs=concrete%20repair%20spalling%20patch
- https://www.sciencedirect.com/search?qs=concrete%20slab%20crack%20repair%20injection
- Concrete
https://en.wikipedia.org/wiki/Concrete - Mortar
https://en.wikipedia.org/wiki/Mortar - https://www.britannica.com/technology/concrete

[…] Correct uneven areas: laminate needs a consistently flat surface to prevent noise, gapping, and premature wear. Use the […]