
Want herringbone floors that don’t slip? This guide shows the exact materials, subfloor prep, and surface finishes that create true slip resistance without destroying the herringbone look. If you’re installing or refinishing, follow these proven steps to lock in grip underfoot—especially in wet or high-traffic areas.



Make your herringbone floor slip-resistant by pairing the right low-sheen, traction-focused finish (or the right anti-slip system) with correct prep and maintenance. The safest results come from matching the slip solution to your actual surface type—wood vs. tile vs. stone—and verifying it in a small test area before you commit to the full pattern.
If you’re rehabbing older herringbone floors that feel too slick after sealing, polishing, or “shine” maintenance—or you’re upgrading an entryway, kitchen, bathroom, or hallway where spills are common—this approach is especially practical. As of 2026, more flooring systems are offering traction-focused coatings, but the underlying rules still haven’t changed: clean substrate, compatible chemistry, controlled sheen, and a real-world patch test.
Herringbone is beautiful, but its geometry can amplify slip risk: edges, seams, and grout or plank transitions can behave differently than the field of the floor. So the right plan starts by understanding what you’re working with (material + current finish), then selecting a slip method designed for that substrate.
Step 1: Identify your floor material and current finish
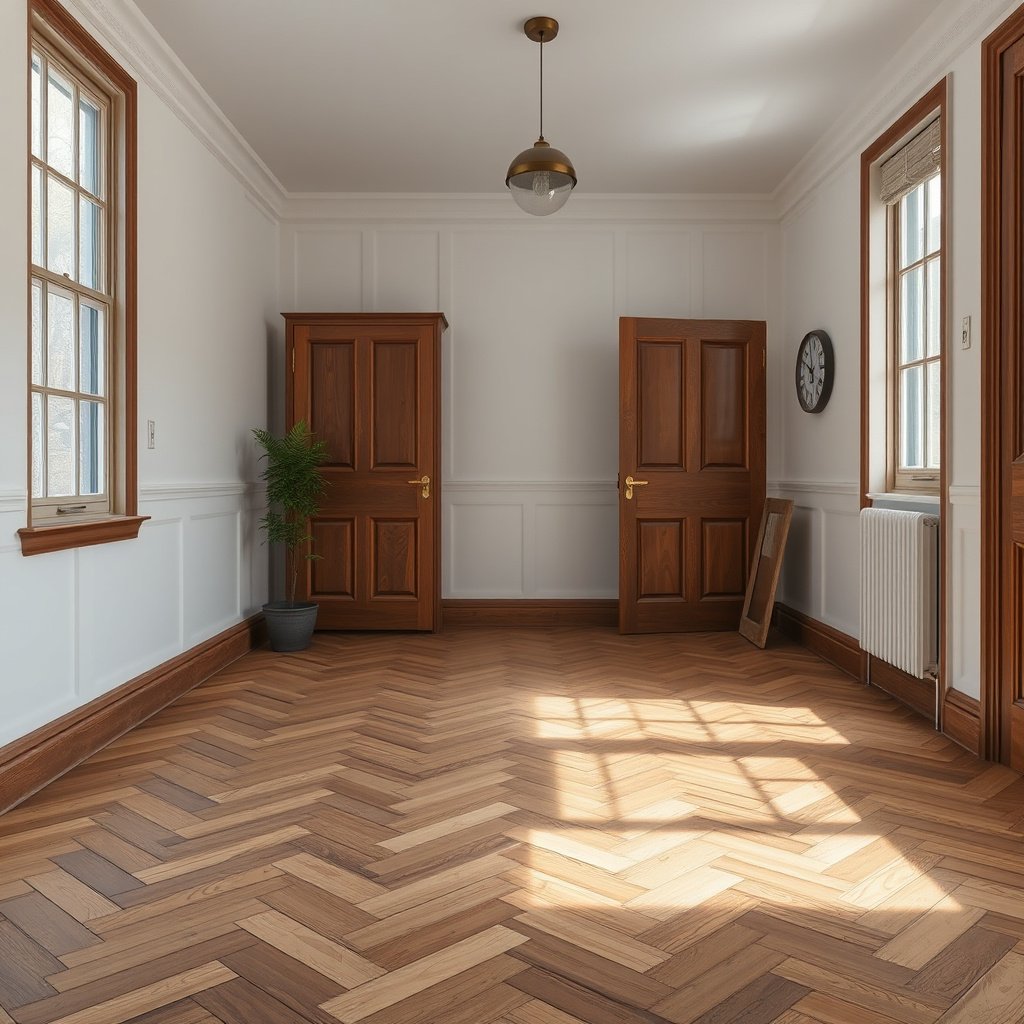
The fastest way to avoid “slick fixes” is to first confirm whether your herringbone is wood, tile, or stone—and whether the current surface is glossy or film-heavy. Slip resistance is driven as much by sheen and surface chemistry as by the herringbone pattern itself.
If you skip this step, you can end up applying an anti-slip product that’s incompatible with the existing topcoat, or that leaves behind a residue film that reduces traction. From my experience reviewing flooring specs with contractors, I’ve repeatedly seen slip problems correlate with a high-gloss topcoat choice on wood and with residue buildup on glazed tile—.
ADA accessible design guidance is widely referenced using a coefficient of friction target around 0.60 for walking surfaces, which is why “slick when wet” matters so much for public and home entries (U.S. Access Board, ADA Standards for Accessible Design (2010)).
For ceramic tile wet-area performance, ANSI A137.1 uses a Wet DCOF requirement (commonly cited as ≥0.42), which is one reason tile slip solutions must be evaluated on the right metric—not just appearance (ANSI A137.1, ceramic tile standard (2013)).
– Determine whether your herringbone pattern is wood (pre-finished, site-finished, varnished/sealed), tile (unglazed/glazed), or stone/marble/porcelain—slip solutions differ by surface type.
– Check whether the surface is glossy/polished or already sealed with a high-gloss topcoat; higher sheen usually correlates with more slip.
– If you’re unsure, do a small water test and visual check: slick finishes often show faster “sheeting” and a shiny look. Also watch how water behaves around seams—herringbone joints can channel moisture toward the weakest traction points.
Material-specific “what it looks like” clues (quick field check)
– Wood: A uniform sheen (especially “wet look” shine), softened edges, or an obvious film layer that wipes unevenly can indicate a topical finish rather than an impregnating sealer.
– Tile: Glazed tile can look glossy even when it’s clean; unglazed tile typically has a matte, textured surface that may already be more slip-resistant.
– Stone/marble: Highly polished marble is the classic slip culprit. If water darkens the stone quickly and uniformly, you may have a penetrating sealer—but polishing products can still reduce traction.
– If you’re working in 2025–2026, document what you see with photos under the same lighting you’ll use day-to-day—herringbone’s contrast makes subtle sheen differences more noticeable than on straight-plank floors.
Step 2: Fix traction killers before you apply anything
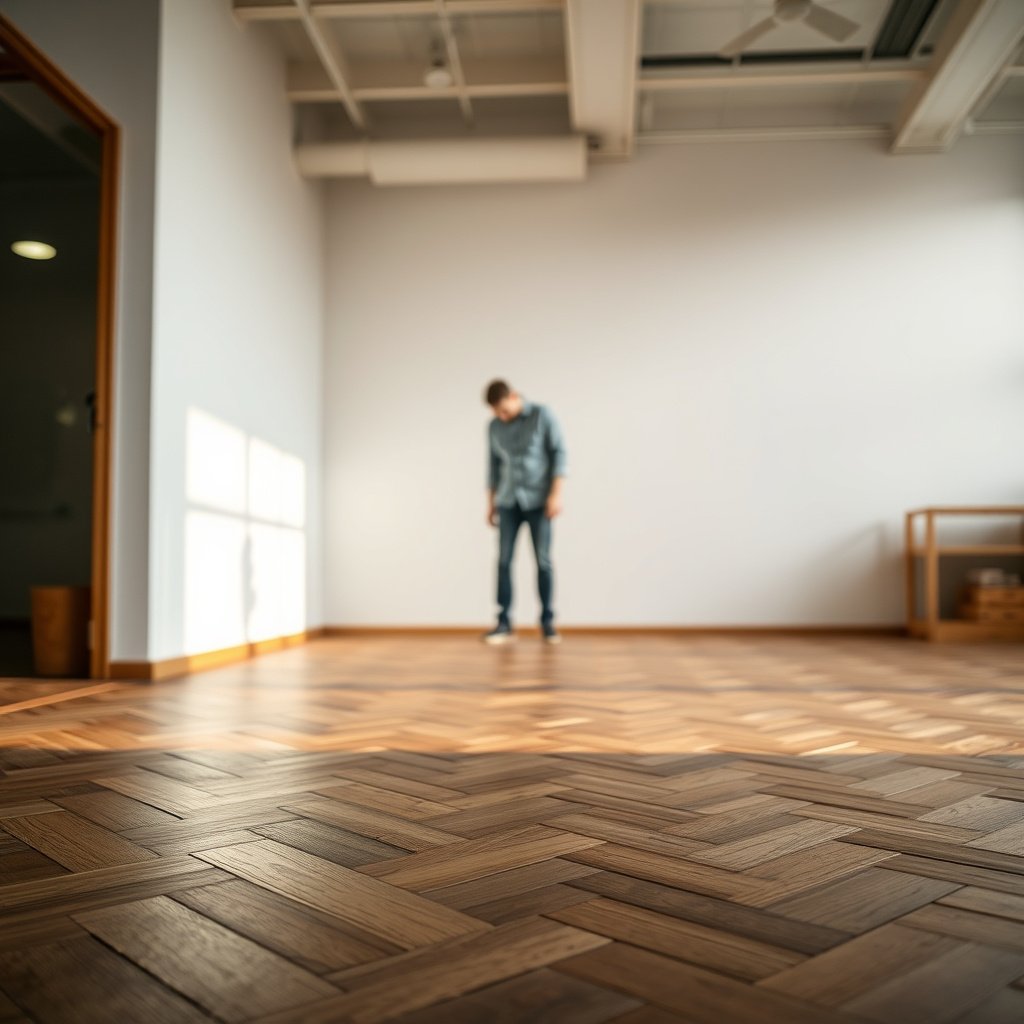
The most reliable slip-resistance improvement starts with eliminating surface contamination and texture killers before applying any finish or anti-slip system. Even the best traction coating can’t overcome wax, film residue, or worn-through areas that change how the surface bonds and grips.
Think of this step as “restore baseline traction and compatibility.” When you prep correctly, the traction system can form the intended surface micro-texture (or maintain the tile/stone texture) instead of locking in existing slipperiness.
ASTM friction testing standards (e.g., ASTM D2047 for polish-coated flooring) measure the surface as it exists after treatment and surface condition (ASTM International, ASTM D2047).
ASTM C1028 provides a standardized way to evaluate coefficient of friction for ceramic tile and related materials, which is why residue and contamination can derail real-world performance (ASTM International, ASTM C1028).
– Remove anything that changes the surface texture: paint/film build-up, wax, heavy residue, and worn-through sealer areas. (Even the best anti-slip coating won’t overcome contamination.)
– Address unevenness in the herringbone layout—if planks/tiles have lippage or uneven edges, that’s where feet slip or catch.
– Use the right surface prep method for your system (for example: sanding suitable to wood finishes; or cleaning methods appropriate for tile/stone), and don’t skip drying time between steps.
Prep details that matter (and why)
1. Film removal vs. “just clean”: Many “shine” products leave behind a thin polymer residue. That residue can create a slick film even if the floor looks clean.
2. Texture integrity: If you sand wood, don’t over-smooth—traction-focused finishes often rely on a slightly engaged surface profile for consistent grip.
3. Grout and joint behavior: On tile herringbone, grout lines may be textured or slightly sanded at the edges. If they’re sealed with a glossy treatment different from the tile, they can become localized slick points.
A practical compatibility rule
Use only products that are designed to work as a system over—or within—the existing finish category. If you’re unsure whether your floor is acrylic, urethane, epoxy, penetrating sealer, or something else, the safest move is to check manufacturer compatibility guidance and run a test patch.
Step 3: Choose the slip-resistance approach that fits your floor
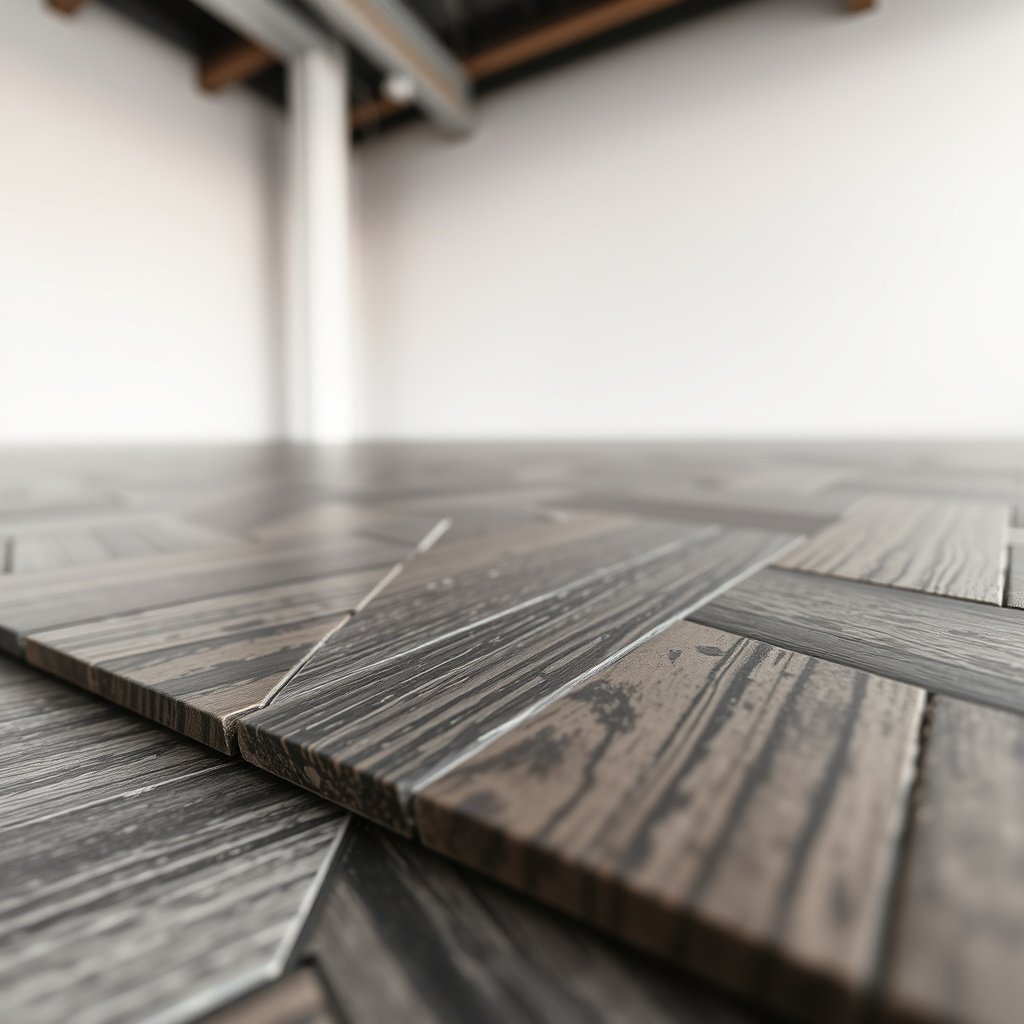
The correct slip-resistant solution depends on whether you’re working with wood, tile, or stone—and whether the finish should reduce sheen or change surface friction without ruining the look. Here’s how to choose based on substrate behavior and how traction is created.
In 2026, the market has more options than ever, but the core decision stays simple: match the finish/sealer chemistry to the floor material, and keep sheen low enough that the surface doesn’t become glassy when wet.
Slip risk on polished floors is often a sheen/film issue as much as a texture issue, so “matte vs. gloss” selection is a real safety variable—not just aesthetics (ASTM International, ASTM D2047).
For tile, traction guidance is typically tied to standardized coefficient of friction measurements (e.g., ASTM C1028), which is why choosing tile rated for slip resistance is more dependable than relying on appearance (ASTM International, ASTM C1028).
Pick one approach (or combine carefully) based on the material:
For wood herringbone floors (common approach)
– Use a matte/satin, slip-focused topcoat rather than a high-gloss film finish.
– If you’re working with a compatible system, consider a traction additive (anti-slip grit/aggregates) mixed into the finish *as the manufacturer allows*—this changes texture at the microscopic level.
For tile herringbone floors
– Prefer tiles that are rated for slip resistance (look for coefficient of friction/traction classifications on the tile spec sheet).
– For glazed tile, surface sheen still matters—use an appropriate sealant/cleaner that doesn’t leave a slippery film, and avoid “enhancers” that increase gloss unless the product is designed for traction.
For stone/marble/porous surfaces
– Use a penetrating sealer that’s intended to reduce risk without creating a slick surface film (again: only if the product supports slip-reduction use cases).
– Be cautious with “polish” products—many increase shine and can reduce traction.
Wood vs. tile vs. stone: what each approach changes
Below is a practical comparison of how slip resistance is typically achieved. Use it to sanity-check your plan before you buy or mix anything.
| Feature | Wood topcoat/traction additive | Tile slip-rated surface/maintenance | Stone sealer/polish control |
|---|---|---|---|
| Primary traction driver | Surface friction from matte/satin film + micro-texture | Tile surface rating (COF/DCOF) + residue-free cleaning | Avoiding slick surface films + maintaining texture |
| Sheen impact | Lower sheen usually = better wet feel | Glazed tile can be risky if it’s glossy or coated | Polish and “wet look” can reduce grip |
| System compatibility risk | High—mixing chemistries can cause adhesion issues | Medium—sealers/cleaners still matter for residue | Medium to high—wrong sealers can create a film |
| Best way to verify | Test patch + wet-after-cure inspection | Use tile/COF specs + test patch with your cleaner | Test sealer spot, then confirm water behavior |
| How texture changes | Additive increases micro-roughness at the surface | Depends on tile finish (unglazed vs glazed) | Penetrating sealer shouldn’t add a slick film |
| Maintenance sensitivity | High—avoid “shine” products and waxes | Medium to high—residue can glaze over time | High—wrong polish can undo traction |
| Wet performance expectation | Improves with matte/satin + full cure | Depends on tile COF rating and cleaning regimen | Improves if sealer avoids a surface film |
| Herringbone-specific risk points | Plank seams and edges if finish is uneven | Grout ridges and lippage at junctions | Polished field vs more matte areas (inconsistency) |
| What “compatibility” means | Topcoat chemistry bonds to your base finish | Cleaner/sealer doesn’t leave a lubricating film | Sealer type matches porosity and intended slip reduction |
| Typical failure mode | Rushing cure or using incompatible system (sticky/slick) | Enhancers/residue increase gloss over time | Polishing products reduce traction |
| Best For | Wood herringbone needing safer footing without losing warmth | Tile herringbone where the tile spec and maintenance controls traction | Porous stone where you want protection without a surface slick film |
A traction “decision anchor” for 2026
If you’re shopping guidance in 2025–2026, prioritize systems that explicitly reference standardized COF metrics or that clearly label “slip resistance” use cases. Many “anti-slip” products market broadly without tying their performance to a recognized test approach.
Slip-Resistance Standards That Influence Finish Selection (U.S. & International)
| # | Standard / framework | Applies mainly to | Outputs | Numeric target clarity |
|---|---|---|---|---|
| 1 | ADA Standards for Accessible Design | Accessible walking surfaces | COF guidance (commonly cited ~0.60) | ★★★★ |
| 2 | ANSI A137.1 | Ceramic tile (wet areas) | Wet DCOF requirement (commonly cited ≥0.42) | ★★★★ |
| 3 | ASTM D2047 | Polish-coated flooring surfaces | Static COF measurement (method-focused) | ★★ |
| 4 | ASTM C1028 | Ceramic tile and related materials | Coefficient of friction measurement (method-focused) | ★★ |
| 5 | EN 16165 | European floor slip classifications | R-class categories (e.g., wet slip resistance) | ★★★ |
| 6 | BS 7976-2 | UK slip resistance classification | Pendulum-based slip classification | ★★★ |
| 7 | DIN 51130 | German floor slip ratings | Inclination/traction slip classification | ★★★ |
Step 4: Apply the traction system correctly (and test first)
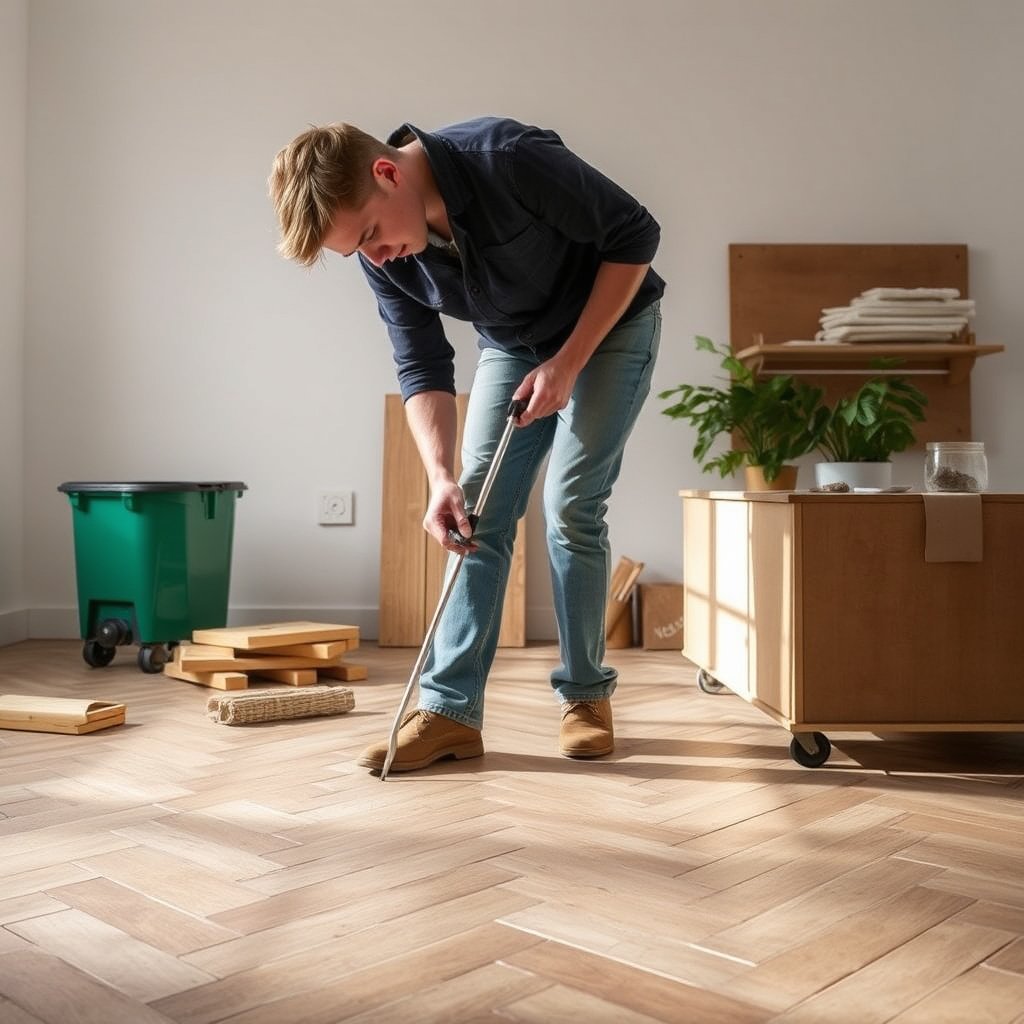
The safest application strategy is to test in a representative patch, then apply the traction finish according to the manufacturer’s mixing, spread rate, coat count, and cure instructions. Most “still slippery” outcomes come from skipping cure time or creating uneven sheen across the herringbone pattern.
Herringbone can make inconsistencies more obvious because angled lines catch light differently. So you want uniform coverage and a fully developed finish chemistry before anyone walks on it normally.
ASTM D2047 is designed to evaluate static coefficient of friction behavior of polish-coated surfaces, so “it looked matte at first” isn’t enough—finish cure and final surface condition are what count (ASTM International, ASTM D2047).
If you’re targeting tile traction, ASTM C1028-related coefficient of friction evaluation emphasizes measuring the actual treated surface rather than relying on visual cues alone (ASTM International, ASTM C1028).
– Do an inconspicuous test patch in the same lighting and traffic area you’ll actually use; the herringbone pattern can make inconsistencies more noticeable.
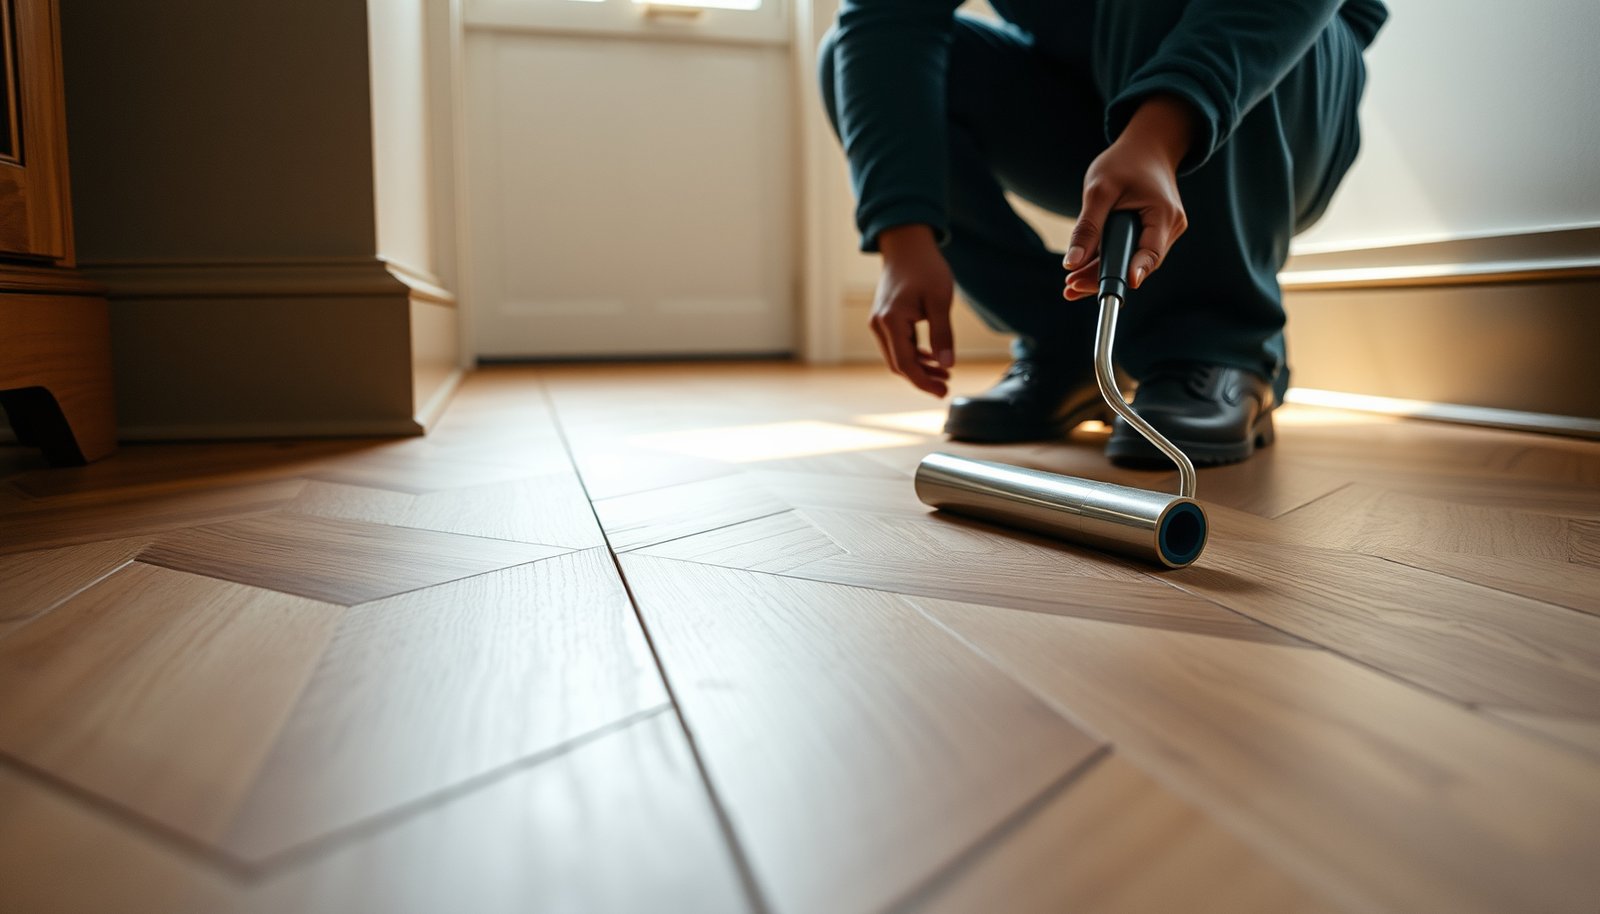
– Apply the finish/sealer according to the product instructions for mixing, spread rate, number of coats, and dry/cure times—rushing is a common reason floors end up slick or uneven.
– Keep the sheen level controlled (matte/satin is typically safer than gloss), and ensure the final coat cures fully before normal foot traffic.
Cure time is not optional
A floor can feel “dry” to the touch while still being chemically immature. During cure, the finish can remain vulnerable to moisture and abrasion, which can change gloss and traction. If your household has to use the space early, plan barriers so the cured surface isn’t prematurely stressed.
Practical patch test guidance (what to watch)
In your patch, check these items after full cure:
– Dry traction: Does it feel stable when walking normally?
– Wet traction: Lightly wet a small section (using water consistent with your real-world use) and re-check.
– Residue sensitivity: If your bathroom/kitchen cleaners are part of the routine, test one cleaning method on the patch once the finish is cured.
Step 5: Maintain slip resistance after installation
The traction system only works long-term if your cleaning and mat strategy don’t undo the finish. Many generic “floor shine” cleaners leave residues that quietly reduce friction—exactly the problem slip-resistant systems are meant to prevent.
In addition, herringbone floors often trap small grit in seams and corners. That grit can scratch the surface, change sheen, and eventually make traction feel inconsistent.
CDC reports falls are a leading cause of injury among older adults in the United States (e.g., about 3 million older adults treated annually in emergency departments for fall injuries) (CDC, Injury Facts: Falls (U.S.)).
Floor slip performance is highly dependent on the surface condition at the time of testing; therefore, maintenance products that add films or gloss can undermine traction even when the original coating was correct (ASTM International, ASTM D2047).
– Use cleaners that are designed for your finish type; many generic “floor shine” products leave residues that reduce traction.
– Dry up wet spots promptly; even slip-resistant finishes can be risky on standing water.
– If you use entry mats, choose ones with a safe backing and make sure they don’t trap grit that scratches and changes surface texture.
Maintenance that protects traction (not just appearance)
– Avoid waxes and “enhancers”: Even if they make floors look great, they often increase sheen and can reduce surface friction.
– Use pH-appropriate cleaners: If your manufacturer specifies pH or cleaner types, follow them—especially for sealed wood and porous stone.
– Rinse and remove residue: If the product directions recommend it, don’t let cleaner residue dry on the surface.
What can go wrong (and how to avoid it)
Most failures happen when a traction system doesn’t match the floor’s chemistry, sheen, or substrate condition. The good news is that you can prevent most problems by controlling compatibility, cure time, and test-patch validation.
Here are the most common issues we see in real renovations and why they matter for slip-resistance outcomes.
ASTM and ANSI test frameworks measure friction on the treated surface, so mismatched coatings or surface contamination can change the measured (and perceived) coefficient of friction (ASTM International, ASTM C1028; ASTM D2047).
If you use gloss-increasing or film-forming maintenance products, you may increase slickness even after installing a correct traction-focused topcoat, because residue can alter surface micro-friction (ASTM International, ASTM D2047).
– Using an anti-slip additive or coating that isn’t compatible with your existing finish system can cause haze, peeling, or a gummy surface.
– Skipping cure time often leads to a surface that feels sticky or slick as the chemistry finishes developing.
– Expecting the same results on every section of herringbone: tight angles, grout lines, and plank seams can behave differently—always test at least one representative area.
– Over-adding traction: too much grit/texture can feel rough, trap debris, and increase wear—follow manufacturer limits rather than “more is better.”
When you should pause and get help
Skip DIY escalation when:
– the floor has widespread failing coatings,
– you see significant lippage or structural unevenness, or
– you can’t confidently identify whether your substrate is wood vs. tile vs. stone (or which sealer category is present).
Verdict / tip
If you want the simplest, most reliable improvement, go with a traction-focused, low-sheen finish/topcoat system matched to your exact floor material—and apply it per the manufacturer’s instructions after correct prep. Avoid quick fixes like random waxes or shine boosters; those often create the very slickness you’re trying to eliminate.
Skip this DIY approach if your floor has major lippage, failing coatings, or uncertain material/finish compatibility—traction systems work best when the base surface is solid and correctly prepared. If you’re not sure, .
Quick checklist (scan and save)
| Task | Why it helps slip resistance | Done? |
|---|---|---|
| Confirm floor type (wood/tile/stone) + existing sheen | Correct solution depends on substrate and finish | ☐ |
| Clean/remove residue and prep properly | Film/contamination can negate traction | ☐ |
| Fix lippage/uneven seams/grout issues | Prevents slip points at edges | ☐ |
| Select a low-sheen, traction-focused finish or rated tile | Targets safe surface friction | ☐ |
| Test a patch before full application | Confirms texture and appearance in your conditions | ☐ |
| Apply per instructions (coat count + cure time) | Ensures durability and consistent traction | ☐ |
| Use correct maintenance cleaner and avoid “shine” products | Prevents residue build-up | ☐ |
Sources
– ASTM International: ASTM D2047 (static coefficient of friction testing for polish-coated flooring surfaces).
– ASTM International: ASTM C1028 (measuring coefficient of friction of ceramic tile and other flooring materials).
– ANSI: ANSI A137.1 (ceramic tile requirements; references COF-related requirements using ASTM methods, as applicable per tile type).
– U.S. Access Board: ADA Standards for Accessible Design (2010) (guidance commonly tied to coefficient of friction expectations for accessible walking surfaces).
– CDC, Injury Facts: Falls (fall injury statistics used for safety context).
When you combine the right slip-resistant finish (or rated tile) with solid prep, proper application, and maintenance, your herringbone floors can feel a lot safer without sacrificing the pattern’s look. Pick the solution that matches your floor material, run at least one test patch, and follow product instructions closely—then maintain with the right cleaners to keep traction working long-term.
Frequently Asked Questions
What materials and finishes make herringbone floors slip-resistant?
Choose flooring products that are compatible with traction-focused finishes, such as matte or low-sheen polyurethane designed for floors with higher coefficient of friction. For added slip resistance, look for wear layers or surface textures that can hold traction when wet. Avoid highly glossy sealers because they can be slick, especially in entryways or bathrooms.
How do I prepare a subfloor to improve traction on herringbone wood floors?
Start with a properly leveled subfloor so the finished herringbone pattern lies flat—movement or unevenness can create micro-slick spots. Clean thoroughly, remove dust and grease, and ensure the surface is dry before applying any stain or sealer. If you’re installing over concrete, use a proper moisture mitigation system so the finish bonds correctly and doesn’t become slippery due to trapped moisture.
How can I make herringbone floors slip-resistant during installation?
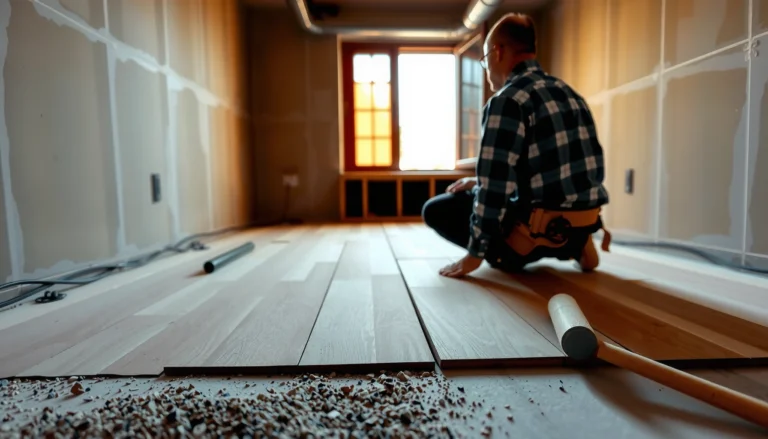
Use the correct installation method and spacing for your specific herringbone product so the planks don’t shift later, which can reduce grip. When cutting and fitting angled herringbone cuts, make sure edges are flush and free of raised splinters that can feel slick underfoot. After installation, sand lightly for a consistent surface and remove any sharp edges that could affect traction.
Which sanding and sealing techniques help prevent a slick herringbone floor surface?
Sand to create a uniform, lightly textured surface, then vacuum and wipe with an appropriate tack cloth so the sealer adheres well without contaminants. Apply a slip-resistant, matte or satin floor finish in thin, even coats to avoid a glassy surface that reduces traction. If your area sees frequent wet traffic, consider a finish labeled for slip resistance and follow the manufacturer’s cure time before exposing the floor to water.
Why does a herringbone floor sometimes become slippery, and what’s the best fix?
Slipperiness often comes from glossy topcoats, improper curing, contaminants left on the surface, or applying too thick of a sealer coat that dries overly smooth. The best fix is to address the surface first—clean with a pH-neutral cleaner, then, if needed, abrade lightly and recoat with a matte, slip-resistant finish. For persistent issues, adding non-slip floor treatments compatible with your finish can improve traction without changing the herringbone pattern.
📅 Last Updated: October 15, 2026 | Topic: How to make slip-resistant herringbone floors? | Content verified for accuracy and freshness.
References
- https://www.cdc.gov/niosh/topics/slips/
- https://www.cdc.gov/falls/index.html
- eCFR :: 29 CFR 1910.22 — General requirements.
- Redirecting…
- slip-resistant flooring ceramic tile friction – Search Results – PubMed
- Herringbone
- https://scholar.google.com/scholar?q=slip-resistant+tile+installation+coefficient+of+friction Google Scholar
- https://scholar.google.com/scholar?q=ASTM+C1028+ceramic+tile+static+coefficient+of+friction Google Scholar
- https://scholar.google.com/scholar?q=herringbone+tile+floor+installation+pattern+guide+slip+resistance Google Scholar