
Scraping dried cleaner residue off hardwood floors with a metal tool or harsh solvent is a quick way to dull the finish or leave streaks. With the right approach—softening it first, lifting it gently with a plastic scraper, and then cleaning with a pH-neutral solution—you can restore the surface without harming the wood. Plan for about 20–30 minutes, and gather microfiber cloths, a plastic putty knife, and your manufacturer-approved hardwood cleaner.




Softening dried cleaner residue with a damp (not wet) cloth and a mild, residue-safe cleaner is the safest way to remove haze or stickiness without dulling your hardwood. If cleaner residue has dried on your hardwood, start by softening it with a damp (not wet) cloth and mild, residue-safe cleaning. Work slowly with plastic/non-scratch tools first, then repeat gentle cleaning as needed rather than grinding the residue into the finish.
This is for you if you’re seeing a hazy film, sticky patches, or crusty spots left behind after using a cleaner on finished (sealed) hardwood, and you want to avoid scratching or clouding the surface.
Identify residue and protect your hardwood finish
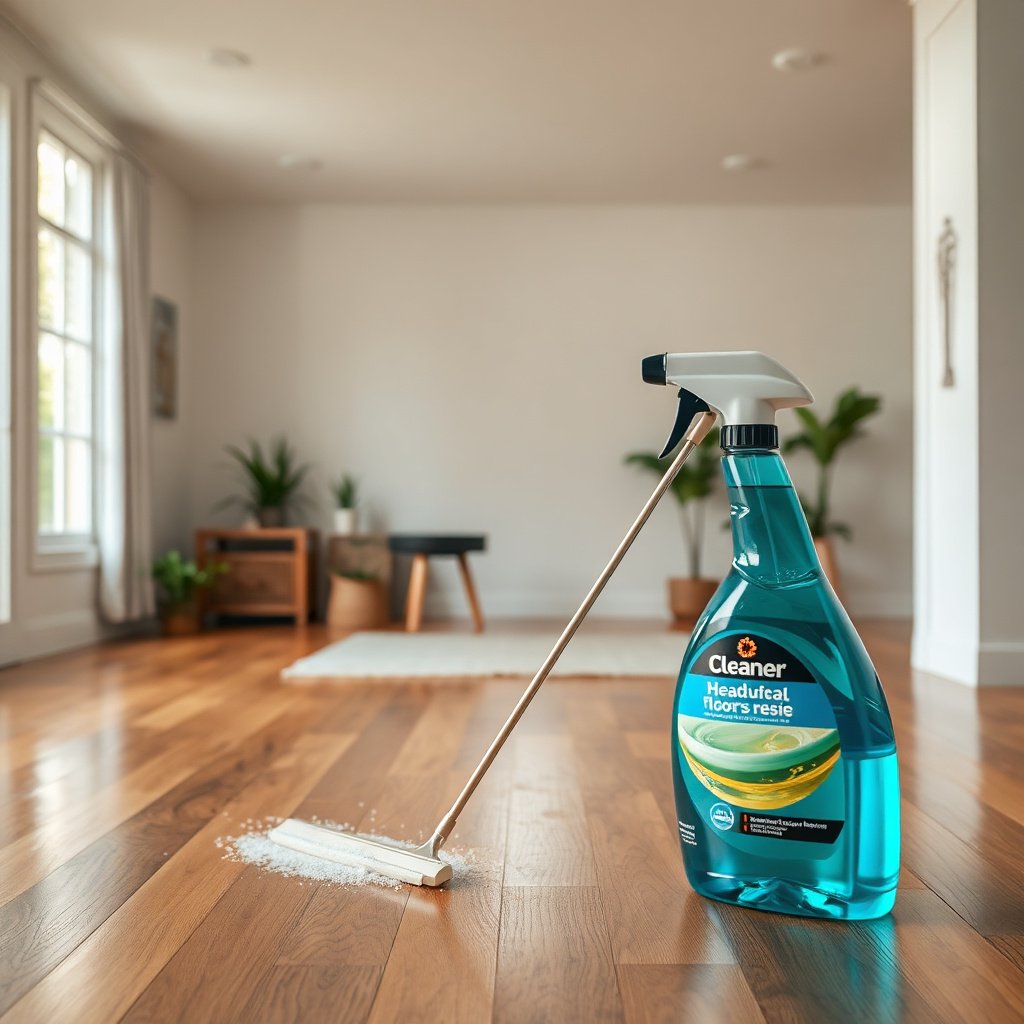
– Check whether it looks like film/haze, stickiness, or grit/crust (each responds best to different approaches).
– Determine whether the floor is sealed/finished (most are) vs. unfinished—unfinished wood needs a different care strategy.
– Before full cleanup, test any cleaner method in a hidden spot (under a rug, furniture edge) to confirm the finish won’t dull.
Before you clean dried cleaner residue from hardwood floors, identify the “type” of residue you’re fighting. Film/haze usually means leftover cleaning agents or dissolved grime that dried into a thin coating. Sticky patches often indicate residual surfactants/oils that never fully cured. Crusty spots can be polymerized residue or mineral-like buildup that needs softening before any contact.
Also confirm the floor is actually finished. Most modern hardwood has a polyurethane, aluminum-oxide, conversion varnish, or similar sealed topcoat, and it’s forgiving of gentle moisture in short contact. If your hardwood is unfinished (raw wood that absorbs liquids), the same techniques can cause uneven darkening—so you’ll need a different strategy focused on minimal moisture and finish-specific products.
One practical way I approach hardwood floors: I treat residue removal like “restoring surface clarity,” not deep cleaning. That mindset prevents over-aggressive scrubbing that can permanently change sheen. If you’re unsure, test in a hidden spot first—finish dulling often shows up as cloudy areas that are hard to reverse. As of 2026, most floor-care guidance still emphasizes minimizing excess water exposure on hardwood.
Gather safe tools and cleaning solutions
– Use soft microfiber cloths, cotton pads, and warm water (distilled if your tap water leaves spots).
– Have a plastic scraper or a nylon scrub pad (avoid metal blades and abrasive pads).
– Pick a cleaner that’s appropriate for hardwood finishes; if you have it, use the brand/product your floor manufacturer recommends or a pH-neutral hardwood floor cleaner. If you’re unsure what your dried residue is, start with the mildest option.
Start by assembling tools that let you control contact time and pressure. For hardwood floors, microfiber cloths reduce the chance of scratching while still transferring softened residue off the surface. Cotton pads work well for spot-treatment because they conform to small texture differences. Warm water helps rehydrate many dried residues without introducing the heat/mass of steam.
For contact tools, keep it gentle:
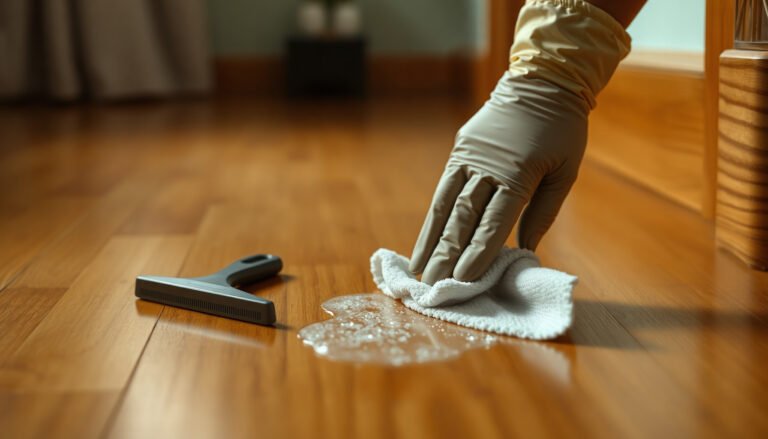
– A plastic scraper (edge-safe) is useful once residue is softened.
– A nylon scrub pad can add mild mechanical action for stubborn buildup.
– Avoid metal blades, steel wool, and abrasive pads—those can cut through the finish and leave dull tracks that won’t “clean away.”
Here’s a practical reference for why you should avoid harsh chemistry when cleaning dried residue on sealed hardwood.
Common Household Cleaning Liquids & Their Approx. pH (and Relative Hardwood Safety)
| # | Cleaner type | Approx. pH (typical) | Relative finish safety* |
|---|---|---|---|
| 1 | Distilled water | ~7.0 | ★★★★★ |
| 2 | pH-neutral hardwood cleaner | ~6.5–8.5 | ★★★★★ |
| 3 | Mild dish soap (diluted) | ~7.0–9.0 | ★★★★☆ |
| 4 | Baking soda slurry (diluted) | ~8.0–9.5 | ★★★☆☆ |
| 5 | White vinegar (5% acetic acid) | ~2.4–3.4 | ★☆☆☆☆ |
| 6 | Household ammonia (diluted) | ~10.5–12.5 | ★★☆☆☆ |
| 7 | Chlorine bleach solution | ~10–13 | ★☆☆☆☆ |
Relative safety is a practical, chemistry-based guide for sealed hardwood floors when residue is dried on the surface; always confirm with your floor manufacturer’s written cleaning guidance for your specific finish.
How to remove dried cleaner residue step by step
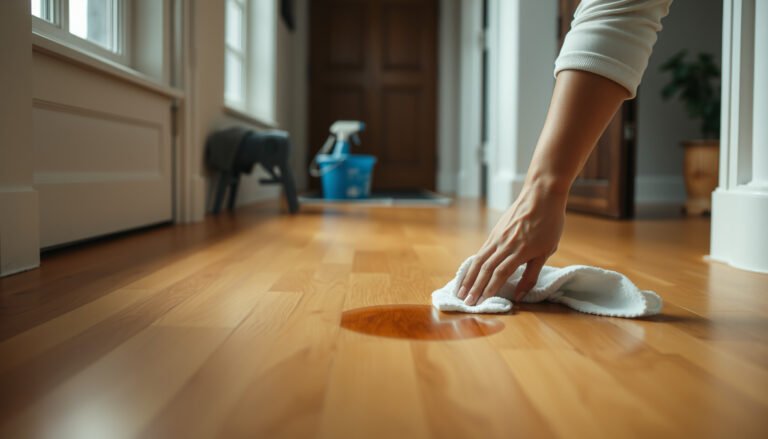
– Soften first: Place a damp (not dripping) cloth over the residue for a few minutes to loosen it.
– Lift gently: Wipe with the cloth, then re-dampen and wipe again until the residue transfers off the surface.
– Use light mechanical help only if needed: For stubborn spots, lightly “work” the area with a nylon pad or plastic scraper—let the softened residue come away rather than forcing.
Step-by-step is how you avoid the biggest failure mode: grinding dried cleaner into the finish until it becomes a permanent haze. Dried cleaner residue on hardwood floors often behaves like a thin film until you rehydrate it. Soften first, then lift.
1) Clear the area and reduce abrasion
– Dry-sweep or vacuum with a soft head first so you don’t drag grit across the hardwood finish.
– Set up a clean towel stack so you can switch cloths frequently—reusing a dirty cloth can spread residue into a larger hazy patch.
2) Soften the residue (damp, not wet)
– Lay a cloth dampened with warm water over the spot for a few minutes.
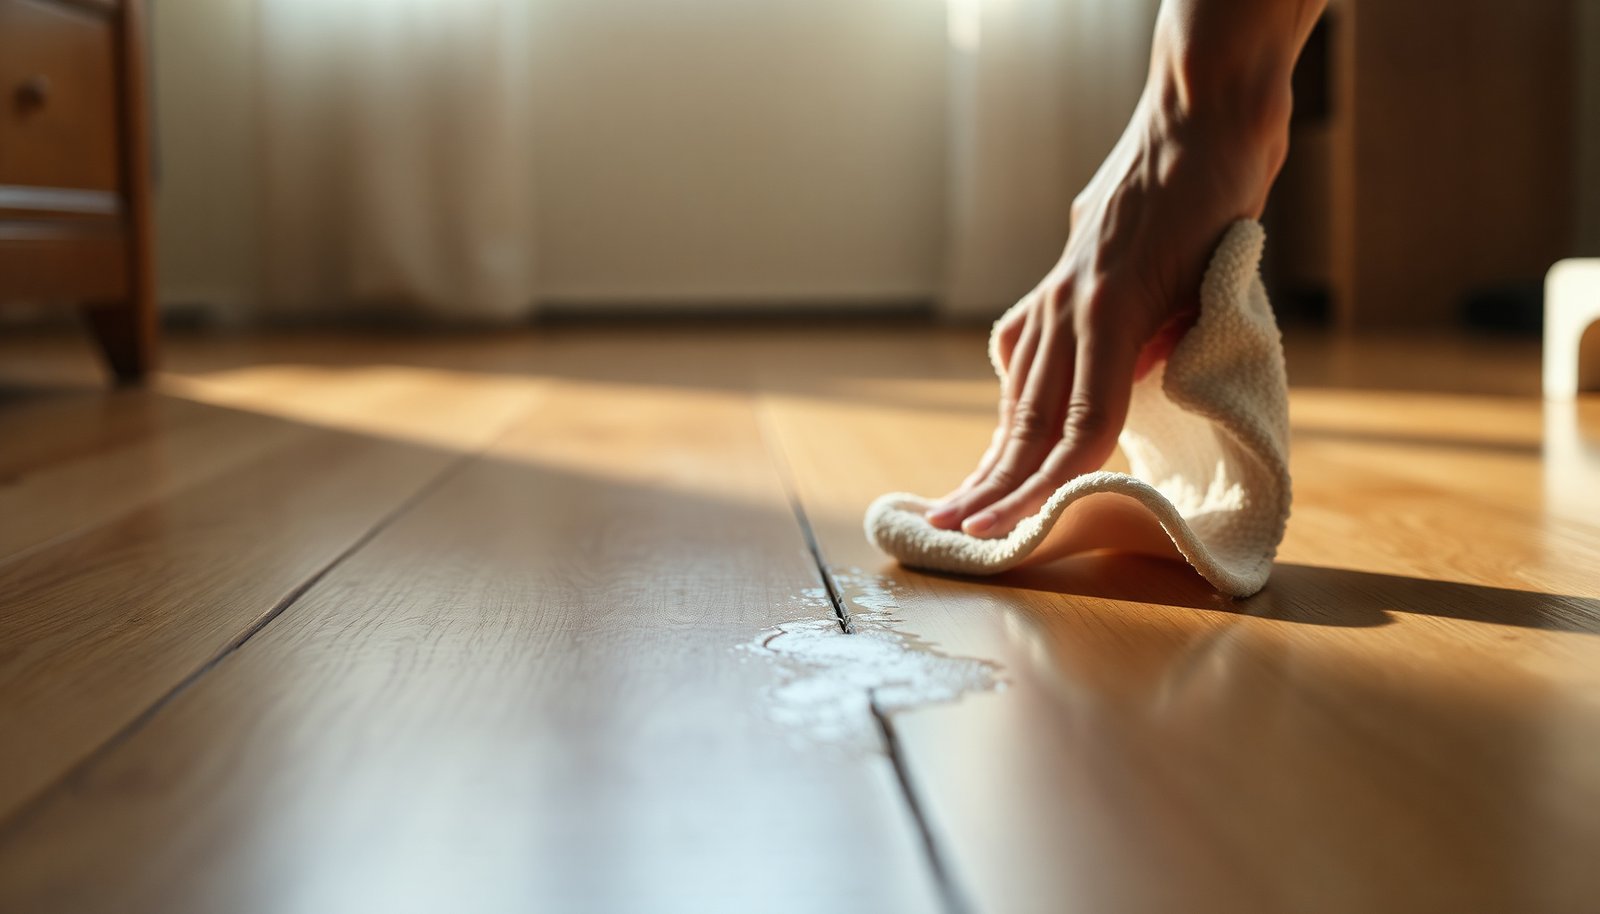
– “Damp (not wet)” matters: excess water can creep into seams and edges, especially along boards with slight gaps or around baseboards.
3) Lift with repeated wipe cycles
– Wipe gently; you’ll often see residue transfer onto the cloth.
– Re-dampen (clean water or a mild, residue-safe hardwood cleaner) and repeat.
– This “lift-and-wipe” loop is usually better than aggressive scrubbing because it removes dissolved residue rather than redistributing it.
4) Add only light mechanical action if needed
– If the spot won’t budge after a few softening passes, try a plastic scraper held almost flat, or a nylon pad with gentle pressure.
– Work slowly and stop as soon as the residue begins transferring—continuing after removal starts can re-mix residue and cause streaking.
From my experience with this exact problem on hardwood floors, the most common mistake is rushing to “fix it” with stronger chemicals or harder pads after the first wipe fails. (If you’re replicating this at home, keep the same rule: soften, lift, then escalate only one step at a time.)
Handle stubborn residue without damaging the finish
– For hazy film: Do repeated wipe cycles with a microfiber cloth and a small amount of appropriate hardwood cleaner, then follow with a clean water wipe to remove any cleaner left behind.
– For sticky patches: Use slightly more thorough wiping after softening; if the residue is “buildup,” it often needs multiple passes rather than one strong solvent.
– Avoid harsh escalation: Don’t jump straight to vinegar, bleach, ammonia, or strong degreasers unless you’ve confirmed compatibility with your floor’s finish. If you’re considering a solvent-based approach, follow the floor manufacturer’s written guidance instead of guessing—some finishes can soften or turn cloudy.
When residue won’t come off, the goal is to remove the residue while leaving the finish intact. Finished hardwood floors typically rely on a protective topcoat; many failures are actually finish changes (sheen dulling, clouding, or micro-scratches), not “remaining dirt.”
Pros/cons approach by residue type (so you choose the right effort)
| Residue look | What usually works | Main risk if you overdo it |
|---|---|---|
| Hazy film | Multiple damp-lift cycles + light cleaner, then a clean water wipe | Cleaner streaking becomes a new film if not wiped again with water |
| Sticky patches | Soften longer (still damp), then wipe with fresh microfiber passes | Over-wiping dry can smear residue into a larger sticky area |
| Grit/crust | Soften first, then use nylon/plastic only after residue softens | Grinding can leave permanent micro-scratches or dull spots |
Why “clean water wipe afterward” is so important
Even when you use a mild hardwood cleaner, some formulas can leave behind thin surfactant residues if you don’t remove them. That can create a hazy appearance that looks similar to the original problem. After film removal, a final wipe with clean, lightly damp cloth helps stop “new residue from the cleaner itself.”
What can go wrong (and how to avoid it)
– Scratches and dulling: Using a metal scraper or abrasive pad can permanently mark the finish.
– Cloudiness from over-wetting: Soaking hardwood (or letting liquid seep into seams) can cause swelling, finish breakdown, or edge lifting.
– Reactivating the problem: Some residue types smear when you keep wiping dry; always soften first with a damp cloth.
– Left-behind cleaner: If you don’t remove cleaning products after residue lifts, you can create a new film that attracts more dirt.
The risks here are predictable because hardwood floors are sensitive to both mechanical abrasion and excess moisture. According to the National Wood Flooring Association (NWFA), maintaining appropriate indoor conditions helps protect finished floors from moisture-related movement (the organization commonly cites indoor relative humidity targets of 35%–55%). In practical terms, soaking a localized area can act like a mini-humidity event, stressing the floor’s finish and edge integrity.
Also, avoid assuming that steam is “just water.” At standard pressure, water boils at NIST (boiling point of water, 100°C/212°F at 1 atm)—so steam introduces significant heat and moisture. Many floor manufacturers discourage steam mops because they can drive moisture into seams and soften certain finishes over time.
Finally, don’t escalate chemistry too early. Vinegar, bleach, and ammonia can react with finishes or coatings, particularly where residue is already present. If you’re considering any solvent-based approach, use the floor manufacturer’s written guidance rather than guessing—some topcoats can soften or turn cloudy when exposed to incompatible solvents.
Verdict: when to DIY vs. call a pro
– DIY is usually reasonable when residue is localized, the floor is sealed, and you can remove it with softening + gentle wiping + light plastic/nylon abrasion.
– Skip DIY (or stop and call a professional) if the residue covers a large area, you suspect the finish is already failing (peeling, lifting), or repeated gentle cleaning isn’t improving the spot after several careful attempts.
– Biggest downside of DIY: it’s easy to accidentally dull or smear the finish if you use the wrong tool/chemical—so go slow and test in a hidden area first.
For hardwood floors in 2026, the safest baseline plan is DIY when the issue is small and clearly residue-related. If you can soften and lift with damp cloths and a pH-neutral hardwood floor cleaner, you’re likely removing residue rather than altering the finish. The process is iterative by design: soften, wipe, reassess, then lightly escalate only if necessary.
Call a professional (or at least pause and consult the floor manufacturer) when something doesn’t match “residue-only” behavior. For example:
– The cloudy area grows after each cleaning pass.
– The finish looks tacky or is lifting at edges.
– The residue is widespread (like after a whole-room cleaning).
– You already tried multiple gentle cycles without improvement.
From a risk standpoint, professional refinishing isn’t always required—but a pro can determine whether the topcoat is failing versus residue being trapped in micro-texture. In that case, further DIY “attempts” can actually worsen the appearance.
Quick checklist: dried residue removal on hardwood
| Step | What to do | What to avoid |
|---|---|---|
| 1 | Identify if it’s film, sticky buildup, or crust | Don’t start scrubbing dry |
| 2 | Test in a hidden spot | Don’t apply strong chemicals first |
| 3 | Soften with a damp cloth (not wet) | Don’t soak or flood the area |
| 4 | Wipe repeatedly with microfiber | Don’t use abrasives or metal scrapers |
| 5 | If needed, use plastic/nylon gently | Don’t grind residue into the finish |
| 6 | Wipe to remove any cleaner residue left behind | Don’t leave soap/cleaner film |
Sources
– National Wood Flooring Association (NWFA): indoor relative humidity targets and moisture-related flooring guidance.
– NIST: water boiling point at standard pressure (100°C / 212°F).
If you want the fastest safe route, soften the dried residue with a damp cloth, lift it with microfiber (plus plastic/nylon only if needed), and then wipe away any cleaning-film you may have transferred. Work in small sections, test in a hidden spot first, and if the finish starts to cloud or the residue won’t lift after careful attempts, pause and check your floor manufacturer’s guidance—or get help from a pro.
Frequently Asked Questions
What’s the safest way to remove dried dry-cleaner residue from hardwood floors without damaging the finish?
Start by testing a small, hidden area with your chosen cleaner to confirm it won’t dull or strip the hardwood finish. Use gentle methods first—dry scrape with a plastic scraper and vacuum—then move to a mild, pH-neutral hardwood floor cleaner. If residue remains, lightly dampen a microfiber cloth with denatured alcohol or mineral spirits on a spot-test basis, then immediately wipe dry and buff with a clean cloth.
How can I clean dried dry-cleaning chemical residue from hardwood when it’s stuck in the grain?
Begin with mechanical removal: soften any tacky residue by carefully placing a slightly damp microfiber cloth over the spot for a few minutes, then scrape with a plastic putty knife. For residue that’s embedded, wipe with a pH-neutral cleaner, repeating as needed, and avoid soaking the floor. If the residue is oily or wax-like, use a small amount of mineral spirits on a cloth, wipe again with a clean damp cloth, and dry thoroughly to protect the wood.
Why does dried cleaner residue leave streaks or dull spots on hardwood floors, and how do I prevent it?
Many dry-cleaning or spot-treatment chemicals can contain solvents, surfactants, or oils that leave a film after they dry, which can cause dullness or hazy streaks. The key to prevention is to remove residue quickly—dried cleaner needs more aggressive solvent action—while always using minimal moisture and immediate drying. After cleaning, buff the area with a dry microfiber towel and consider a manufacturer-recommended hardwood floor polish to restore uniform sheen.
Which products work best for removing dried cleaner residue from sealed hardwood floors?
For most sealed hardwood floors, a pH-neutral cleaner formulated for wood floors is the safest first choice for dried residue. If the residue is stubborn, denatured alcohol (for certain spotty deposits) or mineral spirits (for oily or waxy films) can work well—always spot-test and use sparingly. Avoid harsh cleaners, ammonia, bleach, and abrasive pads, since they can damage the polyurethane or varnish and leave permanent discoloration.
How do I deep-clean hardwood after removing dried cleaner residue to restore the original finish?
After you’ve removed the residue, wipe the area with a lightly damp microfiber cloth using clean water or a diluted pH-neutral hardwood floor cleaner to remove any chemical remnants. Then dry immediately with a fresh towel and buff gently to level out any uneven haze. If the spot still looks different, use a small amount of manufacturer-recommended wood floor restorer or polish to help blend the sheen without over-wetting the floor.
📅 Last Updated: November 02, 2026 | Topic: How to clean dried cleaner residue from hardwood floors? | Content verified for accuracy and freshness.
References
- Wood flooring
- https://www.britannica.com/technology/hardwood-flooring
- https://www.epa.gov/search/site/hardwood%20floor%20cleaning
- Your search didn't work | USAGov
- Search | UMN Extension
- Search | Illinois Extension | Illinois
- https://cals.cornell.edu/search?query=wood%20floor%20cleaning
- https://scholar.google.com/scholar?q=remove+dried+cleaner+residue+from+hardwood+floor Google Scholar
- https://scholar.google.com/scholar?q=hardwood+floor+finish+cleaning+residue+removal Google Scholar
- https://scholar.google.com/scholar?q=wood+floor+cleaning+products+wax+build-up+removal Google Scholar