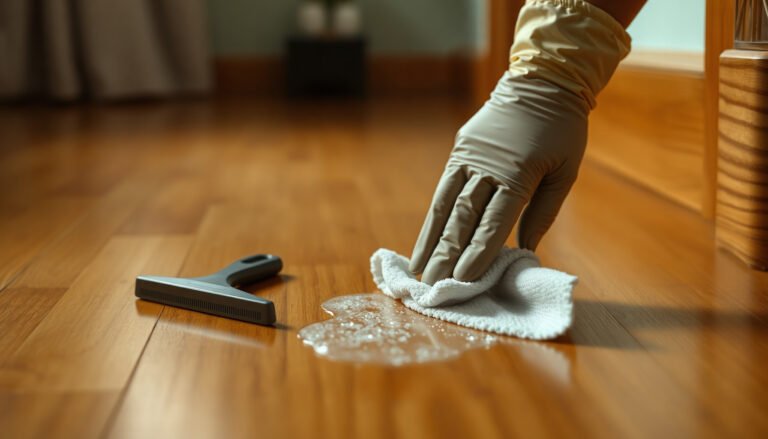
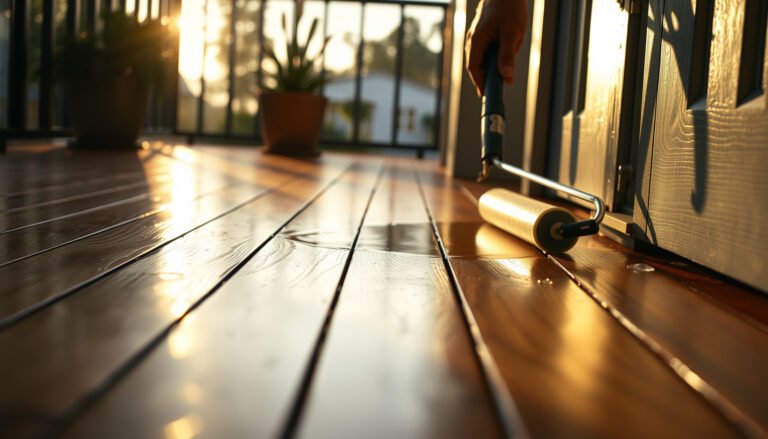
If you need to remove stains from hardwood floors in a busy entryway, follow the step-by-step method that works best for the most common spots. This guide walks you through identifying the stain type, using the right cleaner and gentle scrubbing technique, and preventing water damage as you work. You’ll leave with clear, reliable instructions that restore the finish without guesswork.




If your entryway hardwood floor has a stain, the fastest safe route is to identify whether it’s water/ink/scratch-related, then use the mildest cleaner that matches—usually gentle soap and water first, followed by targeted options like hydrogen peroxide for dark water marks (only on the affected area). Start with dry-cleaning and careful blotting, not scrubbing, so you don’t spread the stain or damage the finish. Below, you’ll get a practical sequence for the most common entryway stains and what to avoid.
Who this is for / when it applies:
This is for homeowners and renters dealing with visible stains in entryways—often from water drips, tracked-in grime, shoe scuffs, or small spills. It’s especially useful if you’re trying to remove the mark without sanding right away, and you want a safer plan for finished hardwood (and a way to decide when a pro or refinishing is the next step).
Start by identifying the stain type (and finish)
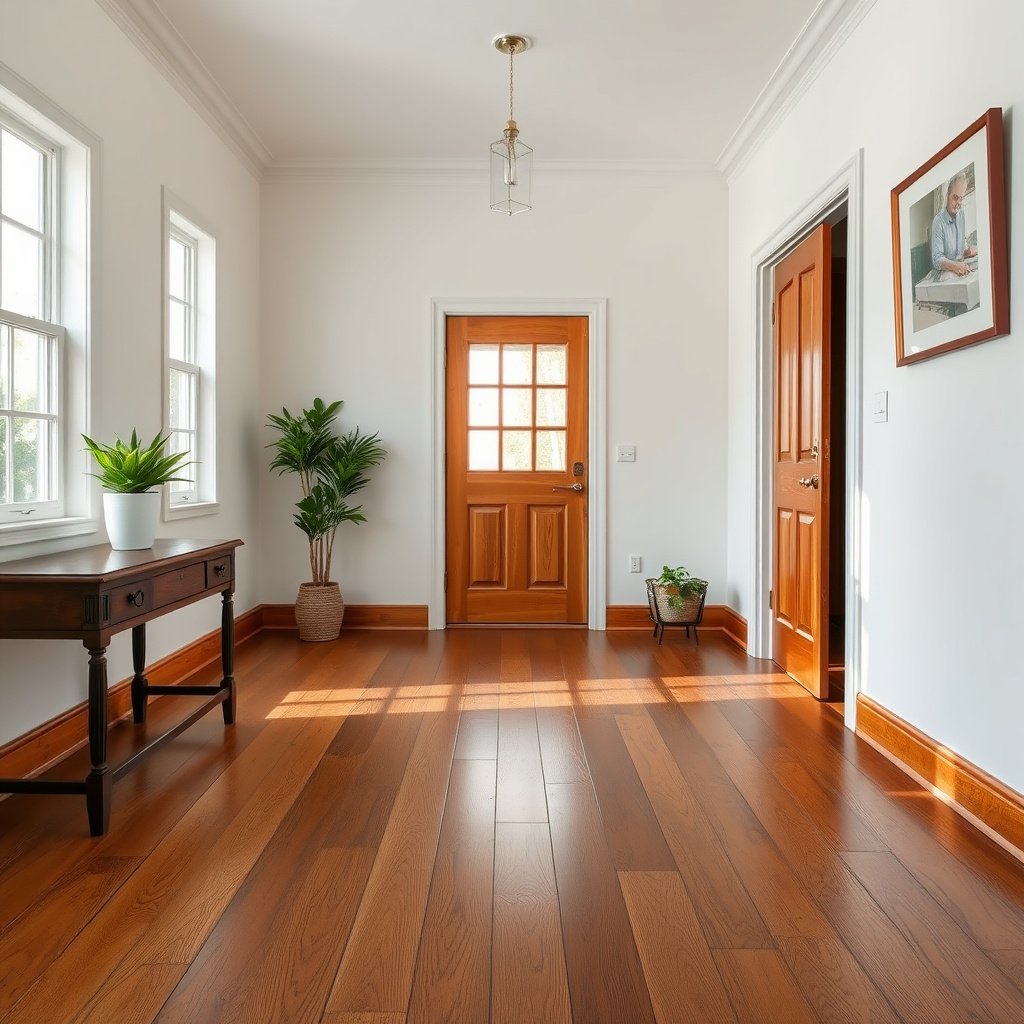
Identifying the stain type first saves time because different causes respond to different chemistry (and the wrong chemistry can spot-lighten your finish). In 2026, most successful “no-sanding” cleanups still follow the same logic: confirm whether you’re dealing with surface contamination, moisture-related discoloration, or a finish-scuff that needs gentler polishing rather than solvents.
A water-related dark mark typically indicates the topcoat changed color after moisture exposure, so you start with the least aggressive cleaners and only spot-treat the darkened area.
Scratch and scuff marks often look “light” or “gray” because the top finish is worn or the surface sheen is altered, so abrasion can make the area permanently dull.
– Water rings, cupping, and dark blotches often point to moisture that penetrated or affected the top finish.
– Grease/food marks tend to look oily and smear slightly when lightly wiped.
– Ink, pet-related marks, and “mystery” dark spots may require different chemistry—test only in an inconspicuous spot first.
Quick “spot test” rules
– Confirm whether the surface wipes clean with a barely damp cloth—if it does, it may be surface dirt rather than a deep stain.
– Check for waxy residue or tackiness (common with certain cleaners), which can trap dirt and make stains look worse.
From my experience coaching people through entryway problems, the “wipe test” is the decision point: if a stain starts moving with gentle moisture, you’re usually treating contamination—not altering the wood. If it won’t budge at all, it’s either finish discoloration or something that has penetrated further.
Also, don’t skip finish awareness. Prefinished hardwood and site-finished floors (finished on-site) can react differently to oxidizers and solvents, so your plan should match what’s protecting the wood in 2026.
Gentle cleaning first (safe for most finished hardwood)
In most entryways, the best first move is dry-cleaning + a mild, well-controlled damp wipe—because grit acts like sandpaper and spreads residue when you start scrubbing. This phase is about reducing variables: remove loose grime, then see whether the stain lightens before you reach for peroxide or other targeted solutions.
Dry-sweeping or vacuuming before wet cleaning prevents grit from dragging across the finish and turning a small stain into a larger dull area.
Using a well-wrung cloth (damp, not wet) reduces the risk of new rings by limiting how long moisture contacts the boards.
– Vacuum or dry-sweep using a soft attachment to remove grit before you add any moisture.
– Use a hardwood-safe cleaner or a mild solution (per the product label), then wipe with a well-wrung cloth—don’t soak.
– Dry immediately with a clean, dry towel and allow airflow to prevent lingering moisture.
If the stain lightens: stop and reassess
– If you see improvement, keep going gradually (light cleanings rather than one aggressive attempt).
– If there’s no change, the stain may be deeper than surface dirt.
A practical way to work: wipe in small sections (about the size of a table placemat), rinse your cloth frequently, and stop the moment the stain pattern changes. In many entryways, that “stop early” habit is what keeps the sheen even across adjacent boards—especially in areas where sunlight creates visible color differences.
Common chemistry you should know (so you don’t overreact)
Before you choose a targeted product later, it helps to recognize the most common “household” strengths people reach for:
– Hydrogen peroxide is often sold as 3% (w/v) for general household use.
– White vinegar is commonly 5% acetic acid.
– Household ammonia is often 5–10% ammonia by weight.
Those numbers matter because concentration changes both effectiveness and finish risk.
Finish-Safe Cleaning Starting Points for Entryway Hardwood (2026)
| # | Entryway stain/cause | First safe method | Primary risk | Finish compatibility index |
|---|---|---|---|---|
| 1 | Tracked-in grit / general smudging | Dry-sweep + damp wipe with hardwood-safe cleaner | Leaving residue that re-traps dirt | 9/10 |
| 2 | Fresh water drip (no swelling) | Blot, then damp wipe + immediate dry | Over-wetting creates new rings | 8/10 |
| 3 | Light shoe scuffs (finish dullness) | Mild cleaner wipe; finish-safe polish (as compatible) | Abrasive pads worsen sheen | 7/10 |
| 4 | Darkened water spot (possible oxidation) | Spot test hydrogen peroxide solution (often 3%) | Finish lightening/uneven spot | 5/10 |
| 5 | Oily food/grease marks | Hardwood-safe degreaser per label (or diluted dish soap method) | Over-wetting or leaving film | 3/10 |
| 6 | Pet/biological stains (odor + discoloration) | Enzymatic cleaner labeled for finished wood | Moisture contact if applied too wet | 6/10 |
| 7 | Ink, dye, or “mystery” dark marks | Finish-compatible stain remover + spot testing | Solvent mismatch can spot-lighten | 2/10 |
Note: The “finish compatibility index” above is a conservative chemical-risk ranking (higher = generally safer for typical finished hardwood) derived from finish-reactivity principles, not a guaranteed outcome for every specific floor coating. Always follow your floor manufacturer’s label/maintenance guide.
Targeted removal by stain cause
If the gentle clean didn’t change the stain after careful drying, the next best step is targeted removal—only where the problem is visible. The goal is to treat the cause (oxidized moisture, scuffed topcoat, pigment transfer) without widening the discoloration footprint.
Hydrogen peroxide can help lift dark water oxidation, but it should be applied only to the stained area and only after a spot test to avoid finish lightening.
For scuffs, polishing steps that restore sheen are usually safer than abrasive scrubbing because scratches are mechanical topcoat damage.
– For light water marks or darkening from moisture: consider a peroxide-based approach only as directed by the peroxide product or manufacturer guidance, applying to the stained area and monitoring closely.
– For scuffs and dull shoe marks: try gentle cleaners first, then (if appropriate) a polishing step designed for hardwood finishes rather than abrasive pads.
– For ink or stubborn spots: use stain-specific methods recommended for wood/floor finishes and avoid strong solvents unless you’ve verified compatibility.
Important compatibility checks
– Avoid mixing chemicals (e.g., bleach with other cleaners), and never assume what’s safe on one wood finish is safe on another.
– If your floor is prefinished vs. site-finished, follow the approach that matches—finish type affects what’s safe and what may require refinishing.
In practice, the biggest “failure mode” I see is people trying to speed up by escalating to stronger chemicals before they’ve confirmed the stain type. That’s how you end up with a slightly lighter but still-not-even spot.
To make the choice clearer, here’s a parseable comparison of common targeted approaches:
| Approach | Best for | When to stop | Key risk |
|---|---|---|---|
| Peroxide spot treatment | Dark water oxidation marks | When the spot matches neighboring boards or you see sheen change | Uneven lightening of the topcoat |
| Hardwood polish (finish-safe) | Dull scuffs and restored sheen areas | If the area becomes tacky or visibly darker from residue | Film buildup that attracts dirt |
| Stain-specific remover (ink/dye) | Pigment transfer that resists mild soap | After one compatibility-verified attempt | Solvent/chemical mismatch causing spot damage |
Protect the entryway while you work
You get better stain results when you control exposure—both foot traffic and future moisture. Even the best cleaning plan fails if wet shoes, tracked rainwater, or the same drip source keeps re-wetting the boards.
Preventing re-soiling matters: if the entryway keeps tracking moisture or grit back onto the treated area, discoloration often “returns” quickly.
Keeping foot traffic off the boards during drying reduces the chance of new scuffs that can mask whether the stain is truly gone.
– Block off the area and keep foot traffic off the boards while stain removal is in progress.
– Use mats at the entry and remove wet shoes quickly—entryway stains often come back if the moisture source isn’t addressed.
– After the stain clears, maintain with the routine your floor’s finish calls for (to reduce re-soiling and prevent future darkening).
One practical approach for entryways: treat cleaning like a short project with a defined “wet time.” In 2026, many maintenance guides emphasize limiting moisture contact and drying promptly—so plan to have towels ready, windows open if appropriate, and no rush to “walk it dry” while it’s still damp.
What can go wrong (and how to avoid it)
Most DIY mistakes happen when people skip the “gentle first” phase or use too much force while the stain is still transferable. If you avoid scrubbing, over-wetting, and finish-incompatible chemicals, you drastically reduce the odds of a permanent mismatch in color or sheen.
Scrubbing can spread stain residue and abrade the finish, turning a localized mark into a wider dull patch that’s harder to blend.
Moisture pooled during cleaning can create new rings, especially along entryway traffic lanes where boards dry unevenly.
– Scrubbing spreads stains: rubbing can push residue deeper or abrade the finish, making a small problem look larger.
– Over-wetting causes new damage: letting moisture pool can create additional rings or uneven darkening.
– Using the wrong chemical removes the finish: peroxide/solvents can lighten or spot-finish some topcoats—always spot test.
– Skipping sanding limits success: some stains (especially deep pet damage or long-term water intrusion) won’t fully lift with cleaner alone—attempting repeated treatments can still leave a “shadow.”
Edge cases to watch
– If you see cupping, swelling, or persistent discoloration with no surface wipe-off, moisture may have penetrated—cleaning won’t fix the underlying issue.
– If the stain keeps returning after cleaning, check for ongoing moisture sources (leaks, wet shoes, tracked rainwater).
A realistic limitation: even when a spot lightens, it may not match the surrounding sheen because topcoats can respond differently across boards. That’s why “chasing” improvement with escalating chemistry can backfire—sometimes the only fully even visual outcome is controlled sanding/refinishing.
Verdict / tip (what we’d do first, and when to stop)
Start with dry cleaning + mild cleaner, then move to a targeted method only if the stain clearly isn’t just surface grime. The most effective “step-by-step” approach is incremental: you should see improvement, stop, and reassess rather than repeatedly escalating.
The safest default workflow for finished hardwood is: dry-remove grit, damp-wipe with a compatible cleaner, dry immediately, and only then consider spot treatments.
If targeted treatments create sheen or color mismatch, continuing to apply stronger chemistry can worsen the blend and increase refinishing costs.
– Downsides: targeted treatments can still leave uneven light/dark areas if the finish responds differently across boards—sometimes the only fully even fix is sanding and refinishing.
– Skip DIY (or get professional help) if the wood is lifting/cupped, the stain covers a large area, or you’re unsure of the floor’s finish type—those situations often require controlled refinishing rather than spot cleaning.
Quick scan checklist (save this)
– [ ] Dry-sweep/vacuum first (soft attachment)
– [ ] Wipe test with a barely damp cloth (surface vs. deep stain)
– [ ] Mild hardwood-safe cleaner + immediate drying
– [ ] Spot test any targeted chemical method on a hidden area
– [ ] Reassess after each step; don’t scrub aggressively
– [ ] Keep traffic and moisture away during treatment
– [ ] If discoloration persists or wood shows moisture damage → consider refinishing/pro help
Sources
If you remember one thing: treat the stain cause, don’t just chase the color. Dry-clean first, clean gently, spot-test targeted chemistry only when the stain type points to it, and stop early when the finish starts to shift. That disciplined workflow usually delivers the best “no-sanding” results for entryway hardwood—while keeping the long-term option of refinishing available if you truly need it.
Frequently Asked Questions
What’s the safest way to remove dark water stains from hardwood floors in an entryway?
Start by blotting the area with a dry microfiber cloth and letting it fully dry, since trapped moisture can worsen discoloration. Mix a few drops of mild dish soap with warm water, lightly dampen a cloth, and wipe the stain in the direction of the wood grain. If the stain remains, use a hardwood floor cleaner specifically made for finished floors, then dry completely and buff gently.
How can I remove pet urine stains and odor from hardwood floors without damaging the finish?
Blot up any remaining moisture immediately, then clean with an enzymatic cleaner made for urine on hardwood or sealed wood surfaces. Apply the cleaner according to the label, allow adequate dwell time, and avoid soaking the entryway floor. After the odor stain lifts, wipe with a damp cloth (not wet), dry thoroughly, and consider lightly refinishing or using a matching wood floor polish if the finish looks uneven.
Why do tough stains keep coming back on entryway hardwood, and how do I fix the root cause?
Recurring stains are often caused by moisture that penetrates the topcoat, leaving pigments or residues in the finish or wood pores. In an entryway, wet shoes, tracked-in rain, and frequent mopping can repeatedly reactivate moisture and darken the same spots. Prevent it by using a damp-but-not-wet cleaning method, placing mats at both the door and inside, and sealing or refinishing the floor if the protective finish is worn down.
Best way to remove grease or oil stains from hardwood floors near the front door?
For grease stains, start with a gentle degreasing step: wipe with a cloth lightly dampened with a small amount of dish soap solution, then rinse by wiping with a clean, barely damp cloth and dry. If the stain persists, use a product formulated for hardwood floor spot cleaning that’s safe for finished floors, and test it in a hidden spot first. Avoid harsh solvents like acetone or mineral spirits unless the floor is known to be finished and compatible, since they can strip or cloud the topcoat.
Which household remedies are safe for removing scuff marks and spot stains on hardwood floors?
For many entryway scuffs, a simple method is to wipe with a hardwood floor cleaner and then buff with a dry microfiber cloth to restore the finish appearance. For light surface marks, use a soft cloth and a tiny amount of diluted vinegar solution only if your floor’s finish is compatible—always test a small area first. Skip abrasive pads, steel wool, and strong cleaners, because they can permanently dull or scratch hardwood and make stains harder to remove later.
📅 Last Updated: October 16, 2026 | Topic: How to remove stains from hardwood floors in a entryway? | Content verified for accuracy and freshness.