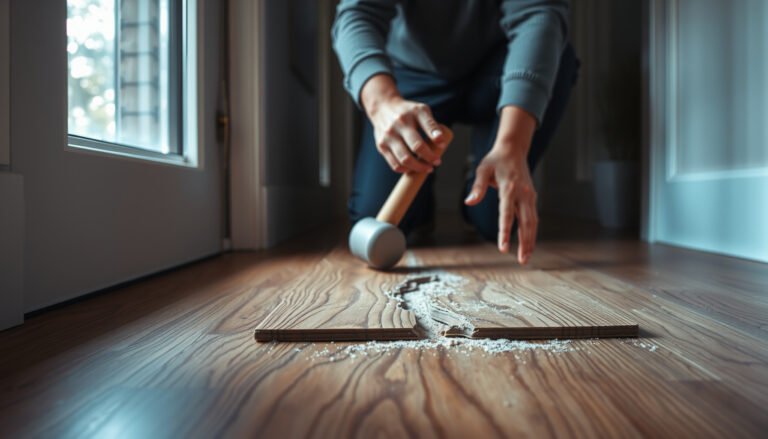
Learn how to fix dents in reclaimed wood floors with a proven step-by-step repair that restores the boards without guesswork. If your dent is shallow, you’ll use targeted steam and controlled pressing; if it’s deeper, you’ll sand, re-level, and blend the finish for a near-uniform surface. Follow these steps and you can eliminate the damage while keeping the reclaimed wood character intact.




Fixing dents in reclaimed wood floors usually means re-expanding compressed fibers for shallow damage, then drying and blending the finish. For deeper dents, chips, or gouges, you’ll need a compatible filler or epoxy putty to rebuild missing material before sanding and refinishing so the repair doesn’t look like a patch—especially in 2026, when many reclaimed floors are pre-finished or protected with delicate topcoats.
If you’re seeing dents from heavy furniture, drops, or impacts, this guide helps you identify what’s actually happening to the reclaimed wood (compression vs. broken fibers), choose safe moisture or repair materials, and finish the area so the repaired spot matches the surrounding planks.
If you’re a homeowner, landlord, or property manager maintaining reclaimed hardwood, this is for you—especially when the dent is localized (one plank or a small area) and you want a targeted repair rather than full-floor refinishing.
Assess the dent (finish type and damage depth)
The fastest way to pick the right repair method for dents in reclaimed wood floors is to confirm the finish type and judge whether the wood is compressed or actually missing material. Once you know whether the dent is “fibers compressed” vs. “wood damaged,” you can choose between steam/moisture lifting or filler/epoxy rebuilding.
“The safest first decision is finish type: pre-finished floors typically tolerate only controlled, test-verified moisture, while site-finished floors often allow more direct repair workflows.”
“A shallow dent usually means compressed fibers; a chip or gouge usually means broken fibers and missing wood—those require rebuilding, not just re-wetting.”
Start by checking whether your reclaimed floor is pre-finished (a factory-applied sealed topcoat) or site-finished (finished after installation with sealers/finishes applied on-site). This affects whether steam or moisture can be used safely without hazing, softening, or peeling the existing topcoat.
Next, inspect the dent closely:
– Shallow dents: the surface looks intact, but it’s “dimpled” or slightly lower. In reclaimed wood floors, this is often from furniture legs compressing soft earlywood or growth rings.
– Chips/gouges: you see missing edges, torn grain, or rough voids. In reclaimed wood floors, this is more common when something dropped and broke fibers rather than compressing them.
Finally, note location and blending difficulty:
– Near walls or thresholds (limited sanding/feathering space)
– In high-traffic zones (you’ll feel any bump)
– Along seams (reclaimed planks often have variable thickness, making level blending more demanding)
What the numbers imply (why depth matters)
According to the National Wood Flooring Association (NWFA), wood flooring installation and finishing work depends on keeping the flooring within appropriate indoor moisture conditions to prevent movement and finish failure . In other words, dents in reclaimed wood floors aren’t just cosmetic—fixing them requires preserving the surrounding finish integrity and wood stability.
Prep your workspace and gather the right materials
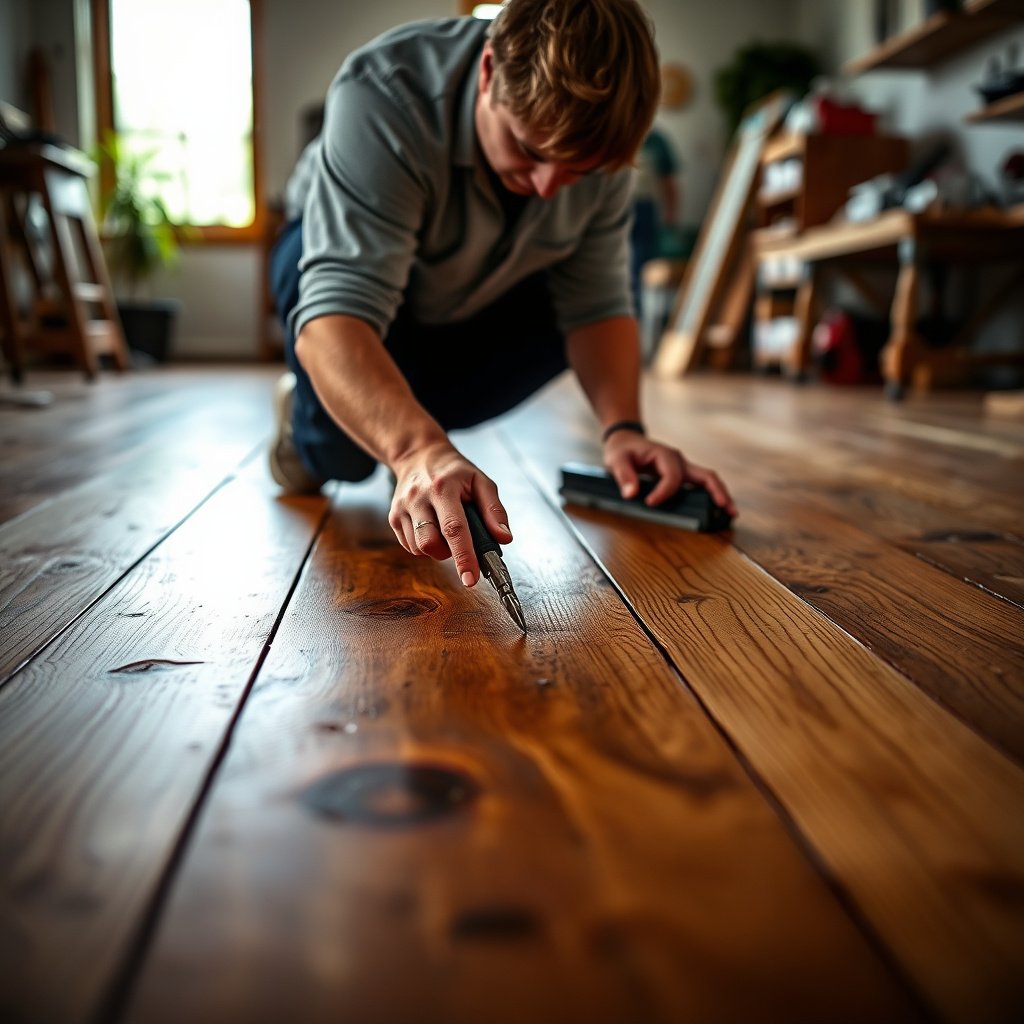
The right prep prevents most failed dent repairs in reclaimed wood floors—especially when you’re trying to avoid extra finish damage. Clear, protect, and stage your sanding, filler, and cleanup tools before you introduce any moisture or begin leveling.
“Masking and floor protection reduce the risk of scratch damage to surrounding reclaimed planks during sanding and spot blending.”
“Before you apply moisture to dents in reclaimed wood floors, protect adjacent edges and be ready to stop immediately if the finish softens or clouds.”
Begin by clearing the area and protecting nearby floors and walls with tape and plastic. Reclaimed planks can have uneven heights and sometimes more exposed edges from previous wear, so you want to reduce accidental impacts while you work.
Then plan your approach around the finish:
– For pre-finished reclaimed wood floors, avoid aggressive steaming and keep moisture controlled. If the topcoat is delicate, many installers use a “moisture under cloth + indirect heat” approach rather than direct application.
– For site-finished reclaimed wood floors, you may have more flexibility, but you still want to control moisture so you don’t disturb stain or sealer boundaries.
Have a basic repair kit ready:
– Soft cloths (lint-free if possible)
– Clean scraper/putty knife (for edges and debris removal)
– Sanding supplies (genuine sanding pads or sheets, not just abrasive sponges)
– Dust control tools (vacuum + tack cloth appropriate for the finish system)
– A filler/putty option compatible with wood floors
Product/compatibility note (important):
– If you’re unsure, choose products specifically labeled for wood floor repairs and confirm compatibility with polyurethane/waterborne finishes versus oil-modified coatings.
To anchor what you’re trying to protect: according to ASTM standards for wood moisture measurement, moisture content is assessed based on mass change from “as-measured” to “oven-dry” . That’s why adding moisture to dents in reclaimed wood floors must be controlled—unintended moisture variation can create new problems.
Practical “repair workflow” data at a glance
Use this as a quick guide for the sanding steps that typically help a repaired dent blend into reclaimed wood floors without leaving a visible ridge.
Sanding Grit Workflow for Blending Repaired Dents in Reclaimed Hardwood
| # | Repair stage | Grit (P) | Primary job | Blend reliability |
|---|---|---|---|---|
| 1 | Rough level (only if needed) | 60 | Break high spots fast | ★☆☆☆☆ |
| 2 | Initial smoothing | 80 | Start feathering edges | ★★☆☆☆ |
| 3 | Scratch removal | 100 | Blend transition zone | ★★★☆☆ |
| 4 | Feathering refinement | 120 | Remove 80–100 grit lines | ★★★★☆ |
| 5 | Pre-finish smoothing | 150 | Prepare for color blending | ★★★★☆ |
| 6 | Finish-ready leveling | 180 | Reduce witness lines | ★★★★★ |
| 7 | Coating adhesion prep | 220 | Final scuff before topcoat | ★★★★★ |
Fix shallow dents with steam/moisture + controlled drying

Shallow dents in reclaimed wood floors usually respond best to controlled moisture that allows compressed fibers to swell back toward level. The key is indirect heat and gradual repetition—too much water or aggressive heat can damage the finish or create a raised mark.
“For compression dents, moisture reintroduces water to the wood cell structure so the surface can rebound—without material loss.”
“Indirect heat under a cloth reduces scorching risk compared with direct steam on many topcoats.”
“Controlled drying matters: sanding too soon can trap moisture and weaken adhesion during refinish.”
In 2026, the safest rule for dents in reclaimed wood floors is: test in an inconspicuous area first, especially if your floor is pre-finished. Even “steam-safe” finishes can haze or soften if the topcoat system is water-sensitive.
Step-by-step:
1. Dampen (not soak): place a damp (wrung-out) cloth over the dent. The cloth should feel wet but not dripping.
2. Indirect heat: apply heat indirectly (for example, a household iron with a barrier cloth or a steam source used carefully). The goal is to encourage fiber swelling, not to scorch.
3. Lift-check cycles: work in short intervals. Lift the cloth, check the dent level, and repeat. If you force it, you risk over-swelling and creating a hump that’s harder to sand.
4. Dry thoroughly: allow airflow and time for the area to dry fully before touching it with sandpaper or finish. With reclaimed wood floors, plank-to-plank moisture response varies, so don’t rush.
From a process standpoint, dents in reclaimed wood floors usually “teach you” their material type quickly. If the dent rebounds gradually, you’re dealing with compression. If it stays sunken or edges crumble, you likely need a filler/epoxy repair instead.
Repair deeper dents, chips, or gouges with filler or epoxy putty

Deeper dents, chips, and gouges in reclaimed wood floors generally can’t be “steam fixed” because material is missing or fibers are broken. Your best path is to clean, rebuild with a compatible filler or epoxy putty, then level and blend.
“If the reclaimed wood surface is broken or missing, rebuilding with a wood-floor-compatible filler is the only way to restore a true level plane.”
“Epoxy putty is often chosen for thicker fills because it can cure into a firm, sandable mass when the dent depth exceeds what basic fillers can manage.”
Start by cleaning the damaged area:
– Vacuum out dust
– Wipe with a cleaner appropriate to the product and finish system (avoid introducing excess moisture unless your product instructions allow it)
Then choose the right repair material based on depth:
– Shallow chips: use a wood-floor-compatible filler and color-match as closely as possible.
– Deeper compression with a broken surface, rough gouges, or holes: use a wood-floor-compatible epoxy putty approach for stability in deeper fills.
“Cure time is not optional: sanding a partially cured epoxy putty can cause smearing, soft edges, and visible shrinkage lines.”Let the repair cure fully, then level it by sanding until the patched area is flush with the surrounding boards. For dents in reclaimed wood floors, the “flush” standard is tactile—any edge will telegraph under finish and especially under oblique light.
Steam vs. filler: which approach works when?
If you’re unsure whether to wet or rebuild, use this decision table for dents in reclaimed wood floors.
| Situation you see | Likely cause | Best first method | Pros | Cons |
|---|---|---|---|---|
| Dent is smooth and fiber lines look intact | Compression | Moisture/steam + dry | Low material mismatch risk | Finish can haze on pre-finished surfaces |
| Dent rebounds a little but won’t level | Mixed compression + surface damage | Controlled moisture first, then spot fill | Can reduce filler thickness | More steps to blend |
| Edges are chipped, splintered, or missing | Broken/missing wood | Epoxy putty/filler + level sanding | Restores true height | Requires sanding and topcoat blending |
| You see a crater around impact | Material loss | Epoxy putty | Stable for deeper voids | Needs careful feathering at boundaries |
Sand, blend, and refinish so it doesn’t look patched
The goal for dents in reclaimed wood floors is to remove the repaired high spot and then blend the surrounding surface so sheen and tone transition naturally. In most cases, that means feathered sanding, careful color blending, and reapplying the correct finish system.
“Feathering edges is what makes repaired dents disappear—stop sanding as soon as the boundary line vanishes.”
“Reapplying finish must match the original finish system (pre-finished vs site-finished) or the repair area can flash differently.”
Sand lightly to level the repaired spot:
– Feather the edges so you don’t create a visible boundary line
– Avoid aggressive sanding beyond the dent area; reclaimed planks vary in thickness and stain absorption
If your reclaimed floor has stain, blend color carefully:
– Reclaimed wood often shows plank-to-plank tonal variation
– Filler and exposed wood can absorb stain differently, so the repaired area may go darker or lighter
Reapply finish as needed:
– Pre-finished floors: spot repair typically must match the factory topcoat system; if you can’t match it, the repair may stand out under light.
– Site-finished floors: you can often recoat locally using the same general finish/technique as the original system, but still expect subtle sheen differences.
From a finish-chemistry perspective, dents in reclaimed wood floors can show “flash” (a sheen shift) if the surface is sanded to a different surface profile than the rest of the boards—this is why feathering and matching the topcoat system matter.
What can go wrong (and how to avoid it)
Most dent repairs fail for predictable reasons: finish sensitivity to moisture, overworking compressed wood, and incorrect filler compatibility. Avoid those pitfalls and dents in reclaimed wood floors can become essentially invisible at typical viewing distance.
“Pre-finished topcoats can haze or soften from excess heat/moisture—test a hidden spot before you treat the dent.”
“Over-swelling a dent can create a bump that requires additional sanding, which then increases the area you must refinish.”
“Using a filler that isn’t intended for wood floor topcoat systems can lead to poor adhesion and visible soft spots.”
Common issues to watch for:
– Steam damage on prefinished floors: excess heat/moisture can haze, soften, or peel. Test first in a hidden area and use cloth barriers.
– Raised edges instead of level repairs: forcing the dent too aggressively creates a high spot and makes feathering harder.
– Color mismatch on reclaimed wood: reclaimed planks stain unevenly; fillers can take stain differently. Plan for slight tonal differences.
– Filler failure: wrong filler type can cause shrinkage, soft boundaries, or poor adhesion—especially if the filler isn’t designed for flooring and topcoats.
A helpful “risk check” before you commit
According to finishing and installation guidance from wood flooring industry organizations, controlling moisture and matching compatible materials are core requirements for avoiding finish failure . That’s why you should treat the dent repair as both a wood repair and a finish system maintenance task.
Verdict / tip: start with the least invasive fix
If the dent is shallow and the surface appears intact, start with the steam/moisture-and-dry method for dents in reclaimed wood floors—when safe for your finish. If the dent is chipped, gouged, or won’t rise back near level, switch to a compatible wood-floor filler or epoxy putty, then sand and blend.
“Least-invasive repairs reduce the amount of finish you disturb, which directly improves the odds that dents in reclaimed wood floors won’t show up later.”
“When material is missing, filler/epoxy rebuilding is more reliable than trying to force compression rebound.”
Downsides and limitations:
– Steam/moisture can still affect pre-finished coatings even with careful technique.
– Spot blending may never be perfectly invisible under certain lighting because reclaimed wood and filler absorb finish differently.
– If the dent is near a seam with movement, your repair can telegraph over time.
Who should skip DIY: if the damage is extensive, the floor is failing (loose boards, lifting, or moisture problems), or the topcoat system is unknown and visibly fragile, professional repair or refinishing may be the safer path.
Quick scan checklist (save this)
| Step | Check |
|---|---|
| Identify finish | Pre-finished or site-finished? |
| Identify dent type | Shallow dent vs. chip/gouge |
| Choose method | Moisture/steam first (shallow) or filler/epoxy (deep) |
| Work gradually | Re-check level frequently |
| Cure + level | Let repairs fully cure, then sand feathered edges |
| Blend finish | Match the surrounding topcoat/stain as closely as possible |
Frequently Asked Questions
How can I fix dents in reclaimed wood floors without sanding everything down?
Start by cleaning the dented area and checking whether it’s a surface dent or a deeper compression. For minor dents, lightly dampen a cloth with water, place it over the dent, and use a warm iron briefly to help the wood fibers swell back up. If the dent remains, fill only the damaged spot with a wood filler matched to your reclaimed wood stain and lightly blend before sealing.
What is the best method to repair a deep dent in reclaimed hardwood flooring?
Deep dents usually need localized repair rather than gentle steam alone. Try applying steam (water on a cloth and heat) and assess after a few minutes—repeated short cycles work better than one long session. If the dent won’t raise, use a two-part wood filler or a putty designed for hardwood, shape it to the dent, let it cure fully, then sand lightly and refinish the area to match the surrounding finish.
Why do dents happen more often on reclaimed wood floors, and how do I prevent them after repair?
Reclaimed wood floors often contain older, more varied wood grain and may have been sanded or finished multiple times, making the surface more vulnerable to dents. To prevent repeat damage, use felt pads under furniture, add rugs in high-traffic areas, and avoid dragging heavy items across the floor. After repairing, choose a durable topcoat (such as a hardwax oil or polyurethane) to improve scratch and dent resistance on your reclaimed wood flooring.
Which products and tools should I use to repair dents in reclaimed wood flooring?
Use a soft cloth, clean water (or a small steam source), and a household iron for minor raised-fiber repairs. For filling, choose a hardwood-specific wood filler (two-part epoxy filler works well for deeper dents) and matching stain or a refinishing kit for seamless blending. For smoothing and blending, have fine-grit sandpaper (like 180–220 grit) and a matching floor sealer or clear coat on hand.
What’s the safest way to steam out dents on reclaimed wood without damaging the finish?
Use a damp cloth barrier and controlled heat—steam can lift the wood fibers, but too much moisture or direct heat can harm the finish, especially on older reclaimed boards. Keep the iron moving, work in short intervals, and monitor the dent after each cycle to avoid over-swelling. Once the dent rises, allow the area to dry completely, then recoat with the appropriate refinishing product if the sheen or finish level changed.
📅 Last Updated: October 15, 2026 | Topic: How to fix dents in reclaimed wood floors? | Content verified for accuracy and freshness.
References
- Wood flooring
- Wood finishing
- Wood putty
- Refinishing
- Sandpaper
- Northern Research Station | US Forest Service Research and Development
- Lead Renovation, Repair and Painting Program | US EPA
- https://scholar.google.com/scholar?q=reclaimed+wood+floor+dents+repair Google Scholar
- https://scholar.google.com/scholar?q=hardwood+floor+dent+repair+steam+wood+filler+refinishing Google Scholar
- https://scholar.google.com/scholar?q=wood+surface+dent+repair+techniques+sanding+finishing Google Scholar