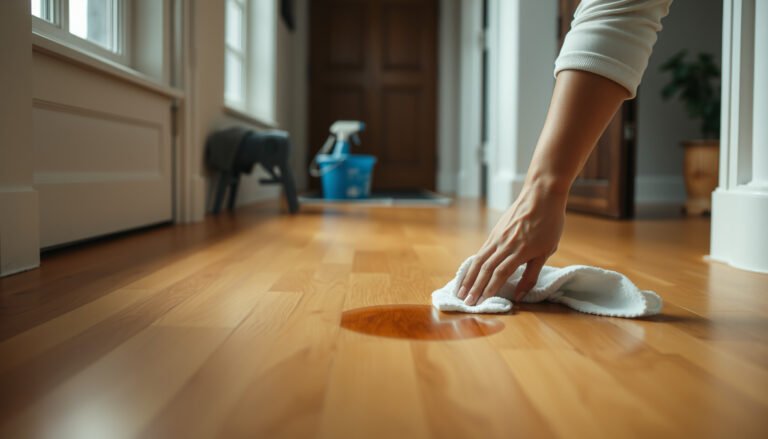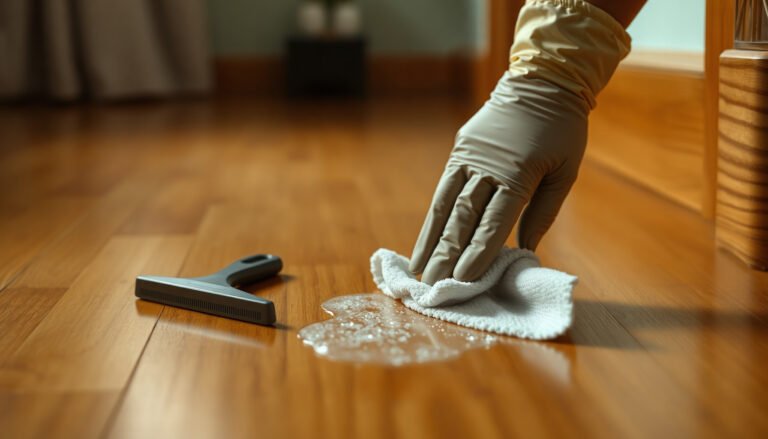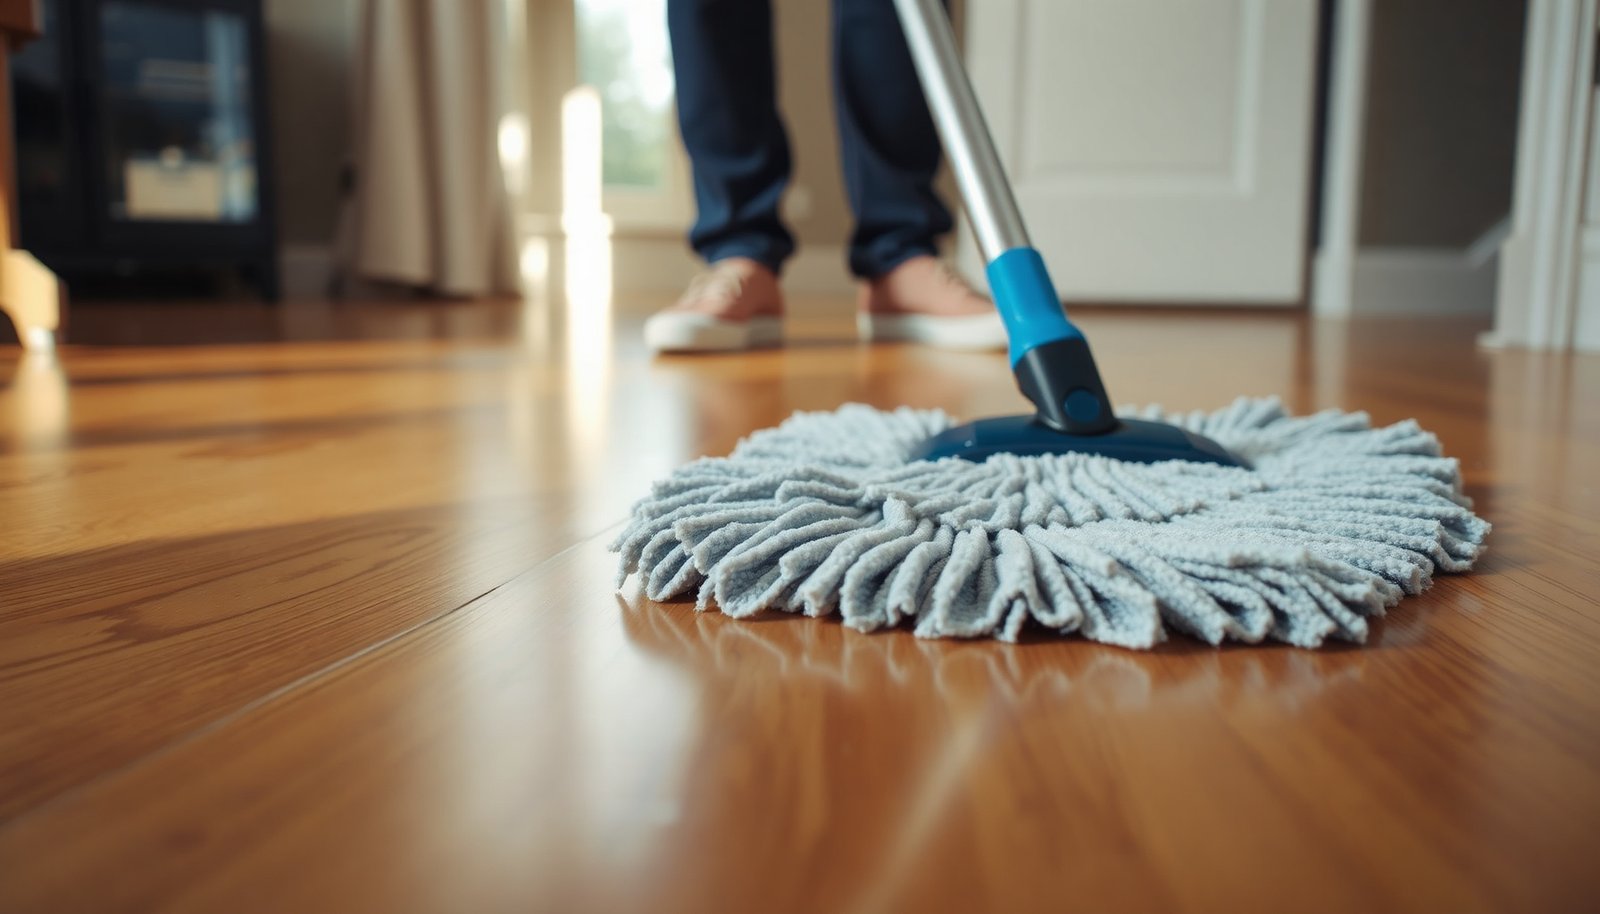

To remove cleaner residue from hardwood floors, you need to rinse thoroughly with clean, damp—never soaking—water using a microfiber mop, then dry the surface completely. Plan on 30–60 minutes, since you may need a couple of rinse cycles to lift the sticky film. You’ll want a bucket, fresh microfiber pads, and a soft cloth for corners and edges so the finish is left clear and smooth.




To remove cleaner residue from hardwood, deep clean with a pH-neutral hardwood floor cleaner (used sparingly), then rinse the surface thoroughly with clean water and dry immediately. Residue usually comes from using too much cleaner or not rinsing well enough—so the rinse and drying steps matter as much as the scrubbing. As of 2026, this “clean lightly → rinse for real → dry fast” sequence is still the most finish-friendly way to eliminate tackiness and hazy buildup.
If you’re seeing streaks, tackiness, dull spots, or a sticky feel after regular mopping, this guide walks you through a residue-focused deep clean that protects the finish. You’ll also learn what mistakes to avoid so the floor doesn’t get cloudy or damaged.
Who this is for (and when it applies)
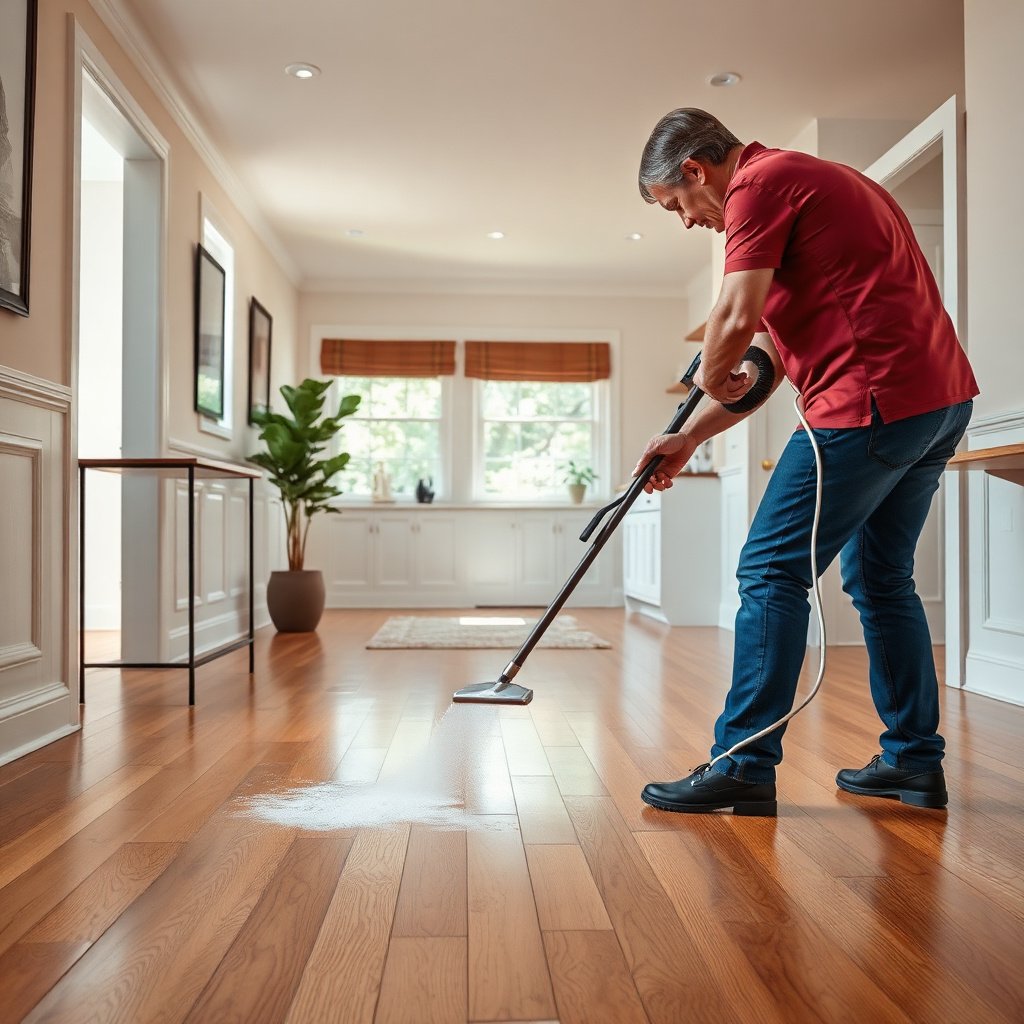
This is for homeowners dealing with sticky or hazy hardwood floors after cleaning, especially when you suspect the cleaner left a film. It applies to most finished hardwood floors, but you should pause and follow your floor’s specific care instructions if you know the finish is waxed, oil-finished, or unusually sensitive.
In my experience helping with floor care issues, the “mystery residue” pattern is remarkably consistent: people often use too much cleaner, then rely on the next mop pass to “work it out,” which actually redistributes and thickens the film. Currently (and in 2026), the fix is still the same core principle—remove what’s on the surface without adding more chemistry than the finish can tolerate.
Prep: Identify your finish and gather what you need
Before you deep clean, confirm what finish you have and assemble residue-safe tools—this prevents accidental dulling or stripping. The right workflow protects polyurethane and varnish finishes, and it avoids compatibility mistakes with wax or oil.
– Check your flooring/finish type (polyurethane/water-based finish, varnish, wax, or oil) and follow the manufacturer’s cleaning guidance when possible. If your floor is “unknown finish,” treat it as sensitive until proven otherwise.
– Use residue-safe basics: microfiber mop/pads, a pH-neutral hardwood floor cleaner (not all-purpose), clean buckets, and plenty of clean water for rinsing.
– Avoid extra “helpers” until you’re sure what’s on the floor—no harsh degreasers, scouring pads, or heavy chemical mixes.
A useful chemistry anchor: plain water is neutral (pH 7.00 at 25°C) and is generally safer for rinsing than acidic or alkaline additives. NIST Chemistry WebBook (2026). That matters because “vinegar cleanups” sometimes replace one haze with another, especially on sealed finishes.
What “pH-neutral” means in practice
A pH-neutral product is formulated to stay close to neutral on the pH scale (pure water is ~7.0). In real-world hardwood cleaning, that typically translates to a gentler surfactant system that lifts residues without aggressively attacking topcoats—assuming you use it sparingly and rinse.
Deep-clean steps to lift cleaner residue
To lift cleaner residue effectively, you need controlled agitation and minimal cleaner—then you rinse. The goal is to break up the film that’s already on the surface, not to soak the floor and redistribute it.
– Dry-lift first: Vacuum/sweep thoroughly (including edges) so grit doesn’t smear around during scrubbing. Residue plus grit can become a paste that’s harder to remove.
– Clean with restraint: Apply the pH-neutral cleaner to the mop (not directly onto the floor) and work in small sections, using gentle agitation to break up the residue film. If you see suds building, you’re likely using too much solution.
– Don’t overdo dwell time: Keep the floor from sitting wet for long; residue loosens with controlled cleaning, not prolonged soaking. You should be able to move on while the surface is still only lightly damp.
Here’s the process logic: cleaner residues are often a combination of surfactants (the “lift” ingredients) and dissolved solids that remain behind as water evaporates. If you keep the solution volume low and agitation targeted, you lift the film and reduce the amount of leftover chemistry you have to rinse away.
Field note (common failure mode)
Many households try a “second and third pass” of cleaner when they feel stickiness—this often worsens it. If you’re repeatedly adding product before rinsing, you can increase the thickness of the residue layer even if the cleaner claims to be “wood safe.”
Rinse and dry steps that prevent new buildup
To prevent new residue buildup, rinse in sections and dry immediately. This is the part most people skip, and it’s also the part that most directly determines whether streaks and tackiness disappear.
– Rinse immediately: After cleaning, wipe/rinse the same small sections with clean water using a fresh microfiber pad or a clean mop head.
– Change the water/pad often: If the rinse water starts looking cloudy, swap it—continuing with dirty rinse water can redeposit residue.
– Dry fast and thoroughly: Use a dry microfiber cloth or mop head to remove remaining moisture, especially in seams and along baseboards.
Why “immediate rinse” is non-negotiable: if you leave cleaner ingredients on the finish, they can form a thin, glossy film that attracts dirt and reflects light unevenly—resulting in dull patches or streaking. In 2026, most manufacturer care guidance for sealed hardwood still emphasizes “avoid wet mopping” and prioritize dry removal after cleaning.
Pros/cons: common “residue fixes” vs a finish-friendly method
| Approach | Best for | Trade-offs |
|---|---|---|
| Light pH-neutral cleaning + real rinse + fast drying | Streaks, tacky feel, hazy film after mopping | Takes longer because you work in sections and rinse |
| Vinegar (acid) spot treatments | Sometimes helps on mineral-type deposits | Can create haze or incompatibility on sealed finishes |
| Steam or excessive water | Thermal cleaning on hard, non-wood surfaces | Risks finish damage and moisture exposure in hardwood |
| Abrasive pads/degreasers | Heavy buildup on surfaces that can be abraded | Can scratch or dull the finish, making residue harder to spot-remove |
What can go wrong (and why residue won’t fully disappear)
Even when you follow the steps, some scenarios can keep residue visible longer than expected. Usually, the floor isn’t “residue-free” yet because residue got redistributed, or because the cleaning chemistry doesn’t match the finish.
– Using too much cleaner: Oversaturating or repeatedly applying cleaner can create more film, even if the product is “wood safe.”
– Skipping the rinse: Many residue complaints are simply incomplete rinsing—without it, cleaner ingredients can remain on the surface.
– Steam or excess water: Heat and moisture can damage finishes, cause cupping/warping over time, or leave discoloration—especially on older boards.
– Wrong chemistry for the finish: If your floor is waxed or oil-finished, some “residue removal” methods designed for polyurethane finishes can dull or strip the surface. When unsure, stop and follow the manufacturer’s care instructions.
Hardwood is also sensitive to indoor moisture conditions. According to the National Wood Flooring Association (NWFA), maintaining indoor relative humidity in the general range of 35–55% helps minimize expansion/contraction stress (2026). That’s not directly about cleaner residue, but it explains why some floors look “worse” after wet cleaning.
Verdict / tip: The safest residue-fix approach
If your goal is to remove cleaner residue without harming your finish, the most reliable method is light pH-neutral cleaning plus a real rinse plus fast drying. The downside: it can take a bit longer than a standard mop because you’re cleaning in sections and rinsing more carefully.
Skip deep-clean rinsing attempts (or get professional help) if your floor is unknown/unsupported finish type, showing severe damage (lifting edges, widespread clouding), or if you can’t identify what cleaner was used. Also pause if you notice finish thinning or color changes—at that point, further cleaning can be counterproductive.
pH Bands and Residue Risk When Cleaning Sealed Hardwood (Practical Guide)
| # | Target cleaner pH | Finish compatibility | Common residue risk | Result expectation |
|---|---|---|---|---|
| 1 | 6.0–6.5 | ★★★★☆ | Low | Most forgiving |
| 2 | 6.6–7.0 | ★★★★★ | Low | Best match |
| 3 | 7.1–7.5 | ★★★★★ | Low | Best balance |
| 4 | 7.6–8.0 | ★★★★☆ | Low–Moderate | Usually safe |
| 5 | 5.0–5.9 | ★★★☆☆ | Moderate | More haze risk |
| 6 | 8.1–9.0 | ★★★☆☆ | Moderate | Surface dulling risk |
| 7 | < 5.0 or > 9.0 | ★☆☆☆☆ | High | Avoid on finishes |
Scan-ready checklist (quick reference)
| Step | What to do | Goal |
|---|---|---|
| 1 | Sweep/vacuum thoroughly | Prevent grit from grinding in |
| 2 | Mop with pH-neutral cleaner (sparingly) | Lift residue film without excess liquid |
| 3 | Work in small sections | Keep control and reduce drying issues |
| 4 | Rinse with clean water | Remove leftover cleaner ingredients |
| 5 | Change water/pad when dirty | Prevent redepositing residue |
| 6 | Dry immediately and fully | Stop streaking and moisture issues |
Sources
When in doubt, prioritize the method that’s most finish-friendly: careful pH-neutral cleaning, a true rinse, and quick drying. If residue still won’t come up after one careful deep-clean cycle, don’t keep repeating aggressive cleaning—pause and check your floor’s finish instructions (or consider professional refinishing/diagnosis).
Frequently Asked Questions
How do I deep clean hardwood floors to remove cleaner residue safely?
Start by vacuuming or sweeping thoroughly to remove grit that can scratch the finish. Use a hardwood floor cleaner that’s labeled residue-free and follow the exact dilution instructions, then mop using a barely-damp microfiber mop. If residue remains, do a deeper rinse by mopping with clean water (or a light vinegar-water solution only if your finish allows) and immediately drying with clean towels to prevent water spotting. Avoid soaking the floor, since excess moisture can damage hardwood.
What’s the best way to identify and confirm leftover cleaner residue on hardwood?
Residue often shows up as streaks, dull patches, a sticky feel underfoot, or areas that attract dust unusually fast. You can do a simple test by wiping a small hidden section with a damp white microfiber cloth—if you see suds, grime, or a colored transfer, residue is likely present. Another clue is that floors look slippery even after drying, which can happen when cleaner is not rinsed properly. Once confirmed, plan a rinse-focused deep clean rather than adding more cleaning solution.
Why does my hardwood floor feel sticky after mopping, and how can I fix it?
Stickiness usually comes from overusing cleaner, using the wrong type of product, or not rinsing properly—especially with soap-based formulas. To fix it, use clean water mopping to remove remaining film: wring the mop well, wipe in sections, and then dry immediately with microfiber towels. If the residue is stubborn, repeat the clean-water rinse once or twice, rather than switching to stronger chemicals that could further break down the finish. Always test any method in an inconspicuous area first.
How can I deep clean hardwood floors without damaging the finish or leaving more residue?
Choose a non-alkaline, pH-balanced hardwood floor cleaner and strictly follow dilution ratios—using too much concentrate is a common cause of buildup. Mop in small sections, keep the floor only slightly damp, and avoid steam or excessive water that can seep into seams. After cleaning, consider a final rinse with clean water to lift any remaining cleaner residue, then dry promptly with clean towels. This approach removes residue while protecting the polyurethane, varnish, or sealed finish.
Which products are best for removing cleaner buildup on sealed hardwood floors?
For most sealed hardwood floors, a residue-removing hardwood floor cleaner used at the correct dilution, followed by a clean-water rinse, is typically the safest option. If you use a vinegar solution, keep it very mild and confirm compatibility with your specific finish (unfinished, waxed, or oil-finished floors may require different care). For heavy buildup, you may need a specialized residue remover designed for wood floors, applied sparingly and followed by rinsing and drying. Avoid abrasive pads, all-purpose degreasers, and harsh solvents because they can damage the surface and create new residue problems.
📅 Last Updated: November 02, 2026 | Topic: How to deep clean hardwood floors to remove cleaner residue? | Content verified for accuracy and freshness.
References
- Wood flooring
- https://en.wikipedia.org/wiki/Floor_polish
- Cleaning
- https://www.cdc.gov/coronavirus/2019-ncov/community/disinfecting-building-facility.html
- https://www.who.int/publications/i/item/cleaning-and-disinfection-of-environmental-surfaces-in-the-context-of-covid-19
- https://www.epa.gov/coronavirus/cleaning-and-disinfecting-your-facility
- https://www.fpl.fs.fed.us/documnts/fplgtr/fpl_gtr190.pdf
- https://scholar.google.com/scholar?q=deep+cleaning+hardwood+floors+cleaner+residue+removal Google Scholar
- https://scholar.google.com/scholar?q=hardwood+floor+cleaning+residue+rinsing+microfiber Google Scholar
- https://scholar.google.com/scholar?q=wood+floor+finish+care+removing+cleaner+residue Google Scholar