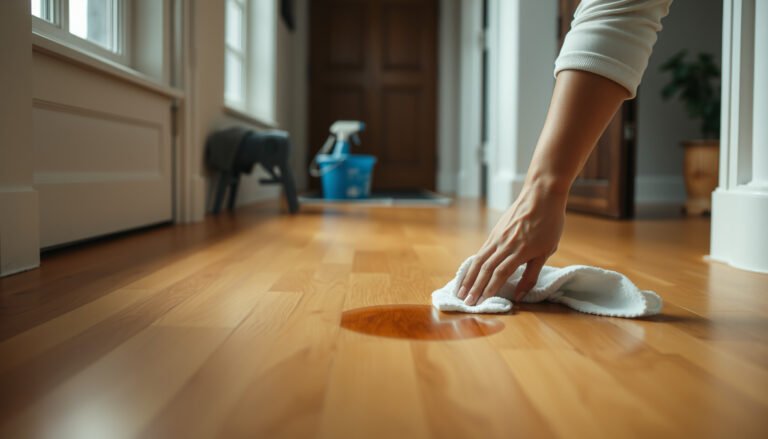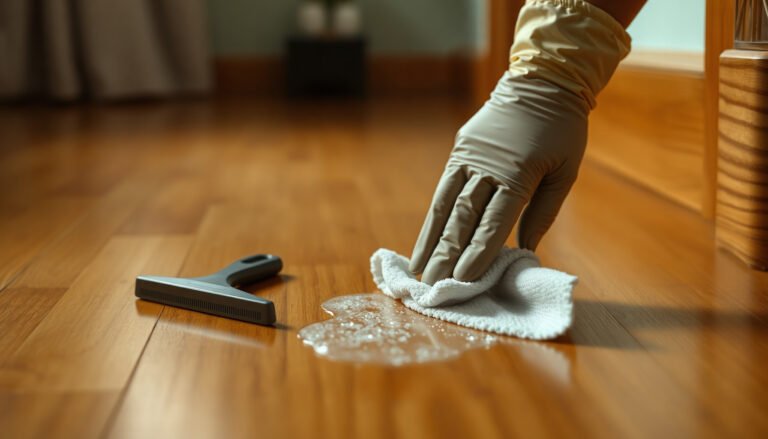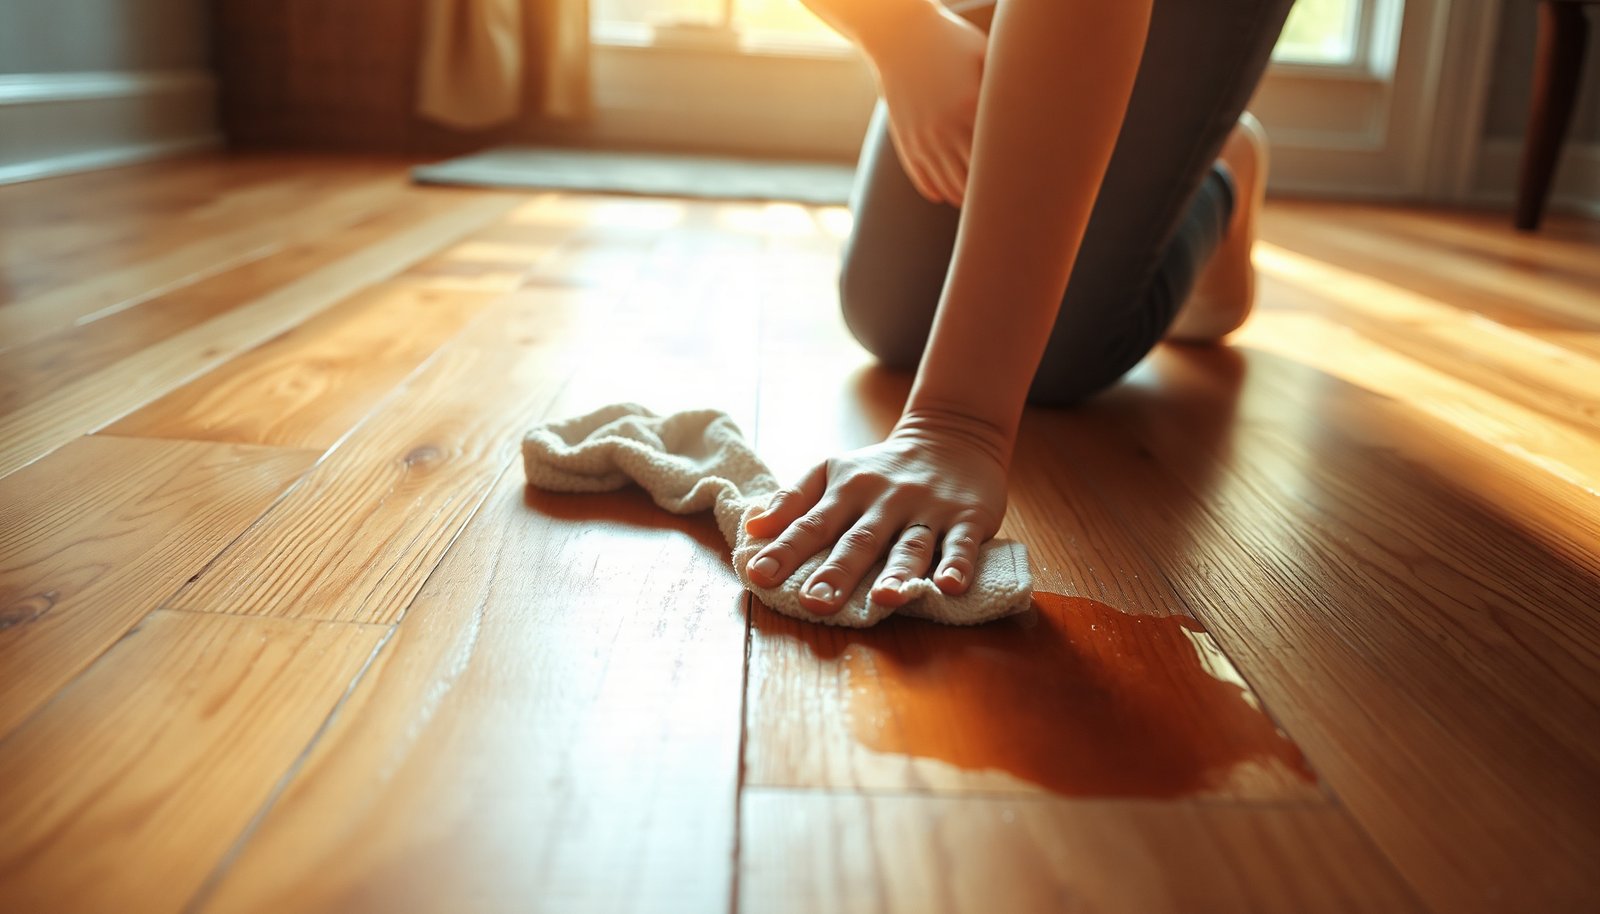

Wax buildup on hardwood floors can leave them cloudy and sticky, and it’s frustrating when mopping doesn’t fix it. With the right tools and a careful, step-by-step approach, you can strip off the residue, clean the wood, and restore a smooth finish without damaging it. Plan about an hour to start, plus drying time, and gather a soft cloth, mild hardwood cleaner, plastic scraper or applicator pads, and clean water.




If your hardwood looks cloudy or sticky from wax buildup, the fix is to soften the wax, scrape it off gently, then remove the leftover residue with a finish-safe cleaner after spot-testing. You’ll avoid damaging the wood by keeping water minimal and skipping harsh abrasives and steam. In this guide, you’ll learn the safest order of steps and what products/methods usually work depending on your floor’s finish.
If you have polyurethane-finished hardwood, sealed wood floors, or older floors that got repeatedly waxed, this applies to you—especially when wax has built up into a dull, hazy film. If your floor is raw/unsealed wood or you’re unsure what finish was used, you’ll need extra caution (we’ll flag the decision points).
Assess your hardwood finish and gather tools
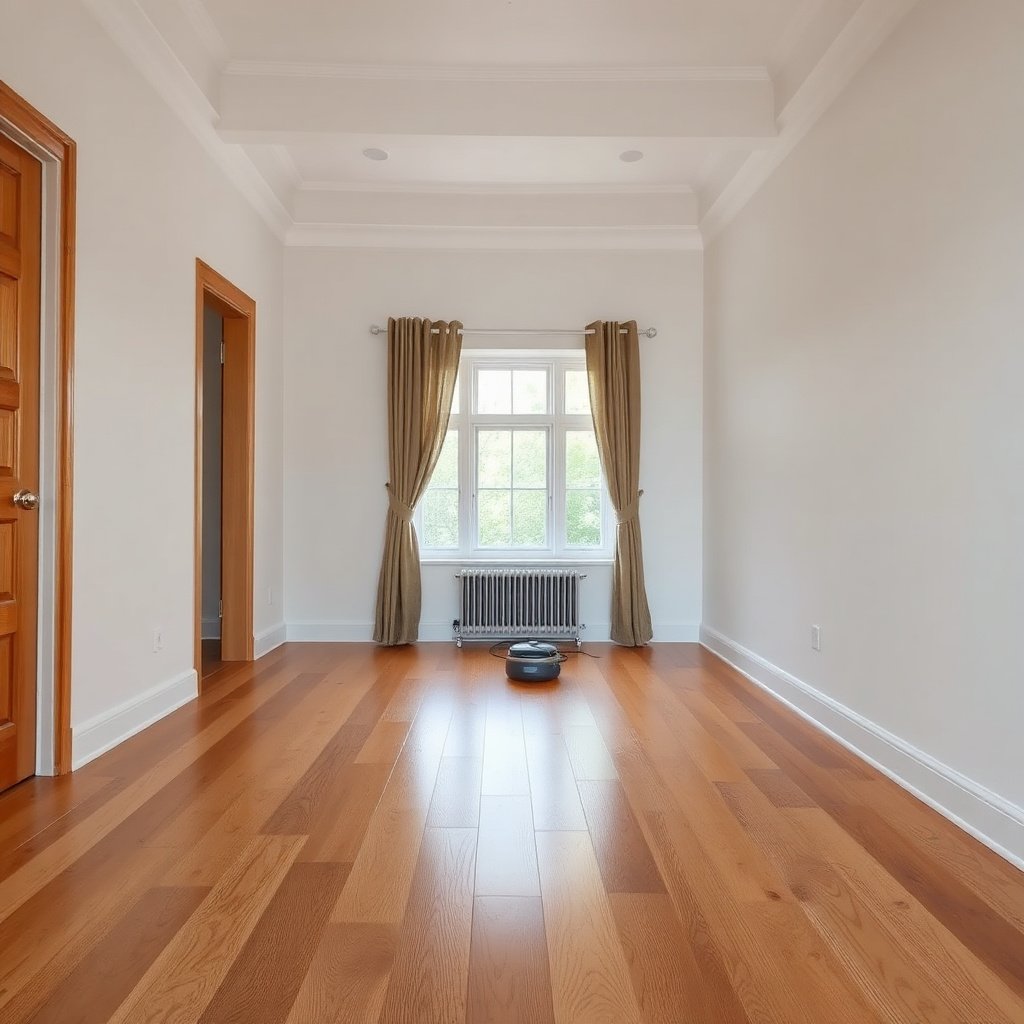
The safest first move is to confirm whether your hardwood is sealed (water- and cleaner-resistant) or unsealed (more absorbent and easier to damage). The right wax-removal approach depends on that finish barrier, not just on the appearance of the haze.
– Identify whether the floor is sealed (common with modern polyurethane) or looks unsealed/unfinished, since wax-removal chemicals and moisture tolerance can differ.
– Sealed/polyurethane often feels slightly “slick,” repels light spills, and shows minimal color change when lightly dampened.
– Unsealed/raw wood tends to look more “porous” and can darken when it gets even lightly wet.
– Gather basics first: plastic scraper/putty knife, microfiber cloths, soft scrub pad (non-scratch), buckets, and a pH-neutral hardwood cleaner (for the later cleanup).
– Use plastic over metal to reduce the risk of grooves that later collect dirt and make the floor look worse.
– Plan solvent use only if needed: keep mineral spirits or denatured alcohol as “spot-test candidates,” not first-choice cleaners.
– Solvents can be effective for certain wax-residue types, but they also have a higher risk of dulling or softening some finishes—so they must be used after mechanical removal and only after spot-testing.
Wax Ingredients Commonly Used in Floor Waxes & Their Melting Ranges
| # | Wax component | Typical melting range (°C) | Typical softening onset (°F) | Heat needed to soften |
|---|---|---|---|---|
| 1 | Beeswax | 62–64 | 144–147 | ★★★☆☆ |
| 2 | Paraffin wax | 46–68 | 115–154 | ★★★★☆ |
| 3 | Candelilla wax | 68–72 | 154–162 | ★★★☆☆ |
| 4 | Carnauba wax | 82–86 | 180–187 | ★★☆☆☆ |
| 5 | Microcrystalline wax | 60–90 | 140–194 | ★★★☆☆ |
| 6 | Ozokerite | 60–70 | 140–158 | ★★★☆☆ |
| 7 | Montan wax | 80–90 | 176–194 | ★★☆☆☆ |
Loosen and remove wax buildup (without gouging)
The most effective approach is mechanical first: soften or harden the wax, then scrape it off with plastic so you don’t grind buildup into the finish. This step also prevents the “wax smear” problem that often creates even more cloudiness.
– Soften first: lightly warm wax with a hair dryer on low (keep heat moving; don’t overheat), then scrape with a plastic tool while the wax is pliable.
– Work in short passes so the softened wax doesn’t re-liquefy and spread.
– Or use the “harden-then-scrape” method: place an ice pack in a bag on small sections to harden wax, then lift it with a plastic scraper.
– This is especially useful when you’re worried about heat affecting finish layers.
– Work in small sections so the wax doesn’t re-spread, and wipe scrape-up residue into a trash bag to avoid smearing.
– Keep a “scrape boundary” mindset: stop scraping when you hit a smooth, uniform surface. If you feel resistance or see finish texture changing, pause and move to residue cleanup instead of forcing it.
- Heat (hair dryer) vs. Ice (ice pack): which softens wax buildup safely?
-
Heat method (soften + scrape)
- Pros: Often fastest for thick, glossy wax films; easier to lift when the wax becomes pliable.
- Cons: Higher risk if you overheat; polyurethane can haze if solvents/heat interact or if you stay too long in one spot.
- Best for: Mixed wax layers where hardness varies across the floor.
-
Ice method (harden + scrape)
- Pros: Lowers re-spread; excellent control for edges and localized buildup.
- Cons: Slower on large areas; ice packs can melt if left too long (avoid puddling).
- Best for: Floors you suspect are more delicate, or when you’re unsure about finish compatibility.
Clean residue safely so the floor stops looking cloudy
After scraping, the haze typically comes from wax residue and emulsified film—not the wax lumps themselves. Your goal is to remove the leftover residue with minimal liquid, starting with the gentlest finish-safe option and only escalating when needed.
– Spot-test any residue remover in an inconspicuous area before you commit to the whole floor (especially if you don’t know the finish type).
– Look for dulling, color shift, or increased tackiness after it dries.
– Typical workflow: after scraping, wipe with a finish-safe cleaner; if residue remains, use a small amount of a solvent-approved option (commonly mineral spirits or denatured alcohol for certain wax residues), then follow with a pH-neutral hardwood cleaner.
– Finish-safe cleaner (often pH-neutral) helps remove what soap-and-water alone can’t because wax is hydrophobic (water-repelling).
– Keep it controlled: use damp—not wet—cloths/pads, and change cloths often so you’re not dragging wax back across the grain.
– Think “wipe, flip or replace, wipe again,” especially during residue cleanup for hardwood floors with wax buildup.
Also, avoid steam. Steam mops typically deliver saturated steam near water’s boiling point. According to NIST, water boils at 212°F / 100°C at standard atmospheric pressure (accessed 2026) NIST Chemistry WebBook; water boiling point at 1 atm. Even if your mop head never directly scorches the wood, that heat and moisture can still stress seams and finish layers over time—particularly when you’re already fighting a residue film.
Rinse, dry, and protect the floor finish
The fastest way to confirm success is to rinse/finish-wipe correctly and then dry fully before judging sheen. If you stop early, wax haze can look worse simply because the floor is still wet or because residue redistributes as it dries.
– Remove any cleaner/solvent film: use only the amount of water your floor can tolerate (often “damp wipe only” is safest), then dry thoroughly with clean microfiber towels.
– Let the floor fully dry before you assess sheen; wax haze can be misleading right after cleaning.
– If you usually re-wax or re-finish, only reapply products that are compatible with your existing finish system (don’t mix wax types and coatings unless you’re sure they’re compatible).
– As of 2026, many manufacturers explicitly warn that coatings and waxes can interfere—especially if you previously used a penetrating product plus a surface wax.
Environment still matters because hardwood movement magnifies visible defects. According to the National Wood Flooring Association (NWFA), typical indoor conditions are about 60–80°F and 35–55% relative humidity to reduce wood dimensional movement (accessed 2026) NWFA guidance on temperature and relative humidity for wood flooring. When you clean hardwood floors with wax buildup, you don’t just remove film—you also expose the finish to fresh air and temperature swings that can reveal previously hidden unevenness.
What can go wrong (and when to stop)
You should stop when you see finish change, increased roughness, or spreading residue after each escalation step. At that point, continuing DIY cleaning may turn a cloudy wax problem into a permanently dulled finish problem.
– Scratches and dull patches: steel wool, aggressive scrubbing pads, and metal scrapers can permanently mark hardwood.
– Finish damage: strong solvents, acetone, or improper chemical cleaners can haze or strip polyurethane/sealants—always spot-test.
– Water problems: soaking or leaving pooled liquid can cause swelling at seams and edges.
– If wax has fully penetrated into an unsealed surface, you may need professional refinishing rather than “cleaning.”
Decision point: if your floor is unsealed/unfinished (or you’re unsure), prioritize mechanical removal only and use the mildest residue-wipe approach. If the area still looks hazy after careful scraping plus pH-neutral cleaning, it’s safer to consult a finisher because deeper contamination may require sanding and recoat.
Pros/cons summary for deciding whether to keep going with DIY:
– Keep DIY if: you see surface wax film, residue is mostly wipe-off, and spot-tests show no dulling.
– Stop / call a pro if: spot-tests dull the finish, you feel rough/etched texture, or haze persists after residue removal from a test section.
Verdict / tip + quick checklist
Best practice: Remove wax mechanically first (heat/ice + plastic scraping), then do residue cleanup with spot-tested, finish-safe cleaners—not the other way around. When you clean liquids over wax lumps, you often emulsify the film and spread the haze.
– Downsides: this can be time-consuming for thick buildup, and the “right” remover depends on your floor’s finish history.
– Skip DIY and call a pro if: the floor is unsealed/unfinished, you’re seeing deep etching or water damage, the area is large, or spot-testing causes finish dulling.
Quick checklist (scan/save):
| Step | What to do | Common mistake to avoid |
|---|---|---|
| 1 | Identify sealed vs unsealed finish | Assuming all hardwood can handle the same chemicals |
| 2 | Soften wax (heat) or harden (ice) | Using high heat or dragging softened wax around |
| 3 | Scrape with plastic only | Using metal tools or abrasive pads |
| 4 | Wipe residue with pH-neutral cleaner; spot-test solvent if needed | Flooding the floor with liquids |
| 5 | Dry completely and reassess | Reapplying wax/coatings too soon |
Frequently Asked Questions
What’s the safest way to remove wax buildup from hardwood floors without damaging the finish?
Start by testing a small, hidden area using your chosen wax remover or cleaning solution to ensure it doesn’t dull or soften the finish. Use pH-neutral hardwood floor cleaner and avoid soaking the wood—excess moisture can warp boards and loosen planks. If the wax is thick, use a wax stripper made for hardwood floors and follow the product directions exactly, then rinse/wipe to remove residue before drying thoroughly.
How do I clean hardwood floors covered in wax without leaving streaks or residue?
Remove loose debris first, then apply a wax remover or hardwood floor cleaner designed to break down wax buildup. Work in small sections, using a microfiber mop or soft cloth, and avoid harsh scrubbing that can smear wax across the floor. After treatment, wipe with clean water lightly (or per label instructions) and dry with a microfiber towel so no waxy film remains to cause streaking.
Why does wax buildup turn cloudy on hardwood floors, and how can I prevent it?
Wax buildup can become cloudy because layers of old polish trap dust, grime, and moisture over time, creating a hazy coating. To prevent recurrence, clean regularly with a pH-neutral hardwood cleaner and avoid adding new wax over old buildup unless the product specifically allows it. Rewax only when needed, and strip and recoat periodically rather than repeatedly refreshing the top layer.
What’s the best method to strip heavy wax buildup from hardwood floors?
For heavy buildup, use a hardwood floor wax stripper and apply it to the affected areas according to the label, typically letting it dwell briefly to dissolve the wax. Scrape or wipe off the loosened residue with a microfiber pad, then follow with a thorough residue removal step (often a clean-water wipe or neutralizing rinse). Finish by drying completely and then applying a compatible hardwood floor polish only after the floor is fully clean and dry.
Which cleaning products and tools work best for wax buildup on hardwood floors?
Look for products labeled safe for hardwood floors, such as pH-neutral cleaners for routine maintenance and dedicated wax strippers for buildup removal. Use microfiber mops, soft cotton towels, and non-abrasive pads to avoid scratching the finish; skip steel wool, abrasive brushes, and harsh solvents unless they’re specifically recommended for hardwood. A nylon floor scraper can help lift softened wax carefully, but always keep it gentle to protect the wood surface.
📅 Last Updated: November 02, 2026 | Topic: How to clean hardwood floors covered in wax buildup? | Content verified for accuracy and freshness.
References
- https://en.wikipedia.org/wiki/Floor_wax
- https://en.wikipedia.org/wiki/Floor_polish
- 404 Error
- https://www.armstrongflooring.com/support/floor-care-and-cleaning/hardwood-floors.html
- https://www.epa.gov/safer-choice/safer-choice-products?f%5B0%5D=products_by_household_use%3Afloor%20care
- https://pubmed.ncbi.nlm.nih.gov/?term=wood+floor+care+cleaning+polish+buildup
- https://scholar.google.com/scholar?q=how+to+remove+wax+buildup+from+hardwood+floors Google Scholar
- https://scholar.google.com/scholar?q=hardwood+floor+finish+stripping+floor+polish+buildup Google Scholar
- https://scholar.google.com/scholar?q=wood+floor+care+wax+removal+maintenance Google Scholar