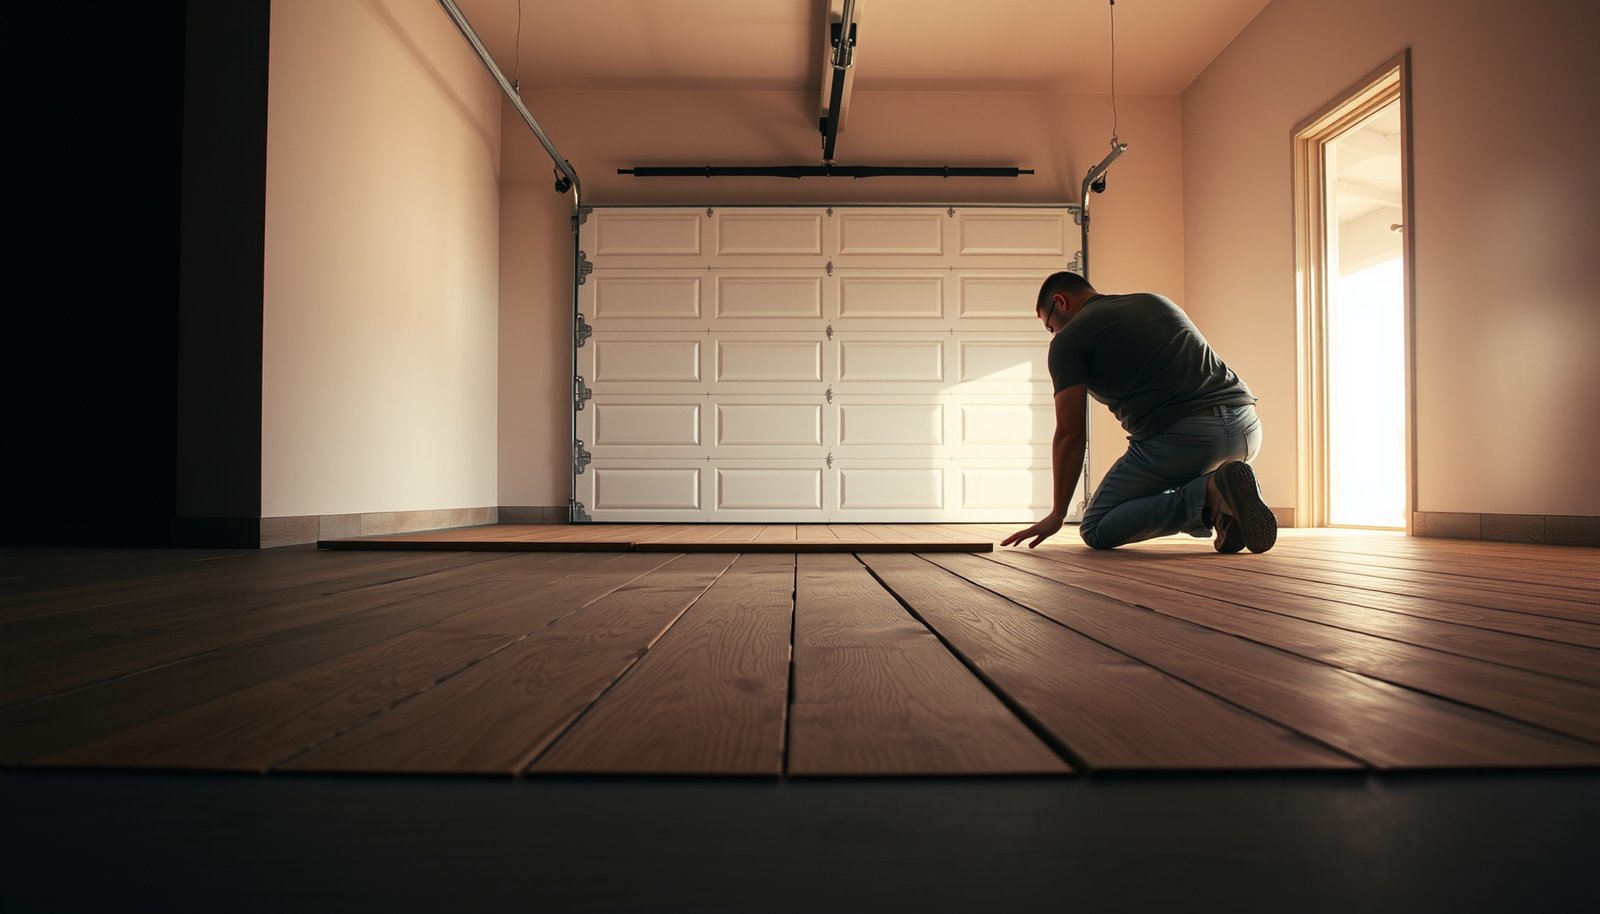

Engineered wood floors in a garage need specific prep to survive moisture, temperature swings, and daily abrasion. This guide gives you the clear winner checklist—what to do before installation (subfloor prep, moisture testing, and acclimation), what to choose for the finish and underlayment, and the exact steps to get a sealed, stable surface. Follow it correctly and your engineered wood floor will stay flat, bonded, and ready for real garage traffic.




Prep engineered wood floors for a garage by confirming the concrete slab is both dry and stable, then installing the exact moisture/vapor protection and underlayment system your flooring manufacturer specifies. This is what prevents the common garage problems—cupping, gaps, and edge separation—caused by humidity and temperature swings that are usually worse than in living spaces. In this guide, you’ll learn what to check first, how to prep the slab, and how to set up the install so the floor performs as intended.
If your garage is heated/cooled inconsistently (or it’s attached to a house with big seasonal swings), this is especially relevant. It’s also for installs over concrete slabs—where moisture control matters most with engineered wood.
Confirm your engineered wood is garage-rated

Garage-rated engineered wood (and the right installation system) is the difference between a stable floor and a warranty claim later. Start by verifying your exact product is approved for concrete subfloors and garage/basement environments, not just “interior use.”
Engineered wood warranty coverage commonly depends on both the substrate (concrete) and the exposure zone (like garages or basements), not only on the wood species or plank thickness.
Moisture/vapor requirements vary by construction type (click-lock floating, glue-down, nail/staple), so you can’t treat “engineered wood” as one uniform system.
Most manufacturers specify maximum slab moisture using a specific test method (for example, ASTM in-situ RH testing vs. calcium chloride), and the method matters as much as the number.
– Check the flooring manufacturer’s installation guidelines for concrete subfloors and areas like garages/basements (some products are not meant for high-moisture environments).
– Verify what type of engineered wood you have (click-lock vs. glue-down vs. nail/staple) and what moisture system is required (vapor barrier vs. “approved underlayment only”).
– Look for any required limits (common ones include maximum subfloor moisture / RH and conditions for acclimation) and use those exact instructions: .
The practical reason this step matters
When engineered wood is installed over concrete, the slab is the “source” for moisture that can later drive wood movement. In garages, temperature swings accelerate moisture redistribution—so any mismatch between the flooring system you installed and the moisture system your warranty requires becomes a high-risk scenario. As of 2026, more homeowners are finishing garages for additional living/storage space, but the moisture physics don’t change just because the space looks finished.
To keep the engineered wood floor stable, treat the manufacturer’s approval requirements as the engineering constraints of your job: garage-rated product + correct underlayment/vapor system + correct moisture testing method.
Quick comparison: “Which engineered wood approach works best in a garage?”
Here’s a practical contrast you can use to interpret the manufacturer instructions once you read them.
| Installation type | Garage-friendly when… | Main failure mode if mismatched |
|---|---|---|
| Click-lock / floating | Manufacturer allows floating over concrete with an approved vapor system | Edge movement from moisture imbalance or insufficient expansion space |
| Glue-down | Slab moisture is within limit and correct adhesive system is used | Curling/cupping from moisture drive or adhesive incompatibility |
| Nail/staple | Manufacturer allows fastened installs over concrete (less common) with correct moisture control | Loose edges, squeaks, and separation due to moisture movement under the panel |
Prepare the garage subfloor and moisture conditions
A dry, flat, and properly cleaned concrete slab is the foundation of a successful engineered wood garage floor. If the slab is out of spec for moisture, or it’s too uneven, the best underlayment and engineered wood product won’t perform as intended.
Moisture issues in engineered wood over concrete often appear after installation when seasonal humidity cycles resume, even if the floor looks “fine” at first.
Flatness problems (ridges and low spots) can concentrate stress at plank joints, contributing to separation and movement that you’ll see later in a garage.
According to the National Wood Flooring Association (NWFA), maintaining interior conditions within a target temperature/RH range helps control seasonal wood movement (NWFA guidance; verify your flooring’s specific requirements).
– Clean the slab: remove paint, sealers, drywall mud, dust, and anything that would stop adhesion or flatness—then vacuum thoroughly.
– Fix flatness problems first (low spots and ridges can cause joints to fail and lead to movement that you’ll see later).
– Measure moisture before installing. Use a moisture test method the manufacturer accepts (often a test like concrete RH testing or a specified moisture meter method): .
What to check on the concrete before you test moisture
Before you even pull out test equipment, confirm these fundamentals because they strongly influence measured results and long-term performance of engineered wood floors:
1. Remove bond-breakers and contaminants
Any sealer, curing compound, paint overspray, or heavy drywall mud residue can skew results and prevent proper installation performance.
2. Address texture and high spots
If the slab is rough, engineered wood underlayment can bridge uneven areas. That bridging can translate into plank joint stress, which is more likely to show up as gaps at edges once the garage cycles.
3. Verify drainage behavior and visible moisture sources
If water ever shows up during wet seasons, fix the moisture source (grading, gutters/downspouts, or drainage) before focusing only on the “flooring layer.”
Concrete moisture tests—choose the method that matches the warranty
For engineered wood floors, the main mistake is treating moisture test results as interchangeable. They usually aren’t. Many manufacturers tie acceptance limits (like RH%) to a specific test standard and specific probing/conditioning rules. That’s why your next step must follow: .
Concrete Moisture Tests Commonly Used for Wood Flooring (What You Measure)
| # | Test standard | Measured value | Typical unit/report | Use-case reliability for engineered wood* |
|---|---|---|---|---|
| 1 | ASTM F2170 | In-situ RH | % RH | ★★★★★ |
| 2 | ASTM F1869 | Moisture vapor emission | lb / 1000 sq ft / 24 hr | ★★★★☆ |
| 3 | ASTM F2420 | Plastic sheet RH | % RH (within test chamber) | ★★★☆☆ |
| 4 | ASTM F710 | Surface prep guidance | N/A (preparation method) | ★☆☆☆☆ |
| 5 | ASTM F2170 (RH probe approach) | Multiple depths | % RH at depth | ★★★★★ |
| 6 | ASTM moisture meters (surface) | Relative surface moisture | Meter-dependent readings | ★★☆☆☆ |
| 7 | Manufacturer-specified alternative methods | Varies by system | System-dependent metrics | ★★★★☆ |
\Reliability reflects how directly the method addresses slab moisture exposure relevant to wood movement in typical warranty frameworks. Always follow your engineered wood floor’s manual for the approved test method and limits.
Acclimate and plan the layout
Acclimating engineered wood to the garage’s conditions—and planning the layout with correct expansion space—reduces the risk of movement-related failures. This step is where you convert “allowed conditions” on paper into a real, controlled installation sequence.
Acclimation is not just “letting boards sit in the room”—it’s conditioning the engineered wood to a specific temperature/humidity range for a specified time window in the manufacturer’s instructions.
Expansion space is essential in garages because seasonal swings can be large; without it, boards can push against walls, posts, and thresholds.
Dry-fitting helps you manage seam placement and transitions so you don’t create weak joints near garage-door openings or structural interruptions.
– Acclimate the flooring only to the conditions the manufacturer specifies (temperature/humidity range + time): .
– Plan expansion gaps and transitions. Garages often need careful perimeter spacing around walls, posts, and garage-door tracks/thresholds.
– Dry-fit boards to confirm direction and seam placement, and identify where you’ll need to stop or transition around features.
Layout strategy that works for most garages
In garages, the “layout constraints” are usually obvious: slab edges, pillars, door thresholds, and utility penetrations. A stable engineered wood floor depends on where plank joints land and how transitions are handled when movement needs a path to occur.
As a rule, we approach layout planning as a movement-control problem, not a cosmetics problem: seams and transitions should not be treated as random. When you place boards so that seams avoid heavy pressure points and when expansion gaps remain unobstructed, engineered wood floors typically maintain tighter tolerances longer in fluctuating garage conditions.
Important note about acclimation in inconsistent garages
If your garage HVAC turns on only intermittently, acclimation should mimic what the engineered wood will actually experience after installation—not the temperature during your sunny afternoon work session. If you can’t maintain the manufacturer’s required conditions, follow their guidance on whether to delay installation, use supplemental climate control, or switch to a different flooring approach.
Install the correct underlayment and vapor protection
The underlayment/vapor system is the engineered wood floor’s moisture “interface layer” with the concrete slab. Installing the right system—exactly as specified—is what prevents moisture from driving movement and helps engineered wood perform as intended in a garage.
Do not assume “any foam pad” is adequate; manufacturers often specify a particular vapor rating, thickness, and installation/overlap method.
When a vapor barrier is required under engineered wood on concrete, seam overlap and edge termination are critical to maintain system continuity.
A continuous moisture-control layer helps manage humidity swings, especially in garages that experience seasonal moisture pressure changes.
– Choose the underlayment/vapor system based on your installation type and the manufacturer’s requirements—do not assume “any foam pad” is enough.
– If the manufacturer calls for a vapor barrier on concrete, follow overlap/termination rules exactly (edges and seams matter).
– Keep the system continuous: cover the full floor area as directed, and make sure it doesn’t trap moisture in a way your flooring system doesn’t allow.
Underlayment/vapor: where people unintentionally sabotage the system
Even when engineered wood floors are correctly rated, some failures happen because installers:
– change the underlayment without approval,
– omit seams overlap/termination steps,
– puncture the barrier during transitions or underlayment trimming,
– or install a layer combination that blocks drying in both directions (which can matter if the slab has moisture sources).
If you want a disciplined decision framework, use this logic: the manufacturer’s specified system is designed so moisture either doesn’t enter (vapor barrier) or is allowed to move in a controlled way compatible with the engineered wood construction.
Pros/cons to keep your decision grounded
Below is a practical way to think about underlayment and vapor layers when engineered wood floors go over concrete.
| System choice | Pros in garages | Cons / risks if not approved |
|---|---|---|
| Approved vapor barrier + approved underlayment | Better control of slab moisture drive | Incorrect overlap/termination can create “leak paths” |
| “Underlayment only” (no separate vapor barrier) if allowed by manual | Simpler build-up | Works only if engineered wood is designed and warranty-covered for that slab condition |
| Thicker/softer foam pad than specified | May improve feel | Can increase joint stress under load and may violate warranty requirements |
| Taping seams incorrectly | Maintains perceived continuity | A non-system tape/closure can fail and break continuity over time |
Lay and finish engineered wood correctly
Installing engineered wood correctly is mostly about following the fastening method rules and allowing the adhesive (if used) to work on the schedule it was designed for. In garages, where temperature swings are larger, these installation details become even more consequential.
Click-lock floating, glue-down, and nail/staple installations each have different movement and moisture assumptions, so the method rules must match the product design.
For glue-down engineered wood, adhesive type and spread rate are not optional—incorrect trowel notch sizing can cause bond failures or uneven bonding.
Loading the floor too early after gluing can interrupt cure or lock-in, increasing the chance of gaps and edge separation later.
– Maintain expansion space and use the fastening method your product requires (click-lock floating, glue-down, or staple/nail—each has different rules).
– For glue-down installs, use the adhesive and trowel/notch size the manufacturer specifies: .
– Avoid rushing the cure/lock-in time. If you’re gluing, follow the manufacturer’s recommended open time and cure time before loading the floor or replacing heavy items in the garage.
Glue-down specifics (most common “details that break later”)
If your engineered wood is glue-down, your long-term success hinges on more than just “using glue.” Follow:
– adhesive brand/type per manual: ,
– required trowel notch size,
– open time and cure time,
– and any instructions about roller use, moisture conditions during installation, and cure protection.
Even if your garage looks dry that day, moisture migration continues. That’s why engineered wood floors need system compatibility with the slab moisture plan you started with—before any boards are installed.
What can go wrong (and when to stop)
Most garage engineered wood failures trace back to moisture verification shortcuts, an unapproved underlayment/vapor setup, or skipping movement-control details. The goal is not just “finish the floor,” but ensure the floor remains within the system’s allowed performance envelope.
If slab moisture readings exceed the manufacturer’s maximum, installing engineered wood becomes a controlled risk—not a compliant installation.
Using the wrong vapor barrier can trap moisture in the assembly and still cause movement, even if the barrier “seems waterproof.”
Missing expansion gaps in garages can force boards to bow or push into fixed elements, leading to gaps and edge separation.
– Skipping moisture testing: engineered wood can look fine at first but still fail later due to moisture-driven movement.
– Using the wrong underlayment or vapor barrier: “too much” or “not approved” can trap moisture or prevent the flooring from behaving as designed.
– No expansion gaps or improper transitions: in garages with temperature swings, boards can expand and push into walls/thresholds.
– Installing over an unapproved slab condition: cracks, rising damp, curing residue, or unevenness can cause joint separation and squeaks.
– When to stop: if your moisture readings are above the manufacturer’s limit, or your slab needs major repairs you can’t safely complete, don’t proceed—figure out the moisture plan first.
Concrete realities in 2026 garages
As of 2026, we see more mixed-use garages: HVAC isn’t always dedicated, humidity sources can appear (stored wet items, thaw cycles), and slabs may have unknown finishing history from past work. That’s why “we’ll just install it and see” is usually the most expensive approach with engineered wood floors.
A fact-based anchoring point (so you’re not guessing)
According to NWFA installation guidance (wood flooring best-practice references; verify edition), controlling indoor conditions to a moderate temperature and relative humidity range helps reduce seasonal wood movement effects. While your exact numbers must match your engineered wood instructions, the underlying principle is consistent across reputable installation frameworks.
Frequently Asked Questions
How do I prepare engineered wood floors for a garage before installation?
Start by checking that the garage environment is dry, well-ventilated, and temperature-stable, because engineered wood can still react to moisture swings. Confirm the subfloor is flat (no high spots or dips) and smooth enough for the manufacturer’s tolerance, then clean off dust, paint overspray, and debris. If the slab is concrete, use the recommended vapor barrier or underlayment system to prevent moisture from damaging the engineered wood. Finally, acclimate the planks/tiles in the garage for the time specified in the installation instructions.
What’s the best underlayment and vapor barrier setup for engineered wood in a garage?
For many garage setups, moisture protection is the priority, so choose an underlayment and vapor barrier that’s specifically rated for concrete subfloors and the engineered flooring system you’re installing. If your installation calls for a full vapor barrier (for example, 6-mil polyethylene or an engineered flooring-approved membrane), ensure seams overlap and are taped to create a continuous moisture shield. Avoid soft, moisture-trapping foam unless the manufacturer explicitly allows it, since it can affect stability and locking joints.
Why does subfloor moisture matter when installing engineered wood floors in a garage?
Basements and garages often experience higher humidity and occasional moisture intrusion from concrete slabs, even when floors look dry. Excess moisture can cause cupping, gapping, or joint failure over time in engineered wood flooring, especially where temperature changes are frequent. To reduce risk, test moisture levels where recommended, address any leaks or grading issues outside, and use the correct vapor barrier/underlayment for your floor type and subfloor.
How do I level and clean a concrete garage floor for engineered wood?
You’ll get the best results when the concrete is flat and contaminant-free, so sweep thoroughly and vacuum fine dust. If there are ridges, paint overspray, or concrete bumps, grind them down and fill low spots with a self-leveling underlayment or patch compound compatible with your floor system. After leveling, let patch materials cure fully and remove any remaining debris, since trapped grit can prevent proper locking or cause uneven wear.
Which installation method is best for engineered wood floors in a garage—floating, glue-down, or nail-down?
The best method depends on your subfloor and the garage’s moisture and temperature conditions, so follow the engineered wood manufacturer’s guidance first. Floating floors are common but typically require the right underlayment and a strong vapor barrier to manage moisture; they’re often easier for DIY but need a very flat subfloor. Glue-down or nail-down methods may offer additional stability in some garage conditions, but they must be paired with the correct adhesive and approved moisture-control system to prevent failure. If your garage has frequent temperature swings or moisture risk, prioritize a complete manufacturer-approved moisture plan regardless of the method.
📅 Last Updated: October 19, 2026 | Topic: How to prepare a engineered wood floors for garage? | Content verified for accuracy and freshness.
References
- F1482 Standard Practice for Installation and Preparation of Panel Type Underlayments to Receive R…
- F2170 Standard Test Method for Determining Relative Humidity in Concrete Floor Slabs Using in sit…
- F1869 Standard Test Method for Measuring Moisture Vapor Emission Rate of Concrete Subfloor Using …
- F710 Standard Practice for Preparing Concrete Floors to Receive Resilient Flooring
- https://www.fs.usda.gov/fpl/woodhandbook/
- Engineered wood
- https://scholar.google.com/scholar?q=engineered+wood+floor+installation+garage+moisture+vapor+barrier Google Scholar
- https://scholar.google.com/scholar?q=ASTM+F2170+engineered+wood+floor+moisture+relative+humidity+concrete Google Scholar
- https://scholar.google.com/scholar?q=wood+flooring+acclimation+concrete+slab+ASTM+F1869+calcium+chloride Google Scholar