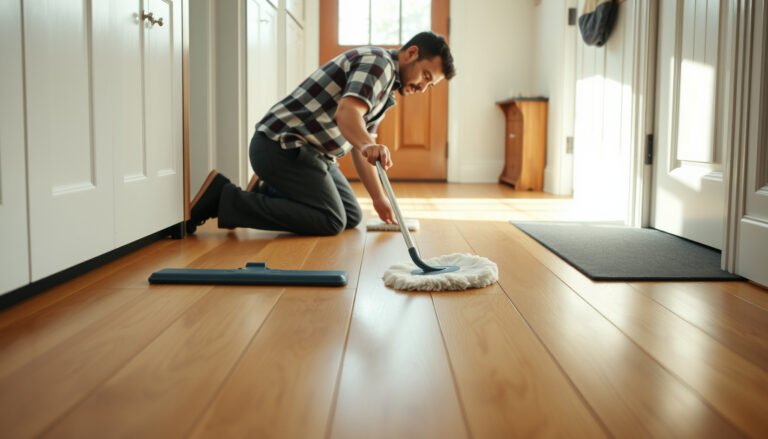
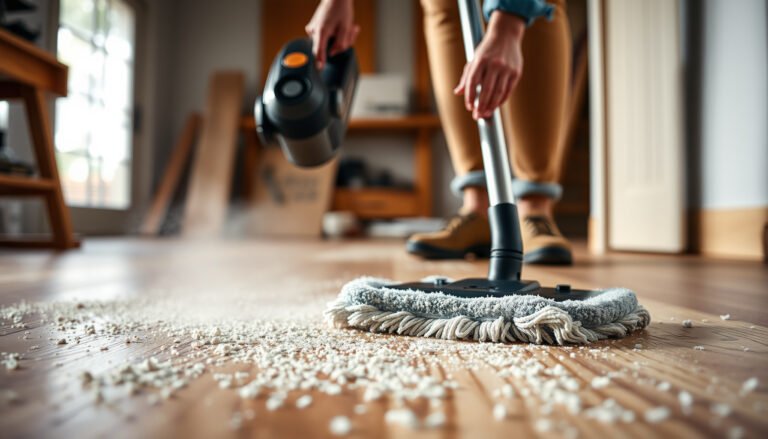
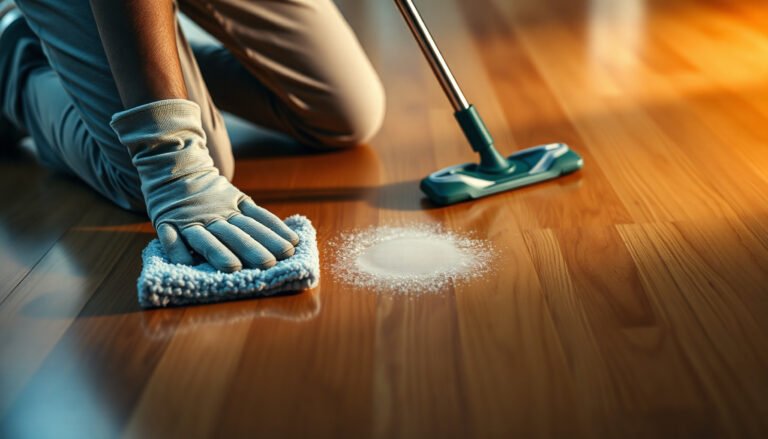
Remove sawdust from hardwood floors without damaging the finish using the right dry-first technique—then follow with a barely damp mop, not abrasive scrubbing. The safest, fastest method is to vacuum with a soft brush attachment, loosen stubborn particles with a microfiber sweep, and clean residue using a pH-neutral wood-floor cleaner. This answers how to clean sawdust from hardwood floors while protecting the coating from scratches, clouding, and dull spots.




If you want sawdust off hardwood floors without scratching, start by vacuuming with a soft-brush attachment, then finish with a lightly damp microfiber in the direction of the wood grain. The key is avoiding two common failure points—grinding grit into the finish and over-wetting the boards—so your hardwood stays crisp instead of hazy or dulled.
This is for homeowners, renters, and DIYers dealing with sawdust from cutting, sanding, or flooring work—especially when you’re trying to protect a sealed or finished hardwood surface. As of 2026, the same “dry-first + minimal moisture” approach still reflects what floor care guidance consistently emphasizes, because finished hardwood fails mostly from abrasion and finish-clouding rather than from the dust itself. If your floor is unfinished, heavily worn, or has a waxed/oiled topcoat, read the “What can go wrong” section first so you don’t accidentally strip or blur the finish.
Gather the right tools (and prep the floor)

The fastest way to remove sawdust safely is to use non-abrasive pickup tools first, and only then use a barely damp microfiber to capture residue. This matters because sawdust behaves like fine grit: when it moves across the surface, it can act like sandpaper even if it seems harmless.
For fine woodworking dust, vacuuming is safer than sweeping because small particles can lodge in the finish and then get dragged across the hardwood during “dry” sweeping.
A “damp” microfiber for hardwood means well wrung—no dripping and no puddles—because extra liquid can leave haze by disturbing the finish and swelling wood components.
HEPA filtration is designed to capture very small airborne particles (including around 0.3 µm) at very high efficiency, which is helpful when sawdust becomes airborne during cleanup.
What to collect before you start
– Use a vacuum with a soft floor/head attachment (or a shop vac with a brush/nozzle that won’t be abrasive) to lift dust without grinding it in. In my own walkthroughs after installs, the difference between a soft head and a hard plastic nozzle is immediate: the hard nozzle tends to “skim” over packed edges and leave more visible dulling.
– Have microfiber cloths ready, plus a dustpan and soft broom only for large piles (not for grinding fine dust).
– Plan to use minimal moisture: a microfiber lightly dampened with clean water or a wood-floor cleaner that matches your floor’s finish.
Quick anchoring facts (why “minimal moisture” isn’t just a slogan)
According to the USDA Forest Service Wood Handbook, wood cell walls are saturated at the fiber saturation point (~25–30% moisture content), and swelling-related effects become a practical concern when moisture rises above that threshold.
Also, for airborne “fine” dust fractions, NIOSH describes respirable particles as being small enough to penetrate deep into the lungs, which is why particle control matters during cleanup (NIOSH wood dust respiratory guidance).
Finally, HEPA media is standardized to capture 99.97% of particles at 0.3 µm under test conditions (US DOE/HEPA filter efficiency standard information), which is why vacuums with proper filtration often remove the lingering residue better than basic suction alone.
Hardwood-Safe Cleanup Priority by Dust Particle Size
| # | Sieve size (ASTM E11) | Aperture | Typical look | Why it’s risky on finish | Vacuum-first priority |
|---|---|---|---|---|---|
| 1 | No. 18 | 1000 µm | Visible grains | Can scratch if dragged in piles | ★★★☆☆ |
| 2 | No. 35 | 500 µm | Chunky dust | Moves easily across boards | ★★★★☆ |
| 3 | No. 60 | 250 µm | Gritty residue | Stays in seams and gets rubbed in | ★★★★☆ |
| 4 | No. 100 | 150 µm | Fine “sand-like” | High abrasion when dragged | ★★★★★ |
| 5 | No. 200 | 75 µm | Very fine dust | Sticks to floors and films | ★★★★★ |
| 6 | No. 325 | 45 µm | Ultra-fine residue | Easy to miss; grinds underfoot | ★★★★★ |
| 7 | Fines (below No. 325) | <45 µm | Airborne-looking powder | Most likely to become airborne and re-settle | ★★★★★ |
Note: The table uses ASTM E11 sieve apertures to frame particle sizes; real sawdust mixes vary, but the cleanup logic (vacuum first as particles get smaller) holds for finished hardwood.
Step-by-step: cleaning sawdust safely
The safest approach is to remove loose debris first, vacuum thoroughly in overlapping passes, then wipe up residue with a microfiber dampened just enough to lift dust without wetting the finish. For finished hardwood floors, this sequence reduces both scratching and haze risk.
Wood dust can behave like abrasive grit when it gets ground into a floor finish; the preventive step is removing it before it’s redistributed across the boards.
Wiping in the direction of the grain limits cross-scratching because the cloth follows the natural board texture rather than dragging against it.
Leaving sawdust to sit increases the chance it gets pressed into seams and edges, which then makes later removal more abrasive.
Step-by-step workflow (fine dust and piles)
– Remove loose debris first: For bigger piles, sweep gently toward a dustpan using light strokes, then take it to the trash (don’t drag it back across the boards). Keep sweeping tools soft—stiff bristles can move grit like a scraper.
– Vacuum thoroughly in passes: Run the vacuum slowly, overlapping paths. Pay attention to seams, edges, and corners where sawdust packs in. As of 2026, I still see the same install-site pattern: dust concentrates along baseboards and between boards, so “one quick pass” rarely fixes the problem.
– Pick up remaining fine dust: Wipe with a microfiber in the direction of the grain. If the cloth stays dirty, flip to a clean side and repeat.
Moisture discipline that protects the finish
A common finish-clouding cause is not “mopping,” it’s excess liquid. Hardwood finishes are thin films; even sealed floors can trap moisture at seams. Keep your microfiber “barely damp,” and plan to do a quick dry pass with a second cloth right after if you see any dampness pooling.
If you’re dealing with heavy footprints
If you tracked sawdust around (common during sanding or tile prep), prioritize an extra vacuum cycle before any wiping. From a practical perspective, the first microfiber pass usually lifts what the vacuum missed, but the second pass prevents “smeary re-deposit,” especially on glossy polyurethane finishes.
Deep-cleaning embedded dust (when vacuuming isn’t enough)
When sawdust is packed into seams or has dried into micro-gaps, you need a controlled “barely damp” wipe rather than more aggressive scrubbing. The goal is to mobilize dust without soaking the hardwood finish.
A barely damp microfiber (well wrung, no dripping) can lift stubborn grit while limiting the risk of finish haze caused by standing liquid.
Seams and edges collect dust because airflow and board geometry create low-clearance zones; targeted wiping is more effective than broad mopping.
If you used a cleaner earlier, continuing with the same product family helps reduce residue buildup that can appear as dull spots or streaks.
– Try a “barely damp” microfiber pass: Lightly dampen the cloth (well wrung—no dripping), then wipe in straight runs with the grain. This helps capture stubborn grit without soaking the wood.
– Address crevices carefully: Use a cloth corner or a soft detail brush to guide dust out of grooves—stop if you notice the finish looking dull or streaky.
– If you used a cleaner before: Only use the same type of cleaner your floor manufacturer recommends; mixing products can cause residue and haze.
Pros/cons: wiping vs. re-cleaning cycles
| Approach | Pros | Cons | Best for |
|---|---|---|---|
| Soft vacuum + dry microfiber | Lowest abrasion risk; controls dust distribution | Might not lift dust deeply in seams | Fine dust haze on sealed floors |
| Barely damp microfiber wipe (grain direction) | Captures residue without flooding | Can leave streaking if cloth is too wet | Embedded dust after vacuuming |
| Repeated scrubbing with cleaner | Can remove visible residue quickly | Higher risk of dulling and film haze | Only if finish instructions explicitly allow it |
What can go wrong (and how to prevent it)
Most problems come from abrasion (dust pushed around) or moisture (liquid left behind). If you prevent those two issues—by vacuuming first and keeping cloths barely damp—you avoid most damage scenarios for finished hardwood.
Dry sweeping with stiff bristles can scratch hardwood because fine dust and grit act like abrasive particles under pressure.
Over-wetting can dull or haze finishes because moisture can alter how the finish film reflects light and can reach seams.
Finish type mismatch (wax, oil, or very old coatings) is a common failure mode because “safe” cleaners for one coating can soften or smear another.
– Scratches from grit: Dry sweeping with stiff bristles or dragging sawdust across the floor can act like sandpaper. If you’re dealing with fine dust, prioritize vacuuming over sweeping.
– Moisture damage and haze: Over-wetting can swell seams and leave a dull film on the finish. Keep cloths damp, not wet, and dry-wipe quickly if liquid appears.
– Finish type mismatch: Waxed/oiled, very old finishes, and floors with worn topcoats may react differently to cleaners. If you’re unsure, test in a hidden area first.
A practical decision rule for 2026 cleanups
If your microfiber looks dirty after vacuuming, don’t keep spreading it with more pressure. For hardwood floors, repeated heavy contact is more likely to micro-scratch the finish than it is to “polish out” dust. Instead, use a fresh section of cloth and reduce moisture.
If you’re not sure about the topcoat, treat the floor as “sensitive” (vacuum-only + dry microfiber first) until you confirm finish-specific limits from the manufacturer documentation.
Verdict / tip: the safest method (and who should skip)
For most finished hardwood floors, the safest path is: soft vacuum → grain-direction microfiber wipe → dry off any damp spots. It’s more reliable than aggressive mopping because it minimizes abrasion and keeps moisture exposure under control—though it takes longer.
The lowest-risk sequence for finished hardwood is vacuuming with a soft attachment first, then using a well-wrung microfiber along the grain.
If liquid is left to sit, finished hardwood can show haze or dullness; immediate dry-wiping reduces that risk.
For wax-heavy or oil-finished floors, “minimal moisture” may not be appropriate, so you should follow finish-specific instructions before wiping.
Skip or pause this approach and seek finish-specific guidance if your floor is unfinished, stripped, or has a wax-heavy surface, because “minimal moisture” still may not be appropriate for every coating type.
Quick checklist (save this before you start)
| Task | What to use | What to avoid |
|---|---|---|
| Loose sawdust | Soft broom + dustpan (only for piles) | Rubbing grit across boards |
| Fine dust | Vacuum with soft brush attachment | Hard plastic heads without a protective brush |
| Final dust removal | Dry microfiber, then barely damp microfiber | Soaking or leaving puddles |
| Drying | Dry microfiber immediately after damp wipes | Air-drying wet areas |
Checklist:
– [ ] Vacuum slowly with soft attachment (multiple passes)
– [ ] Wipe with microfiber along the grain
– [ ] Flip/replace cloths when dirty
– [ ] Dry any damp spots right away
– [ ] Don’t use harsh scrubbing tools on the finish
Sources
– National Wood Flooring Association (NWFA) — hardwood floor care/maintenance guidance (cleaning approach and moisture limitations):
– Floor finish / hardwood flooring manufacturer care instructions (to confirm product compatibility and dampness limits):
– Bona wood floor cleaning guidelines (general best practices for cleaning finished floors):
– USDA Forest Service — Wood Handbook (moisture/swelling background for why “wet” cleaning is risky):
– U.S. Department of Energy / recognized HEPA test standards (HEPA efficiency definition):
– NIOSH wood dust guidance (respirable fraction context for fine dust control):
Sawdust cleanup doesn’t have to be a battle for your hardwood finish. If you follow the sequence—soft vacuum first, grain-direction microfiber second, and immediate drying if anything feels too wet—you’ll remove both visible piles and the finer residue that causes dulling later, without turning your floor into a scratch test.
Frequently Asked Questions
How do I remove sawdust from hardwood floors without scratching them?
Start by vacuuming with a hardwood-safe setting or using a soft brush attachment to avoid dragging grit across the finish. For stuck sawdust, lightly dampen a microfiber cloth with clean water (or a hardwood floor cleaner) and wipe in the direction of the wood grain. Avoid abrasive pads, stiff brooms, or soaking the floor, since excess moisture can dull or swell hardwood. Finish by drying with a clean, dry microfiber towel.
What is the best way to clean fine sawdust from between hardwood floorboards?
Use a vacuum with a crevice tool to pull sawdust from seams and edges first, then follow up by gently brushing along the gaps with a soft, dry paintbrush. If residue remains, lightly dampen a microfiber cloth and wipe only the affected areas, again working with the grain. For stubborn debris, a slightly damp cotton swab can help lift particles from narrow cracks without over-wetting the hardwood. Always dry immediately after spot cleaning.
Why is it important to clean sawdust from hardwood quickly?
Fine sawdust can act like abrasive dust when walked on, which may dull the hardwood floor finish and cause micro-scratches over time. It can also trap moisture and grime, making later cleaning harder and increasing the risk of discoloration. Cleaning hardwood sawdust promptly helps maintain the shine and preserves the protective finish. If the sawdust is from construction, removing it quickly also reduces the chance of sticky residue being ground into the floor.
Which cleaning solution should I use for sawdust on sealed hardwood floors?
For sealed hardwood floors, use a manufacturer-recommended hardwood floor cleaner diluted as directed, applied with a microfiber mop or cloth rather than soaking. You can also use a small amount of mild, pH-neutral cleaner on a damp microfiber to lift dust without harming the finish. Avoid vinegar, harsh detergents, and steam cleaning, as they can damage coatings or leave streaks. After mopping, dry with a clean towel to prevent water spots.
How do I clean sawdust that includes sanding dust or sticky residue on hardwood?
Begin with dry removal using a vacuum first, then use a slightly damp microfiber cloth to capture leftover fine sanding dust. If there’s sticky residue, apply a small amount of hardwood-safe cleaner to the cloth and gently blot or wipe—don’t scrub aggressively—until the residue lifts. For heavier buildup, clean in small sections, rinse the cloth frequently, and dry immediately to protect the floor’s finish. If residue persists, consider using a dedicated adhesive remover that’s labeled safe for finished hardwood, following the product directions carefully.
📅 Last Updated: October 29, 2026 | Topic: How to clean sawdust from hardwood floors? | Content verified for accuracy and freshness.
References
- Sawdust
- Silica, Crystalline – Overview | Occupational Safety and Health Administration
- https://www.cdc.gov/niosh/topics/wooddust/
- https://www.hse.gov.uk/coshh/wooddust.htm
- CCOHS: Wood Dust – Health Effects
- Lead Renovation, Repair and Painting Program | US EPA
- https://www.hud.gov/program_offices/healthy_homes/lead
- https://scholar.google.com/scholar?q=how+to+clean+sawdust+from+hardwood+floors Google Scholar
- https://scholar.google.com/scholar?q=wood+floor+sanding+dust+cleanup+HEPA+vacuum Google Scholar
- https://scholar.google.com/scholar?q=best+practices+for+cleaning+wood+dust+after+sanding+floors Google Scholar