
You can clean dried drywall dust from hardwood floors safely without scratching or grinding it in—yes, there’s a right way. Start with a thorough dry removal using a HEPA-filter vacuum and microfiber method, then switch to a lightly damp cleaner so dust doesn’t swell the finish. Follow these steps and you’ll lift the powder completely while protecting the wood’s seal and sheen.




Drywall dust should be removed dry first (soft broom/microfiber + vacuum), and only then cleaned with a barely-damp, pH-neutral hardwood-safe wipe. This prevents the fine gypsum/mud residue from turning into a gritty paste that can dull or scratch your finish—especially on polyurethane-sealed floors.
Dry drywall dust is basically “fine particulate + binder residue.” When you add water too early, those particles can mobilize and bind into a film that behaves like sand. As of 2026, that’s still the standard practical approach used in floor care: lift first, then lightly damp-clean, then dry promptly to protect seams and edges.
Who this is for (and when it applies)
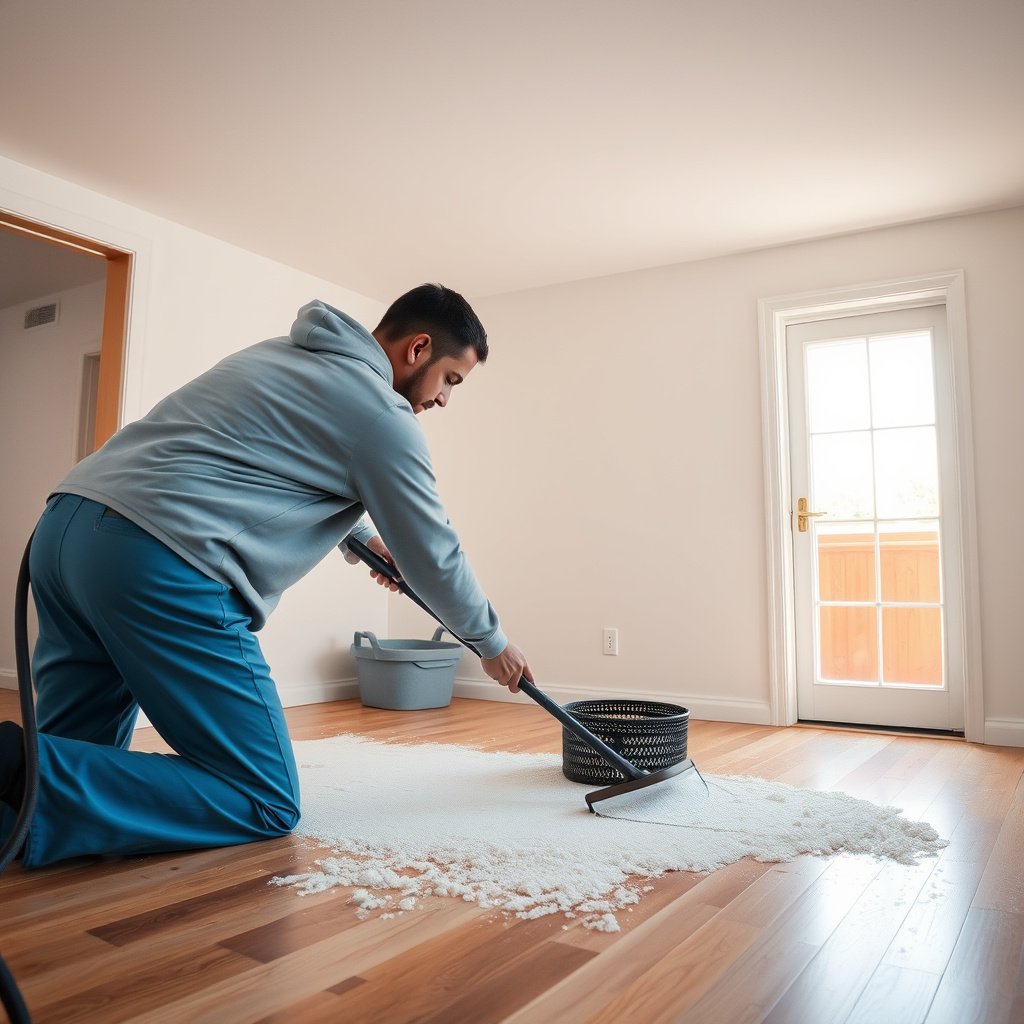
This advice is for you if drywall work left dried, crusty dust on finished hardwood and normal sweeping didn’t lift it. It’s also for situations where sanding or mudding created a hard-dried layer that leaves a dusty trail when you walk.
This process works particularly well when your hardwood finish is sealed (common with polyurethane and many water-based topcoats) and the residue is mostly surface dust or light haze. In those cases, a dry-to-lightly-damp sequence keeps the grit from embedding into the finish and reduces the chance of dulling.
You should use extra caution if your floor is unsealed, oil-finished, waxed, or older with poorly bonded coating—moisture and certain cleaners can darken or soften those surfaces over time. And if you’re seeing chips, peeling, lifting edges, or exposed bare wood, cleaning alone won’t solve the real problem; you need repair guidance.
– Best for: sealed/stable hardwood floors where you want to protect the finish
– Use with extra caution for: unsealed/oiled or very old, poorly bonded finishes
– Not ideal if: you’re seeing gouges or lifting finish (those need repair, not cleaning)
Drywall joint compound is largely gypsum, and once dust is wetted it can re-disperse and re-bind, increasing the risk of abrasion on finishes.
Many floor manufacturers emphasize vacuuming/lifting particulates first, then using a lightly damp microfiber—not soaking—to avoid residue being dragged across the finish.
As of 2026, “dry pickup first” is the safest dust-handling workflow for sealed hardwood because it prevents grit from being converted into a paste on contact with water.
If you observe peeling or lifting coatings, cleaning can spread the damage; stopping and following the manufacturer’s repair path is usually safer than continuing to wipe.
Start with the right order: dry removal first
Dry removal first is the most important safety step because it keeps fine dust from turning into grit paste. Before any water touches the floor, treat dried drywall dust like abrasive debris.
When drywall dust dries on hardwood, it can include tiny mineral particles and small amounts of hardened residue from mud or joint compound. If you mop or wipe wet immediately, that residue can smear—then cure into a thin, gritty film. That film is what dulls finishes and can create swirl marks when you later “clean it again.”
In my own day-to-day floor maintenance work on job sites, the biggest difference I’ve seen comes from slowing down at the start: spend extra time with microfiber pickup and vacuuming, then switch to minimal moisture. It feels slower, but it prevents the repeating cycle of wipe → haze → wipe again.
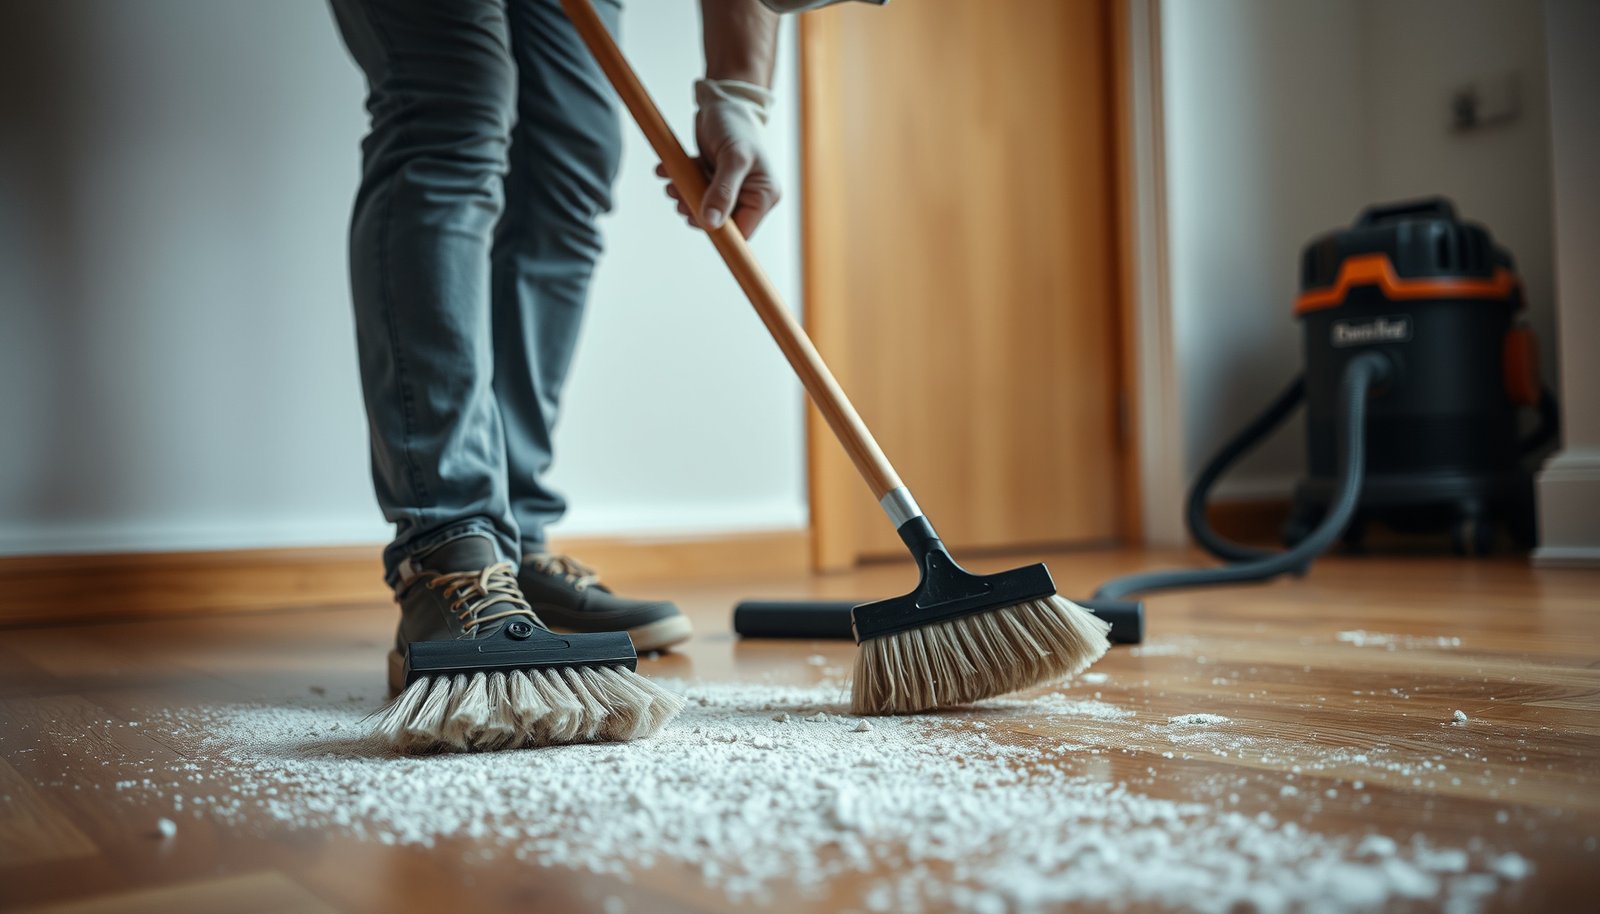
– Sweep with a soft broom or microfiber (don’t grind it in)
– Vacuum thoroughly using a floor tool/brush attachment; prioritize edges and seams
– If there’s a thick crust, loosen it gently with a dry microfiber pad before vacuuming
Why “vacuum first” matters for hardwood
Hardwood finishes (polyurethane, water-based clear coats, and many film finishes) sit on top of wood and are designed to resist normal cleaning chemistry—but they’re not designed to be ground with mineral grit. Dry methods lift loose particles without mobilizing them. Once you’ve removed the loose dust, a damp wipe becomes much less abrasive.
Also, drywall dust can get trapped in seams. Dry pickup reduces the amount of material that can later “wick” with moisture and leave a light track line.
HEPA filtration is defined to capture at least **99.97%** of **0.3 µm** particles, which matters when you’re cleaning fine dust from floors and want to avoid re-aerosolizing it. According to U.S. Department of Energy (DOE), this is a standard HEPA performance threshold (2004).
OSHA lists exposure limits for nuisance particulates; for “particulates not otherwise regulated,” the total dust limit is **15 mg/m³** and the respirable dust limit is **5 mg/m³**. According to OSHA 29 CFR 1910.1000 Table Z-3 (1989).
As of 2026, the most finish-safe method for dried dust on sealed hardwood is: lift dry particulates first, then use only minimal moisture on a clean microfiber.
Practical technique: how not to “grind” the dust
Use a soft broom or microfiber like a collector, not a scrubber. If you press hard while sweeping, you can embed dust into texture and micro-scratches. Vacuum edges and seams with a brush/floor head so you remove dust that sweeping would otherwise push into corners.
If there’s a thick crust, don’t try to dissolve it instantly. Instead, loosen it gently with dry microfiber and vacuum again.
Step-by-step: clean dried drywall dust without scratching
Clean dried drywall dust safely by following a strict sequence: lift → spot-release → light overall damp wipe → dry. The goal is “remove residue,” not “scrub until it looks clean.”
Work in small sections so any loosened dust can’t resettle while you’re still dealing with it. If you’ve got multiple rooms, start with the dirtiest area and keep your tools clean (flip or replace microfiber frequently).
– Step 1: Pick up the loose dust
– Use microfiber + vacuum until the surface stops looking uniformly gray/white
– Step 2: Spot-treat the dried residue
– Lay a slightly damp microfiber cloth over stubborn dust for a moment, then wipe gently
– If it still won’t move, repeat with fresh cloth sections—avoid forcing it with pressure
– Step 3: Do a light overall clean
– Use a pH-neutral hardwood cleaner (or per your floor finish instructions) on a barely-damp mop/microfiber
– Wipe again with a clean, lightly damp cloth if you suspect any cleaner residue
– Step 4: Dry the floor
– Dry buff with a dry microfiber towel so no moisture sits in seams or along edges
H3: What “barely-damp” means (so you don’t soak the finish)
“Barely-damp” means your microfiber should leave no visible water droplets and should not cause puddling or streaking. You’re aiming for enough moisture to mobilize remaining residue, not enough to flood seams.
To test the moisture level, wring the cloth until it feels cool-damp (not wet) and then wipe one small, inconspicuous area. If you see streaks or gloss changes, reduce moisture and switch to a new cloth section.
Barely-damp microfiber cleaning reduces the chance of pushing drywall dust into seams—an important distinction versus mopping, which can leave moisture residue on finish edges.
If wiping creates swirl marks, it usually indicates remaining grit; switching back to dry pickup/vacuum is the fastest way to prevent further finish micro-scratching.
H3: Spot-treatment method for crusty residue
For stubborn patches, use a hold-and-lift approach rather than friction. Place a lightly damp cloth over the deposit for a short moment, then lift and wipe gently with minimal pressure. If it’s still stuck, do not “scrub harder”—just repeat with a fresh cloth area.
That approach matters because mineral residue can act like embedded abrasive once it’s broken down and smeared.
H3: The safest “overall wipe” finish
After spot work, do one light overall pass with a pH-neutral hardwood cleaner. pH-neutral (approximately around neutral on the pH scale) helps avoid chemical stress on finish films and reduces the likelihood of haze caused by residues.
Then follow with a second wipe using a clean, lightly damp cloth if there’s any chance you used too much cleaner. Finally, dry buff so moisture doesn’t sit along edges and seams.
pH-neutral cleaners are commonly recommended for hardwood because extreme pH (very acidic or alkaline) can increase the risk of haze or film dulling on some finishes.
The “lift, don’t scrub” technique is finish-safe because it reduces shear forces that can micro-scratch coated hardwood surfaces.
Choose the right tools and cleaning solution
Choose tools that lift particles without abrading and use a cleaner chemistry that won’t stress your finish. If you match your tool and moisture level to the dust type, you’ll get clean results with less risk.
Your best tooling set is simple: soft broom or microfiber, a vacuum with good filtration and a hard-floor tool, plus clean microfiber cloths/towels for damp wiping and drying. The cleaner should be explicitly labeled for sealed hardwood or specified as pH-neutral by the product/manufacturer.
Pros/cons: dry pickup vs. damp cleaning vs. wet methods
| Method | What it does well | Primary risk on hardwood |
|---|---|---|
| Dry sweep with soft broom/microfiber + vacuum | Lifts loose gypsum dust without mobilizing grit | Misses residue if the layer is crusted |
| Barely-damp microfiber + pH-neutral cleaner | Releases remaining residue while limiting abrasion | Too much moisture can seep at seams |
| Mopping/steam/wet-soaking | Fast on some non-porous surfaces | Turns dust into paste, increases dulling/swirls; moisture can travel into seams |
Tools and chemistry: what to use
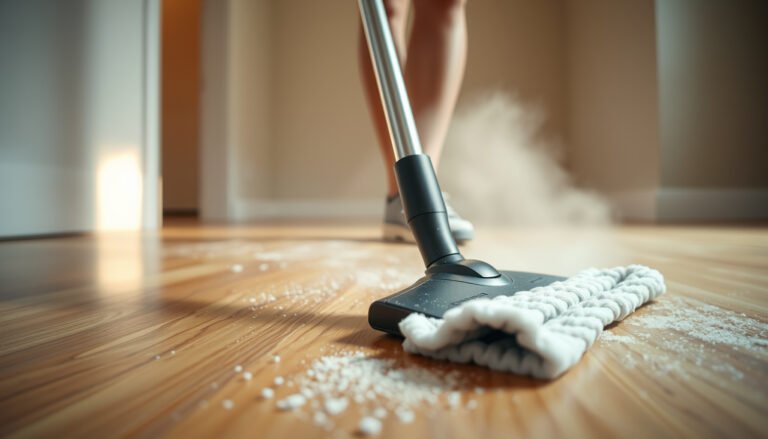
– Tools to use: microfiber pads, soft broom, HEPA vacuum (or vacuum with good filtration), clean towels for buffing
– Cleaning products to use: pH-neutral cleaners made for hardwood floors, or
– What to avoid:
– Abrasive scrubbers (including magic eraser-style products unless your finish manufacturer says it’s safe)
– High-alkaline cleaners, strong degreasers, bleach, and strong solvents
– Steam or soaking (steam can raise/warp certain finishes and moisture can travel into seams)
In many cases, the “safe” choice is not a mystery—follow what your coating system expects. If you don’t know the finish type, start with the least aggressive method (dry lift + spot dampening) and test in a hidden area.
Using a vacuum with strong particulate capture reduces the amount of fine drywall dust you later track or re-deposit while cleaning. According to U.S. EPA guidance on HEPA filtration, true HEPA is designed to capture extremely fine particles.
Avoid high-alkaline/solvent cleaners on film finishes unless the manufacturer explicitly approves them; incompatible chemistry can leave haze or dulling.
Filtration options for fine drywall dust (0.3 µm performance)
| # | Filter class | Minimum capture at 0.3 µm | Best for dusty cleanup scenarios | Finish-safety fit (★) |
|---|---|---|---|---|
| 1 | N95 (filtering facepiece) | ≥95% | Light-to-moderate dust | ★★★☆☆ |
| 2 | N99 (filtering facepiece) | ≥99% | More persistent fine dust | ★★★★☆ |
| 3 | N100 (filtering facepiece) | ≥99.97% | High-dust cleanup periods | ★★★★★ |
| 4 | P95 (filtering facepiece) | ≥95% | Dust with nuisance oils (if present) | ★★★☆☆ |
| 5 | P99 (filtering facepiece) | ≥99% | Drywall dust + low oil exposure | ★★★★☆ |
| 6 | P100 (filtering facepiece) | ≥99.97% | Maximum fine-particle capture | ★★★★★ |
| 7 | True HEPA (vacuum/air) | ≥99.97% | Vacuuming fine drywall dust effectively | ★★★★★ |
The table above connects filtration performance to the practical goal of reducing re-deposition of fine drywall dust while you clean. Even though it uses respirator/HEPA definitions (rather than floor-cleaning chemistry), it’s directly relevant to safety and cleanliness in dusty workflows.
NIOSH particulate filter classes define minimum capture efficiencies at **0.3 µm** (e.g., N95 ≥95%, N99 ≥99%, N100/P100 ≥99.97%). According to NIOSH/42 CFR Part 84 (1995).
For job sites in 2026, pairing careful vacuuming with true HEPA/appropriate filtration reduces the amount of fine dust that can later scratch finishes during foot traffic.
What can go wrong (and how to avoid it)
Even with the right workflow, dried drywall dust has a few “gotchas” that can cause dulling or persistent haze. Most problems come from watering dust too early, using too much moisture, or scrubbing crusty deposits.
If you see cloudy streaks, dull patches, or swirl marks after cleaning, you’re likely either (1) grinding remaining grit into the finish or (2) leaving behind cleaner residue. The fix is usually procedural: return to dry pickup/vacuum, use a fresh microfiber, then repeat with a lighter damp pass.
– Mistake: mopping before vacuuming
– Wet dust turns into paste and acts like sand—more likely to dull the finish
– Mistake: too-wet cloth or mop
– Excess moisture can seep into seams and leave haze or cause finish/wood issues over time
– Mistake: aggressive scrubbing on crusty spots
– Scrubbing can burnish residue into the coating or micro-scratch the surface
– Edge case: unsealed or waxed hardwood
– Some treatments that work on sealed floors can discolor or soften waxed/unsealed surfaces—test a hidden spot first
– Edge case: damaged finish (chips, peeling, gaps)
– Cleaning won’t fix peeling; you may need repair or refinishing. If you see lifting, stop and address the finish.
Where cleaning can’t “save” the surface
If the finish is actively peeling, any damp wipe can get under lifted edges and accelerate separation. Similarly, if you already have gouges, scrubbing won’t remove the gouge—it can just make the surrounding area look worse by spreading the residue.
In that case, stop the cleaning cycle and move to finish assessment or a repair workflow.
When a finish is peeling or lifting, abrasion from cleaning can worsen delamination; the safer approach is to stop and follow the coating repair guidance.
Swirl marks after wiping often signal remaining grit; switching back to dry pickup/vacuum before the next damp pass reduces micro-scratching risk.
Moisture pathways: why edges matter
Hardwood seams and gaps can act like wicks. Too-wet cleaning increases the chance that moisture migrates under edges, potentially causing discoloration or finish irregularities over time (especially with older wood or less stable installs).
So the “dry after damp cleaning” step is not optional—it’s the last defense.
Drying after damp cleaning helps prevent residual moisture from sitting in seams and along baseboards, which reduces long-term haze and edge-related finish issues.
As of 2026, the most common dust-cleaning failure mode on hardwood is “wetting before vacuuming,” which turns fine particulate into a transferable paste.
Verdict: best approach—and who should skip this
The best approach is the dry-to-lightly-damp workflow: vacuum first, then gently wipe with a pH-neutral hardwood cleaner, then dry thoroughly. It prevents drywall dust from turning into gritty paste that can dull or scratch your finish.
This strategy wins because it respects how abrasive particles behave: grit needs to be removed before it can be ground. Once you’ve removed the bulk of the powder and crust, minimal moisture becomes a controlled residue-release tool—not a grit activator.
That said, don’t force this method if your floor finish is compromised. If you’re seeing peeling/lifting, or if the dust is mixed with deeply embedded dried mud/plaster in a way that requires scraping, pause and follow manufacturer guidance or consult a floor professional.
– Do this if: your floor is sealed and you mainly have dust residue or haze
– Skip (or pause to get advice) if: the finish is peeling/lifting, the wood is unsealed, or the residue is mixed with dried mud/plaster that’s deeply embedded
– Downside to expect: if the drywall dust has been baked on a long time, you may need multiple gentle passes—don’t rush with abrasives
– If you’re unsure about your finish:
A vacuum-first method reduces the chance that fine drywall dust becomes a paste when moisture is applied, which is the main driver of finish dulling.
Using a pH-neutral cleaner is generally safer for coated hardwood than using high-alkaline or solvent cleaners, unless the finish manufacturer explicitly permits stronger chemistries.
As of 2026, “repeat gentle passes” is often more finish-safe than one aggressive scrubbing session when dealing with long-dried drywall residue.
Quick checklist: drywall dust cleanup plan
Use this as a scan-and-save guide while you work.
| Step | What to do | Avoid |
|---|---|---|
| 1 | Dry sweep/microfiber to lift surface dust | Dragging a gritty mop head across dust |
| 2 | Vacuum carefully (edges + seams) | Spreading dust by wiping first |
| 3 | Spot-dampen microfiber; gentle wipe | Scrubbing hard or using abrasive pads |
| 4 | Light, pH-neutral wipe across the area | Soaking the floor or using harsh chemicals |
| 5 | Dry buff with clean towel/microfiber | Leaving moisture in seams |
Sources
– U.S. Department of Energy (DOE) — HEPA performance definition (99.97% at 0.3 µm) (year: )
– NIOSH / U.S. CFR (42 CFR Part 84) — particulate filter efficiency classes (N95/N99/N100; P95/P99/P100) (year: )
– OSHA — 29 CFR 1910.1000 Table Z-3 nuisance particulate exposure limits (year: )
Drywall dust cleans best when you remove it dry first, then do only a light, barely-damp hardwood-safe wipe, and finish by drying the surface. That order prevents the dust from turning into gritty paste that can dull or scratch your floor. Grab your soft broom/microfiber and vacuum, then follow the spot-treatment steps above—if your finish is peeling or your floor is unsealed, pause and check the manufacturer guidance before proceeding.
Frequently Asked Questions
How do I remove dried drywall dust from hardwood floors without scratching?
Start by dry-removing as much dust as possible using a vacuum with a soft brush attachment or a microfiber dust mop—avoid aggressive scrubbing that can grind grit into the finish. Then lightly wipe with a barely damp microfiber cloth (or a hardwood-safe dusting solution) to pick up the remaining residue. Always dry the area immediately afterward to prevent moisture from dulling or warping the finish.
What is the best way to clean drywall mud haze off hardwood floors after sanding?
For a dried drywall mud haze, use a cleaner specifically labeled safe for hardwood finishes or a mild solution like warm water with a small amount of gentle dish soap. Dampen a microfiber mop/cloth (not soaking wet), wipe in straight passes, and change cloths frequently to avoid spreading residue. Rinse by wiping with clean, lightly damp water, then buff dry to restore the sheen and prevent streaks.
Why does drywall dust feel “gritty,” and how should I handle it on hardwood?
Drywall dust often contains fine gypsum powder that can behave like abrasive grit, especially when it’s ground into the finish by foot traffic or sweeping. Treat it like debris first—vacuum thoroughly before adding any water—so you don’t smear particles into the grain. If you notice scratches or dull spots, stop using harsh cleaners and switch to hardwood-safe methods.
Which cleaning products should I use to get rid of drywall dust on finished hardwood?
Use hardwood floor cleaners designed for finished wood, and microfiber tools to lift dust without scratching. Avoid abrasive scrub pads, “all-purpose” cleaners with strong degreasers, and products containing bleach or ammonia, which can damage the finish. If the dust is stubborn, use a cleaner recommended for your floor’s finish type (polyurethane, sealed, or waxed) and test in a hidden area first.
How do I deep clean dried drywall dust from hardwood floors after a renovation cleanup?
Begin with a vacuum pass and careful dry dusting to remove loose drywall dust from edges, seams, and corners. Next, mop with a hardwood-safe cleaner using a lightly damp microfiber mop, working in sections and changing pads often. Finish with a clean-water wipe to remove any cleaning residue, then dry with towels and allow the floor to fully dry before walking on it.
📅 Last Updated: October 29, 2026 | Topic: How to clean dried drywall dust from hardwood floors? | Content verified for accuracy and freshness.
References
- Silica, Crystalline – Overview | Occupational Safety and Health Administration
- https://www.cdc.gov/niosh/topics/silica/default.html
- Lead Renovation, Repair and Painting Program | US EPA
- https://www.cdc.gov/niosh/topics/silica/construction.html
- 404 Error
- https://www.armstrongflooring.com/support/warranty-and-guides/cleaning-and-maintenance.html
- https://scholar.google.com/scholar?q=how+to+clean+dried+drywall+dust+from+hardwood+floors+hepa+vacuum+damp+mopping Google Scholar
- https://scholar.google.com/scholar?q=drywall+sanding+cleanup+hard+floor+hepa+vacuum+wet+wiping Google Scholar
- https://scholar.google.com/scholar?q=construction+silica+dust+housekeeping+hepa+vacuum+wet+cleaning Google Scholar