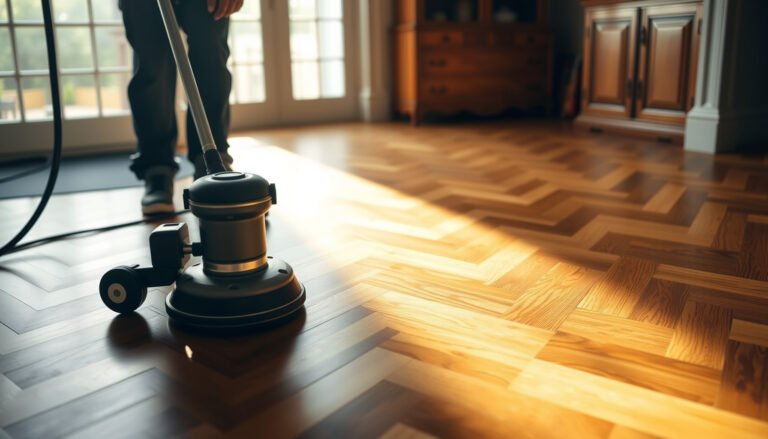
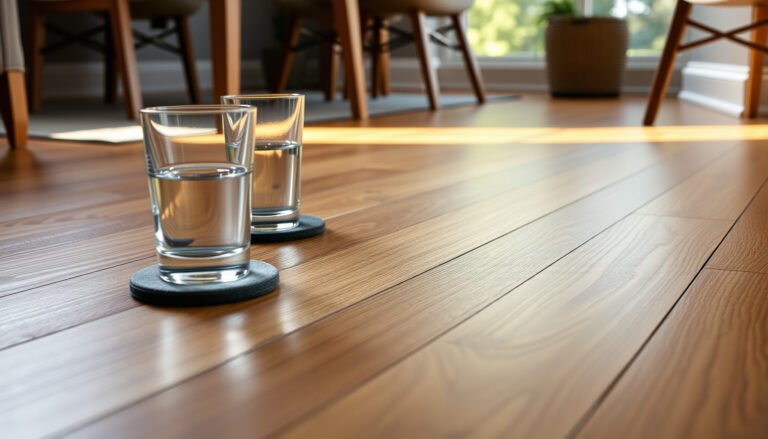
Protecting hardwood floors in a bedroom is mostly about preventing grit scratches, keeping indoor humidity stable, and cleaning with minimal moisture. If you block abrasion from furniture and rugs, aim for the recommended humidity range, and use a lightly damp microfiber mop (not wet mopping), you’ll prevent most warping, dulling, and finish damage before it starts.


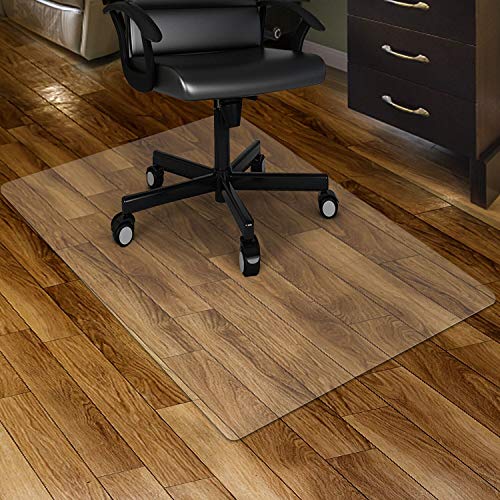
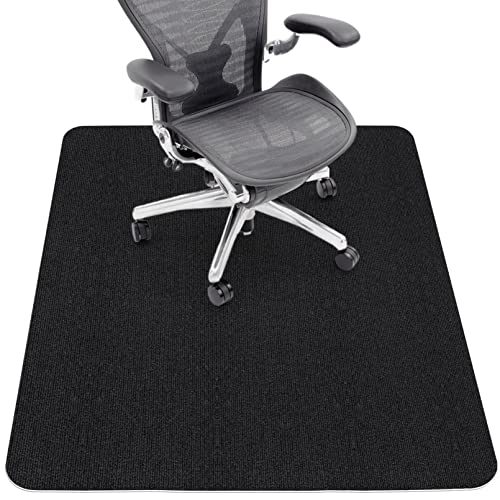
If your bedroom has an area rug, rolling chair, kids/pets, or lots of window light, the steps below matter even more—wood floors are still vulnerable in “lower-traffic” rooms. You don’t need anything complicated; you just need the right protection at the points where damage usually begins.
Stop scratches at the source (pads, mats, and feet)

The fastest way to protect hardwood in a bedroom is to eliminate “invisible sanding” from furniture movement and tracked grit. In practice, the damage that shows up as dull patches usually comes from micro-scratches, especially where bed frames and nightstands rub or shift over time.
“Using furniture felt protectors prevents micro-scratches that dull a finish over time.”
“A non-slip rug or chair mat reduces friction and helps keep abrasive particles from grinding into the finish.”
– Put felt or microfiber floor protectors under furniture legs (beds, nightstands, dressers) and replace them when they wear flat.
– Use non-slip mats under rolling items (like a rolling office chair) so they grip without grinding grit into the finish.
– Lift heavy furniture instead of sliding it—micro-scratches add up, especially on lighter or matte finishes.
– Use a “no-push” rule for bed repositioning: if you rearrange, lift the frame first. Even careful sliding can create thousands of tiny finish breaks.
– For pets, add a small low-pile mat where they most often enter/exit (near the door or dog bed). It reduces tracked grit and paw abrasion without covering the entire floor.
From my experience protecting floors in high-use areas (entryways and home offices), the “low-traffic” bedroom still develops wear zones—usually right under the bed and along the path to the closet—because dust settles there and gets stepped on daily.
Quick scratch-risk tradeoff (pros/cons):
| Approach | Pros | Cons / Watch-outs |
|---|---|---|
| Felt pads under legs | Low friction; cheap; stops abrasion from fixed contact points | Need replacement when compressed/worn |
| Plastic glides (non-felt) | Good for heavy loads; easy sliding | If debris gets between glide and floor, it can act like a scraper |
| Area rug runners for traffic paths | Reduces grit transfer; protects finish at step points | Requires the right pad/backing to avoid moisture trapping |
Use rugs the right way (and don’t trap moisture)
The best rug protection strategy is simple: use a hardwood-floor–safe rug pad, and clean the rug so sand and dust don’t become sandpaper. Rugs help most when they cover the “walk routes” (to the closet, bed, bathroom), but the wrong backing or pad can hold moisture against the finish.
“A rug pad designed for hardwood reduces edge movement, which is a common cause of finish wear.”
“Dust and grit under rugs abrade finishes similarly to sandpaper when traffic moves the rug.”
– Choose area rugs with a safe backing (cloth/paper felt style if possible). Avoid rug backing that can trap moisture or stain the finish.
– Use a rug pad that’s designed for hardwood floors so the rug won’t shift and you don’t create friction wear where the rug edge moves.
– Keep the rug clean—dust and sand under rugs behave like sandpaper when people walk across or when the rug shifts.
– If you have pets, vacuum the rug’s underside (or flip/rotate per manufacturer guidance) during regular deep cleaning. Hair and dander can hold grit and moisture.
– Watch for “drying time traps”: after humid days or cleaning, don’t put rugs back down until the floor is fully dry. Even small moisture pockets can lead to finish haze or localized cupping risk over time.
What to avoid (especially in bedrooms):
– Rubber-backed rugs: depending on rubber formulation and finish chemistry, they can discolor or slow drying under the rug.
– Pads with aggressive adhesives: they can leave residue and complicate future cleaning or refinishing.
Control moisture and humidity for fewer gaps and warps
The direct answer: keep your bedroom humidity stable and within the recommended range for hardwood. Hardwood expands and contracts based on moisture in the air, so even without a spill you can still get seasonal gapping or slight warping when indoor humidity swings.
According to the National Wood Flooring Association (NWFA), maintain indoor relative humidity around 35%–55% to reduce wood movement and related finish issues.
According to NWFA guidance, stable temperature and humidity help minimize expansion/contraction that can lead to gaps, cupping, and stress on the finish.
– Aim for stable indoor humidity—wood expands and contracts with moisture in the air, not just with water spills. According to NWFA wood floor care guidance, target relative humidity is typically 35%–55%.
– Run a humidifier/dehumidifier seasonally if your bedroom gets very dry or very humid. (This is especially important near HVAC vents or exterior-facing walls.)
– Clean up spills immediately and dry the area fully; prolonged dampness is what causes the most serious damage.
– Measure, don’t guess: place a hygrometer (humidity monitor) in the room. Check readings at least weekly during seasonal transitions.
– Be strategic with vents: if your HVAC pushes air directly onto the floor, it can create localized over-drying and finish micro-checking.
A simple “humidity reading” risk guide (scan-friendly):
Relative Humidity Levels That Influence Hardwood Floor Stability
| # | Bedroom RH Reading | In/Out of Common Target Band (35–55%) | Moisture-Risk Level | Protection Priority |
|---|---|---|---|---|
| 1 | 20–25% RH | Out (too dry) | ★★☆☆☆ | High |
| 2 | 25–30% RH | Out (likely gap risk) | ★★★☆☆ | High |
| 3 | 30–35% RH | Borderline (dry edge) | ★★★★☆ | Medium-High |
| 4 | 35–45% RH | In band (safer) | ★★★★★ | Normal |
| 5 | 45–55% RH | In band (upper edge) | ★★★★★ | Normal |
| 6 | 55–60% RH | Out (too humid) | ★★★★☆ | Medium-High |
| 7 | 60%+ RH | Out (high warp risk) | ★★★☆☆ | High |
Clean safely so you don’t dull or damage the finish
The best cleaning routine for hardwood is “remove grit first, then use the smallest amount of moisture needed.” In practice, dulling comes from abrasive particles and residue buildup, while finish problems often come from steam, soaking, or leaving cleaner wet.
“For hardwood, vacuuming or sweeping to remove grit first reduces scratch risk more effectively than trying to mop grit away.”
“Steam mops combine heat and moisture, which can damage hardwood finishes and underlying wood.”
– Use a soft broom or vacuum with a hardwood-safe head to remove grit before it scratches the surface.
– For mopping, use a lightly damp microfiber mop and a cleaner approved for your specific finish (avoid soaking the floor).
– Skip steam mops and “one-step” wax/shine products unless your floor’s finish explicitly calls for them—many can leave residue that makes future cleaning or refinishing harder.
– If you need spot cleaning, use a slightly damp cloth on stubborn marks, then dry immediately with a clean towel.
– Let air circulate after cleaning; don’t block airflow with rugs while the floor is still damp.
A reality check on what “grit” means: Household dust often includes particles in the abrasive-size range. For example, According to OSHA/NIOSH descriptions of respirable dust behavior, fine mineral particles can remain airborne and settle back onto surfaces—so vacuuming with good filtration matters for long-term finish preservation. . And if that dust includes silica (quartz), quartz is very hard (Mohs hardness 7), which helps explain why it dulls finishes when grit is tracked across a floor.
Protect from sun, heat, and everyday wear
The direct answer: reduce UV exposure, prevent heat blasts, and maintain the finish layer before it fails. Even in a bedroom, direct window light and HVAC airflow can fade or prematurely degrade polyurethane/waterborne coatings.
“Reducing direct UV exposure with curtains or blinds helps slow fading and finish breakdown on wood floors.”
“Heat and forced airflow can locally dry or stress the finish, especially near vents and registers.”
– Use curtains/blinds to reduce direct UV exposure that can fade wood and break down finishes over time.
– Keep heat sources off the floor surface (space heaters, registers blowing directly onto the wood). Position floor vents so airflow doesn’t blast one spot for hours.
– Maintain the finish layer: when it starts to look rough, overly dull, or more prone to water spotting, you may need recoat/refinish per the finish system’s instructions.
– Rotate large rugs seasonally if they bleach unevenly under strong light.
– If you notice finish “texture changes” (sticky spots, white haze, or consistent water spotting), address it sooner rather than letting it spread—small failures become wider later.
What can go wrong (common mistakes to avoid)
The most common failure mode is trying to “clean harder” instead of controlling moisture and abrasion. Another frequent issue is using the wrong pad/backing under rugs, which creates friction wear and can trap moisture.
“Wet mopping or leaving puddles can cause cupping/crowning, particularly when indoor humidity swings.”
“Skipping felt pads leads to invisible abrasion that later shows up as dull patches or worn traffic zones.”
– Using the wrong rug backing or a pad that holds onto moisture can discolor or degrade the finish over time.
– Wet mopping or leaving puddles during cleaning can cause cupping/crowning, especially if your bedroom humidity swings.
– Skipping felt pads because “it seems fine” leads to invisible abrasion that later shows up as dull patches or worn traffic zones.
– Applying cleaning products that aren’t compatible with your finish may cause haze or sticky residue that won’t come off cleanly.
Verdict / tip: If you want the highest impact for the least effort, do this in order: (1) add/upgrade felt pads and the right rug pad, (2) manage bedroom humidity, and (3) switch to hardwood-safe cleaning with minimal moisture. Downsides: moisture-control measures (humidifier/dehumidifier) require monitoring, and refinishing/recoating can disrupt your routine and may cost more than expected—so don’t wait until damage is obvious. Skip DIY refinishing and consider a pro if your floor is already badly cupped/crowned, has widespread finish failure, or you’re unsure what finish system you have.
Quick checklist (save this)
| Task | What to do | Why it protects |
|---|---|---|
| Furniture feet | Felt/microfiber protectors; replace worn pads | Prevents micro-scratches |
| Rugs | Hardwood-safe rug pad; avoid problematic backing | Reduces abrasion + protects finish |
| Humidity | Keep indoor moisture stable seasonally | Limits gaps/warping |
| Cleaning | Vacuum/soft sweep; microfiber lightly damp | Avoids grit + avoids soaking |
| Spills | Blot immediately; dry thoroughly | Prevents moisture damage |
| Sun/heat | Blinds/curtains; avoid direct HVAC/heat blasts | Prevents fading + finish breakdown |
Frequently Asked Questions
What’s the best way to protect hardwood floors in a bedroom?
Use a combination of soft floor protection and good maintenance habits. Place area rugs in high-traffic paths and use felt or rubber pads under furniture to prevent scratches and scuffs. Keep indoor humidity stable (ideally around 35–55%) to reduce wood expansion and shrinkage that can lead to gaps or cupping.
How do I prevent scratches and dents on hardwood floors from furniture and shoes?
Add felt pads to the legs of dressers, nightstands, and chairs, and replace worn pads before they start scratching the finish. Encourage “shoe-off” rules indoors, or use clean, soft slippers to minimize grit that can dull hardwood. For everyday protection, use runners or rugs near entry points and ensure they have non-slip underlay that won’t trap moisture.
How can I protect hardwood floors in a bedroom from moisture, spills, and humidity changes?
Clean up spills immediately with a dry cloth and avoid soaking the floor with water or steam mops. Use a dehumidifier or humidifier as needed to keep bedroom humidity within a safe range, which helps protect hardwood floors from warping and separation. If you use a humidifier, place it away from the floor and wipe condensation quickly to prevent swelling in the wood.
Which cleaning methods are safest for hardwood floors with a finished surface?
Sweep or vacuum with a soft-brush attachment to remove sand and dust that act like abrasive paper. For mopping, use a hardwood floor cleaner that’s specifically designed for your finish and lightly dampen a microfiber mop—never use harsh chemicals or excess water. Periodically recoat with a recommended protective finish or polish when the surface starts to look dull, to maintain a strong protective hardwood floor coating.
Why do area rugs sometimes damage hardwood floors, and how do I choose the right setup?
Area rugs can trap moisture or grind debris into the wood if they lack proper cushioning or if the rug pad is abrasive. Choose breathable rug pads made for hardwood floors (often felt or specifically labeled non-scratch) and lift rugs regularly to check for discoloration or debris buildup. Keep rug corners flat and ensure good airflow so hardwood floors stay protected while still benefiting from rug protection in a bedroom.
📅 Last Updated: October 16, 2026 | Topic: How to protect hardwood floors in a bedroom? | Content verified for accuracy and freshness.