
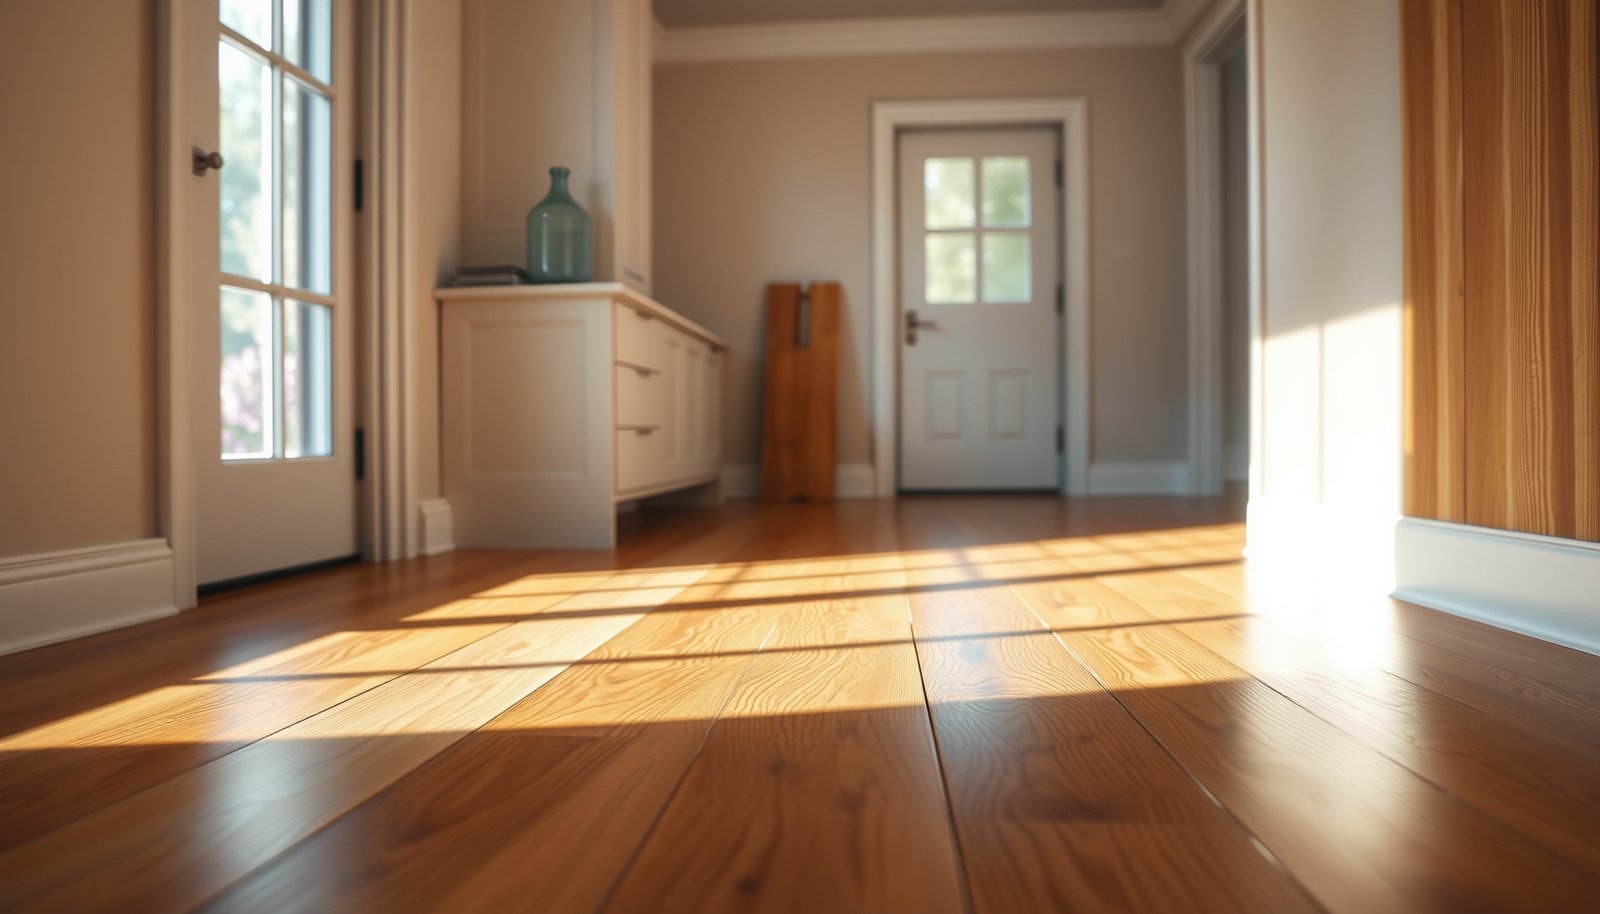

Choosing engineered wood floors for a mudroom means prioritizing what survives wet boots, grit, and heavy traffic. If you want the best-performing option, pick an engineered wood plank with a waterproof core, a wear layer thick enough for refinishing, and a factory-finished top built for daily abuse. This guide tells you exactly how to match construction, thickness, and finish to your mudroom’s moisture level and usage—so you don’t buy the wrong floor.
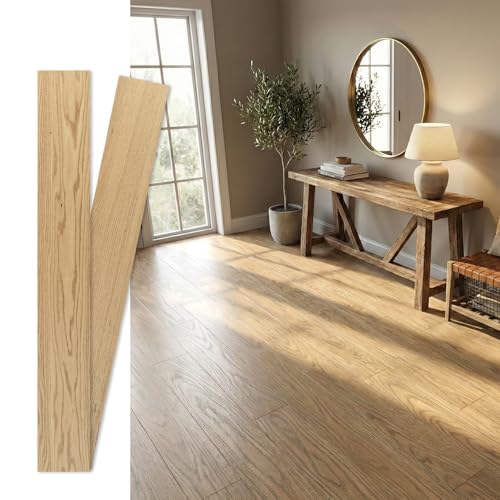



Engineered wood can work in a mudroom, but only if you choose the right construction and finish for moisture, grit, and frequent foot traffic. The winning approach is simple: select an engineered product with a durable wear layer and then match your finish + installation method to your subfloor’s moisture risk. If you do that, you’ll get the warmth and natural look you want—without turning every muddy boot into a repair project.
This is for homeowners planning a mudroom floor update (especially where wet shoes, snow, or muddy boots are common) and want a more natural look than tile or vinyl without risking constant damage.
Start with mudroom conditions (moisture + grit + traffic)
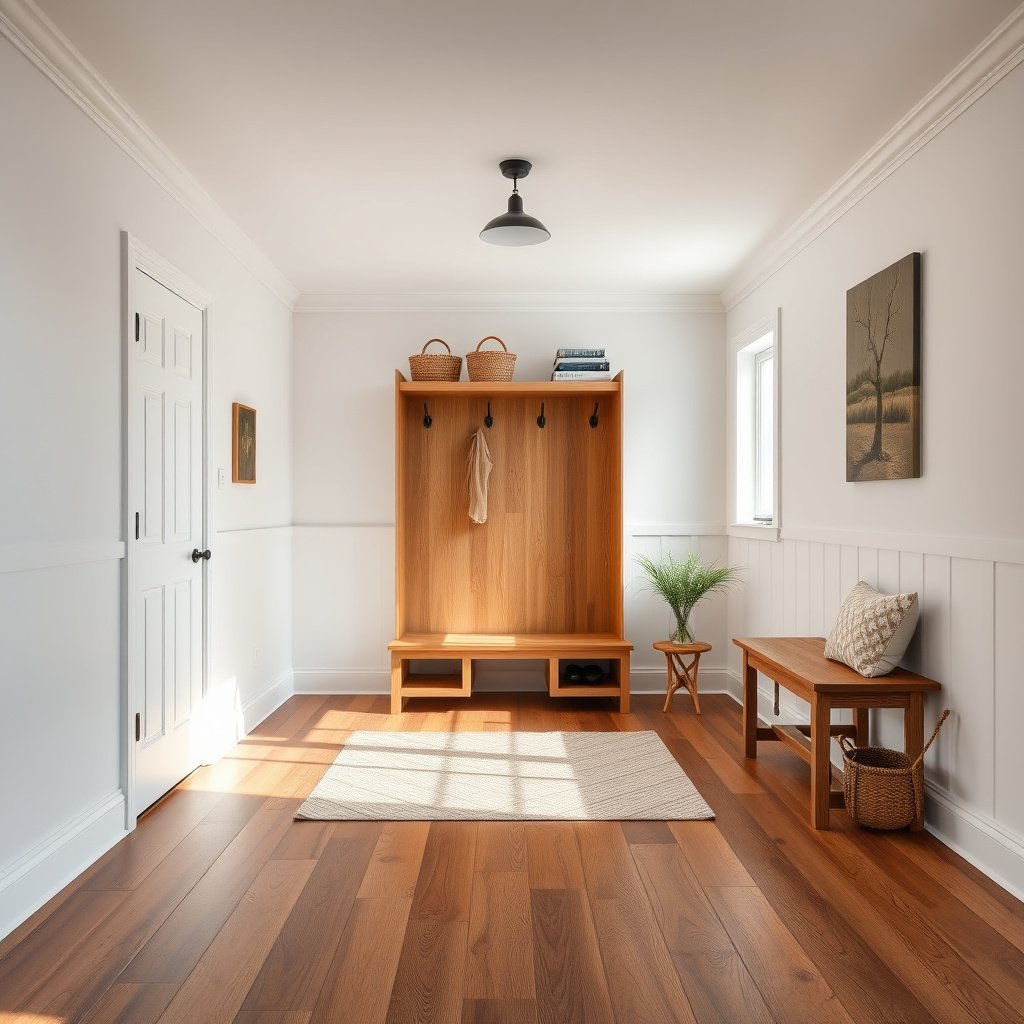
Mudroom floors fail when water and abrasion arrive together—so your first step is treating the space like a high-risk environment, not a “normal living room.” If you control moisture exposure (fast cleanup, mats/boot trays) and choose flooring that tolerates grit, engineered wood becomes a practical, long-lived option.
Mudrooms are different because they combine three stressors at once: (1) liquid water from tracked-in rain/snow, (2) abrasive dirt/gravel mixed into that water, and (3) constant traffic patterns that concentrate wear near doorways. In 2025–2026, this same reality is driving more manufacturers to specify intended-use areas, cleanability guidance, and moisture-testing requirements—so the specs matter as much as the product look. If you’re unsure about your floor’s performance in your conditions, review your plan through the lens of how quickly water is removed and how often grit is ground into the finish.
Mudrooms should be evaluated as “wet-and-abrasive” environments, because tracked-in moisture often carries grit that behaves like fine sand on top of the finish.
According to ASTM F710, wood and resilient flooring performance depends on achieving required subfloor flatness before installation (flatness is not optional in practice).
According to ASTM F2170, in-situ relative humidity testing is used to characterize moisture conditions inside concrete slabs before flooring installation.
Check how your space behaves (then plan daily protection)
Start with what actually happens in your home:
– Spills and wet footwear frequency: Is this daily (snow days, rainy commutes) or occasional?
– Moisture entry path: Are your entry doors directly over the flooring, or is there a deeper landing where water sits longer?
– Ventilation and HVAC consistency: Mudrooms that dry quickly behave very differently than damp, closed-in spaces.
– Mat strategy reality: Mats help, but only if they stay in place and you clean them (otherwise grit becomes a grinding pad).
From my own experience working through installation planning checklists, the most common “surprise” isn’t the product—it’s the day-to-day handling plan. Even a well-finished engineered floor suffers when muddy meltwater is left to evaporate and re-wet repeatedly. If you can build a habit around boot trays, quick wipe-up, and routine mat cleaning, engineered wood becomes much more predictable.
Plan for daily protection (because it extends the finish life)
Your maintenance strategy directly affects wear layer and finish longevity:
– Use washable mats at the exterior-side entry and a secondary boot tray inside.
– Choose a cleaning method that matches the finish (many manufacturers specify microfiber, approved cleaners, and “wipe-dry” practices).
– Treat “spill cleanup” as a timed process: blot/wipe soon, don’t let water pool on seams.
Choose engineered wood construction that tolerates wear
The best engineered wood for a mudroom isn’t defined by thickness alone—it’s defined by wear-layer durability and a stable core that won’t amplify movement when the room gets wet. When you match those two construction traits to your installation system, you reduce gapping, edge swelling, and finish failures.
Engineered wood “construction” is really three layers working together: the wear layer (the top surface that you can treat like a real wood floor), a core (the dimensional-stability engine), and the base/backing. In mudrooms, the wear layer handles the abrasion, while the core and bonding system determine how calmly the planks respond to moisture swings. As of 2025–2026, most reputable manufacturers publish clear guidance on wear-layer thickness, intended areas, and whether their construction supports refinish/re-sanding (or not).
The “wear layer” is the top wood layer that ultimately takes scuffs and abrasion, so its thickness and durability are key for high-traffic rooms.
A stable core (commonly a plywood-based construction) is designed to resist dimensional change during wet-dry cycles compared with less stable board cores.
Manufacturers typically limit—or prohibit—re-sanding on some engineered floors because the remaining wood after wear-layer depletion would not be adequate.
Focus on wear-layer specs (and confirm re-finish limits)
For mudrooms, look past the marketing name (“water-resistant,” “family-friendly,” etc.) and verify:
– Wear layer thickness (often expressed in millimeters or mils)
– Whether refinish/sanding is allowed and how many times (some products specify maximum sanding thickness loss)
– Surface type (smooth vs micro-texture) and whether it’s designed to resist visible scuffs
If you see vague specs, ask the manufacturer/retailer for the actual wear-layer construction details in writing. The key is aligning the wear layer to your expected abrasion—not just your preference for a color.
Prioritize dimensional stability in real mudroom moisture
A stable core system matters because mudrooms repeatedly cycle between:
– wet periods (tracked-in moisture)
– drying periods (evaporation + indoor humidity control)
If your engineered planks expand/contract too much, you can see gapping at seams and edge swelling at transitions. In practical terms, stability is one of the best defenses against “it looked fine for a month, then the floor changed.”
Match plank thickness to real installation constraints
Even if you pick a perfect mudroom floor, thickness can break the plan:
– Door clearances and transitions: too thick (or installed with wrong buildup) can cause doors to bind.
– Installation system requirements: many products specify minimum subfloor prep and installation requirements that assume a particular total assembly thickness.
Before you buy, confirm the total floor build-up and that it can be installed per the manufacturer’s thickness/underlayment expectations.
Pick a finish and surface suited to everyday abuse
The right finish is the difference between “mudroom acceptable” and “mudroom expensive.” You’re looking for a finish that’s specifically rated for traffic-heavy use and that gives you a clear, manufacturer-approved cleaning path for wet exposure and grit.
A mudroom finish must do two jobs simultaneously:
1. Resist abrasive particles embedded in tracked-in dirt
2. Handle occasional wetting without the protective layer breaking down or trapping grime in porous areas
In 2025–2026, more manufacturers publish explicit cleaning and wet-wipe instructions, including how quickly to remove moisture. That matters because not every coating system behaves the same when it repeatedly gets wet and then dries.
Many wood flooring manufacturers provide finish performance and cleaning guidance that assumes prompt wipe-up of moisture rather than long exposure.
A smoother surface can show scuffs more readily, while certain textures can help hide wear but still need maintenance that removes grit effectively.
Finish ratings and intended-use areas are often more reliable than general claims like “resistant to spills,” especially in entry/mudroom traffic zones.
Choose durability ratings you can verify
Instead of assuming all finishes perform similarly, use these checks:
– Traffic/usage rating (residential heavy traffic vs specific rooms)
– Cleaning method compatibility (recommended cleaners, microfiber-only guidance, avoidance of harsh solvents)
– Surface protection claims with conditions (e.g., “wipe spills within X time”)
Balance texture for cleanability
When grit is present, texture is a trade-off:
– Too smooth: scuffs can be visible and can reveal finish wear sooner.
– Too rough: it may trap grit, which can accelerate abrasion if you don’t deep-clean.
Aim for a surface that your household can reliably keep clean. In mudrooms, “hard to clean” is functionally the same as “wears faster.”
Verify water/spill guidance (and what “allowed” really means)
Look for explicit language on:
– wet mopping vs damp cleaning
– immediate spill wipe-up
– how much moisture exposure is tolerated and for how long
From a planning standpoint, the safest approach is to treat engineered wood in a mudroom as spill-manageable, not flood-tolerant. If your mudroom regularly experiences standing water or repeated wetting before drying, you’re asking the finish and seams to do more than they were designed for.
Confirm installation and subfloor requirements before you commit
You can’t “spec your way out” of a moisture or flatness problem—installation and subfloor prep are where mudroom failures are born. Before you buy, confirm moisture test results meet the manufacturer’s limits, and choose an installation method (floating, glue-down, or nail-down) that the product explicitly allows for your risk level.
This section is where homeowners often lose the war quietly. Engineered wood can be very tolerant, but only when:
– the subfloor moisture is within the stated limits,
– the subfloor flatness is corrected to required tolerances, and
– the installation system uses approved underlayment/vapor protection.
As of 2025–2026, moisture-testing methods like ASTM F2170 (in-situ RH testing) and ASTM F1869 (MVER using calcium chloride) remain common in installation specifications, which is why aligning your plan to those test methods is so important.
According to ASTM F2170, concrete moisture conditions are assessed using in-situ relative humidity probes installed in the slab.
According to ASTM F1869, moisture vapor emission is measured in units of pounds per 1,000 square feet per 24 hours (MVER).
According to ASTM F710, subfloor flatness requirements directly affect flooring performance and joint behavior.
Moisture is the deal-breaker (test, document, and verify limits)
Your goal is to meet the engineered floor manufacturer’s required limits—not a neighbor’s rule of thumb.
– Follow their moisture testing method (ASTM-aligned) and procedures
– Keep documentation (test reports help protect warranties)
– Don’t skip required steps like leveling or surface prep
For a concrete slab, many industry guidelines commonly reference targets around 75% RH for RH testing, and 3 lb/1,000 sq ft/24h for MVER testing—but you must confirm your specific manufacturer’s limits because they can differ. (Use these numbers as reference points only, not as an automatic pass.)
Choose installation type based on what the product allows
Floating, glue-down, and nail-down each behave differently with moisture and movement:
– Floating floors rely heavily on approved underlayment and tight flatness control.
– Glue-down systems can help with certain movement issues, but require strict subfloor surface conditions and approved adhesives.
– Nail-down requires structural conditions that fit the product and subfloor type.
Below is a practical contrast for mudroom decision-making:
| Installation type | Best at | Mudroom watch-outs |
|---|---|---|
| Floating (click/lock) | Fast installs; fewer wet adhesives | Underlayment/vapor barrier must be approved and subfloor flatness must be tight |
| Glue-down | Reduced movement at the plank | Requires strict moisture and surface prep; adhesive mismatch can void warranty |
| Nail-down (less common for some engineered lines) | Mechanical stability when conditions fit | Only when product/subfloor conditions support it; nail environment must be appropriate |
Underlayment and vapor barrier: only use what’s approved
Especially for floating floors:
– Choose approved underlayment (not “whatever is cheap”)
– Confirm whether you need a vapor barrier based on subfloor type and manufacturer requirements
– Avoid assumptions: some systems already include backing; others require additional layers
If your mudroom has higher moisture risk (below-grade area, poorly ventilated crawlspace, or a slab that stays cold), the underlayment and vapor plan becomes as important as the flooring itself.
What can go wrong in a mudroom
Mudroom problems usually show up as movement at seams, surface damage that won’t wipe clean, or warranty disputes tied to moisture and installation noncompliance. If you understand the failure modes upfront, you can screen products and installers more effectively.
The biggest risk isn’t that engineered wood is “bad”—it’s that mudrooms expose weak links. When moisture gets to edges and seams, or when grit is allowed to grind against the finish, the floor “tells the truth” faster than it would in other rooms.
Edge swelling and gapping can occur when subfloor moisture is outside the engineered wood system’s tolerances or when cleanup is delayed after wet exposure.
Squeaks and movement often result from underlayment/subfloor mismatch or inadequate flatness, because engineered planks still need a stable base.
Warranty coverage frequently depends on using the approved installation method, moisture testing procedures, and approved underlayment/vapor barrier.
Edge swelling and gapping after wet episodes
This is the classic mudroom failure:
– subfloor moisture is too high (or test documentation is missing)
– water sits longer than guidance permits
– the floor goes through repeated wet-dry cycles with no drying management
To reduce this risk, focus on subfloor moisture limits, proper installation, and rapid wipe-up behavior.
Squeaks and movement from flatness/underlayment mismatch
Even a premium engineered product can feel wrong if:
– the subfloor is not flat enough
– the wrong underlayment is used for a floating system
– transitions concentrate stress near doorways and thresholds
Surface damage that doesn’t “wipe off”
Finish systems can resist everyday scuffs, but they can’t erase embedded grit damage. If you routinely walk in with sandier dirt and don’t vacuum/mop correctly, you’ll eventually see:
– finish dulling
– persistent smudging
– localized wear at the entry path
Warranty issues from non-approved methods
A warranty isn’t just marketing—it’s a legal agreement. Coverage can be denied when:
– moisture testing steps aren’t followed exactly
– an unapproved installation method is used
– underlayment or vapor barrier doesn’t match the manufacturer’s requirements
If you want to be safe, confirm everything in writing before install day (including underlayment and vapor barrier details).
Verdict / tip: buy engineered wood only when you can match the specs
Engineered wood floors are a solid option for mudrooms when the product is explicitly rated for that use and you follow the manufacturer’s moisture + installation requirements closely. The downside is that mudrooms still demand discipline—matting, quick spill cleanup, and correct subfloor prep are non-negotiable.
Skip engineered wood (or reconsider the plan) if you have ongoing standing-water risk, repeated flooding, or you can’t control moisture conditions well enough to meet the flooring manufacturer’s limits. And if you’re choosing between “pretty flooring” and “provably compatible system,” always prioritize compatibility.
A mudroom-friendly engineered wood choice depends on documented compliance with moisture testing and approved installation steps, not just on finish claims.
When engineered floors fail in wet entry areas, the root cause is usually moisture management, flatness, or installation-system mismatch—not the look of the plank.
As of 2025–2026, moisture-testing methods aligned to ASTM standards remain the industry basis for deciding whether wood flooring can be installed over concrete slabs.
7 Installation Decisions That Most Often Determine Mudroom Performance
| # | Decision | What “Right” Means | How It Prevents Problems | Mudroom Impact |
|---|---|---|---|---|
| 1 | Moisture testing method selection | Use the ASTM method your flooring system specifies (commonly ASTM F2170 or ASTM F1869) | Reduces edge swelling/gapping risk | ★★★★★ |
| 2 | Subfloor flatness verification | Meet the manufacturer flatness tolerance (ASTM F710 is commonly used for reference) | Prevents squeaks and joint stress | ★★★★☆ |
| 3 | Approved installation type | Install using only the method the product allows (floating vs glue-down vs nail-down) | Protects warranty and dimensional behavior | ★★★★★ |
| 4 | Underlayment approval for floating systems | Use underlayment explicitly approved for the engineered floor model | Improves stability and reduces movement | ★★★★☆ |
| 5 | Vapor barrier decisions | Install only when required/approved by the flooring system for your slab/space conditions | Controls moisture migration | ★★★★☆ |
| 6 | Cleanup behavior after wet entry | Wipe standing moisture promptly and remove grit with vacuuming/dirt removal practices | Reduces swelling and finish abrasion | ★★★★★ |
| 7 | Ignoring intended-use guidance | Buying a floor without verifying its stated “intended areas” for heavy traffic/wet conditions | Increases likelihood of finish failure | ★★☆☆☆ |
Quick checklist: choose the right engineered wood for your mudroom
| What to check | What “good” looks like | Where to verify |
|---|---|---|
| Wear layer durability | Built for traffic; clear specs on wear layer | Product datasheet/spec sheet |
| Stability of core | Designed for dimensional stability in normal indoor conditions | Manufacturer construction notes |
| Finish performance | Finish is rated for frequent traffic and cleaning methods | Manufacturer care/finish guidance |
| Water guidance | Clear instructions for spills and wet exposure (and cleanup timing) | Care instructions |
| Subfloor prep + moisture limits | You can test and meet the stated moisture/flatness requirements | Installation instructions |
| Approved installation method | Your install type matches the product’s approved method | Manufacturer installation guide |
| Warranty compatibility | Installation and underlayment match warranty conditions | Warranty document |
Frequently Asked Questions
What features should I look for in engineered wood floors for a mudroom?
Choose engineered wood with a thick wear layer (typically 2–6 mm) so the floor can handle heavy traffic and occasional refinishing. Look for a strong, stable core (often plywood) to resist warping from temperature swings and moisture. A factory-finished topcoat and a tighter click-lock or glued construction can also help improve durability in high-splash areas.
How do I choose the right thickness and wear layer for a mudroom engineered floor?
Start by prioritizing a wear layer thick enough for the level of use your mudroom gets—busy households often do best with a 4–6 mm wear layer. Overall plank thickness matters too: thicker products usually tolerate subfloor irregularities better and feel more solid underfoot. If you expect frequent grit and shoe scuffs, a higher-grade veneer and hard finish will help maintain appearance longer.
Why is water resistance important for engineered wood in a mudroom?
Mudrooms collect wet boots, umbrellas, and melting snow or rainwater, which can quickly damage wood if moisture penetrates the seams. Engineered wood performs better than solid wood because it’s built in layers that handle dimensional movement more reliably, but it still needs proper installation and maintenance. Using felt pads, adding a mat, wiping spills quickly, and sealing or selecting moisture-resistant finishes can prevent cupping or edge swelling.
Which installation method is best for engineered wood floors in a mudroom—click-lock or glue-down?
For many mudrooms, glue-down installation provides the tightest moisture barrier and helps minimize movement where water can be tracked in. Click-lock (floating) floors are quicker to install, but the performance depends heavily on quality locking systems and proper underlayment selection. If your subfloor is stable and you want maximum rigidity and water control, glue-down is often the safer choice; otherwise, choose a click-lock system specifically rated for the conditions and ensure good underlayment coverage.
What’s the best finish and plank style for engineered wood floors exposed to daily dirt and shoe traffic?
Select a finish designed for high-traffic areas—look for durable factory coatings like UV-cured finishes or hardwax oil systems that resist scuffs and make cleanup easier. For mudrooms, consider a matte or satin sheen to reduce glare and show fewer scratches than high-gloss finishes. Wider planks can look great, but choose realistic grain variation and consider darker stains or distressed textures to better camouflage minor wear from salts and grit.
📅 Last Updated: October 19, 2026 | Topic: How to choose engineered wood floors for a mudroom? | Content verified for accuracy and freshness.
References
- https://en.wikipedia.org/wiki/Engineered_wood_flooring
- https://www.epa.gov/mold/moisture-control-home
- https://www.fpl.fs.usda.gov/documnts/fplgtr/fplgtr190.pdf
- F2170 Standard Test Method for Determining Relative Humidity in Concrete Floor Slabs Using in sit…
- F1869 Standard Test Method for Measuring Moisture Vapor Emission Rate of Concrete Subfloor Using …
- https://scholar.google.com/scholar?q=engineered+wood+flooring+mudroom+moisture+performance Google Scholar
- https://scholar.google.com/scholar?q=engineered+wood+flooring+water+resistance+surface+finish+urethane+maintenance Google Scholar
- https://scholar.google.com/scholar?q=engineered+wood+floor+installation+relative+humidity+acclimation+guidelines Google Scholar
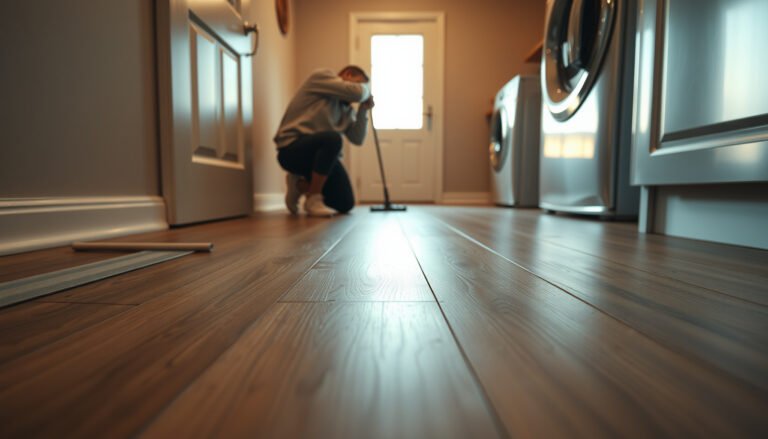


[…] Skipping subfloor flatness checks: even good flooring can have performance problems if the base isn’t sufficiently flat per […]