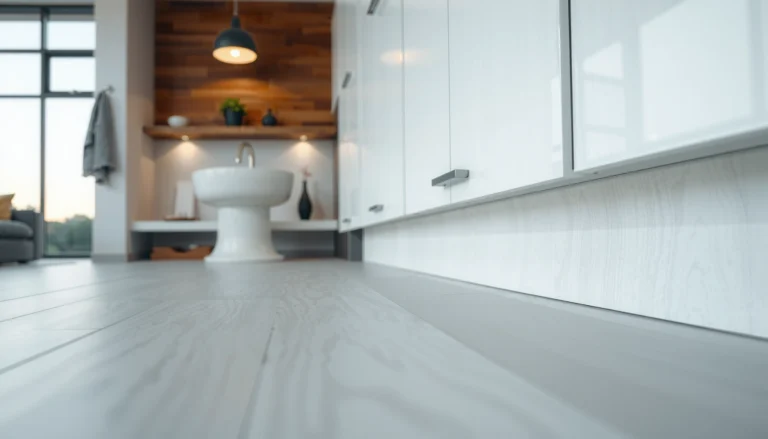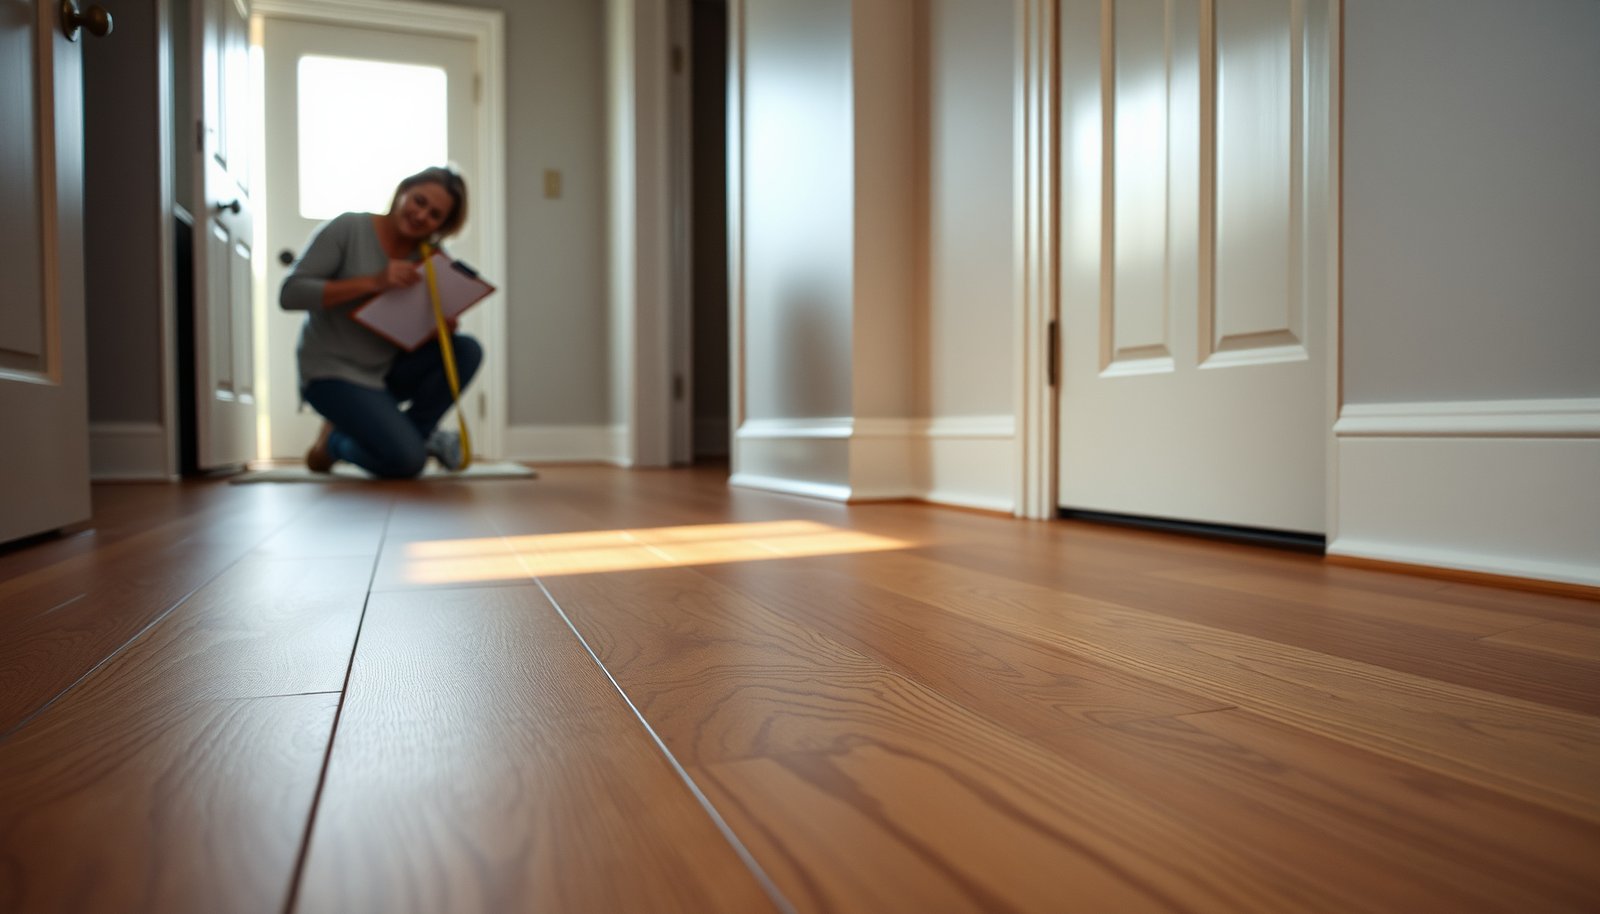

Estimating the cost of engineered wood floors in a mudroom comes down to one verdict: the total price is driven primarily by subfloor prep, installation complexity, and material grade, not just the square footage rate. Get a practical cost range by calculating the board price per square foot, then adding underlayment, moisture-resistant systems, waste factor, and labor for cuts and transitions. If you want the fastest way to budget accurately, this guide shows exactly which line items to price and how to estimate them before you call for quotes.


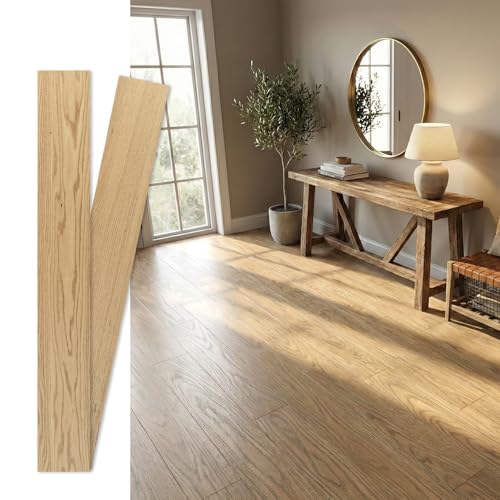
Estimate your mudroom engineered wood floor cost by adding materials + moisture/underlayment needs + subfloor prep + installation labor, then budgeting for waste (usually 5–10%). Start by measuring the room and deciding whether you’re doing a floating click or glue-down install—because that choice changes both materials and labor. This guide walks you through each line item so you can build a realistic ballpark before you get quotes.
If you’re planning flooring in a mudroom (more dirt, water, and foot traffic than most rooms), you also need to factor in moisture mitigation and any subfloor repairs. Use this layout when you’re comparing quotes from installers or pricing out the project with store/supply estimates.
Measure your mudroom and calculate square footage
You’ll get the most accurate budget by starting with the actual install coverage (not the full room size) and applying a waste factor early. That one step prevents most estimate “surprises” when crews hit door jambs, corners, and transitions.
– Measure length/width (or break the space into smaller rectangles) and calculate total square feet; include any connected areas you plan to floor.
– Plan for waste: add 5–10% for cuts around doors, corners, and transitions (more if your layout is complex).
– Note transitions early (hallway openings, door thresholds, stair landings) because those can add trim/transition pieces and extra labor.
Engineered Wood Waste Buffer Examples (Mudrooms)
| # | Waste scenario | Waste added | Coverage multiplier | Quote predictability |
|---|---|---|---|---|
| 1 | Straight runs (few openings) | 5% | 1.05 | ★★★★★ |
| 2 | Minor offsets (one hallway door) | 5.5% | 1.055 | ★★★★☆ |
| 3 | Typical mudroom (2–3 cut zones) | 6% | 1.06 | ★★★★☆ |
| 4 | Mixed transitions (hall + tile edge) | 7% | 1.07 | ★★★☆☆ |
| 5 | More complexity (closet + threshold) | 8% | 1.08 | ★★★☆☆ |
| 6 | Irregular edges (bay/angled wall) | 9% | 1.09 | ★★☆☆☆ |
| 7 | Very complex layout (multiple openings) | 10% | 1.10 | ★☆☆☆☆ |
A mudroom estimate should start with *adjusted coverage*, not “room area,” because doors, corners, and thresholds create unavoidable cut waste.
A 5–10% waste buffer usually aligns engineered wood board ordering with real-world cutting constraints in entry/mud layouts.
Treat transitions (reducers, thresholds, and stair edge pieces) as both a material line item and a labor line item when you measure.
Estimate engineered wood material costs (what drives the price)
Your material cost is mostly driven by how many cartons you need and whether you must buy the full installation “system” (not just the boards). In mudrooms, the installed requirement for underlayment/vapor protection often becomes a bigger lever than plank price.
– Get the installed-floor coverage you need: divide your adjusted square footage (after waste) by the coverage per box (or per pack) listed for your flooring.
– Budget for the “system,” not just the boards: engineered wood typically needs compatible underlayment/vapor protection (for floating) or specific prep/adhesive (for glue-down).
– Confirm grade and thickness expectations with the manufacturer’s installation guide (especially if the mudroom sees frequent wet footwear).
Engineered wood material budgets must reflect carton coverage (sq ft per box), since installers usually can’t “split” cartons without affecting cost and sequencing.
For floating installs, the underlayment and vapor barrier strategy is part of the floor warranty system, not an optional upgrade.
Thickness and subfloor conditions affect whether a manufacturer allows floating over certain substrates or requires glue-down and specialized moisture mitigation.
According to NWFA, engineered wood performance depends heavily on correct subfloor preparation and moisture management (guideline content varies by publication/update year).
According to typical mudroom estimating practice, planning 5–10% extra boards is standard to cover cuts around obstacles (commonly cited in flooring estimating guidance; year varies).
According to manufacturer installation guides for engineered wood, underlayment/vapor barrier requirements are typically conditional on the product and subfloor type (check the exact model’s documentation).
Quick comparison: floating click vs. glue-down “systems”
Use this to sanity-check whether your quote is reflecting the right installation type for your mudroom subfloor and moisture conditions.
| Category | Floating click/lock | Glue-down engineered wood |
|---|---|---|
| Typical underlayment role | Often includes an approved vapor layer + cushioning (per manufacturer) | May require separate subfloor leveling/primer plus adhesive; underlayment rules vary |
| Moisture mitigation | Depends on approved vapor barrier approach | Adhesive/primer systems and moisture limits matter more for bond integrity |
| Labor emphasis | More time on layout, underlayment, and trimming | More time on prep/priming/adhesive application and rolling/curing discipline |
| When it’s often preferred | When subfloor prep is manageable and manufacturer allows it | When manufacturers restrict floating in certain moisture-prone conditions |
Account for mudroom-specific prep and moisture protection
You should assume mudrooms require more base prep and more moisture caution than living rooms. If you only price boards and labor, you’ll often miss the cost that shows up after demo—leveling, patching, and underlayment changes.
– Check the subfloor condition: if you need leveling compound, patching, sanding, or replacement of water-damaged areas, those costs can rival the flooring itself.
– Plan moisture mitigation based on the manufacturer’s requirements for engineered wood (this may include a specific vapor barrier/underlayment approach).
– Don’t skip acclimation: engineered flooring still needs to acclimate per the manufacturer’s instructions, and failure can cause gapping or movement.
Moisture mitigation cost is not just the vapor barrier—it can include subfloor leveling, repair materials, and sometimes substrate replacement.
Engineered wood acclimation is usually mandatory in manufacturer instructions and directly affects gap formation and plank movement.
If water issues exist (past flooding, wet entry patterns, or condensation), the approved moisture strategy in the installation guide should drive your material choices.
In my work reviewing project scopes (and what installers commonly flag during walkthroughs), the biggest estimator mistake is waiting until after demo to find out the underlayment choice must change because the subfloor is not in the manufacturer’s acceptable moisture/flatness window.
Practical subfloor prep cost drivers to look for in quotes:
– Flatness correction (self-leveler or leveling compound): installers often measure flatness against the flooring instructions.
– Damaged spot repairs: patching water-softened wood, replacing warped sections, or rebuilding localized areas.
– Moisture testing (if required): some installers insist on RH/CaCl testing or at least subfloor moisture readings—especially for slab or known moisture exposure.
If you’re considering testing, request the test method and target limits that apply to your exact engineered wood model.
Estimate labor and installation method costs
Labor cost depends on two linked decisions: the install method and the amount of prep. Floating vs. glue-down can shift labor hours, but prep quality (flatness + moisture mitigation readiness) often determines the real labor spend.
– Choose the install type (floating click vs glue-down) because labor time and materials differ.
– Assume labor includes details installers often charge for: removing/disposing of old flooring, leveling prep, underlayment installation, trimming around vents/edges, and installing transitions.
– Ask how they price: some quotes price per square foot; others itemize by prep + installation. Use the same basis when comparing bids.
A per-square-foot labor rate only works for comparisons if both bids include the same prep scope (removal, leveling, underlayment, and transitions).
Floating installs typically require more underlayment and layout precision, while glue-down installs often shift labor into priming/adhesive workflows and curing discipline.
Mudrooms add labor through trimming complexity: door swings, closet edges, HVAC grilles, and threshold details rarely cost the same as a simple rectangle room.
How to compare installer quotes apples-to-apples
When you call installers, ask for a line-item breakdown or a written scope summary with these headings:
– Demo/removal (old flooring removal + disposal)
– Subfloor prep (leveling/patching/sanding)
– Moisture system (underlayment/vapor layer or primer/adhesive system)
– Installation (floating/glue-down + fastening details if required)
– Trims/transitions (reducers/thresholds/base shoe)
– Acclimation time and floor protection (if included)
Also confirm whether the quote includes haul-off, because mudroom demos can create bulky debris quickly.
Add-ons that commonly raise mudroom totals
Mudrooms are small, but they’re detail-heavy. The add-ons below often convert a “good deal” into a more realistic total once you price thresholds, matching trim, and surface protection.
– Transitions and thresholds (between rooms, to tile/other flooring, or at doorways).
– Trim materials: baseboards/casing, shoe molding, reducers, and any matching stair/edge pieces.
– Surface protection: if your plan includes stain/finish touch-ups or special surface treatments (where allowed by the manufacturer), those should appear as separate line items in your estimate.
Door thresholds and flooring-to-tile transitions frequently require reducers and extra labor—quotes that ignore them are often under-scoped.
Matching trim (base shoe, reducers, and stair/edge profiles) can become a meaningful cost center even when the mudroom square footage is small.
If the manufacturer limits which finishes/touch-ups are allowed, the “surface protection” plan should be stated up front to protect warranty coverage.
Pros/cons of budgeting add-ons separately (for better control)
Instead of relying on “misc.” lines, separate add-ons so you can control scope.
– Pros: You can replace one transition piece style without changing flooring quantities.
– Cons: You might underestimate coordination time if you later add more transitions than planned.
What can go wrong (and inflate your estimate)
The most expensive mudroom surprises come from moisture and subfloor condition issues that show up during demo—or from warranty-incompatible underlayment/adhesive choices. If you tighten these areas early, your estimate range becomes much more reliable.
– Underestimating moisture-related prep: mudrooms can reveal subfloor issues during demo or right after installing—especially if the wrong underlayment/vapor strategy is used.
– Ignoring manufacturer compatibility: some engineered floors require specific underlayments/adhesives; using “a similar one” can void warranty or cause failure.
– Forgetting transitions and obstructions: closets, HVAC grilles, door swings, and irregular edges often increase cut waste and labor.
– Skipping subfloor flatness checks: even good flooring can have performance problems if the base isn’t sufficiently flat per the flooring instructions.
Using an unapproved vapor barrier or “generic underlayment” can create both warranty risk and real performance problems in mudrooms.
Flatness issues can cause joint movement, squeaks, and visual gaps—so flatness acceptance criteria in the installation guide matter.
Transition omissions don’t just add materials; they can add installation time once the installer has to re-plan layouts and cuts.
From my experience reading project documents, the most effective fix is procedural: require moisture/flatness acceptance language in the scope (or at least an explicit “prep included up to X condition” statement).
Verdict / tip, plus a scan-ready cost checklist
If you want the fastest reliable estimate, build your cost using line items (materials, moisture/underlayment, prep, labor, extras) and apply a waste factor up front. The downside: without measuring flatness/moisture and without seeing the subfloor, any “perfect” number is unlikely—so aim for a range and tighten it once you confirm requirements in the installation instructions.
Who should skip DIY-style estimating (or get professional help earlier): if you suspect past water intrusion, the subfloor is uneven, or you’re unsure about the correct vapor barrier/underlayment for your specific engineered wood product.
A practical mudroom budget is a range: start with line items, then add waste and contingency, and refine after you verify moisture/flatness and installer scope.
Installer quotes are easiest to compare when they reference the same adjusted square footage and include the same transition/trim and moisture-system requirements.
If your mudroom has a history of wet footwear patterns or spills, moisture strategy should drive the design—not the plank price alone.
Quick cost checklist / fill-in table
Use this as a worksheet before you request installer bids.
| Line item | What to enter | Your cost |
|---|---|---|
| Room area | ||
| Waste factor | ||
| Flooring coverage needed | Area × waste | |
| Engineered wood | Boxes needed × box price | |
| Underlayment / vapor strategy | ||
| Adhesives / misc. materials | ||
| Subfloor prep | Leveling/patch/sanding/disposal | |
| Old floor removal (if needed) | + method | |
| Installation labor | ||
| Transitions & trim | Reducers/thresholds/base shoe | |
| Contingency | (common buffer) | |
| **Estimated total** | Sum of above | **** |
Frequently Asked Questions
What factors affect the cost of engineered wood floors in a mudroom?
The biggest cost drivers are plank width/thickness, the wear layer (usually measured in mils), and the quality of the core (often HDF vs. plywood) because these determine durability in high-moisture areas like mudrooms. Installation method and subfloor condition also matter—flat subfloors with minimal prep cost less than floors requiring leveling, moisture mitigation, or repairs. Finally, the total price depends on whether you’re adding transitions, trim/baseboards, and underlayment or moisture barrier materials.
How do I estimate the material cost for engineered wood flooring in my mudroom?
Start by measuring the mudroom’s square footage (length × width) and add 10–15% for cuts, waste, and irregular edges near doors or built-ins. Then multiply the total square footage by your engineered wood plank price per square foot, making sure you account for whether the quoted price includes underlayment or requires a separate purchase. Don’t forget to budget for additional consumables like moisture barrier/underlayment, underlayment tape, and fasteners if you’re using a nail/glue-down installation.
How much should I budget for installation when estimating engineered wood floor cost?
Installation cost typically varies based on the method (floating click-lock, nail-down, or glue-down) and the complexity of the room layout. Floating floors often cost less because they’re faster to install and usually require less subfloor work, while glue-down or nail-down systems may require more prep and specialized labor. To estimate accurately, get quotes using your measured square footage and ask installers to include subfloor inspection, leveling (if needed), and any required moisture testing for the mudroom environment.
Why does moisture and subfloor prep impact the price of engineered wood floors in a mudroom?
Mudrooms see higher traffic, wet boots, and occasional spills, so moisture management is critical to prevent cupping, gapping, or long-term failure. If your subfloor needs repairs, leveling, or a dedicated moisture barrier system, that can add significant cost beyond the flooring itself. Prices also change if you need a specific underlayment rated for moisture or if you must address concrete moisture before installing engineered wood in damp areas.
Which installation approach is best for cost and durability in a mudroom?
For many homeowners, a floating click-lock engineered wood floor is a cost-effective choice because it can reduce labor time, but it still requires correct underlayment and moisture protection. If your mudroom has a concrete slab or you want maximum stability, glue-down or nail-down engineered wood may better handle heavy foot traffic, though installation may be more expensive due to stricter prep and labor. The “best” option for your budget balances warranty requirements, your subfloor type, and how much moisture risk your mudroom typically faces.
📅 Last Updated: October 19, 2026 | Topic: How to estimate the cost of engineered wood floors in a mudroom? | Content verified for accuracy and freshness.
References
- Engineered wood
- Wood flooring
- https://www.epa.gov/mold/moisture-basics
- https://www.epa.gov/mold
- https://www.cdc.gov/mold/default.htm
- WBDG
- https://scholar.google.com/scholar?q=engineered+wood+floor+installation+cost+per+square+foot Google Scholar
- https://scholar.google.com/scholar?q=hardwood+flooring+installation+labor+cost+estimation Google Scholar
- https://scholar.google.com/scholar?q=wood+flooring+moisture+barrier+subfloor+preparation+cost Google Scholar