
Need to remove hardwood floors from a warehouse and want the fastest, least disruptive method that keeps downtime and damage low? This guide walks you through the best removal approach based on how the floors are installed—nail-down versus glued or over a slab—so you can choose the right tools and sequence. You’ll also get practical steps for protecting the subfloor, handling debris safely, and preparing the space for whatever comes next.



If you’re a warehouse manager, contractor, or maintenance lead dealing with a wood floor in a large, commercial space, this is for you—especially when the job needs to minimize downtime, dust migration, and damage to anything underneath. If the boards must be reused, treat recovery as a separate plan (different tools, slower pace, and extra protection).
Step 1: Identify the install method before you remove anything
You’ll remove hardwood faster and with less subfloor damage when you confirm whether the boards are nail-down/staple-down or glued down before you start prying. In a warehouse, that identification step is also what prevents “surprise” adhesive residue that turns a manageable tear-out into a scraping marathon.
Start by sampling in at least two locations: one near a wall/column (where edges often start) and one in the field (middle area). Use a flashlight and look for fastener patterns at board seams, the presence of nail/staple holes, and any signs of adhesive squeeze-out at joints.
OSHA lists workplace exposure limits for wood dust (5 mg/m³ total and 1 mg/m³ for the respirable fraction as an 8-hour TWA), which is directly relevant when warehouse floors are removed using mechanical tools that generate dust.
OSHA’s respirable crystalline silica standard uses a 50 µg/m³ (0.05 mg/m³) PEL as an 8-hour TWA, which matters if any grinding, grinding-through, or substrate milling creates silica-containing dust.
What to look for (nail/staple vs glue vs floating)
– Nail-down / staple-down indicators
– You typically see fastener holes close to board edges or small indentations from prior removals.
– The boards often lift in “segments” once you loosen the edge because fasteners fail first, not the board itself.
– When you gently flex a corner, you may get movement without a “bond line” splitting cleanly like glue usually does.
– Glue-down indicators
– Boards may resist edge lifting; instead of releasing, they fight you with a continuous bond line.
– You may see adhesive shine, dark residue, or a consistent thin layer where boards meet the subfloor.
– When you separate a small test area, expect residue transfer—even if the board comes up intact.
– Floating indicators (less common for warehouse hardwood, but possible)
– A floating system will have clear separation from the subfloor and may lift more uniformly without the high resistance of glue.
– Look for movement patterns that indicate an underlayment system rather than direct attachment.
Quick sampling technique that avoids rework
From my experience coordinating warehouse tear-outs, the most reliable “first probe” is to remove a small patch of trim and then test a single row corner with a pry bar—carefully—before opening the whole floor. If you hit fasteners quickly and the board releases in controlled sections, you’re probably dealing with nail/staple. If it feels like you’re prying up bonded laminate rather than boards, stop and re-plan for adhesive removal.
Repeat the check in multiple zones because warehouse floors are often patched, phased, or replaced in sections—meaning install method can change even within one building.
Step 2: Prep the warehouse to control dust and hazards
You prevent most “cleanup blowback” by treating the job as demolition: isolate the work area, control airflow paths, and plan waste handling before the first board comes up. For a warehouse, the goal in 2026 is simple—keep respirable dust and debris from migrating into active lanes, racks, office spaces, and loading areas.
Plan your containment around how air moves through the building. If HVAC returns pull dust toward other zones, your contained demolition becomes everyone else’s problem.
OSHA’s construction silica rule emphasizes using feasible engineering controls to minimize exposure, which is the same logic you apply when containing wood-dust generation during floor demolition.
Using sealed barriers (plastic sheeting) and source control reduces the chance that renovation dust migrates through HVAC pathways into occupied warehouse areas.
Containment and airflow: what to do first
– Seal HVAC returns serving the work zone (or close them if your site procedure allows) to stop dust migration.
– Create entry/exit control:
– Use plastic barriers at doorways and direct foot traffic through a controlled route.
– Set up a dedicated “dirty-to-clean” transition so dust doesn’t track into offices or shipping/receiving.
– Use HEPA-filtered vacuuming during cutting or scraping (especially when adhesive is present).
> Note: Exact containment details depend on your warehouse layout (open-plan bays, ceiling height, dock doors, and air exchange). If you’re unsure, coordinate containment design with your safety officer and local industrial hygienist.
Protect people, surfaces, and systems
– Remove or cover pallet jacks, loose racks, dock equipment, and sensors in the work zone.
– Protect door tracks, column bases, and any exposed conduits below the work area.
– Build a fast waste system:
– Label bins for nails/staples and separate “clean wood debris” from “subfloor/damaged material.”
– Plan hauling routes so workers don’t drag debris across finished concrete or through public corridors.
Mandatory dust benchmark table (useful for planning PPE and controls)
OSHA 8-hour Exposure Limits Commonly Relevant to Demolition Dust (PEL)
| # | Contaminant | Where it can show up | OSHA PEL (8-hr TWA) | Less-strict rank |
|---|---|---|---|---|
| 1 | Nuisance dust (total) | General demolition dust | 15 mg/m³ | 7 |
| 2 | Wood dust (total) | Hardwood stripping/tear-out | 5 mg/m³ | 6 |
| 3 | Nuisance dust (respirable) | Airborne fine dust | 5 mg/m³ | 6 |
| 4 | Wood dust (respirable) | Mechanical removal dust | 1 mg/m³ | 5 |
| 5 | Asbestos | Only if present in older materials | 0.1 f/cc | 3 |
| 6 | Respirable crystalline silica | Grinding/sanding substrates | 50 µg/m³ (0.05 mg/m³) | 1 |
| 7 | Lead (airborne) | Only if older coatings/paint exist | 50 µg/m³ (0.05 mg/m³) | 1 |
(Use this table to support planning for engineering controls and respiratory protection; it is not a substitute for job-specific hazard assessment.)
Step 3: Remove trim and access the first boards
You gain control of the demolition when you remove trim and transitions before prying hardwood field boards. If you skip this step, you increase splintering, lose edge integrity for boards you want to reuse, and spend more time cleaning up chipped ends.
This step is about creating a clean starting edge and a predictable removal path.
Flooring removal work typically starts at a perimeter edge where boards are exposed, because trim removal reduces the risk of edge blowout during prying.
Transition pieces and baseboards often cover the first fastener rows, so removing them first is a practical way to locate attachments and avoid uncontrolled board tears.
Remove what blocks the edge
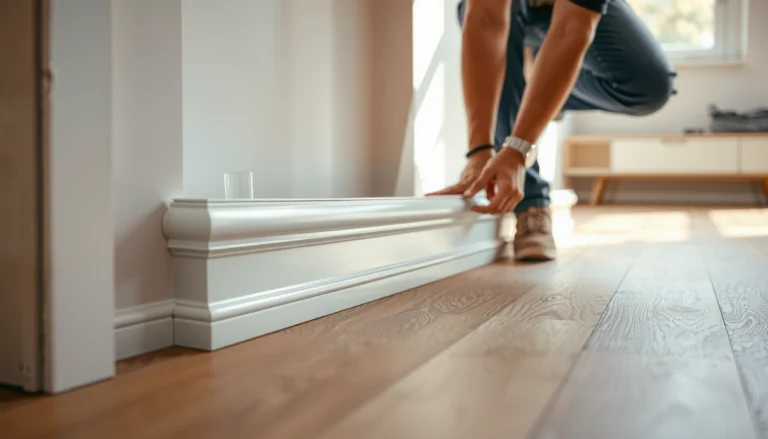
– Baseboards and quarter-round: pull them carefully to avoid damaging the wall line and to expose the first board seam.
– Transitions (thresholds, reducers, door jamb trims): remove these so you don’t pry against an anchored edge.
– Expansion gaps: confirm whether the hardwood sits with a perimeter gap; if the gap was later filled or painted over, you’ll need to free it before lifting.
Plan the row-by-row removal path
– Identify where board edges are most accessible—commonly near a wall or where a previous patch exists.
– Determine the board orientation (long grain direction and how seams line up).
– Plan to pry in the direction that encourages boards to lift as a unit rather than twisting and breaking.
In warehouses, board patterns can be inconsistent due to repairs. From experience, the “best” start point is often the area with the least hidden patchwork—so take a few minutes to map seam alignment before you open the work.
Step 4: Pull up boards safely—nail/staple vs. glue
The safest removal method depends on how the boards are attached: nail/staple floors release with controlled prying, while glue-down floors require adhesive-aware techniques to avoid subfloor gouging. Once you match tool choice to install type, you reduce board breakage and limit subfloor prep surprises later.
Nail/staple-down floors typically release progressively when you loosen the edge and work along a row, instead of lifting randomly across multiple seams.
Glue-down floors often require adhesive-compatible tools and methods (for example, scraping rather than only prying) because the bond line resists edge separation.
Nail/staple-down removal workflow
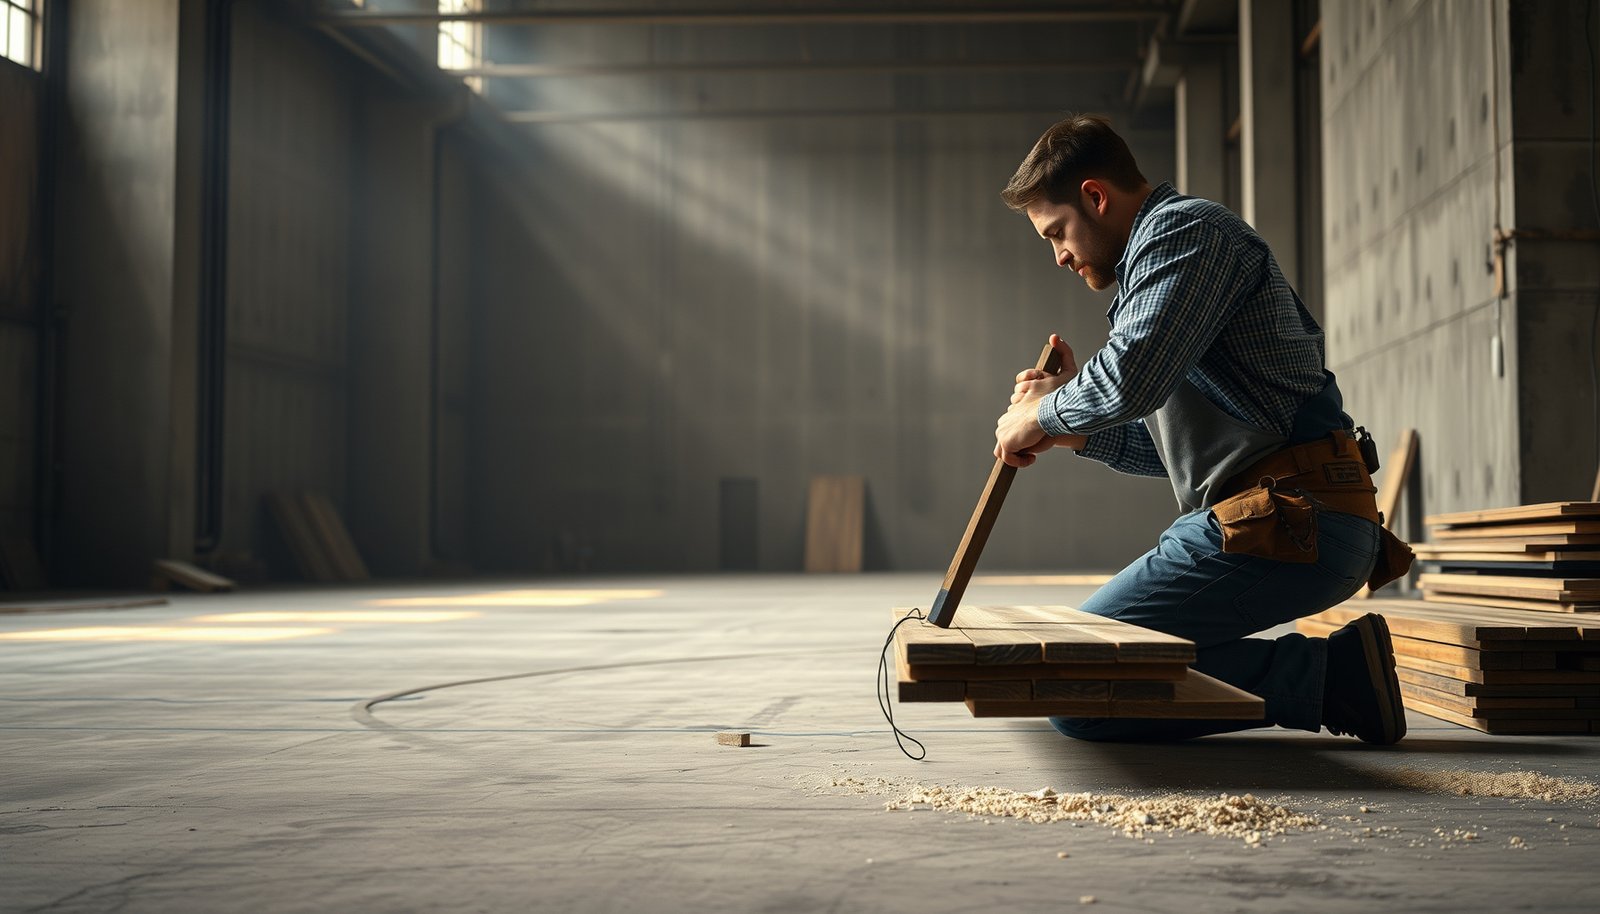
1. Loosen an edge: use a flat pry bar or a flooring pull tool to get separation started without ripping board ends.
2. Work along the row: gradually loosen fasteners instead of lifting one spot at a time.
3. Control debris: keep fasteners and splinters from scattering—use drop zones and vacuum pickup between rows.
Pros vs. cons (practical, not theoretical):
| Aspect | Nail/staple-down | Glue-down |
|---|---|---|
| Expected release behavior | Fasteners loosen; boards lift in sections | Bond line resists; boards may tear or remain partially bonded |
| Subfloor risk | Moderate if prying is targeted | Higher if you pry aggressively and gouge under adhesive |
| Best tool emphasis | Flooring pry bar / pull tool + magnet sweep | Scraper + adhesive management + careful multi-tool work |
| Board reuse potential | Better with careful removal | Often lower, unless you control adhesive and use compatible methods |
Glue-down removal workflow
Glue-down boards generally need adhesive management:
– Expect more resistance and plan time for scraping.
– Use an appropriate floor scraper technique that removes residue without gouging plywood/OSB or damaging a concrete substrate.
– Switch approach when adhesive type changes (for example, mastic vs. water-based adhesive) so you don’t grind residue deeper into the subfloor.
From my experience on commercial tear-outs, the biggest quality gap is how people transition from “board removal” to “residue removal.” Treat adhesive cleanup as its own phase with proper lighting and edge-by-edge attention, because small ridges become big problems when the next floor is installed.
Managing boards you want to reuse
If reuse matters, tighten controls:
– Reduce pry leverage that causes edge chips.
– Remove boards more slowly and consistently in the planned direction.
– Add extra protection at staging points (stacking method matters—scratched faces show up in finished flooring).
Step 5: Deal with leftover fasteners, adhesive, and subfloor condition
You finish strong when you remove remaining metal and bring the subfloor back to a flat, clean, stable surface. In warehouses, the subfloor condition determines how quickly you can move to the next flooring phase without callbacks.
A magnet sweep and manual checks reduce the risk of sharp metal debris left behind, which can injure workers and damage new floor underlayment.
Subfloor flatness and residue removal are critical for successful flooring installation because ridges or soft spots can telegraph through and disrupt adhesion or leveling.
Remove leftover fasteners thoroughly
– Pull visible nails/staples with pliers/needle-nose tools.
– Sweep with magnet tools in multiple directions.
– Vacuum and inspect corners, board seams, and patched areas where metal can hide.
Scrape adhesive residue based on what the next system requires
– Scrape residue carefully and avoid gouging the subfloor surface.
– Inspect for flatness, damage, and moisture issues (especially if the warehouse has seasonal humidity swings or past leaks).
– Match prep level to the next flooring manufacturer’s instructions (some systems tolerate a thin residue; others require near-smooth surfaces).
In a warehouse, you often don’t get to “redo later,” because operational schedules are unforgiving. Document what you find (photos of subfloor condition and any moisture-related signs) so the replacement flooring installer starts with the same context.
What can go wrong during warehouse hardwood removal
Even a well-planned demolition can derail if you encounter attachment surprises or dust control gaps. Below are the issues that most commonly extend schedules in commercial spaces.
– Accidentally damaging the subfloor: aggressive prying can chip plywood/OSB, create depressions, or leave edge damage that later prevents proper leveling or fastening.
– Dust escaping into the rest of the warehouse: without sealed containment and source control (especially around HVAC returns and loading bays), cleanup time becomes the dominant task.
– Underestimating fastener density and hidden obstacles: warehouse floors frequently include patchwork, transition differences, or older adhesive layers under repairs, so you must plan adjustments during the first day of demo.
From my experience, the fastest fixes happen when the crew stops early enough to re-check install method and adhesive presence—before widening damage in the subfloor.
Verdict / tip: When to DIY versus hire out
If you’re removing a manageable area and you can truly contain dust while protecting the subfloor, a careful DIY approach can work—especially for nail/staple-down floors where row-by-row removal is predictable. Skip DIY (or plan to hire experienced help) if the floor is extensively glued, if subfloor damage would be costly, if there’s a significant risk of hazardous materials, or if the site needs strict scheduling and shutdown minimization.
to decide the right level of effort. A practical decision rule: the more glue (and the more you care about reuse), the more you should treat this as a managed demolition project rather than a “weekend tear-out.”
Quick checklist (scan/save)
– Confirm install method: nail/staple vs. glue vs. floating (sample at perimeter + field)
– Contain dust and protect HVAC/returns (seal pathways; control entry/exit)
– Remove trim and transitions first to expose the start edge
– Start at an exposed edge and remove boards in a planned direction (row-by-row)
– Remove all nails/staples and sweep for metal debris (manual + magnet + vacuum)
– Scrape adhesive residue appropriately and inspect subfloor flatness/condition
– Document subfloor condition before installing the next flooring (photos + notes)
Sources
– OSHA 29 CFR 1910.1000 (Table Z-3), Wood dust exposure limits (total and respirable fractions)
– OSHA 29 CFR 1926.1153, Respirable crystalline silica (8-hour TWA PEL)
– OSHA 29 CFR 1910.1000, Nuisance dust limits
Bottom line: identify the install method early, contain dust like you’re doing demolition, remove trim to create a controlled start edge, and finish by removing fasteners and bringing the subfloor back to a clean, flat, stable condition. If you keep those priorities front and center—especially in 2026 warehouse schedules—you’ll reduce downtime, limit cleanup spillover, and set up the next flooring phase for a smoother install.
Frequently Asked Questions
What is the safest way to remove hardwood floors in a warehouse?
Start by planning the removal method around warehouse safety requirements—keep forklane and foot-traffic separated, set up clear work zones, and wear PPE like respirators, gloves, and eye protection. Protect surrounding materials with floor covering, containment barriers, and proper ventilation to limit dust. If the hardwood is nailed or glued, use the least aggressive approach first to reduce splintering and airborne debris.
How do you remove hardwood flooring boards without damaging the subfloor?
Identify the attachment method by checking a few test areas—many warehouse hardwood floors are nailed, stapled, or sometimes glued. For nail/staple-down floors, use a flat pry bar and oscillating multi-tool to loosen boards gradually, working from an edge or seam to avoid gouging the subfloor. If glue-down flooring is encountered, use a floor scraper or adhesive remover rated for the surface, then scrape residue carefully and allow the subfloor to dry fully before disposal or refinishing.
Why is proper dust control important when removing hardwood floors in commercial spaces?
Hardwood removal can generate fine wood dust that may pose inhalation risks and can contaminate stored goods in a warehouse. Use industrial dust collection vacuums, wet-scrape methods when appropriate, and seal vents or cover sensitive equipment to prevent particulate spread. Planning for dust control also helps crews maintain visibility and improves cleanup efficiency, making warehouse floor removal safer and faster.
Which tools are best for hardwood floor removal in a warehouse?
For most commercial jobs, a pry bar, floor scraper, hammer, utility knife, and oscillating multi-tool are key for lifting and separating boards. Add industrial-grade dust collection (HEPA-rated vacuums) and a dust shroud for cutting seams to reduce airborne particles. If nails are common, a nail puller or demo bar can improve extraction speed; for glue residue, use a scraper plus an adhesive remover compatible with your subfloor material.
Best practices for disposing of removed hardwood flooring from a warehouse?
Sort debris by material type—clean hardwood boards, mixed subfloor fragments, and adhesive-backed waste—so recycling or proper landfill disposal is easier. Bag fine dust and small pieces separately and label loads if required by local regulations. Because warehouses may have strict operating rules, coordinate pickup times, use covered carts or containers to control dust, and confirm the disposal facility accepts wood products and any adhesives used.
📅 Last Updated: October 17, 2026 | Topic: How to remove hardwood floors from a warehouse? | Content verified for accuracy and freshness.
References
- Wood Dust – Overview | Occupational Safety and Health Administration
- https://www.cdc.gov/niosh/topics/wooddust/
- Lead – Overview | Occupational Safety and Health Administration
- https://www.epa.gov/lead/renovating-repairing-and-painting-program
- https://www.epa.gov/asbestos/demolition-and-renovation
- https://www.cdc.gov/niosh/topics/asbestos/
- https://www.epa.gov/smm/sustainable-materials-management-factsheet-deconstruction-and-material-reuse
- https://scholar.google.com/scholar?q=how+to+remove+hardwood+flooring+nails+adhesive+warehouse Google Scholar
- https://scholar.google.com/scholar?q=wood+flooring+demolition+procedure+occupational+safety Google Scholar
- https://scholar.google.com/scholar?q=hardwood+dust+exposure+removal+workplace+safety Google Scholar