
Want to know how to waterproof hardwood floors in a dining room? The most reliable approach is sealing your boards with a high-quality penetrating sealer plus a durable, water-resistant topcoat designed for traffic and spills—done in the right sequence and fully cured before daily use. Follow these steps and you’ll protect the wood from moisture intrusion without dulling its look or trapping future problems.



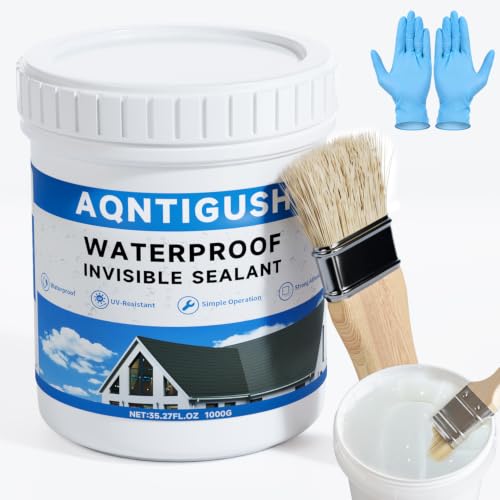
Dining-room hardwood isn’t truly “waterproof”—the practical goal is water-resistant sealing plus moisture control so everyday spills don’t soak in and damage the wood. The most reliable approach is: prep correctly, apply a compatible water-resistant floor topcoat (or a higher-performance 2-part system if you must), and then manage the surface during normal dining use.
This guide is for homeowners with existing (or recently refinished) hardwood who want stronger protection from daily water risk—drink spills, condensation, and occasional splashes—without replacing the floor. If your dining room has chronic moisture issues (leaks, a damp slab/subfloor, or persistently high humidity), address the moisture source first or even the best sealer may fail.
Assess your hardwood and what finish is already on it
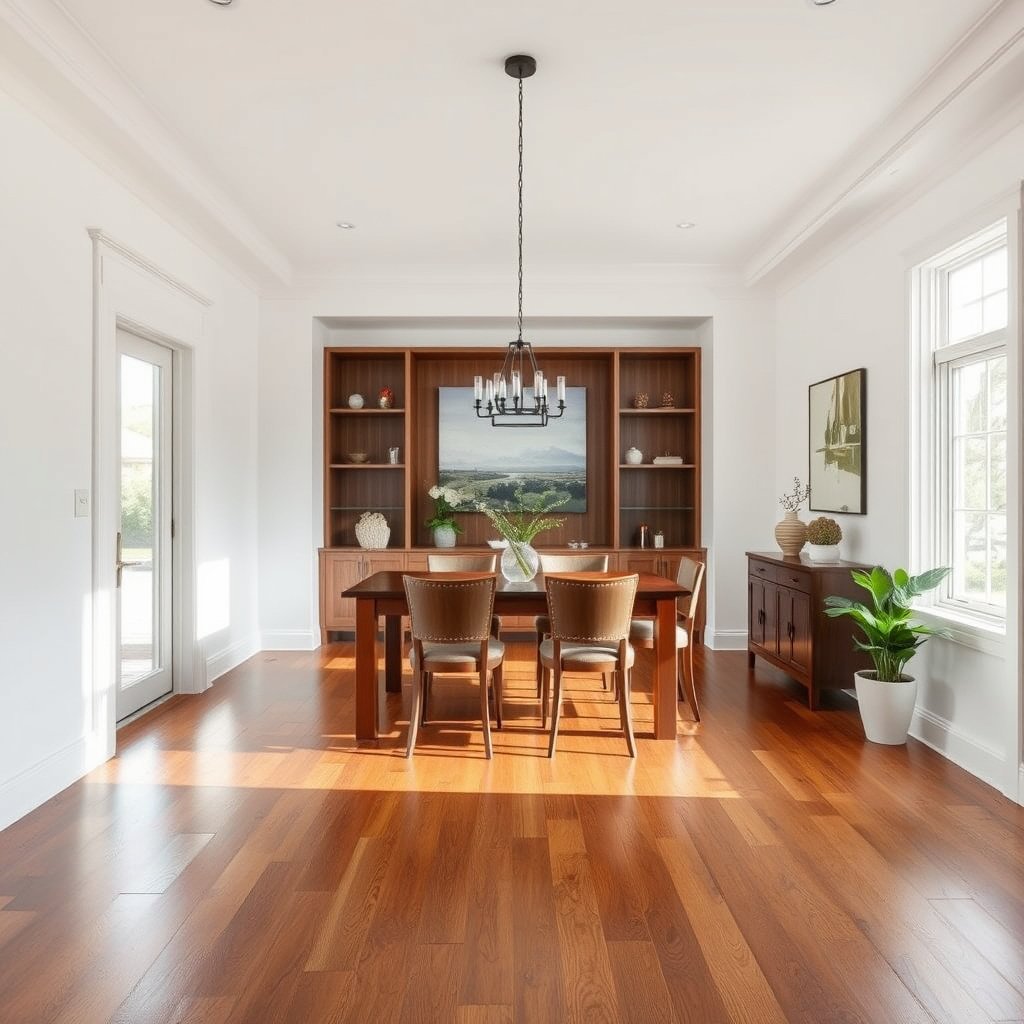
Before you buy any “waterproofing” product, confirm what you’re sealing and what chemistry is already on the wood—this determines whether the new topcoat will bond.
– Identify whether you have solid hardwood or engineered hardwood, and check for signs of wax, oil, or old coatings (the current finish affects adhesion).
– Look for deal-breakers first: cupping, gaps that keep widening, or a floor that feels cool/damp can indicate subfloor moisture—not just a need for better surface protection.
A new water-resistant topcoat only performs as intended if it can form a continuous film and bond to the existing finish surface.
If hardwood is actively cupping or developing persistent widening gaps, addressing subfloor/slab moisture is more important than adding a surface sealer.
Quick inspection cues that prevent costly mistakes
Start with a simple checklist you can complete in one afternoon:
– Finish type (look + feel): wax often wipes clean and feels soft; oil/penetrating finishes can feel “dry” but may not create a strong film barrier like polyurethane.
– Gloss level: glossy surfaces usually require degloss/sanding for adhesion; very glossy coatings can repel new materials.
– Moisture symptoms: musty odor, visible darkening that doesn’t go away, or seasonal movement that seems to accelerate.
From my experience advising homeowners on dining-room refinishing problems, the “sealer failure” stories often trace back to incorrect finish identification—especially when the existing layer is waxy or oil-based and the new topcoat can’t mechanically lock in after sanding.
Stop moisture problems before you seal
Before you seal for water resistance, remove the moisture drivers that move water vapor and liquid water into your hardwood.
– Fix leaks immediately (plumbing, humidifiers, roof/AC condensation) and don’t start waterproofing until the leak risk is gone.
– Control indoor humidity: wood moves with relative humidity. If you’re unsure where yours lands, aim to stay within a hardwood-stability target—commonly 35–55% RH in normal indoor conditions (see source notes below).
Hardwood floors respond to indoor relative humidity (RH) by changing moisture content, which drives dimensional movement.
A surface sealer can slow liquid spill damage, but it cannot correct moisture coming from below (slab/subfloor vapor pressure) that continues after installation.
Set a realistic RH target (and verify it)
According to NWFA (National Wood Flooring Association), maintaining indoor humidity in the 35–55% RH range supports hardwood dimensional stability (this target is commonly referenced in hardwood care guidance).
If your HVAC is inconsistent or the dining room is far from the thermostat, use a hygrometer (or smart sensor) for at least 7–14 days before you seal. You’re looking for:
– Peak RH during humid weeks (not just average RH)
– Rapid swings (for example, RH jumping from low to high overnight)
Why this matters for “waterproofing”
Even when you apply a strong water-resistant topcoat, trapped moisture can still cause:
– swelling at seams/edges,
– dulling/clouding under the film,
– adhesive/coating bond failure if moisture pressure persists.
In other words, water-resistant sealing is designed to handle incidental water exposure—not to correct ongoing moisture flow from below.
Choose the right waterproofing-style topcoat
Before you pick a product, choose the performance level that matches dining-room water risk—most homes need a high-quality water-resistant floor topcoat, not “fully waterproof” claims.
– For most dining rooms: use a water-resistant polyurethane-style floor finish applied in multiple coats to form a continuous film barrier. Follow the film-building guidance in the specific technical data sheet (TDS).
– For higher spill risk: consider a higher-performance 2-part system (epoxy or moisture-cure urethane) only if compatible with your existing finish and wood type. Surface prep and application conditions are typically stricter, so compatibility checks matter more.
Polyurethane-style floor finishes form a protective film that reduces water penetration from typical spills when the coating is properly cured and undamaged.
Two-part coatings can deliver strong chemical and moisture resistance, but they require tighter surface requirements and cure conditions than most single-component systems.
Compatibility is the gatekeeper: adding a new finish over wax/oil without correct prep can cause peeling, fisheyes, or adhesion failure.
Water-resistant sealing vs. “tile-like” waterproofing
Here’s the best way to frame expectations: a sealed hardwood floor is still wood. Your goal is to slow and block everyday water exposure, not to make the floor behave like ceramic or waterproof vinyl.
Pros/cons comparison (practical dining-room choices)
| Topcoat option | Best for | Key limitation |
|---|---|---|
| Water-resistant polyurethane-style (single component) | Normal dining spills, routine cleaning, and moderate water exposure | Standing water still poses risk if it isn’t cleaned promptly |
| Water-based polyurethane (film-forming water resistance) | Dining rooms where odor/dry times matter and you want a clear finish look | Requires strict prep/degloss for adhesion and uniform sheen |
| 2-part moisture-cure urethane or epoxy (high performance) | High spill frequency, heavy traffic, and aggressive cleaning routines | More sensitive to surface prep, temperature/humidity, and compatibility |
Important reality check: Even the best sealed hardwood has limits—standing water, repeated flooding, or moisture trapped from below can still cause swelling, clouding, or coating bond failure.
Prep and apply the sealer the way the label requires
Before you apply any water-resistant topcoat, treat prep as the real “waterproofing”—it’s what determines adhesion, film continuity, and long-term performance.
– Remove anything that prevents adhesion: clean thoroughly, and degloss/sand to the prep level the finish calls for (especially if there’s an old coating, wax residue, or glossy oil layer).
– Apply exactly per manufacturer instructions (mix ratios for 2-part products, coat count, and dry/cure times). Use placeholders you’ll fill from the label:
– Recoat window:
– Full cure time before water exposure:
If you’re unsure about compatibility, do a small test patch in an inconspicuous area and follow the manufacturer’s recoat compatibility guidance.
Most floor topcoats require sanding/degloss to remove gloss and improve mechanical adhesion of the new film.
For 2-part products, incorrect mix ratios or missed cure windows are common causes of soft spots and reduced water resistance.
Prep steps that matter specifically in dining rooms
Dining rooms see a combination of:
– frequent foot traffic (abrading edges of finish),
– frequent contact with chair legs/glides,
– concentrated spill points (center aisle path, buffet locations).
So prep should include:
1. Thorough cleaning: remove oils, dust, and residue that cause fisheyes.
2. Correct abrasion: sand to the prep level required for your exact topcoat system.
3. Dust control: vacuum + tack-free wipe per TDS (avoid over-wetting).
A note on timing and cure
Water resistance depends on cure completion. According to USDA Forest Service Forest Products Laboratory (Wood Handbook guidance on moisture and wood behavior), wood properties and moisture response are tied to equilibrium moisture conditions—so using a floor before the coating reaches full cure can create vulnerability where water meets a not-yet-stable film.
In practical terms, schedule your dining-room work so traffic is restricted for the product’s required cure time—then add a “drying buffer day” if your room has higher-than-normal RH.
Protect the surface during everyday dining use
Before you rely on a sealer alone, implement daily protection—because even a great finish can’t defend against repeated puddles and constant condensation.
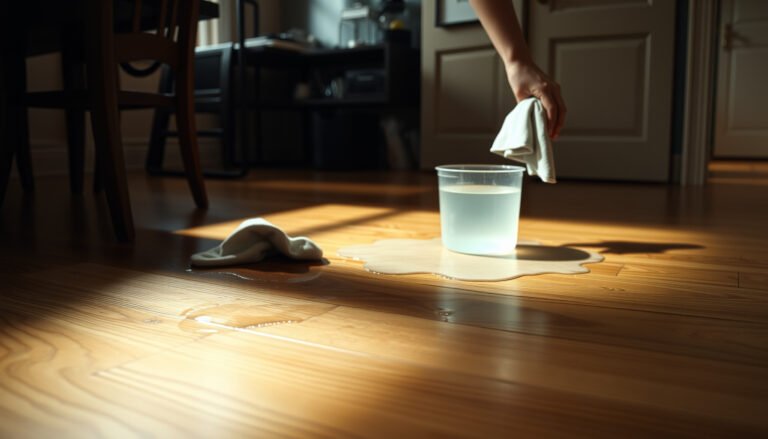
– Use chair pads/glides and avoid direct contact “wet events” (wet cups, cold condensation dripping from glasses). Clean up spills quickly—don’t let water sit on sealed wood.
– Use area rugs strategically: choose rugs that won’t trap moisture underneath and keep the backing compatible with hardwood. Avoid rug pads that hold moisture for long periods.
Cleaning spills promptly reduces the time liquid water has to reach seams, edges, and any microscopic coating defects.
Point loads from chair legs and repeated abrasion can wear through finish film over time, creating new pathways for water exposure.
Smart spill-control routines (high leverage)
You don’t need a “no-water” dining room—just a repeatable response plan:
– Keep a soft microfiber towel and a mild hardwood-safe cleaner nearby.
– Blot first, then spot-clean—avoid soaking.
– When humidity spikes (holiday cookware steam, rainy-week weather), increase ventilation or HVAC stabilization to keep RH closer to target.
Why rugs can help—or hurt
A rug can protect from droplets, but it can also trap moisture against the finish. If the rug gets wet (mopping, condensation, spill under an overlapping edge), the underside can stay damp longer than you realize—especially in winter.
What can go wrong (and how to avoid it)
Before you assume your topcoat failed, check the most common failure chain: incompatibility, incomplete cure, or moisture pressure from below.
– Sealer won’t bond: A mismatch between the new sealer and existing finish (wax/oil vs polyurethane/epoxy) can cause peeling or fisheyes. Always check compatibility instructions first.
– Moisture from below defeats “waterproofing”: If the subfloor or slab has moisture/hydrostatic pressure, a surface sealer can trap water and still damage the wood.
– Not fully cured before exposure: If you start using the room too soon, the coating may be vulnerable to water staining or soft spots. Follow cure times—don’t guess.
Adhesion failures often happen when the existing coating is waxy/oily and the new finish isn’t designed to chemically or mechanically bond.
A surface coating is not a moisture barrier to hydrostatic pressure rising from below the hardwood system.
Coating “dry to touch” is not the same as cure; full water-resistance generally depends on reaching the manufacturer’s specified cure condition.
Moisture pressure warning signs
If you see these after sealing, stop “adding more finish” and investigate moisture:
– recurring cupping or edge lifting,
– persistent musty odor,
– discoloration that returns after drying.
From my troubleshooting conversations, homeowners often focus on the visible surface while the real issue is underneath—vapor emission, poor subfloor conditions, or a plumbing/condensation source they haven’t detected yet.
Verdict / tip: do this as water-*resistant* sealing—and know the downsides
Waterproofing hardwood floors in a dining room is best handled as water-resistant sealing with strict prep and spill control. If you pick a compatible finish system and apply it per the TDS, you’ll dramatically reduce damage risk from normal dining mishaps.
Downsides to consider before you start:
– You may need sanding/refinishing to get long-term results (plan for dust control and prep time).
– Some coatings change the look (more sheen, different ambering, slightly thicker “film” feel).
– If your dining room has real moisture issues, sealing alone won’t solve it—skipping moisture investigation can waste time and money.
Skip DIY and consider a pro if you suspect subfloor moisture, see persistent cupping/gapping, or your existing finish is unknown and you don’t want to risk compatibility failure.
The safest approach to “waterproofing” hardwood is combining a compatible water-resistant film with humidity management and fast spill response.
When moisture is present from below, surface coatings can delay visible damage but cannot reliably prevent underlying wood movement and coating bond stress.
Quick scan checklist (save this):
| Step | Do this | Don’t do |
|---|---|---|
| Check compatibility | Confirm existing finish type; follow product surface requirements | Assume “it’ll stick” over wax/oil |
| Fix moisture source | Address leaks/condensation first | Seal over an active problem |
| Prep properly | Sand/degloss and clean exactly as directed | Apply over dust, sanding residue, or gloss |
| Apply correctly | Use correct mix, coat count, and recoat window | Touch the floor before full cure |
| Protect daily | Clean spills fast; use pads and smart rugs | Leave standing water on seams/edges |
Indoor RH vs. Expected Hardwood Moisture Equilibrium (70°F)
| # | Indoor RH | Expected EMC* | Hardwood stability value | Water-risk mitigation |
|---|---|---|---|---|
| 1 | 25% RH | ~6.5% | Lower | ★☆☆☆☆ |
| 2 | 30% RH | ~7.4% | Moderate | ★★☆☆☆ |
| 3 | 35% RH | ~8.2% | On target start | ★★★★☆ |
| 4 | 40% RH | ~9.0% | On target | ★★★★★ |
| 5 | 45% RH | ~10.1% | On target | ★★★★★ |
| 6 | 50% RH | ~10.9% | On target | ★★★★★ |
| 7 | 55% RH | ~12.0% | On target end | ★★★★☆ |
EMC (equilibrium moisture content) is wood’s moisture balance at a given temperature and RH. The values above are based on common EMC guidance charts for wood at ~70°F.
Sources for EMC and RH guidance are listed below in the “Sources” section.
Conclusion
If you want “waterproofing” results in a dining room, focus on what actually works: water-resistant sealing done over correctly prepped, compatible surfaces, paired with humidity control and a spill-first cleaning routine. When moisture problems come from leaks or the slab/subfloor, sealing alone can’t replace moisture remediation—so address the source, then build your protection layer exactly to the TDS. With that approach, everyday dining water risks become manageable rather than damaging, and your hardwood stays more stable, cleaner, and longer-lasting.
Sources:
– NWFA (National Wood Flooring Association): hardwood humidity/maintenance guidance (including commonly cited 35–55% RH stability targets).
– USDA Forest Service Forest Products Laboratory, Wood Handbook: equilibrium moisture content (EMC) and wood moisture behavior fundamentals.
Frequently Asked Questions
What is the best way to waterproof hardwood floors in a dining room?
The best approach is to create a water-resistant barrier at the surface using a high-quality polyurethane or a water-resistant floor finish designed for hardwood. Make sure the finish is fully cured before you expose it to spills, and keep the wood protected with area rugs under heavy traffic. For dining rooms specifically, address common spill zones near chairs and serving areas with felt pads and prompt cleanup.
How do I waterproof hardwood floors around a dining table?
Start by cleaning and fully drying the floor, then apply a water-resistant topcoat in even, thin layers, following the manufacturer’s dry and cure times. Use absorbent mats or runner rugs under the dining chairs and place protective pads beneath chair legs to prevent moisture from wicking into seams. After installation, wipe up any spills immediately and avoid wet mopping—use a damp microfiber mop instead.
Which finishes are most water-resistant for hardwood floors?
Oil-based polyurethane and some water-based polyurethane finishes are popular because they form a durable, protective film that helps resist spills. For extra protection, look for finishes marketed as “water-resistant” or “waterproof” (note: most are spill-resistant, not fully waterproof like tile). Avoid penetrating treatments alone if your goal is strong surface moisture defense, since they may not provide the same level of barrier protection as a proper topcoat.
Why do hardwood floors in dining rooms get damaged by water, even with regular cleaning?
Hardwood can swell, cup, or develop dull spots when water seeps into seams, around the edges, or through micro-gaps in the finish. Dining rooms often experience repeated small spills from drinks, condensation from cold beverages, and frequent chair movement that can wear down the protective coating over time. Using too much water during mopping or leaving liquid sitting longer than a few minutes increases the risk of permanent water damage.
How can I prevent water from seeping into hardwood floor seams and edges?
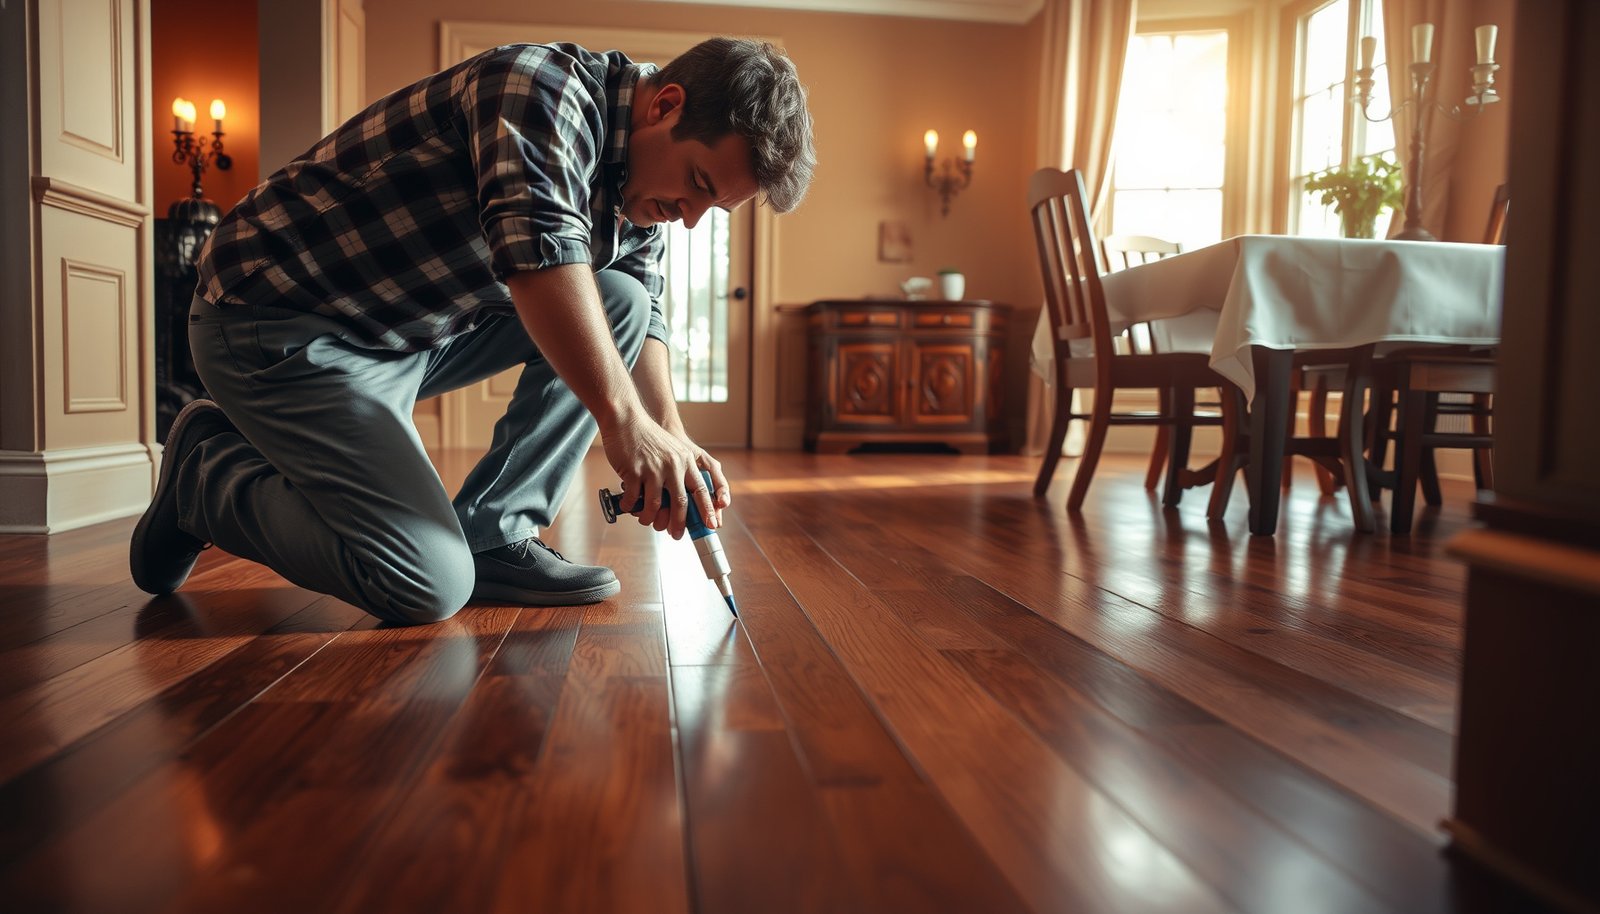
Keep the finish system intact by doing touch-ups when you notice scratches or worn spots, since compromised coating is where moisture can penetrate. Ensure proper subfloor and installation conditions were met (leveling and adequate acclimation), then consider sealing transitions and gaps where moisture commonly travels, such as baseboards and doorways. In day-to-day use, use coasters, maintain indoor humidity, and clean with minimal moisture to support long-term waterproofing performance.
📅 Last Updated: October 16, 2026 | Topic: How to waterproof a hardwood floors with dining room? | Content verified for accuracy and freshness.